Woodturning Lathe Build Process
Page 13 of 60
Posted 18th February 2024
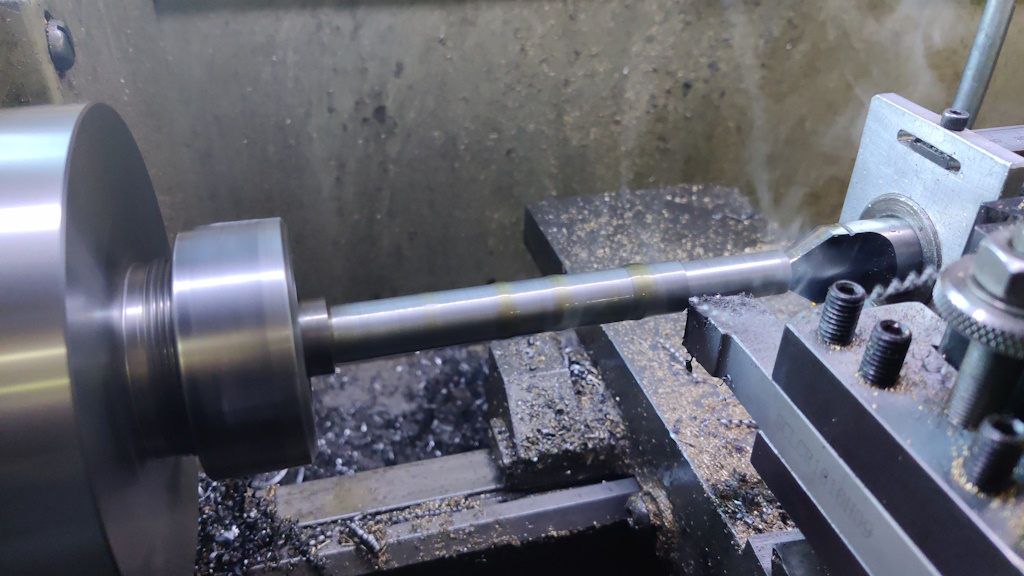
To make the tailstock screw, I started with a length of 20 mm EN1A. I drilled a centre hole (which, if I'd have been thinking about it more, would have been smaller) and then pulled it further out from the chuck and, supported by a half-centre, roughed out the shape:
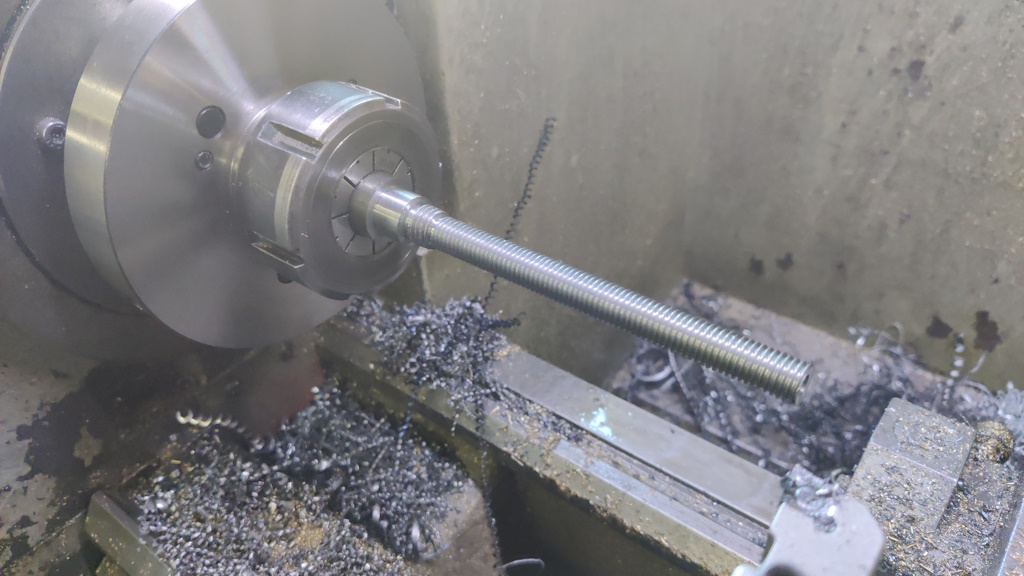
After getting all the dimensions to what I wanted them to be, I did both the threads with single-point tools: the M10 one because I don't have an M10 left-hand die and the M12 one because my M12 die wouldn't go over the M10 thread!
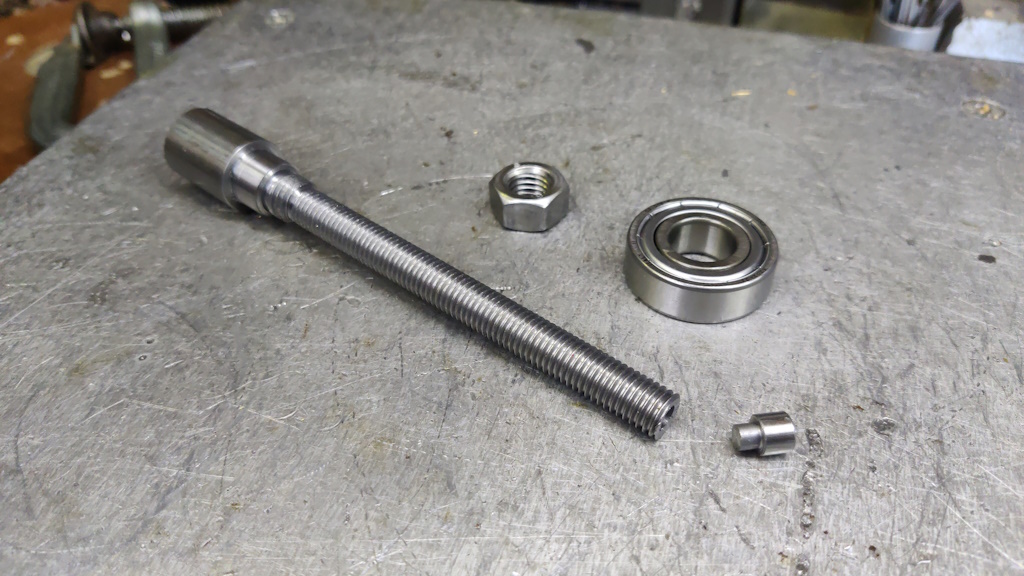
I then realised that the centre hole took away most of the strength of the end of the thread, so turning it down to 8 mm to push on the tailstock tool wasn't going to end well. After a quick ponder, I turned the end down shorter to get rid of most of the centre hole and then I drilled a 5 mm straight hole in the end:
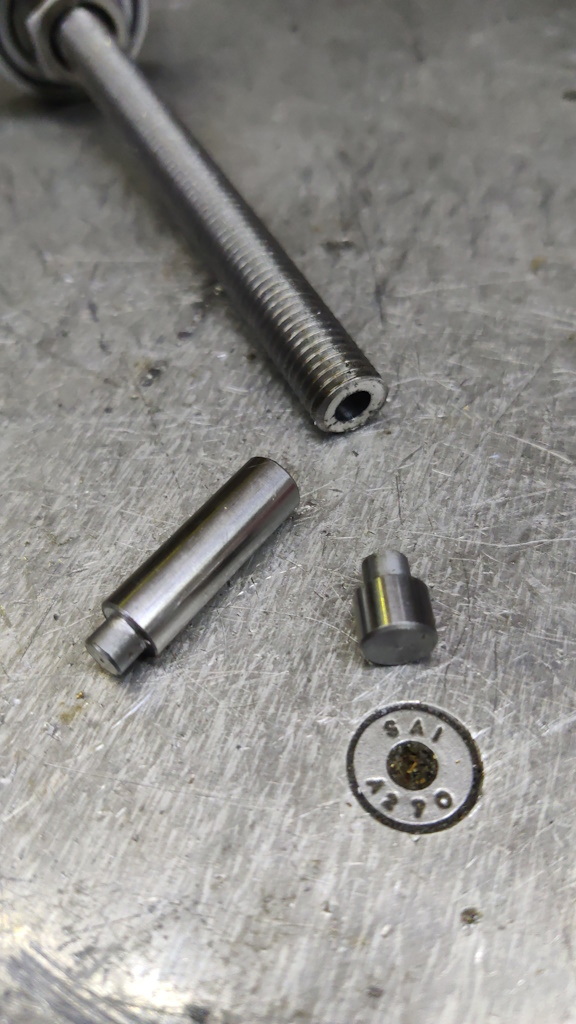
I could then make a little stub piece out of some 8 mm silver steel that will glue into that end hole and push on the tool:
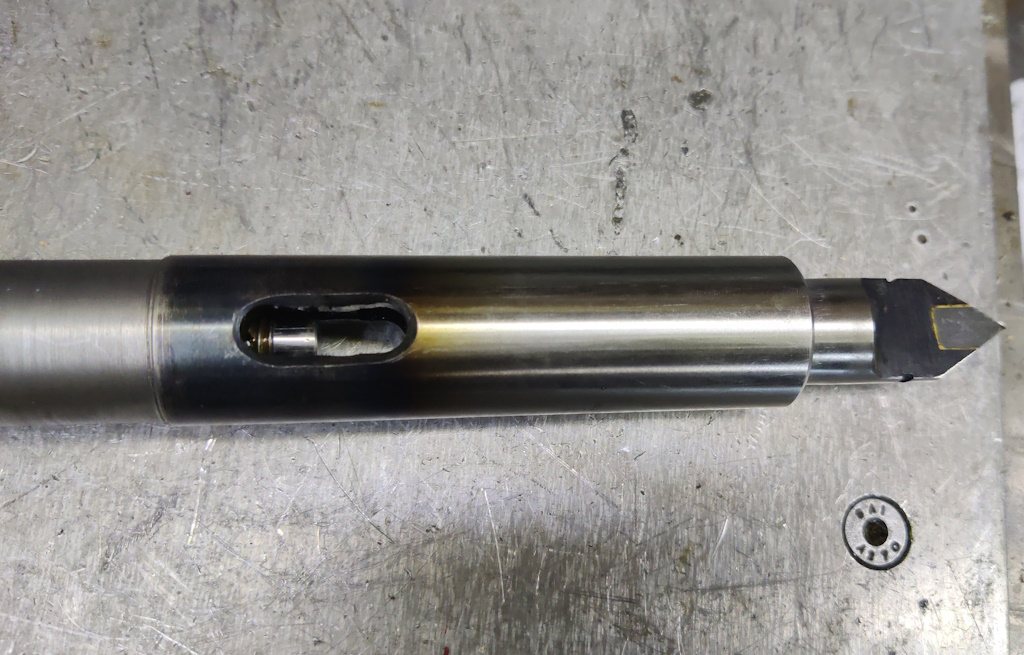
After a quick test assembly, I discovered that the MT2 tooling doesn't protrude into the Morse taper adaptor anywhere near as I expected and hence my ejection tip wouldn't push the tool out:
This is where a bit of serendipity came into play: as I'd made the tip as a separate piece, it was trivial to make a new, longer one:
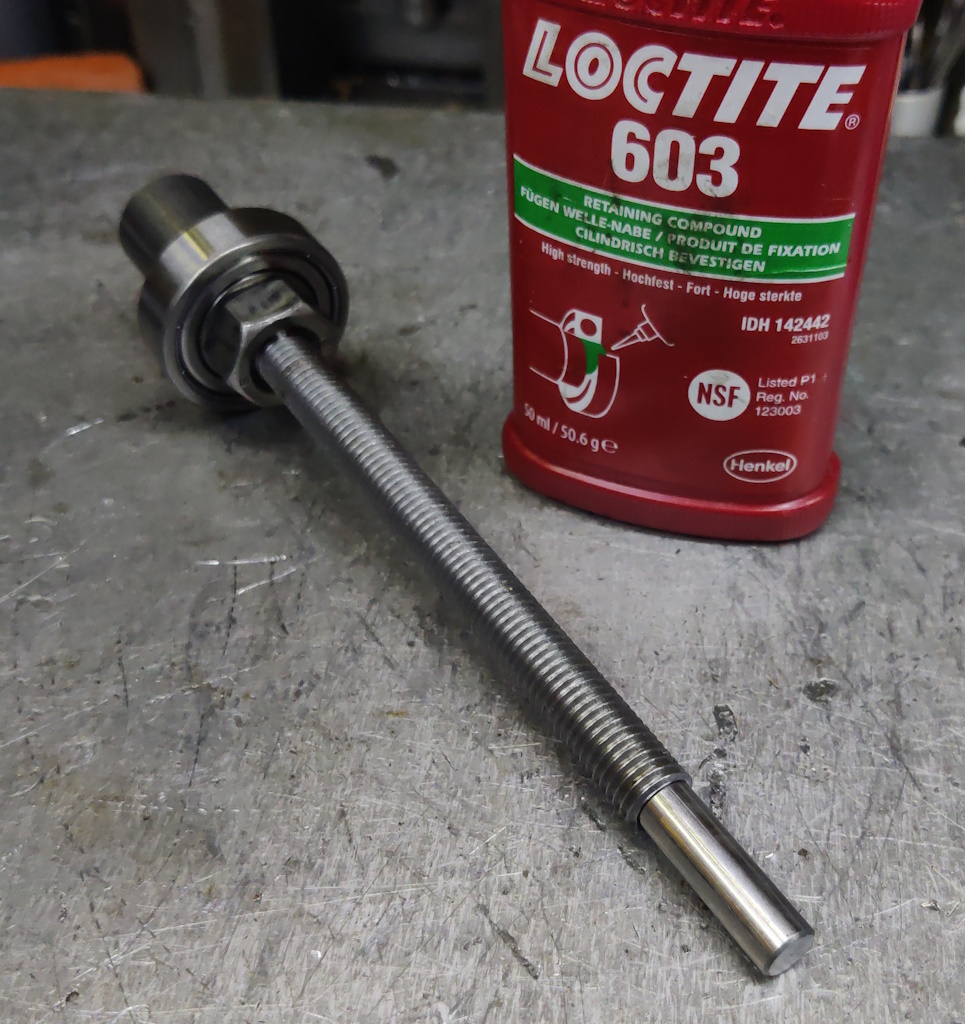
The tip got glued into the screw with Loctite 603...
... and then I could assemble it.
The bearing isn't retained in the tailstock body in any way at the moment, but it was enough for me to give the ejection process a little try:
Page 13 of 60
This website is free and ad-free, but costs me money to run. If you'd like to support this site, please consider making a small donation or sending me a message to let me know what you liked or found useful.

 Return to main project page