Woodturning Lathe Build Process
Page 24 of 43
Posted 6th March 2024
I had a couple of hours free this evening, so I thought I'd get on with another aluminium turning job. I think this is the last one and there isn't much material to remove, so it's not as unpleasant as making the pulleys.
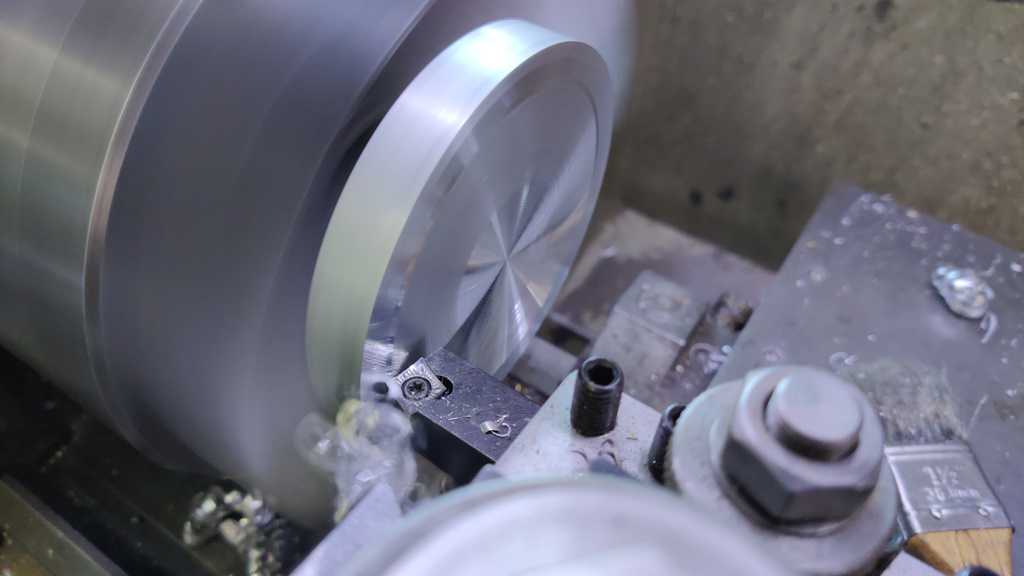
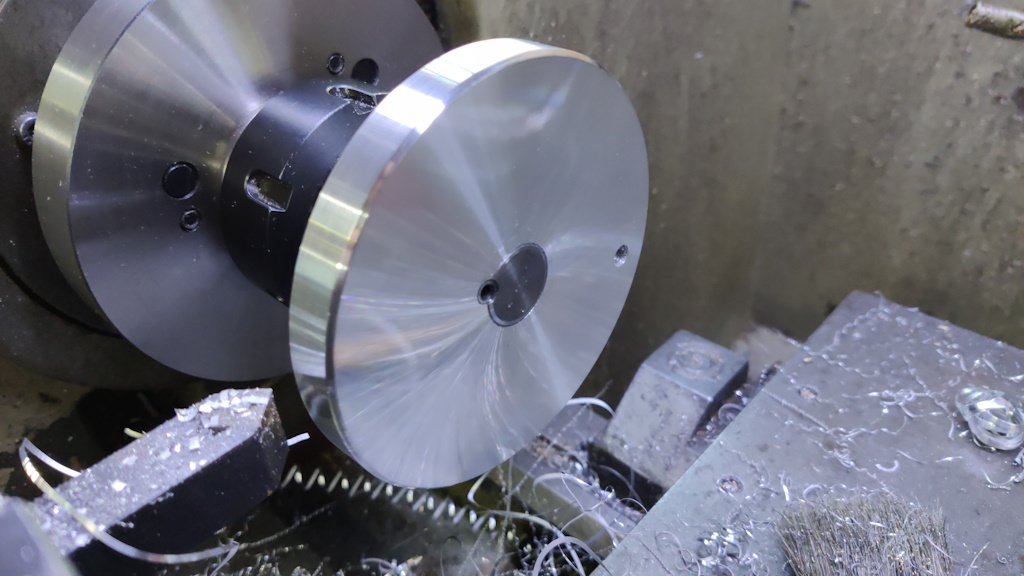
I started with another bit of skip-dive aluminium. I mounted it in the three-jaw chuck and faced one side:
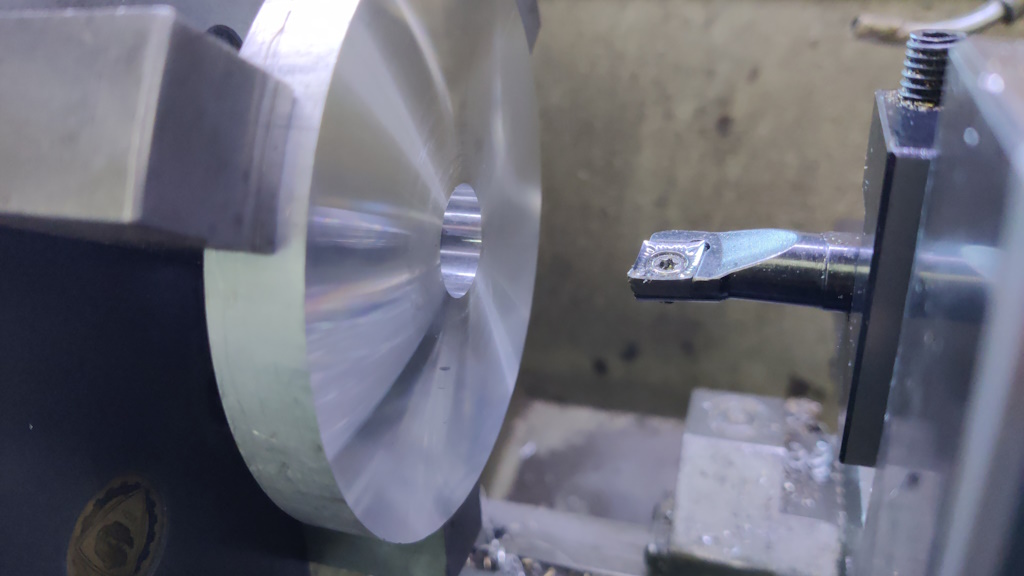
I then flipped it round, faced the other side and then drilled and bored a hole in the middle. I crept up on the final dimension, testing with the tailstock screw repeatedly until it went on with a snug fit.
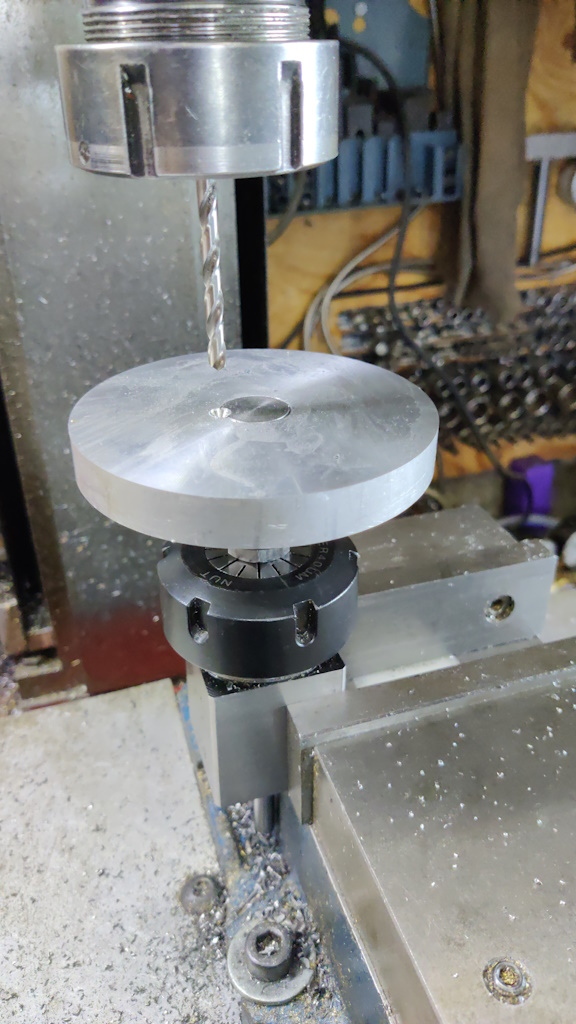
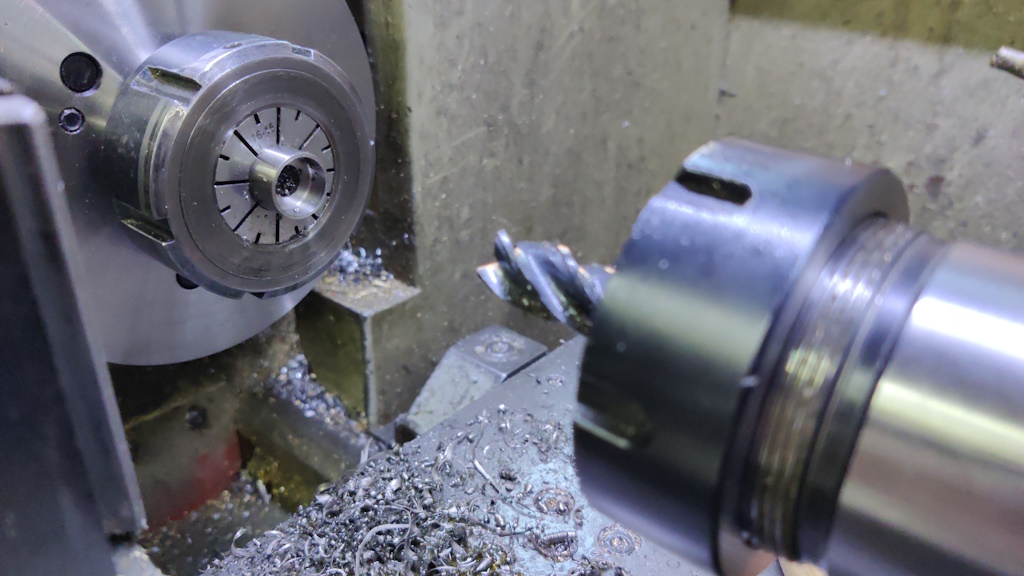
With that done, I took the aluminium piece off the lathe and pushed it onto the tailstock screw, with a bit of superglue applied to hold it (temporarily) in place. The assembly could then be mounted in a collet chuck on the milling machine and a hole located right on the join between the two parts:
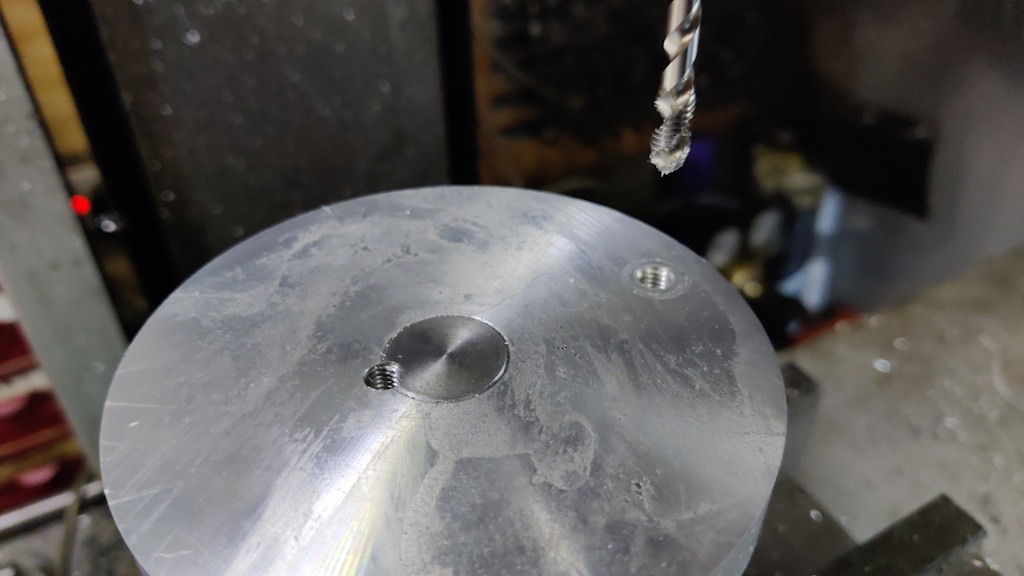
That hole (shown after spot drilling above) was then drilled 5 mm to a depth slightly less than the thickness of the aluminium disk and then it was tapped. A through hole was also drilled and tapped in a fairly arbitrary location near the rim:
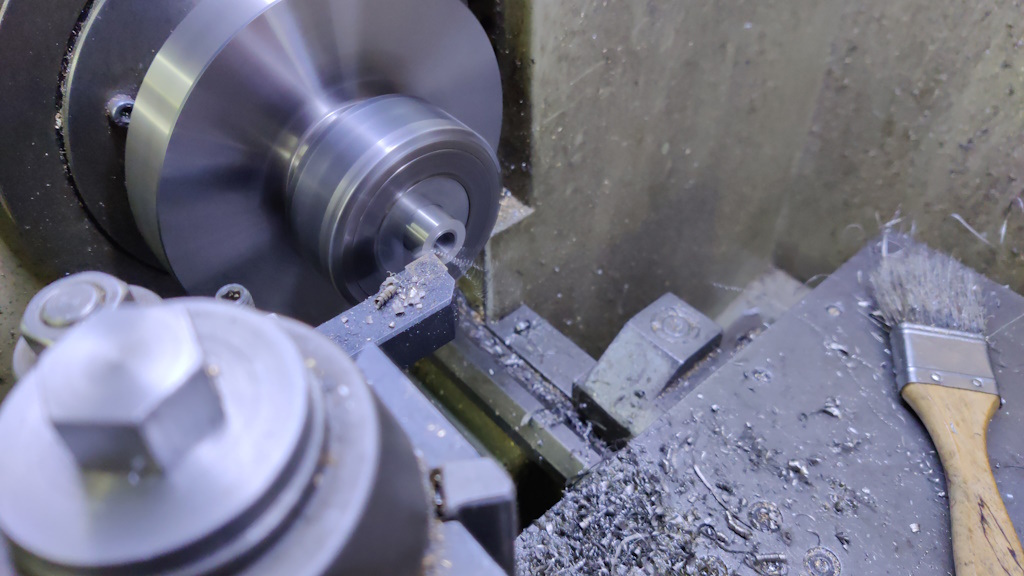
With that done, a grub screw was tightened into the joining hole and the whole assembly put back on the lathe for a final light skim of the face (the facing cut was mainly to remove the superglue stains to be honest). The outside edge was also cut and some chamfers cut and the edges broken with a fine file:
The assembly was then stood upright in the bench vice and acetone poured over it to weaken the superglue so that the parts could be separated (the bearing retaining plate needs to go between the aluminium disk and the bearing so the parts can't be glued together).
I dug out a bit of 16 mm 303 stainless steel and held it in the collet chuck (the main reason I used the collet chuck was that it was already fitted to the lathe). I drilled a 7.6 mm hole all the way through, then reamed it out to 8 mm. I then used a 14 mm end mill to cut a shallow counterbore:
The part was then reversed in the chuck and faced to length, removing it and checking the length several times to get it just right.
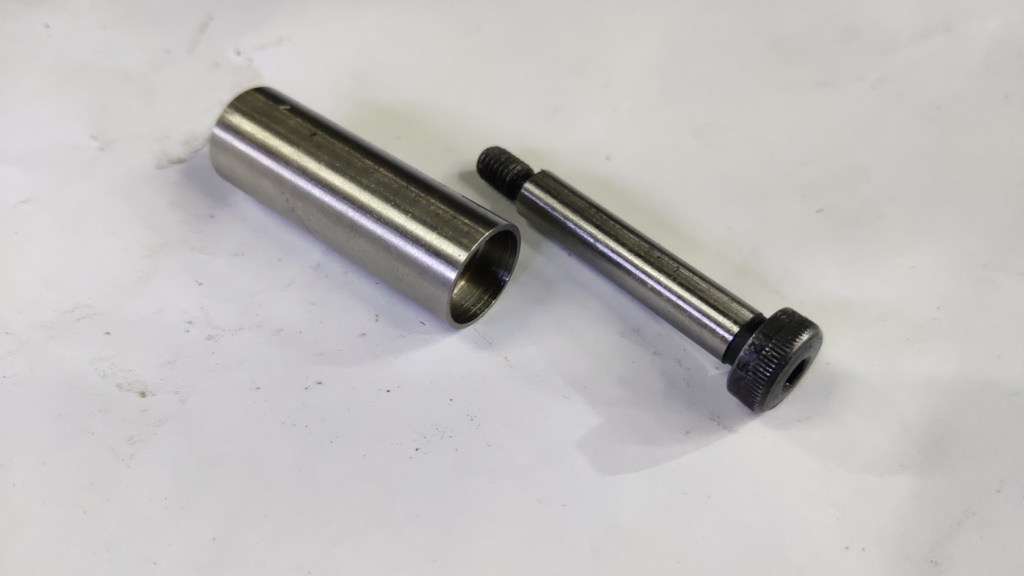
Here's the finished stainless steel handle, along with a shoulder screw that will be used to hold it in place. The shoulder of the shoulder screw is very slightly longer than the 8 mm diameter section of the stainless steel handle, so when tightened into the aluminium disk, the stainless handle spins freely:
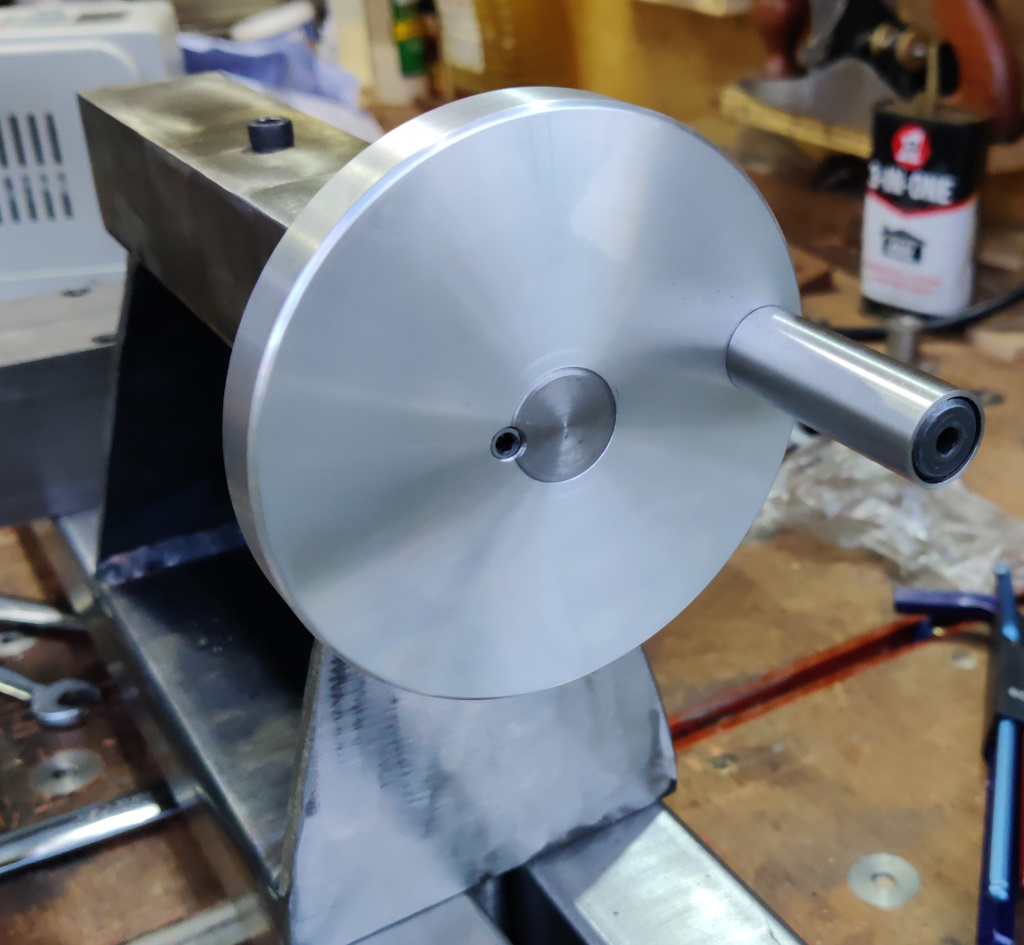
With that done, I could call the tailstock handwheel complete and fit it to the tailstock:
Page 24 of 43
This website is free and ad-free, but costs me money to run. If you'd like to support this site, please consider making a small donation or sending me a message to let me know what you liked or found useful.

 Return to main project page