Woodturning Lathe Build Process
Page 29 of 43
Posted 9th March 2024
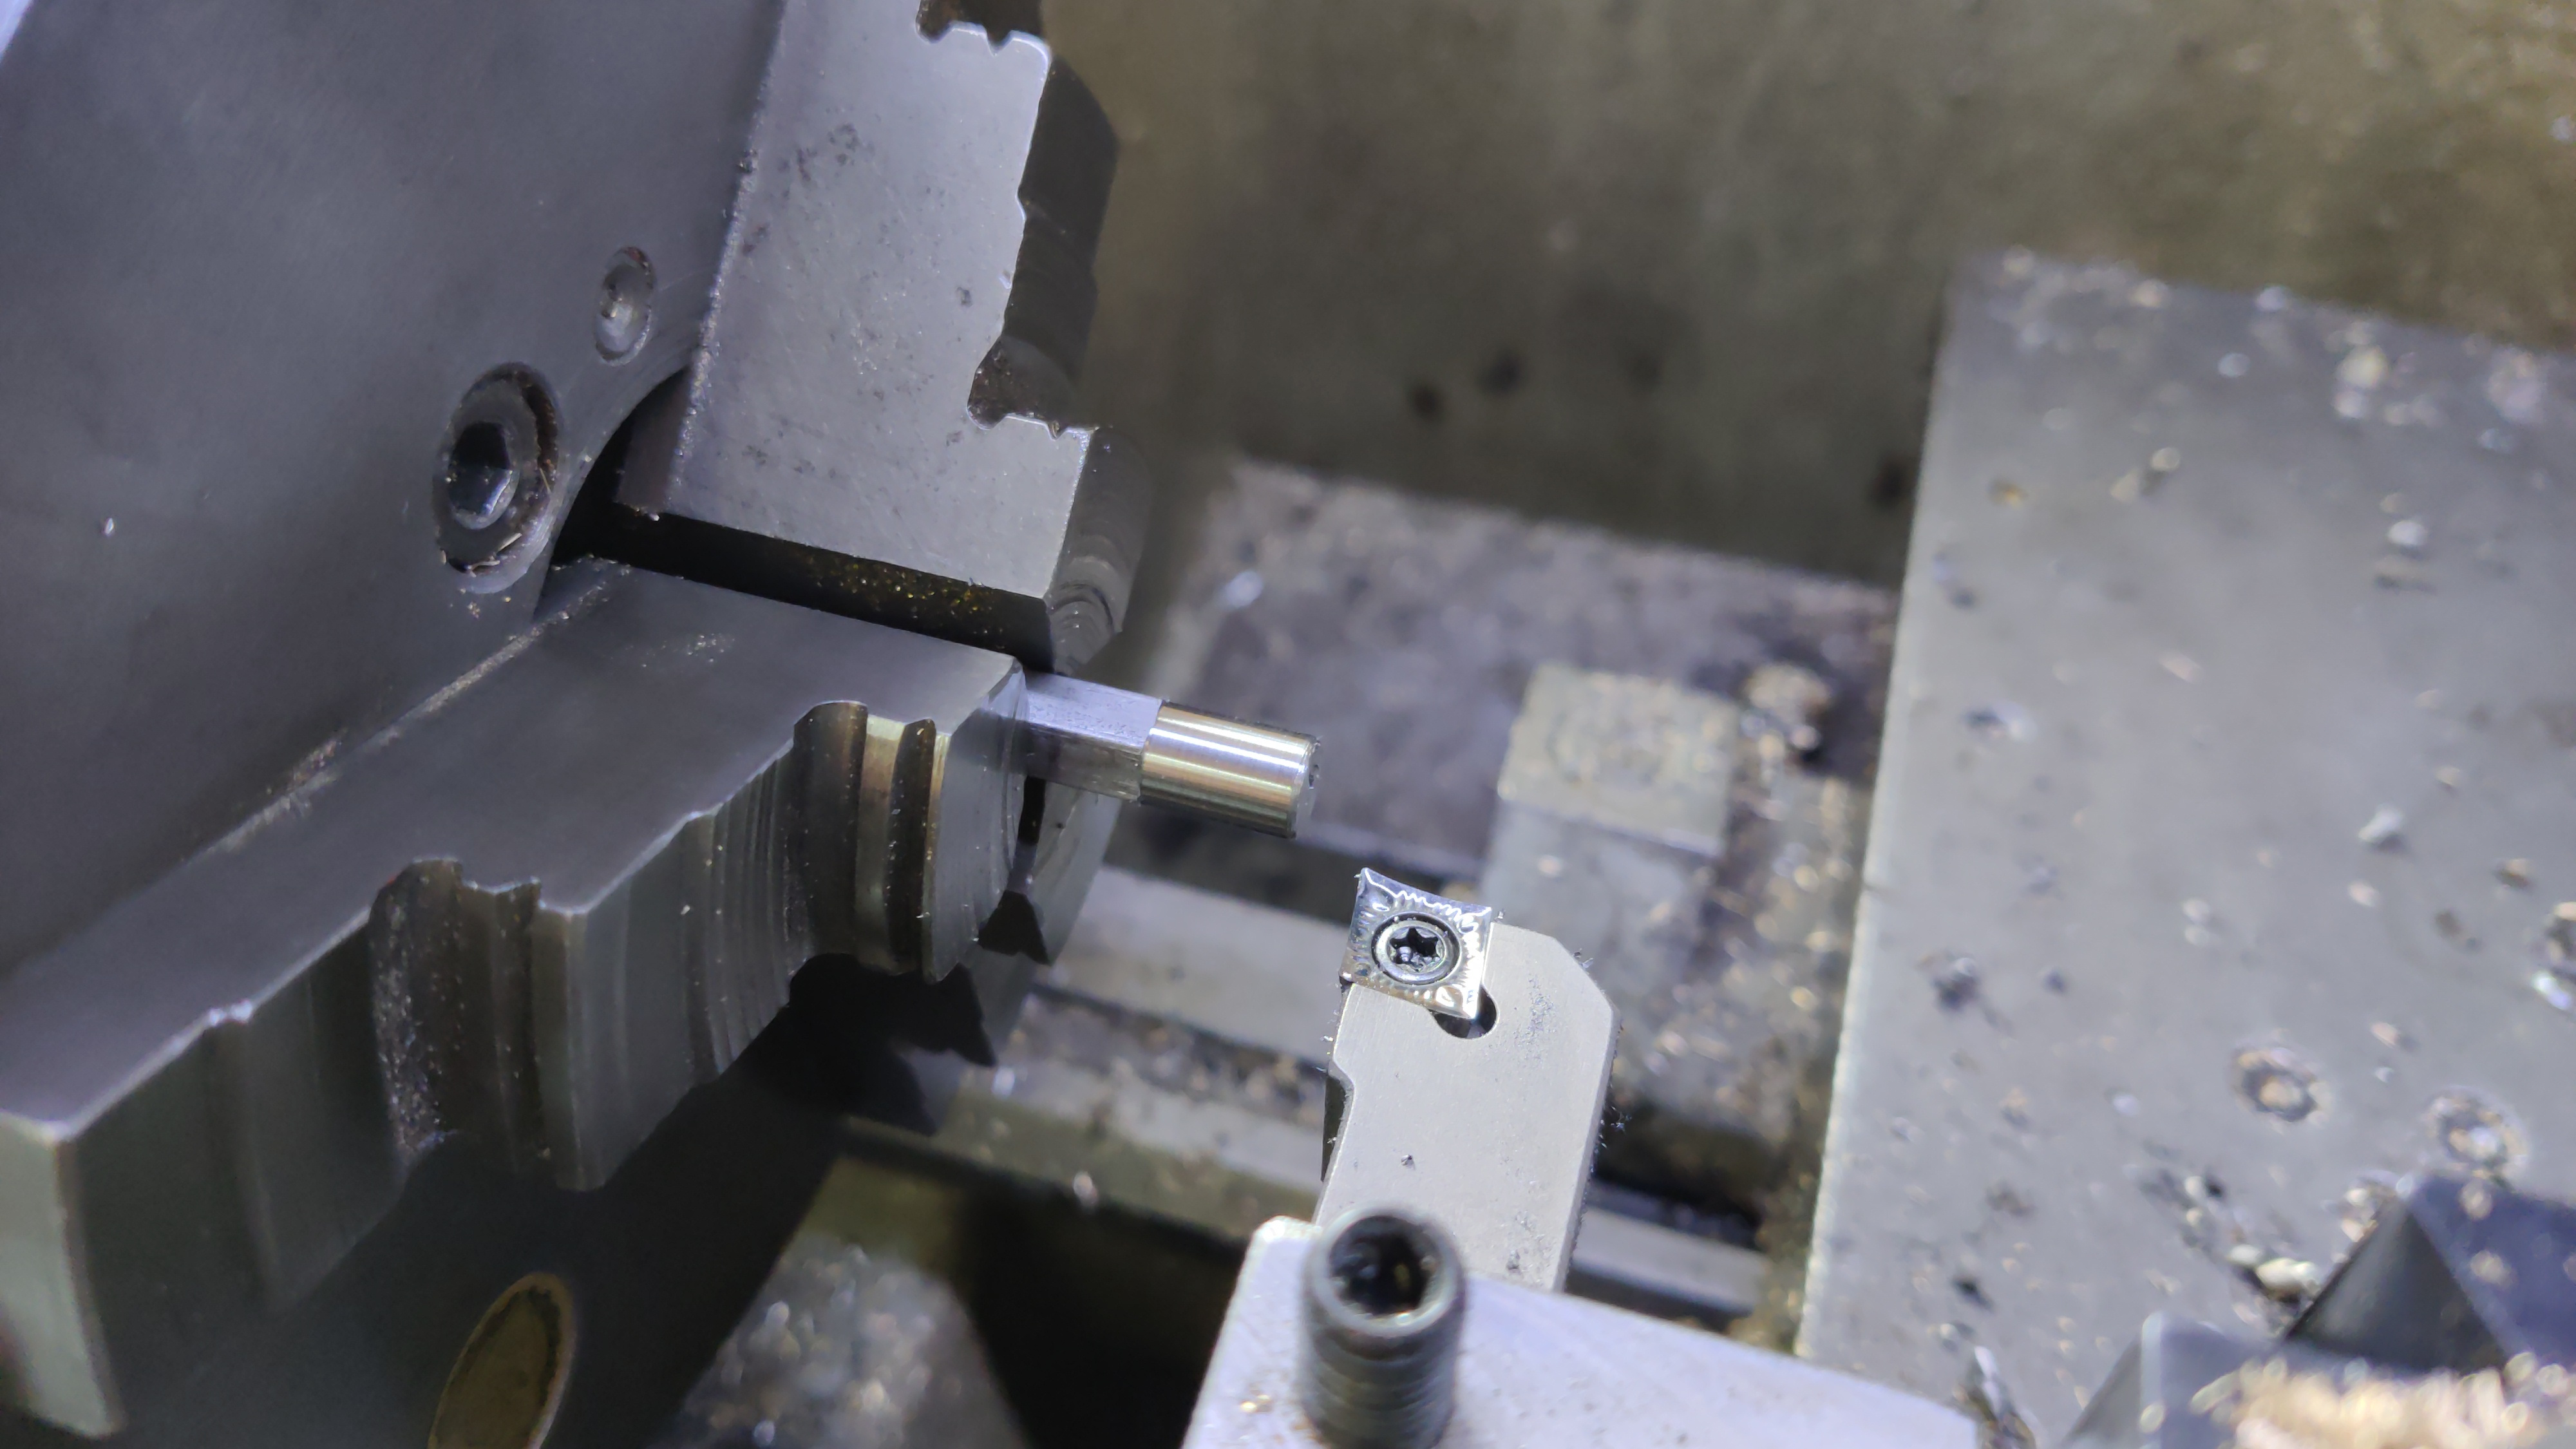
Another outstanding job is to make the knob for what I've been calling the tool rest slide but is apparently known as the banjo. The knob will turn the hex bar that runs through the banjo. I started by modifying the end of the hex bar to have a smooth shank section on the end:
I then grabbed a bit of 16 mm diameter 303 stainless bar and drilled an 8 mm hole, 20 mm deep, then broached it as deep as the rotary broach would go. The 8 mm drill then went back in to clean out the detritus from the broaching operation.
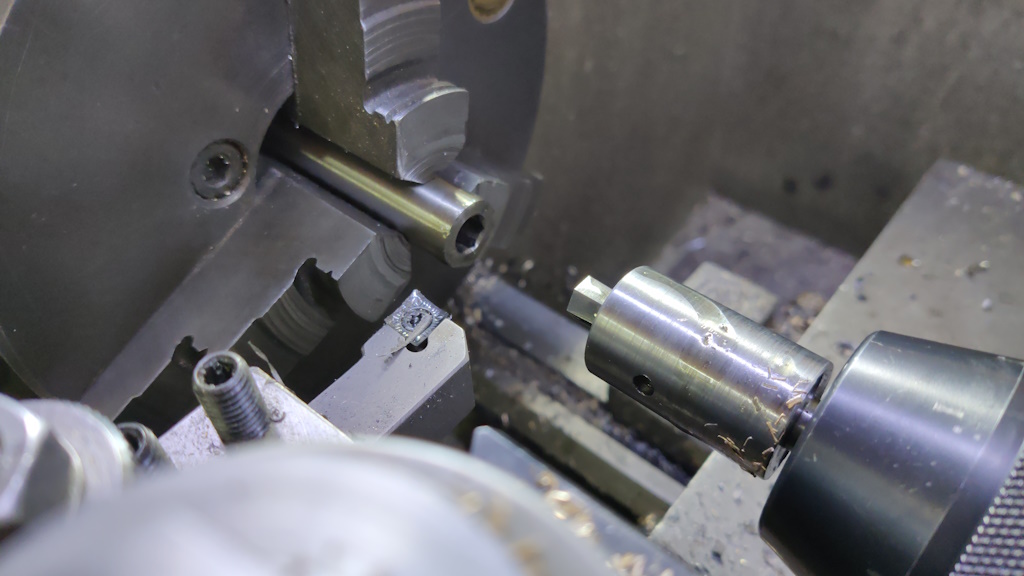
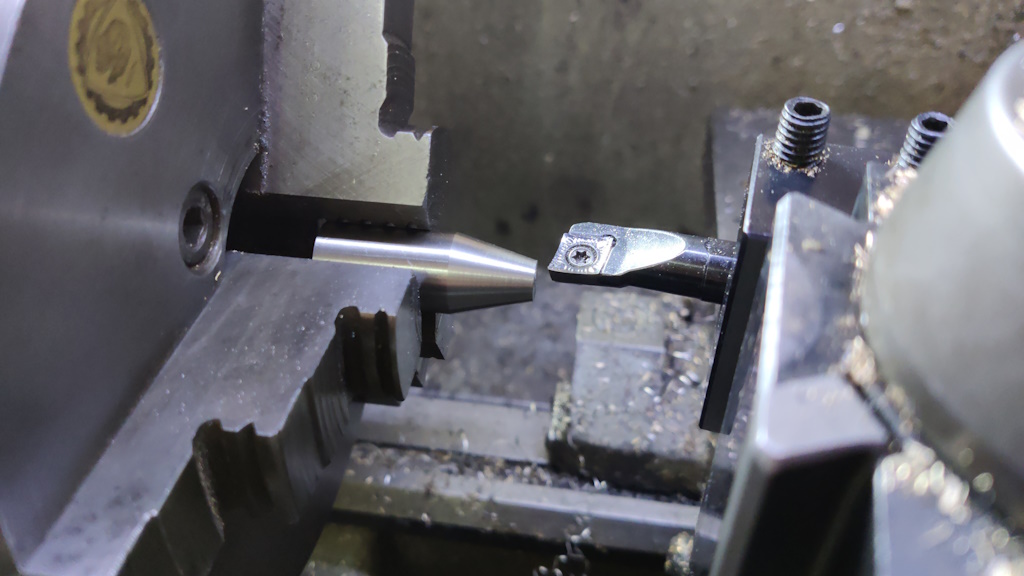
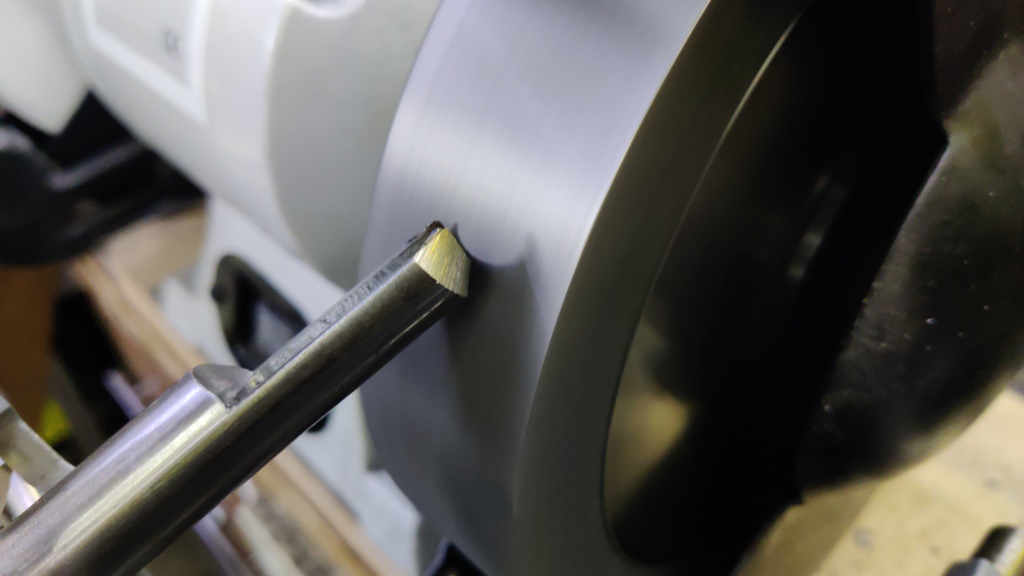
It got flipped around in the chuck and, with the lathe running backwards, I shaped the end:
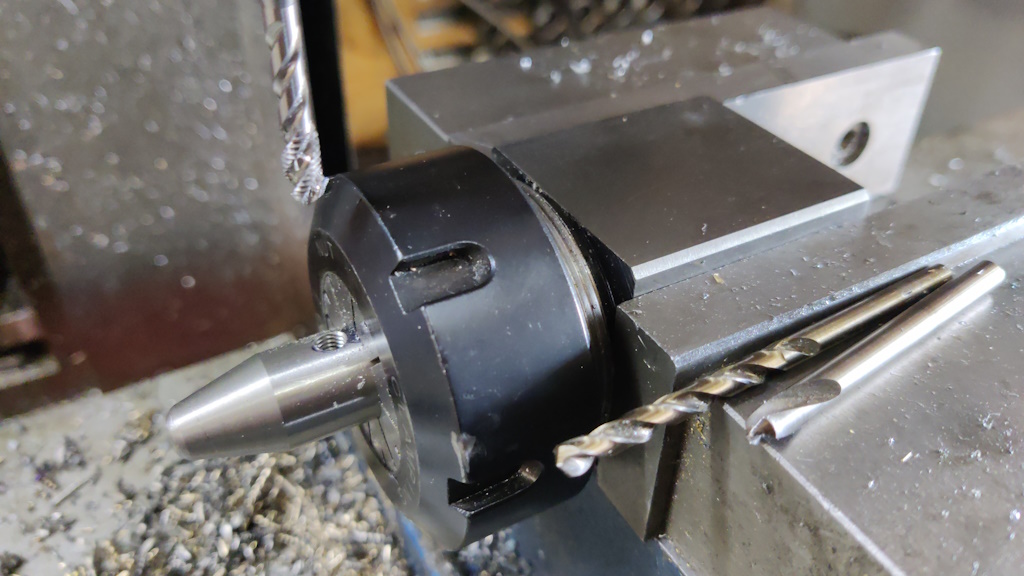
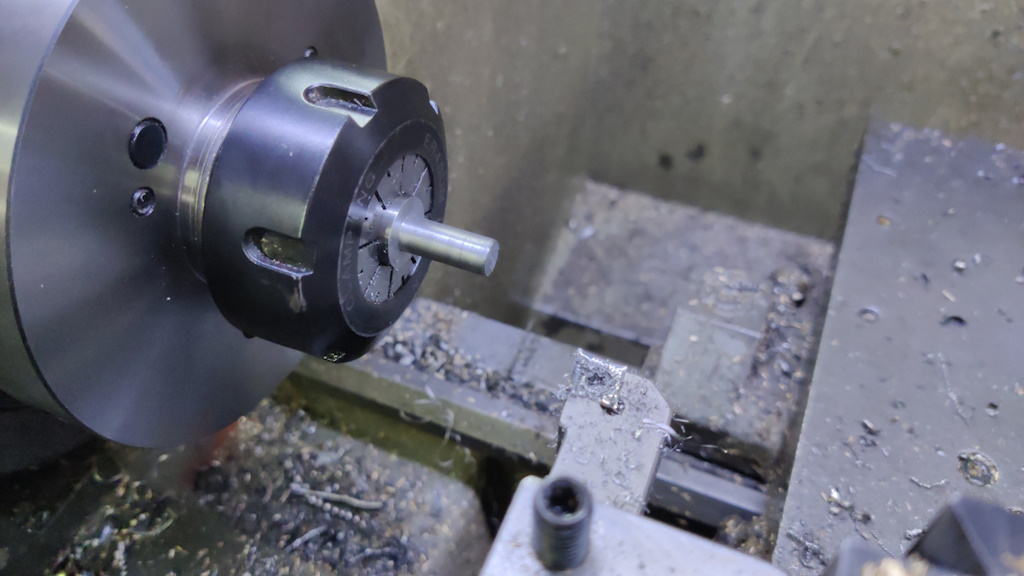
It then went in a collet chuck for a hole to be drilled and tapped for a grub screw:
Finally, the collet block was tilted up to allow the cross hole to be drilled for the handle:
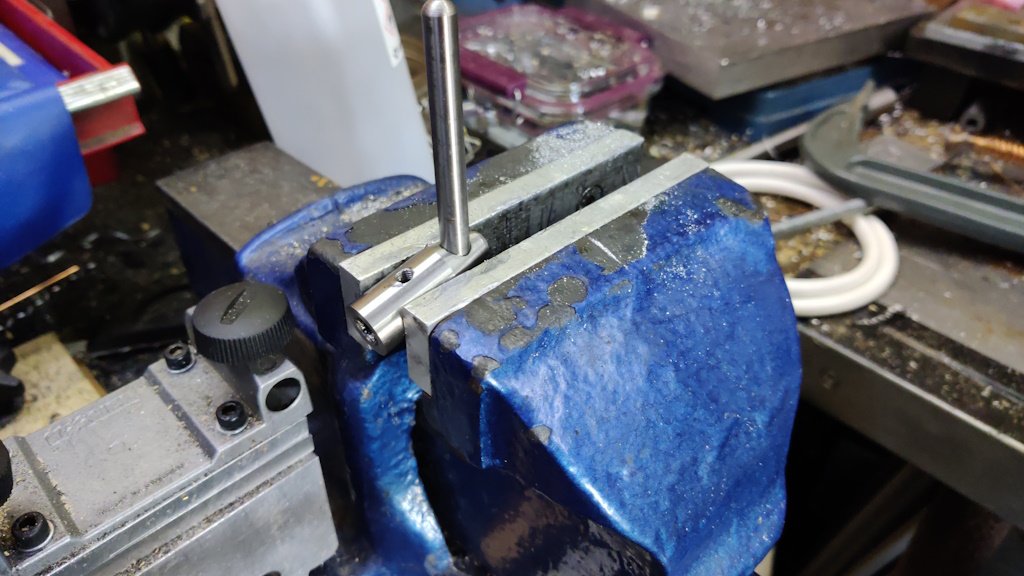
After preparing a handle (by rounding over the end of a bit of 8 mm bar), I glued it in place with Loctite 603:
After leaving it for an hour or so, the glue was still not holding (it usually cures in about 5 minutes). My first suspicion was that I'd made the hole a bit big, so I drilled it out bigger and used a 10 mm handle. That didn't stick either, so I started again and made a completely new handle body (with an 8 mm hole again). I meticulously cleaned everything with acetone and tried gluing again but after an hour it was still quite loose. I'm beginning to suspect it might be the age of my bottle of Loctite 603 (which must be getting on for 10 years old now). I've left it for now: if it hasn't cured by the morning, I'll probably just cheat and weld the two bits together!
Next up is another job that's firmly on the "arguably pointless" pile: making a spindle gouge so that I can turn something with the lathe once it is finished. I say this is pointless as I'm intending to buy some HSS lathe tools very soon and at that point it's unlikely I'll ever use the home-made one again. However, in the spirit of "try to make everything and buy nothing", I felt I ought to give it a shot.
What makes it slightly more difficult is that I've never held a spindle gouge in my life and it's difficult to be confident of the geometry based on photos online!
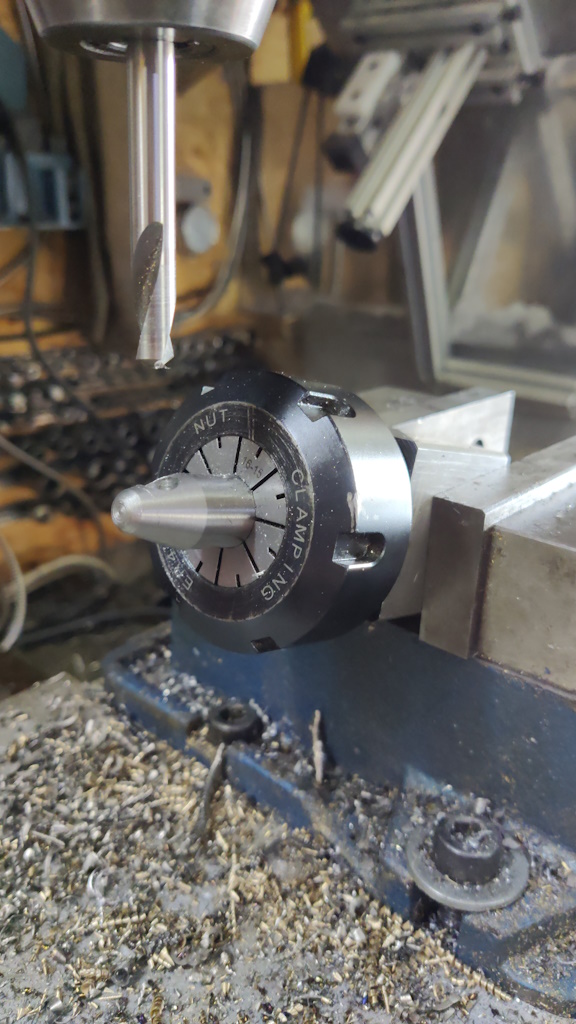
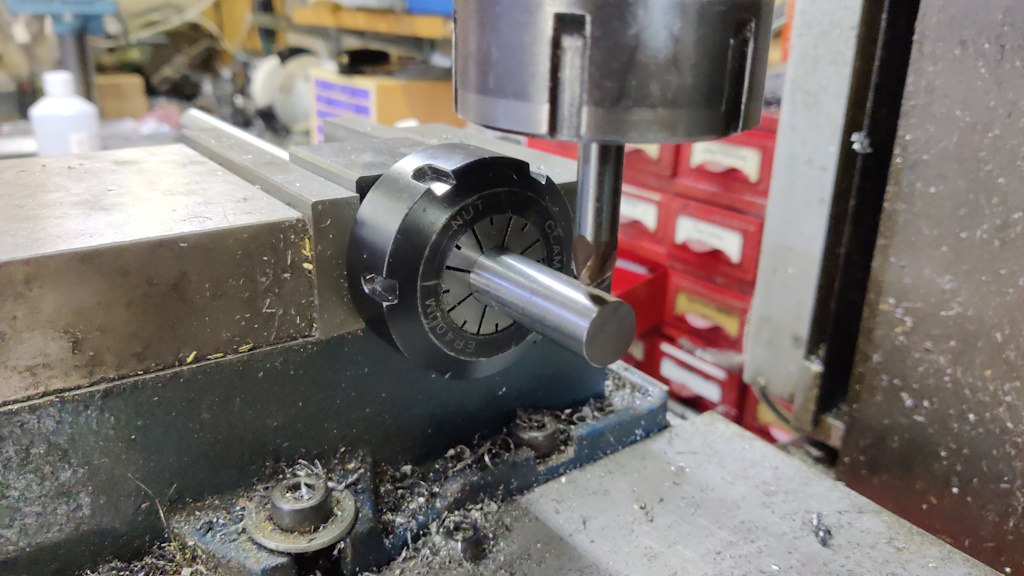
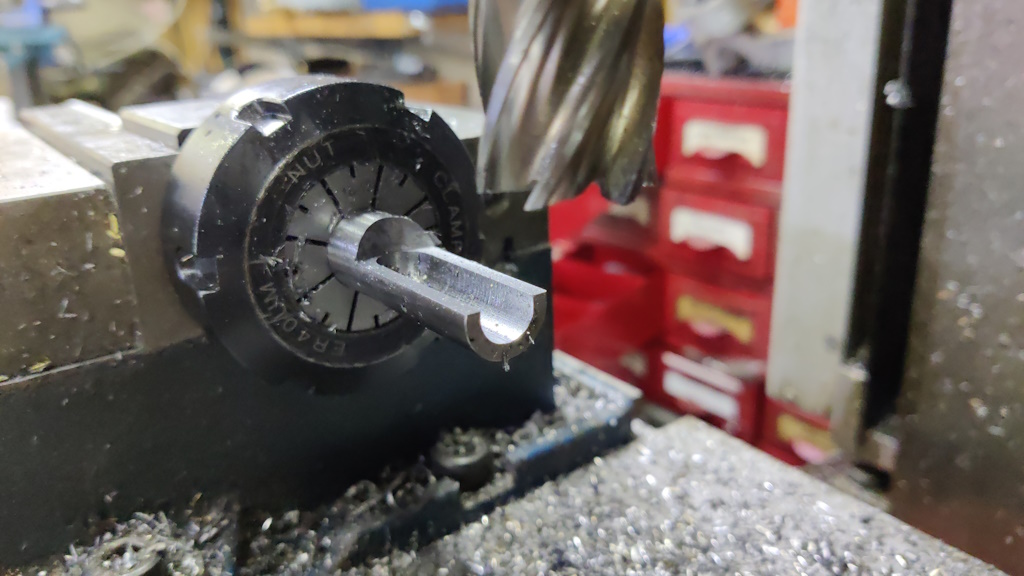
I started with a bit of 16 mm silver steel. I've got a 10 mm double-ended ball-end end mill. I've honestly no idea where it came from (I guess I bought it at a show at some point) and it has never been used. Now's its chance! The silver steel got held in a collet chuck and the mill spindle aligned with the centre of the bar:
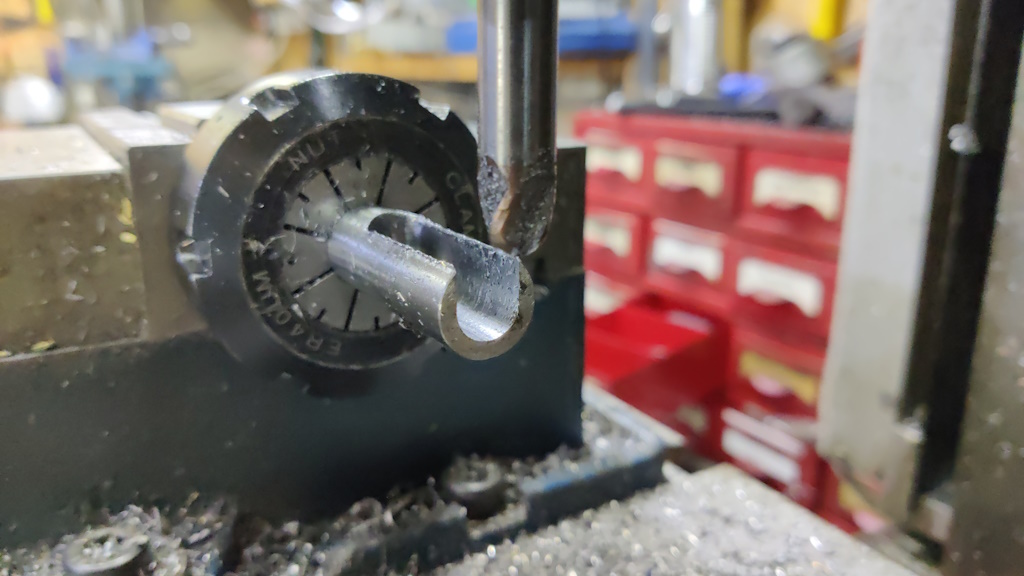
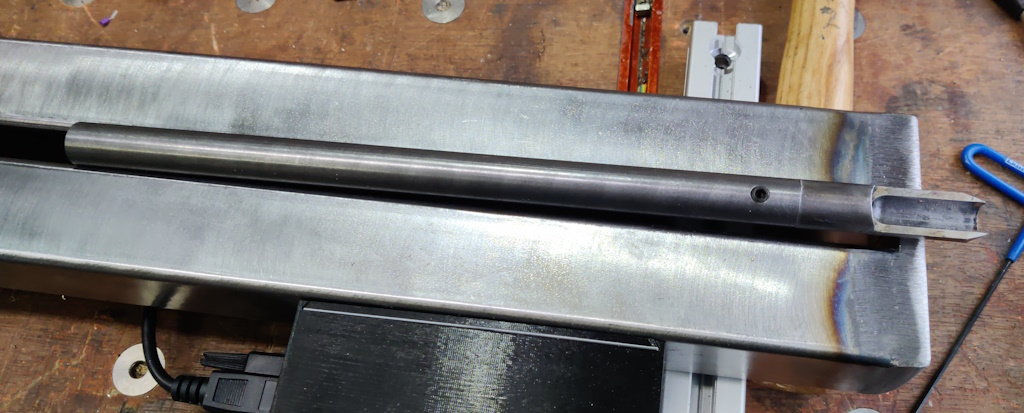
I then gradually milled the silver steel away until I'd reached a depth of 13 mm and hence there was 3 mm material left all the way round the slot:
A big end mill was then used to bring the top surface down a bit and hence remove the sharp edges at the top of the slot:
Rather than waiting until after hardening, I decided to rough out the bevel now. This has the considerable advantage that I could be quite aggressive with the bench grinder as I didn't really care about overheating the edge:
It felt a bit wasteful to use such a long length of 16 mm silver steel on what is essentially a throw-away project, so I decided to cut it down to length and use an extension bar. After cutting it down, I faced the back edge and turned an 8 mm diameter shank on the back:
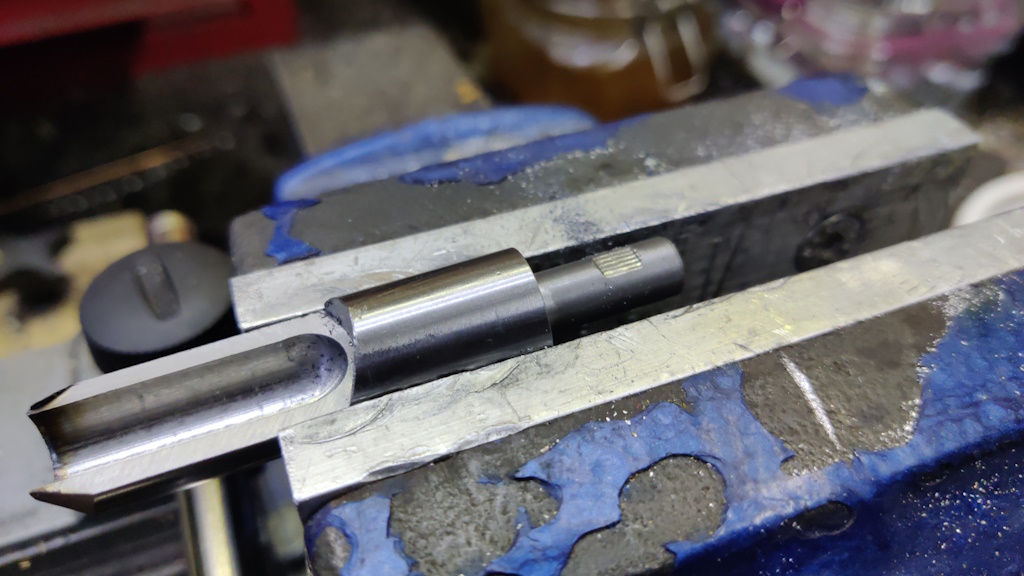
I then filed a flat on the shank:
A bit of 16 mm EN1A was faced off and an 8 mm hole drilled and reamed in the end. The EN1A bar will act as a handle for now.
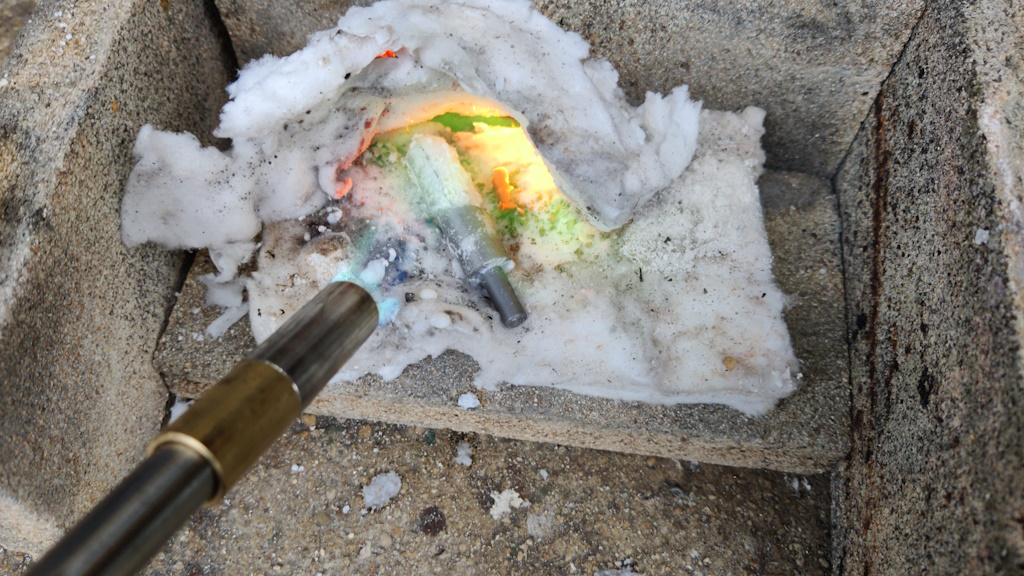
Next up was heat treatment. I covered the part in a mixture of boric acid and methylated spirits. That mixture helps stop scale forming on the piece, which makes clean-up much easier later. It then got attacked with the MAPP gas torch:
Once it was glowing red and wouldn't stick to a magnet, I dunked it in some water and wiggled it round until it stopped fizzing.
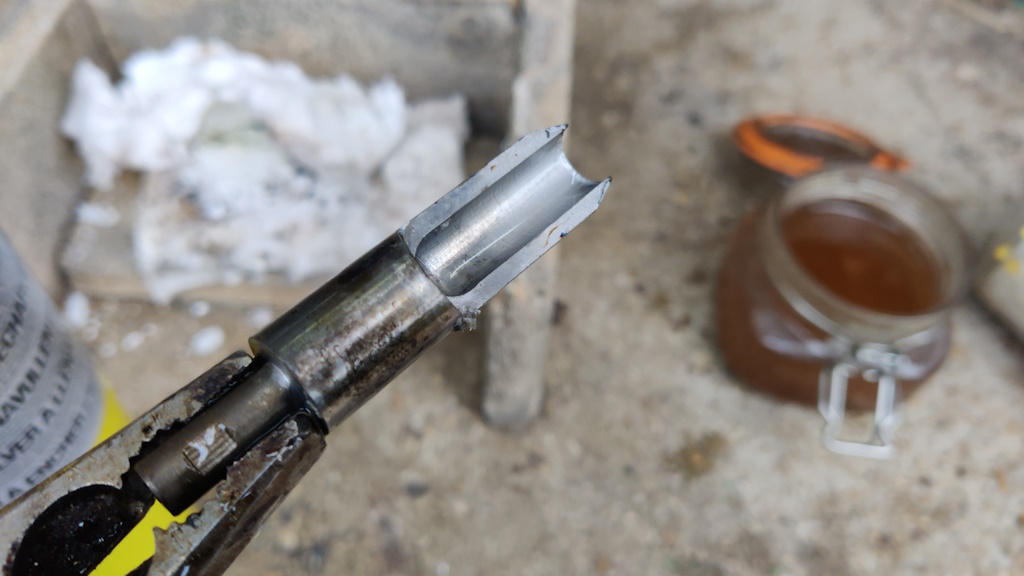
In this photo, you can see the effect of the boric acid, which stayed put in the slot, but didn't stay as effectively on the body:
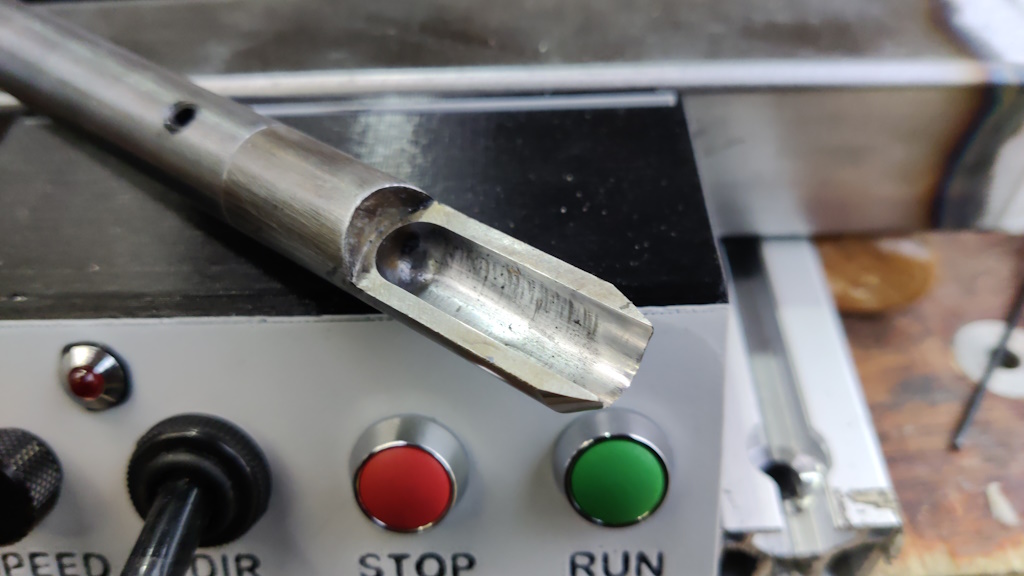
After a quick rub with some 180 grit wet-and-dry, I tempered it with the MAPP torch again. A bit of 10 mm bar was reduced in diameter slightly (about 9.75 mm at a guess) and wrapped with wet-and-dry paper. That was used to clean up the slot, working up through the grits until I got bored.
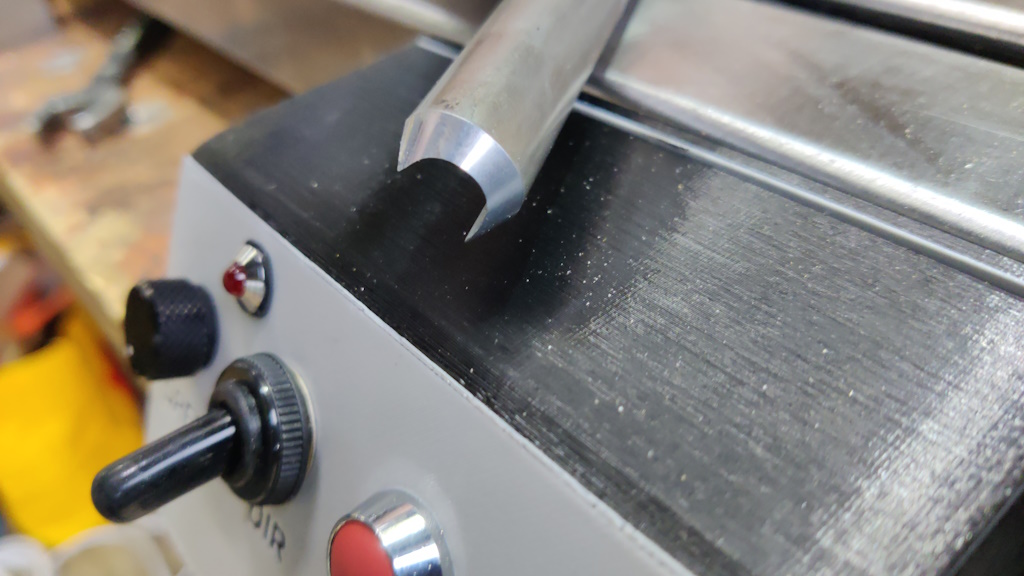
Finally, I sharpened the bevel and gave it a hone and I think it's ready for use:
This photo shows the full tool: not the most ergonomic of handles, but hopefully it'll do the job for the limited use I expect this to get:
Page 29 of 43
This website is free and ad-free, but costs me money to run. If you'd like to support this site, please consider making a small donation or sending me a message to let me know what you liked or found useful.

 Return to main project page