Woodturning Lathe Build Process
Page 36 of 43
Posted 1st April 2024
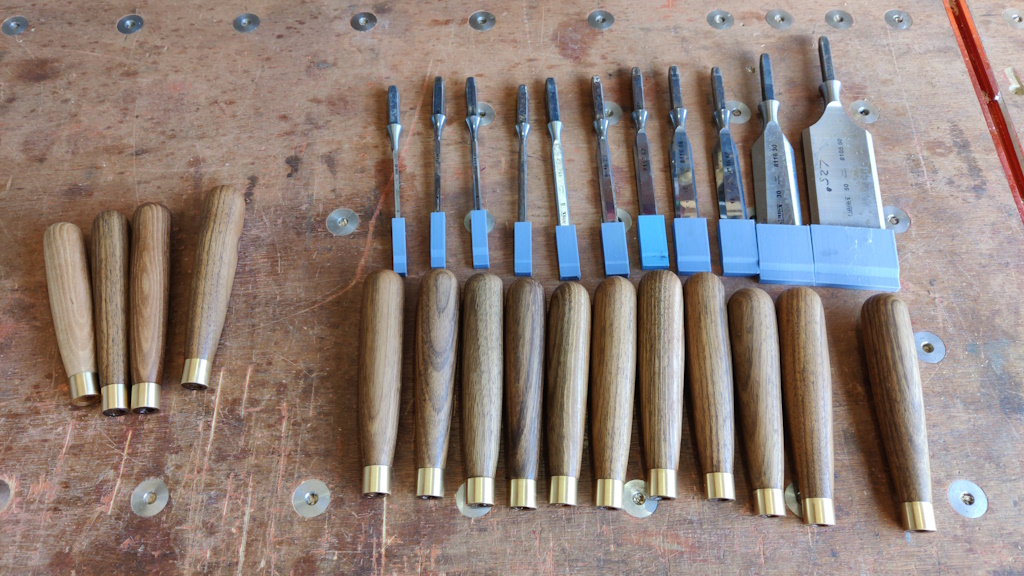
The first job this morning was to finish off the chisel handles. They've had two coats of Mike's Magic Mix and I decided that was enough for now. I can always add more coats later if necessary. I took the old handles off the chisels and lined them up with their new handles:
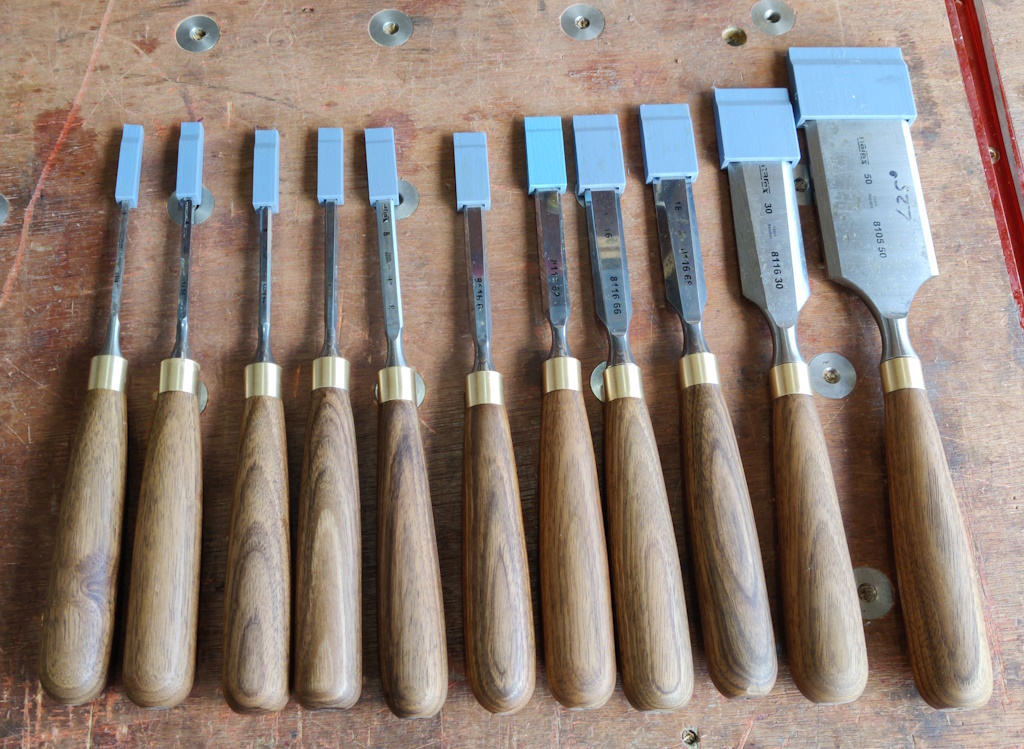
Then it was just a case of fitting them:
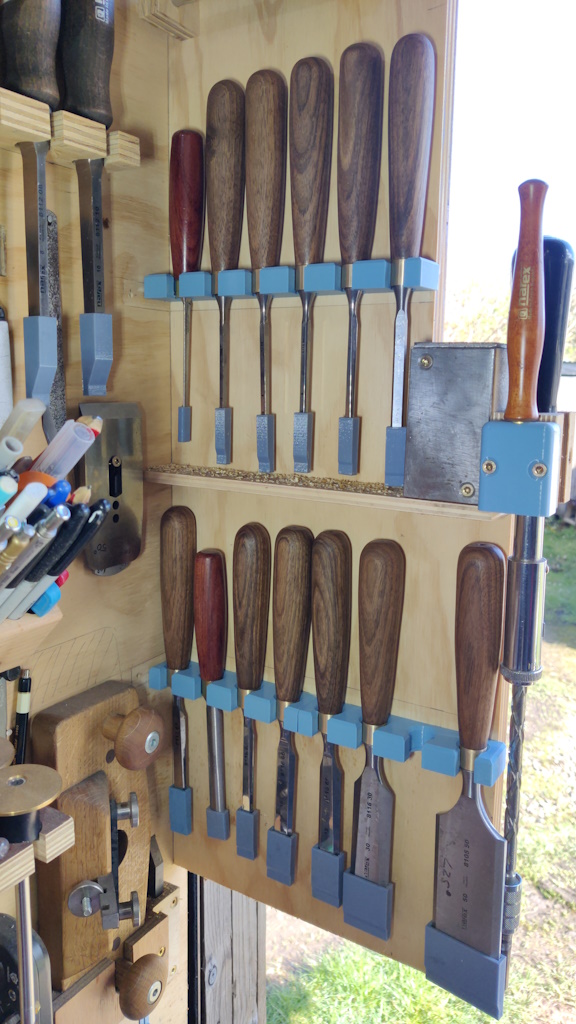
The new ferrules are a different diameter to the old ones, so I also had to make a new storage rack, but the 3D printer did most of the work there.
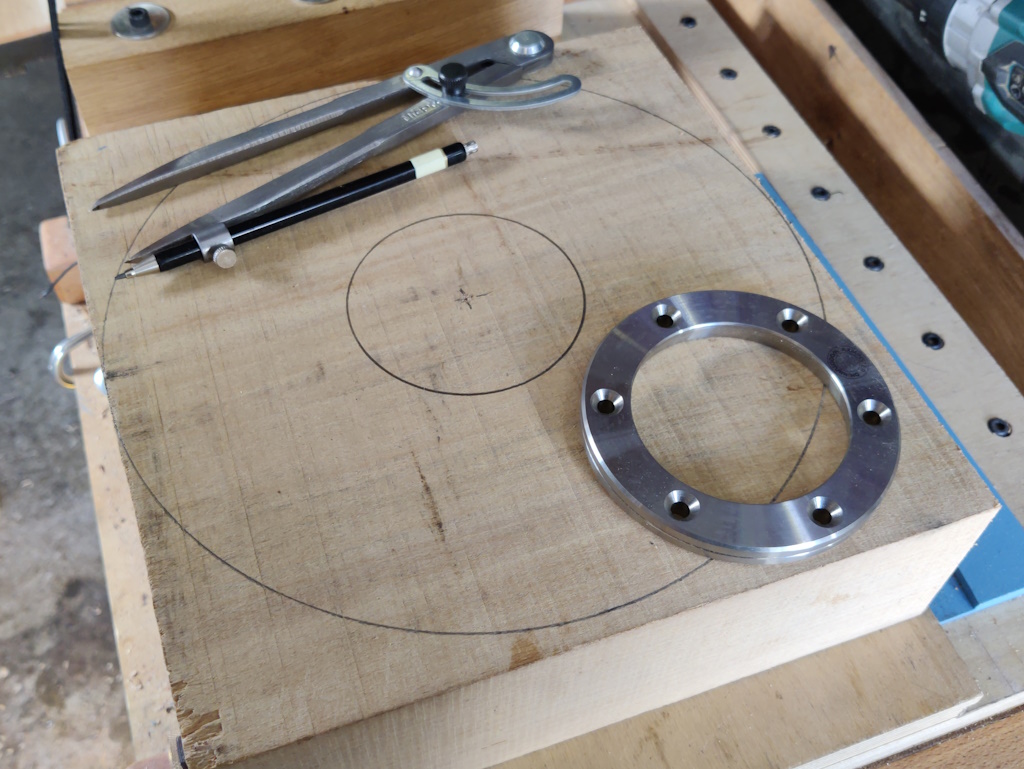
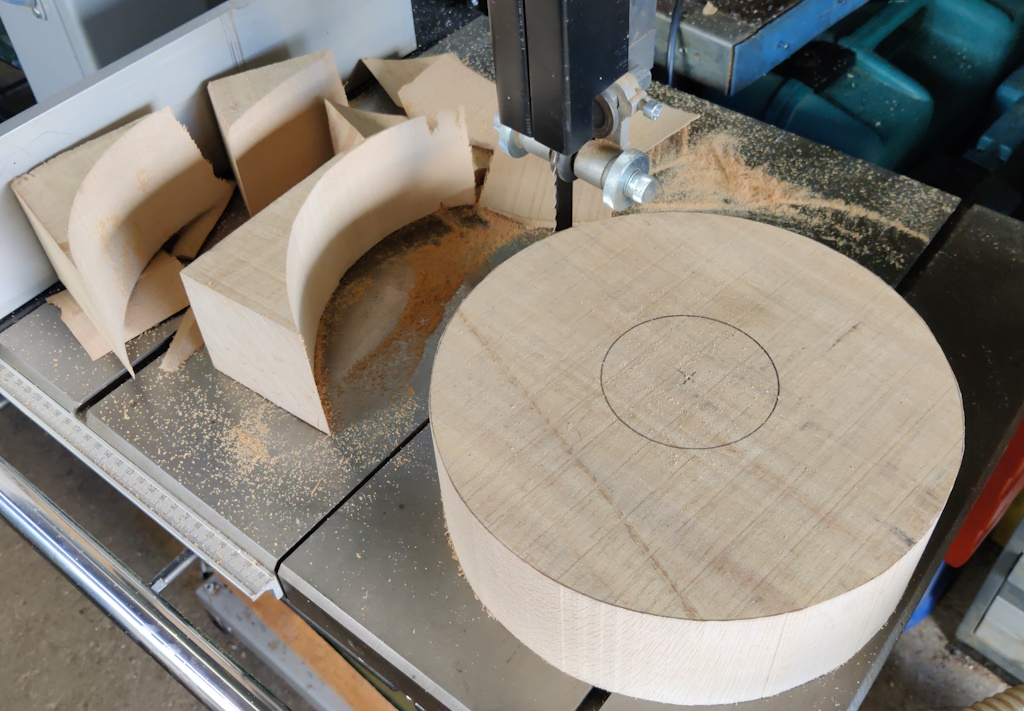
I said only yesterday that I couldn't see me making many more bowls. That's still true, but I wanted to "test the envelope" of the lathe, so I decided to have a go at making a much larger bowl. I started by sawing the end off a large (260 mm wide and 75 mm thick) piece of beech that I had ferreted away. I then drew a couple of circles on the face, one 250 mm diameter and one 84 mm diameter (the latter was chosen to match the faceplate thing I'm going to use to mount it):
The bandsaw then got used to cut as close as possible to the outside circle. The centre height of the lathe is about 128 mm, so the absolute maximum diameter workpiece would be 256 mm. With a 250 mm blank, it has to be very close to circular before I mount it on the lathe or the corners will hit the bed.
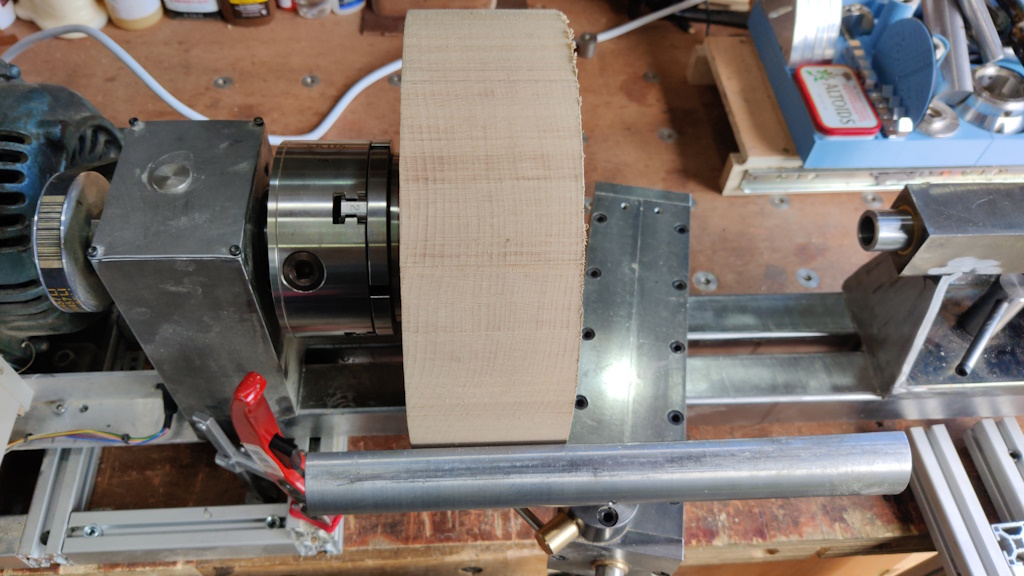
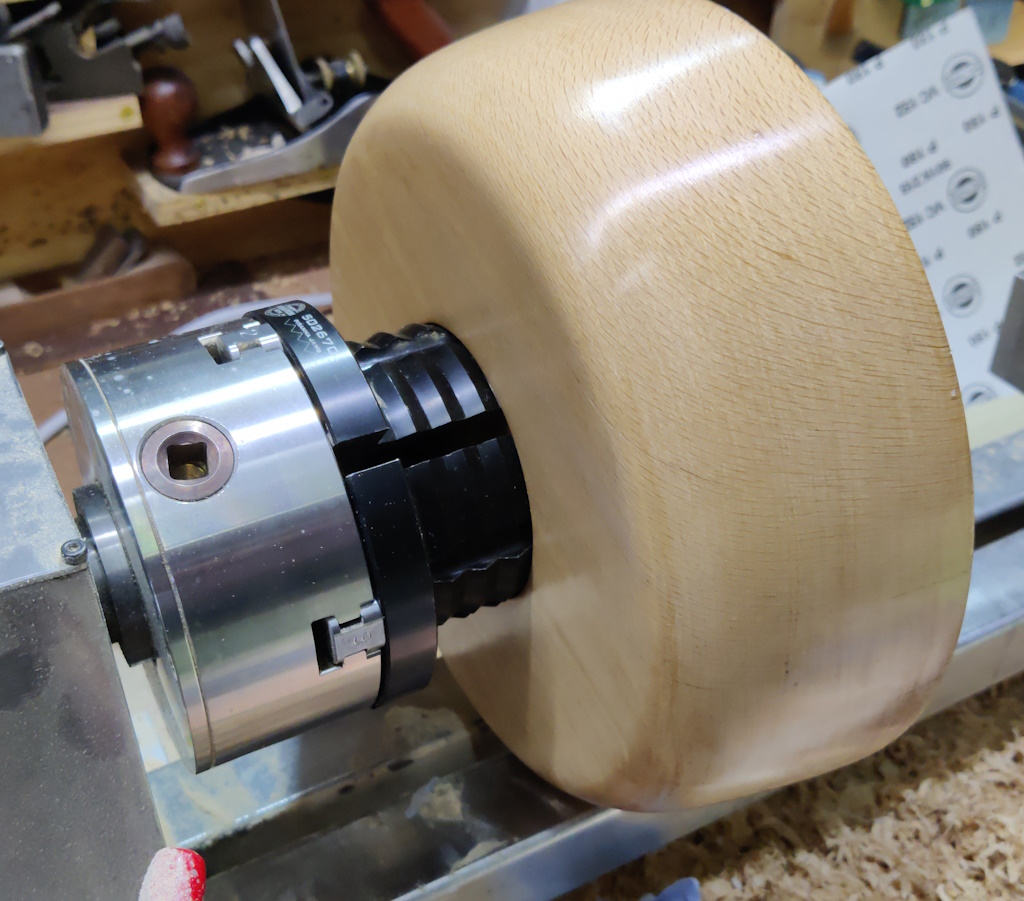
After drilling some pilot holes in the face, I screwed the faceplate to the beech blank with some 5 mm × 50 mm wood screws and mounted it in the chuck jaws:
There's a couple of millimetres of clearance under the blank, but that's it:
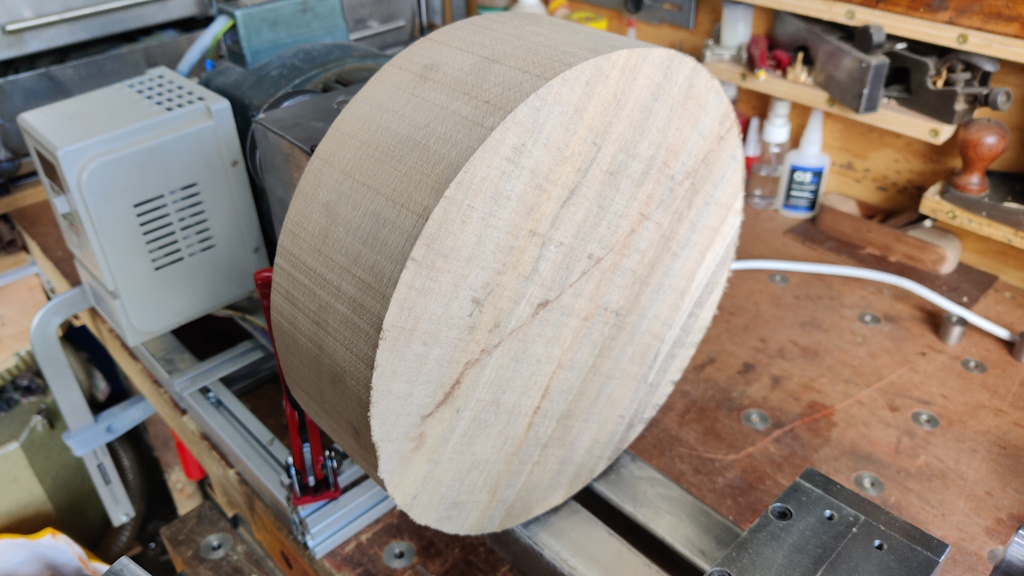
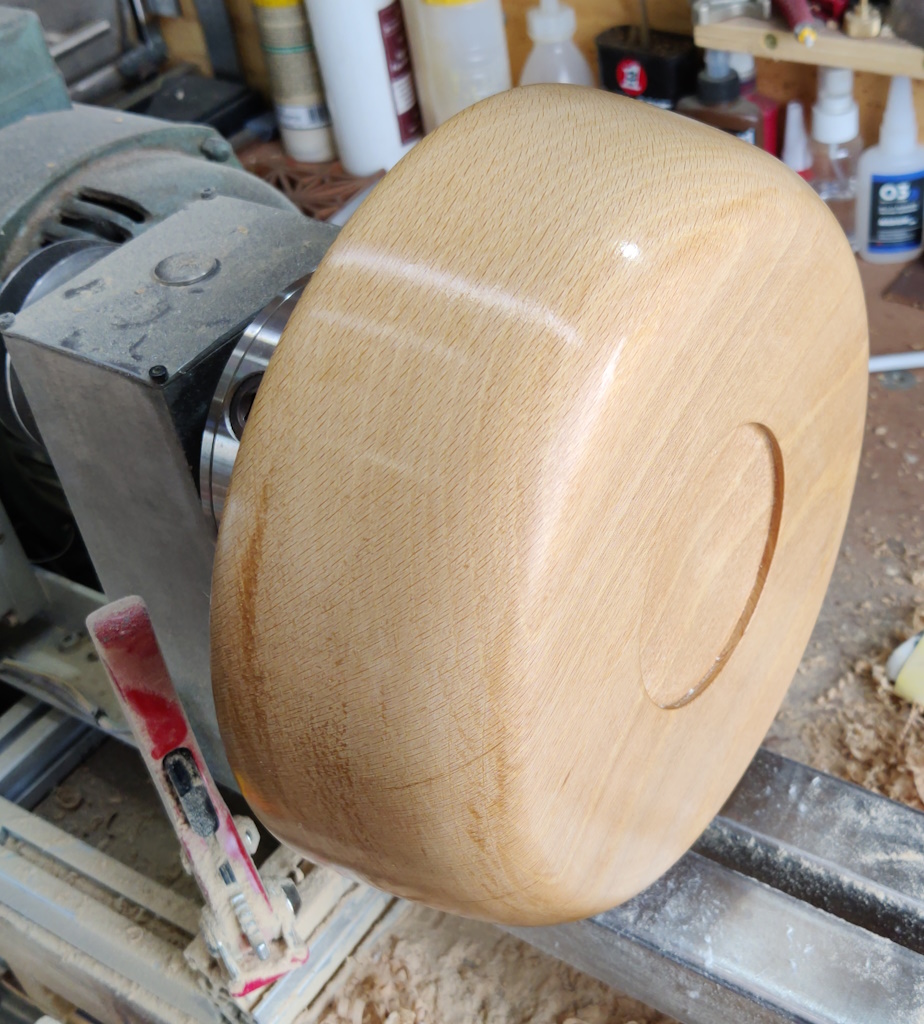
Turning the outside proceeded relatively smoothly. The (1.1 kW) motor has loads of power so there were no issues there. I still had a few catches with the bowl gouge and I ended up doing quite a lot of scraping (and then loads of sanding) to clean it up, but it came out okay all things considered:
After a coat of sanding sealer and some beeswax...
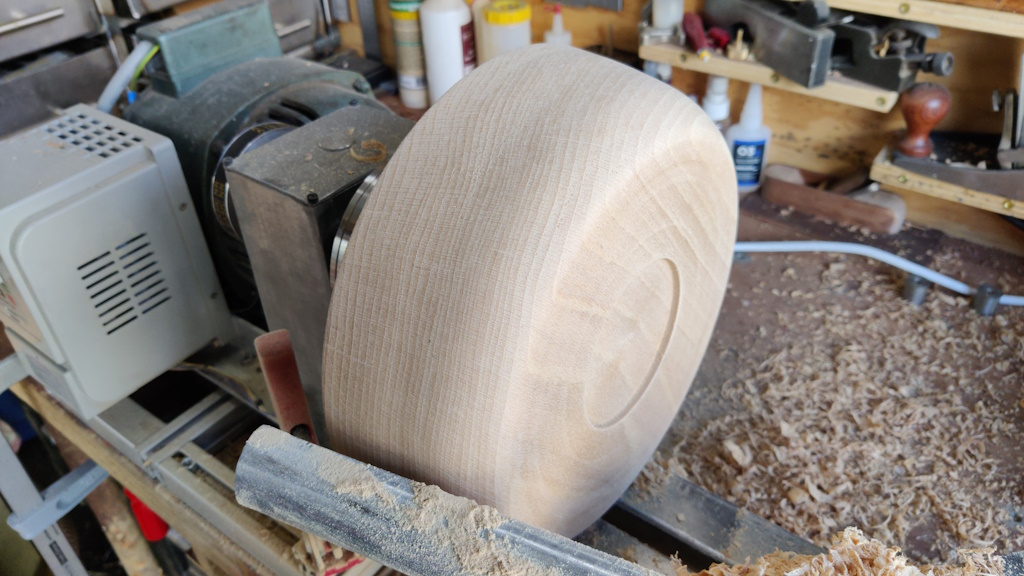
...it was time to turn it round and mount it using the dovetailed pocket I'd turned in the base:
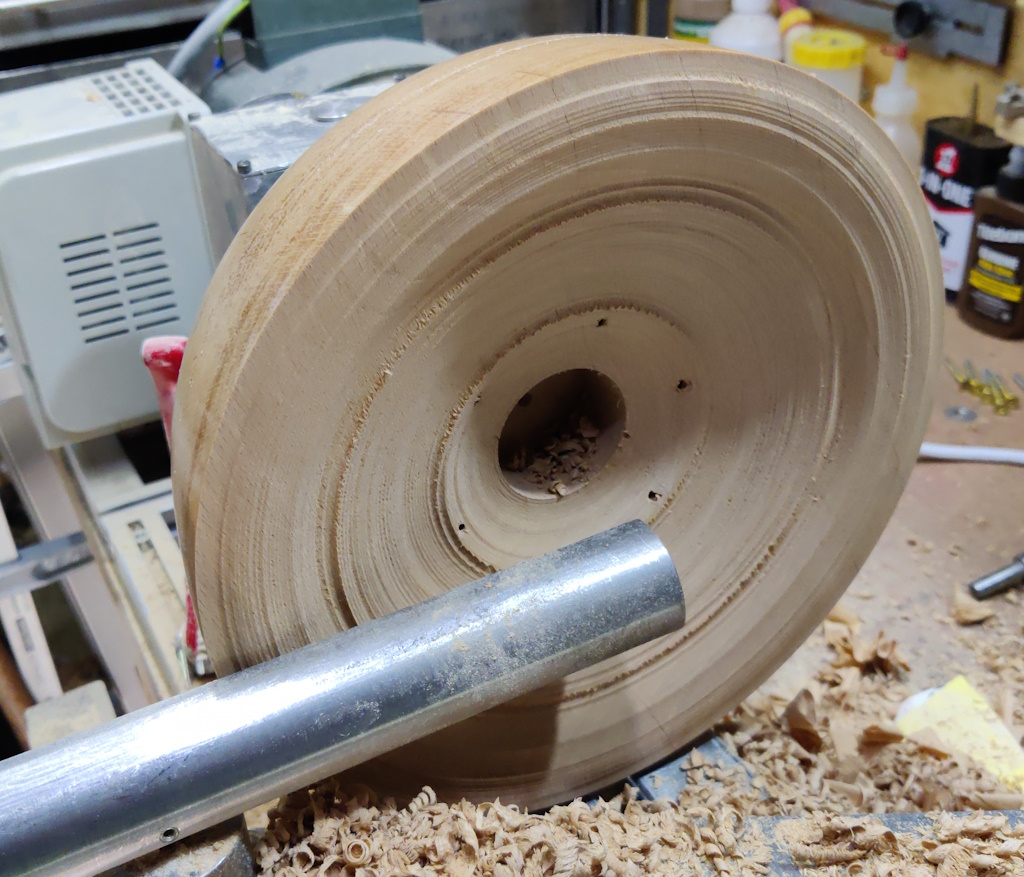
To make hollowing a bit easier, I started by putting a 45 mm Forstner bit in the drill chuck and plunging it in. I then used the bowl gouge to cover myself and everything else in beech shavings. In progress:
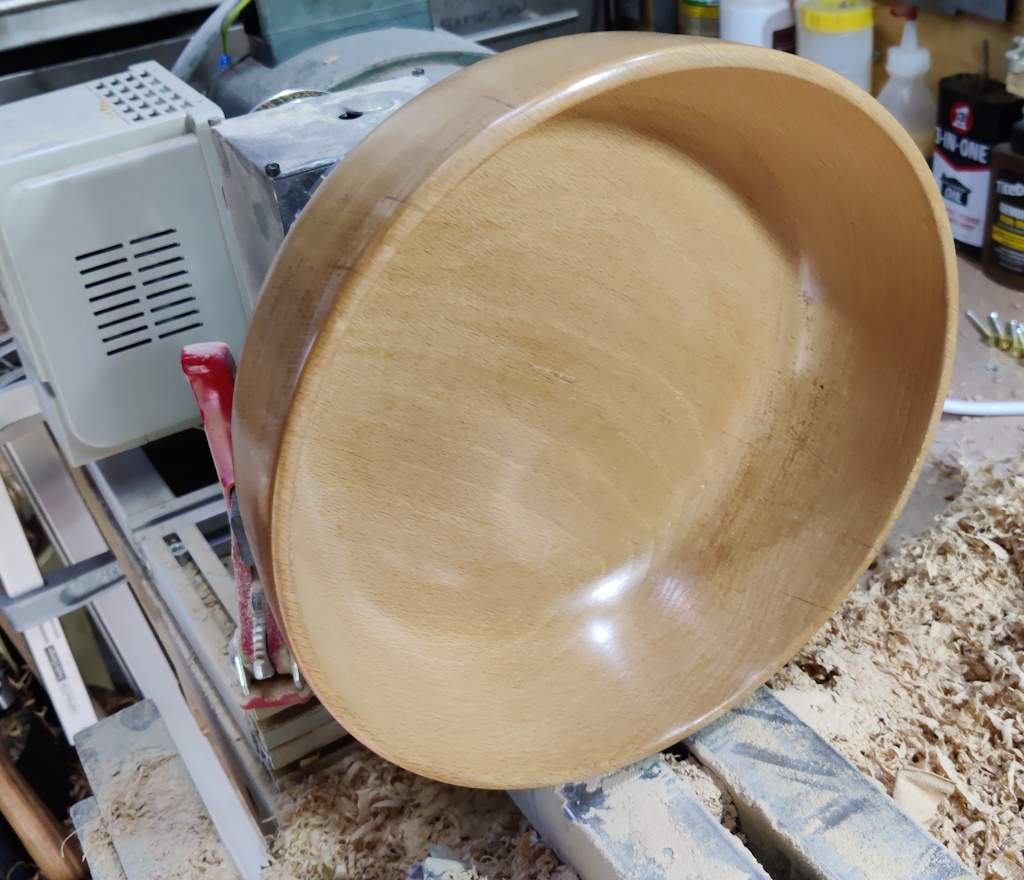
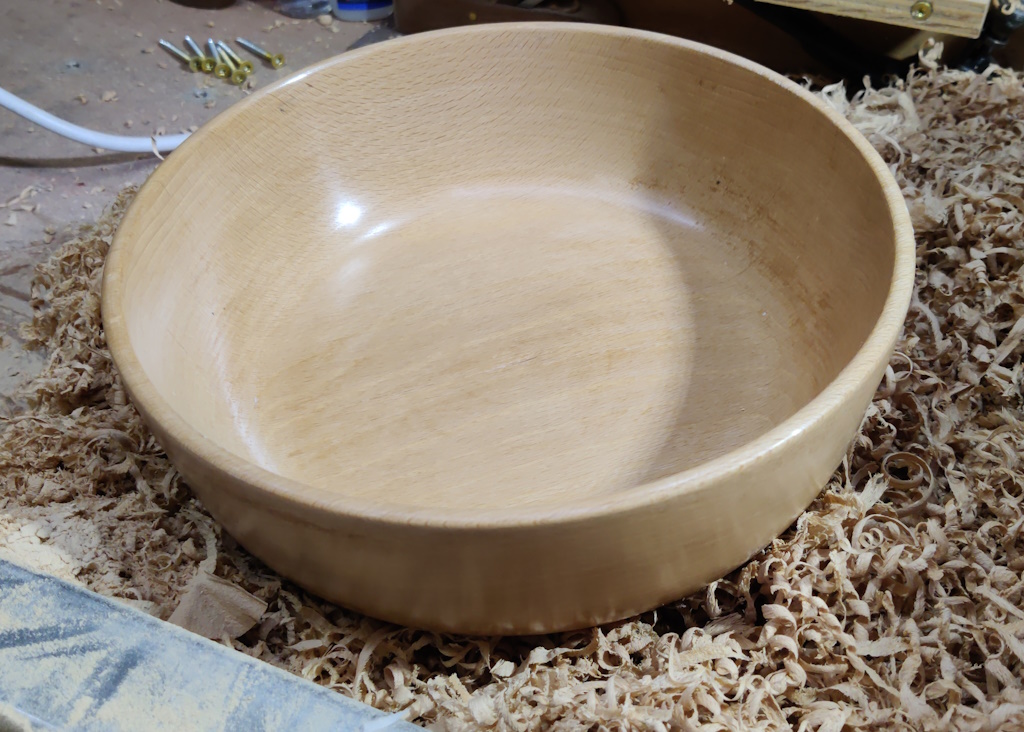
Once again, the final shape had a lot of scraping and then loads of sanding done. I probably could have kept going for much longer, but I was getting thoroughly bored of sanding and decided I'd had enough. The finished bowl still mounted on the lathe:
The final photo shows it lying on a bed of its entrails!
Page 36 of 43
This website is free and ad-free, but costs me money to run. If you'd like to support this site, please consider making a small donation or sending me a message to let me know what you liked or found useful.

 Return to main project page