Woodturning Lathe Build Process
Page 38 of 43
Posted 6th April 2024
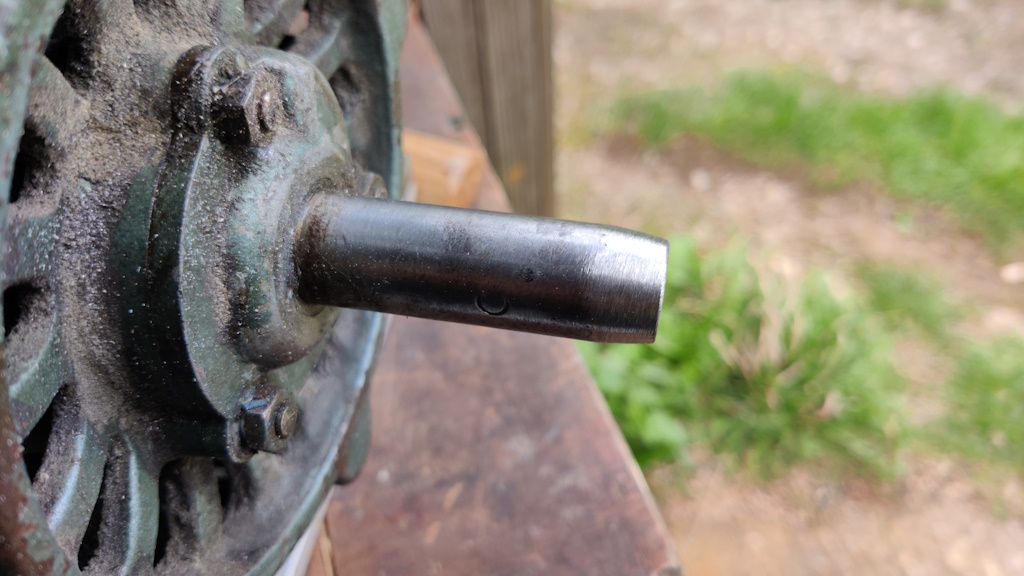
I decided to go with Approach 1: grind the end down a bit and rely on there being enough concentric shaft left after the mangled bit at the end. I started by reassembling the motor (with some fresh grease in the bearings as it seemed sensible while the motor was apart) and then got the motor spinning. A flap disk in the angle grinder applied a slight chamfer thing on the end. Once it got this far, I measured it and couldn't find any area where the diameter was over 19.05 mm, so I stopped:
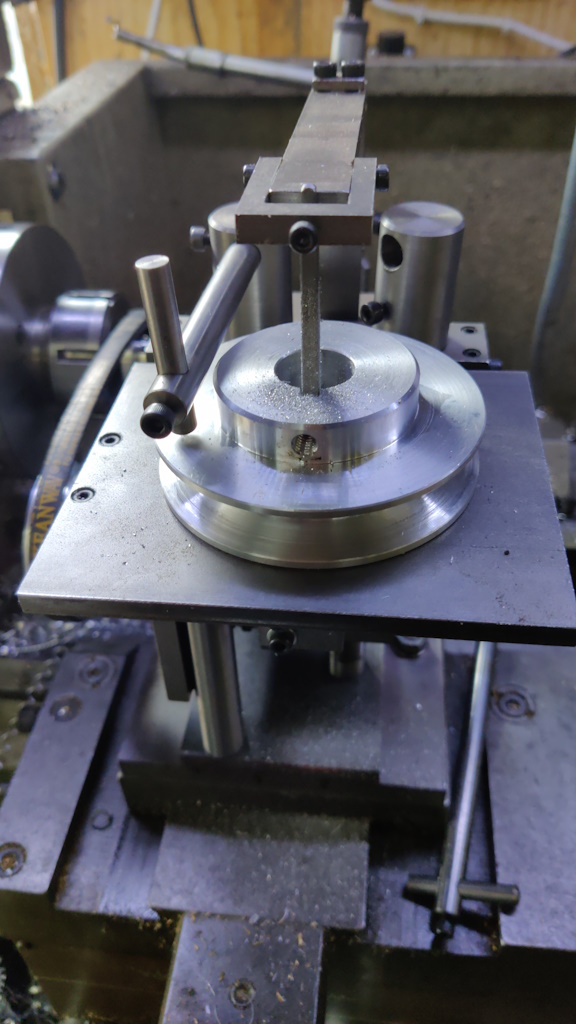
I then had to make a new pulley (as the old one had an oversize bore). That was done in much the same way as the old one, with the only difference being that I used my home-made filing machine (aka die filer) to cut the keyway and that I drilled and tapped a hole for an M6 grub-screw (which was always the intention on the original one, but the original one went on so tightly that it didn't seem worth bothering with):
With that done, I could reassemble the lathe and give it a test spin. I was feeling confident so I decided to spin it up without any clamps holding it down to the bench. It ran smoothly up to speed with no noticeable vibrations and stayed put on the bench. That's much better than it was before. I'll still clamp it down when I'm doing any turning, but it's nice to know it runs well without the clamps. It had seemed okay when I did the first few bits of turning with the lathe, but the vibration had been getting steadily worse. I'd guess that the pulley bore being a bit mashed by the end of the motor shaft meant that it wobbled a bit and that caused wear on the pulley bore, which meant it wobbled a bit more and so on. Hopefully the new pulley will last a lot longer now that the motor is sorted.
Page 38 of 43
This website is free and ad-free, but costs me money to run. If you'd like to support this site, please consider making a small donation or sending me a message to let me know what you liked or found useful.

 Return to main project page
