Heat Treatment Oven Build Process
Page 18 of 35
Posted 3rd January 2025
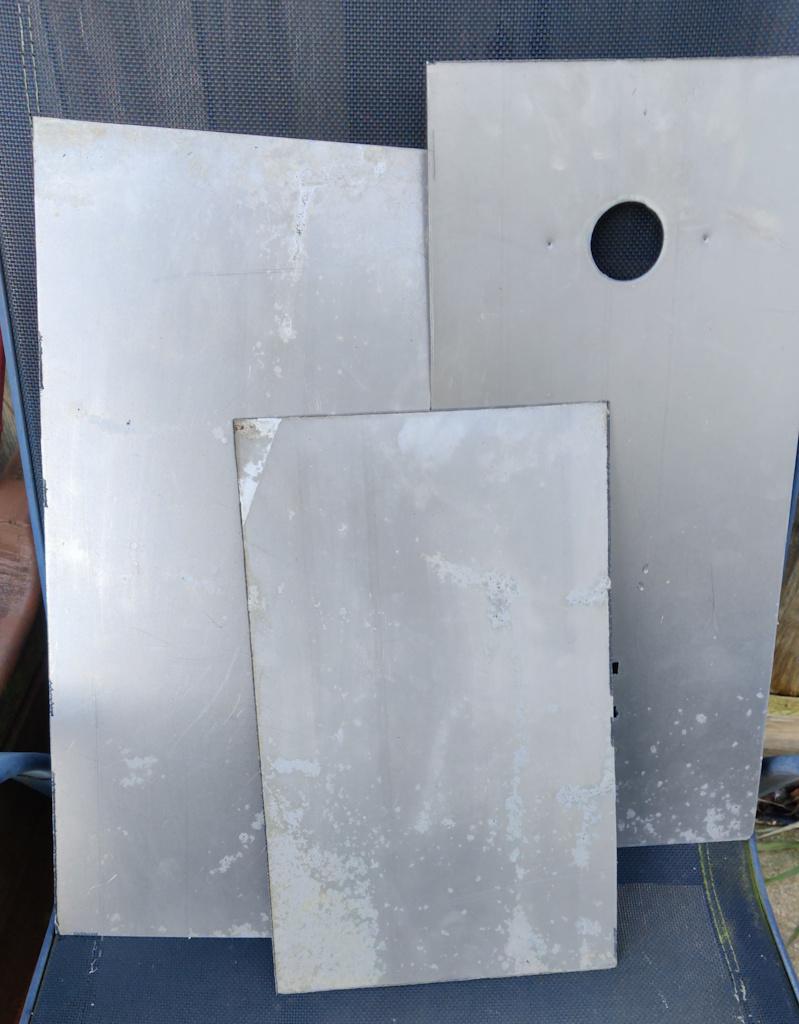
I decided to check the citric bath after lunch and, while the sheets still looked rusty, the rust wiped off with a paper towel, so that was a bit of a result. I think I'd been remembering how long it took to remove mill scale with citric acid; that's a lot thicker than this very light dusting of rust. After wiping with a paper towel, this is what the sheets looked like:
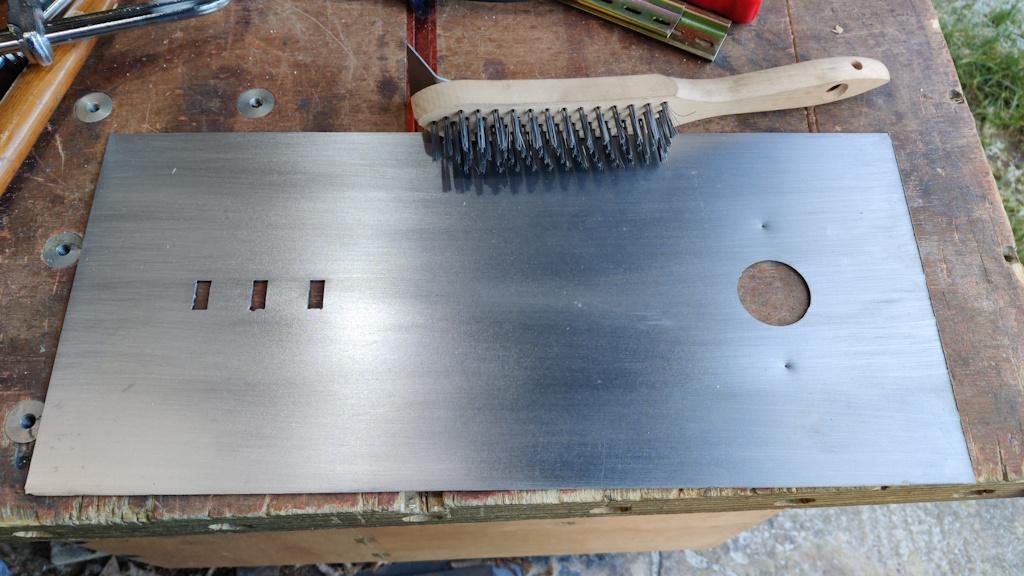
As before, they got an aggressive brushing with a wire brush (which was quite welcome exercise to warm up in the 2°C ambient):
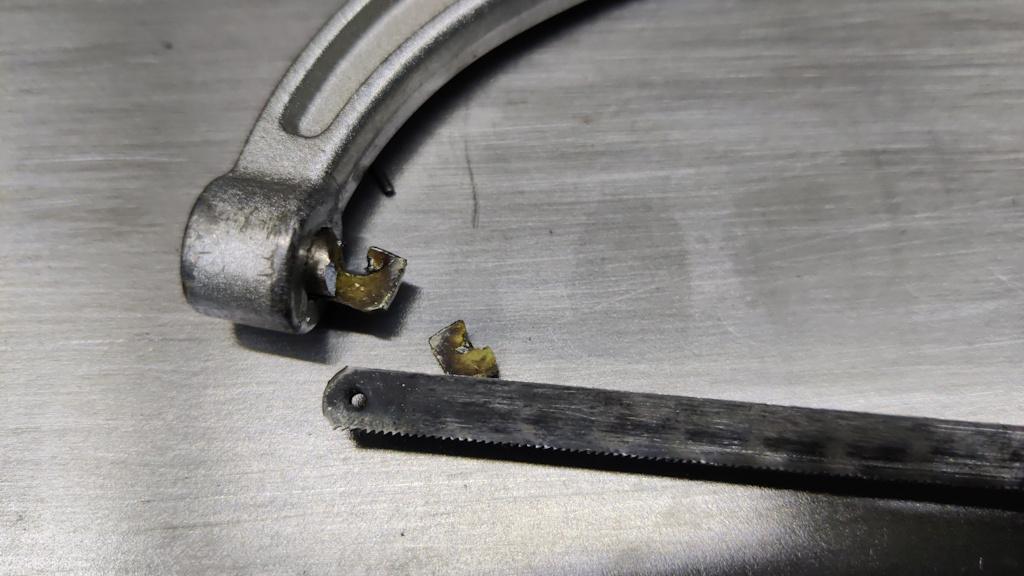
As before, I cut out the corners where necessary, firstly using my junior hacksaw until, sadly, it snapped on the penultimate cut:
I did the last one with the big hacksaw. There was then a lot of tack welding and a lot of cursing. This was probably some of my worst welding ever: I'd left a gap between the sheets so that I could weld them to the angle iron. I should have left a much, much bigger gap as trying to weld them to the angle iron without melting the neighbouring sheet proved to be extremely difficult, especially given that the frame was getting more and more closed up as a result of all the sheets on the sides!
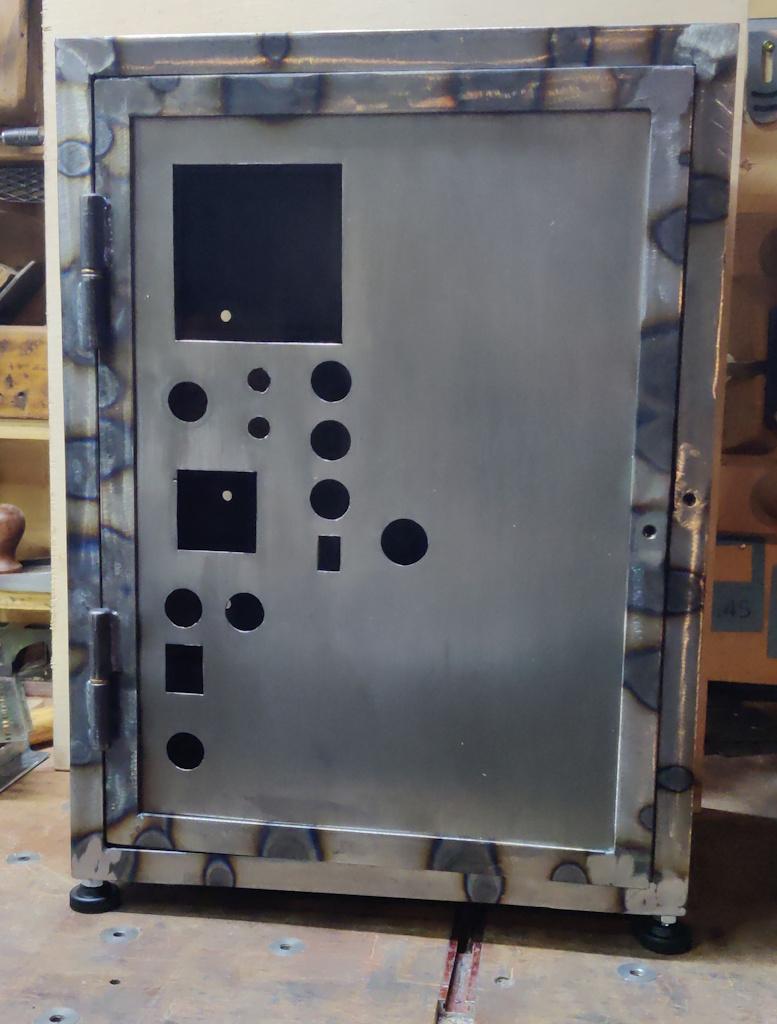
Anyway, I got it done (no photos of the process) and also fitted another M6 weld nut into the door (for the other part of the latch). I don't think there's any more welding to do on the control cabinet now, so I could fit the (cheap and a bit nasty, but they'll do) feet into the threaded holes in the bottom.
There are still some more holes to drill in the two sides, but some of those need a bit of thinking about locations so I'll probably do them after I've done some of the wiring.
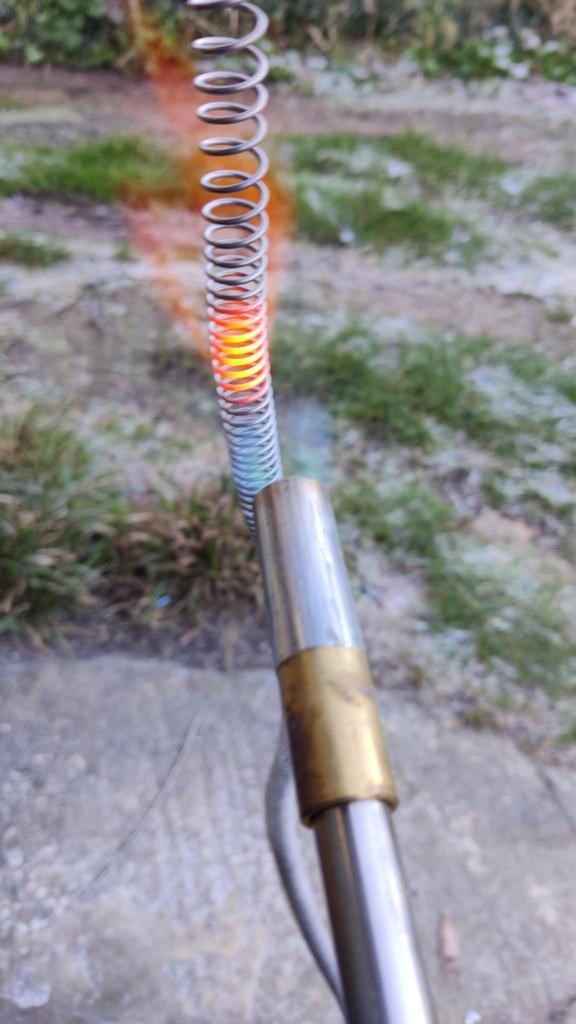
I need to get on with the chamber itself soon, although progress might be a bit slow given how wet the next few days are forecast to be (some of the jobs I have to do need to be done outside really). One thing I did get done today was to stretch out the element coils a bit more. A member of the MIG welding forum had made a couple of comments about the elements that proved very useful. One was that the wire work hardens and benefits from being heated up with a propane torch after coiling to allow it to be manipulated more easily. The other comment was that when it's hot, it sags under its own weight. That gave me a simple idea for how to stretch the coils out: hold the element vertically and apply heat with a propane torch. As it starts to glow red, that bit of element stretches (under the weight of the rest of the coil) and you can control the amount of stretch by withdrawing the propane torch just before it gets to the expansion you want:
That was quick and worked fairly well, although there were a couple of areas where I hadn't stretched the coils at all and, as a result of the turns touching each other, those areas required more heat and the areas either side thus stretched a bit more than I wanted. Being annealed, it was quite easy to push those areas roughly back together: I'm not aiming for perfectly uniform spacing or anything.
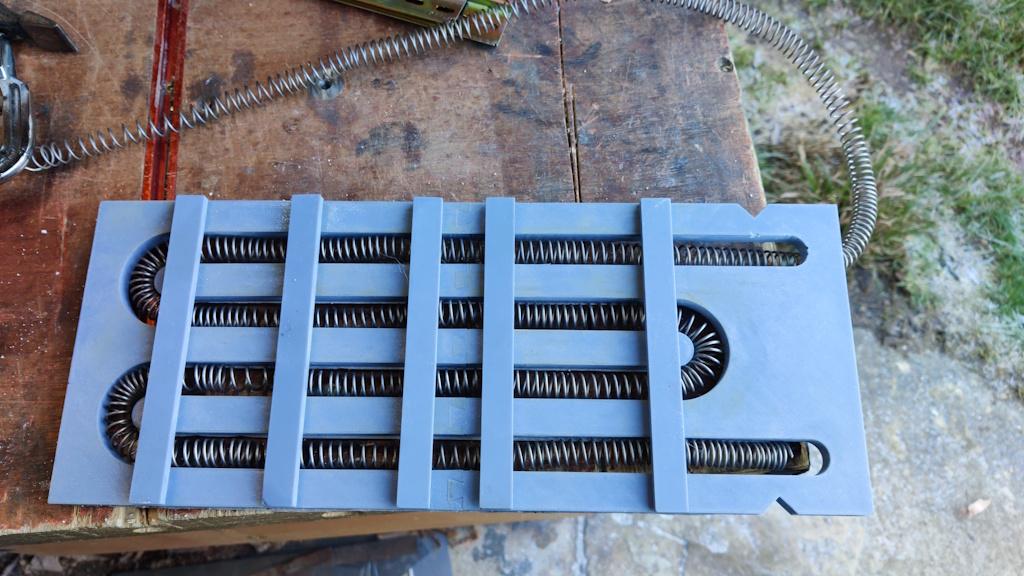
I used the routing template as a convenient way of laying the coils out to measure the resistance I'll end up with:
According to my cheap and simple multimeter, that gave each element as about 10 Ω, which (when in series) will result in up to 12.5 A flowing through the coil (assuming I don't use the thyristor pack to reduce that). That's slightly higher than I was aiming for, but good enough if I run it off a 16 A plug.
I'll probably bring the (decent, Fluke) multimeter I use at work home sometime during the week so I can double check the resistance using something I trust a bit more.
Page 18 of 35
This website is free and ad-free, but costs me money to run. If you'd like to support this site, please consider making a small donation or sending me a message to let me know what you liked or found useful.

 Return to main project page