Heat Treatment Oven Build Process
Page 20 of 35
Posted 5th January 2025
On the chamber itself, I'd reached a point of Analysis Paralysis with lots of possible options (stemming from various discussions on the MIG-welding forum early in the project thread) and a complete inability to make any decisions (hence spending a lot of time focusing on the control cabinet instead).
Today, despite having a terrible night's sleep last night, I decided I just needed to make a decision on how to construct it and just get on with it. Whether the decision is right remains to be seen, but it's what I'm doing anyway.
I've decided to build the frame in a similar way to the cabinet (with sheet metal in the gaps) and with a ceramic fibre blanket lining. If I had mortared the bricks together, I think I would have felt okay with the idea of just wrapping them in a simple steel frame (just on the edges) but I didn't like the idea of the central bricks being unsupported. That meant I either needed to put cross-braces on (which I may still do) or I needed to have the gaps in the frames filled in. In the latter case I figured a ceramic fibre blanket may help a little.
Ideally, I'd use bigger angle iron for the frame (to account for the thickness of the blanket), but I've got lots of nicely cleaned narrow stuff, so I'm going to use that and we'll see what happens.
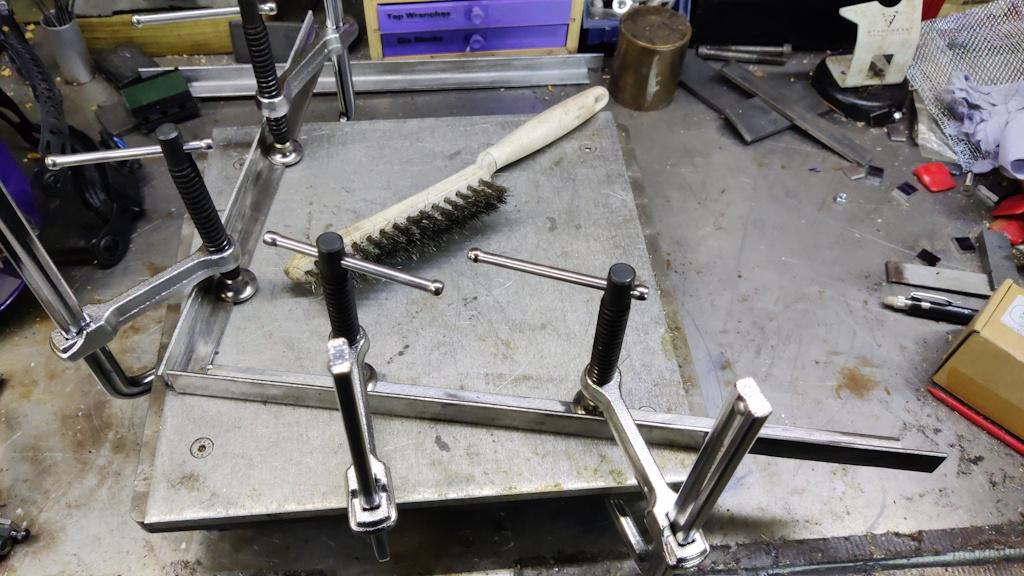
Anyway, with the decision made, I could start preparing the frame:
If you look closely at that photo (it's clearer in later ones I think), you'll see there's a bit of a gap where the angle iron pieces meet. That's a result of changing my mind (repeatedly!) about the construction and cutting some of the pieces a bit short (not allowing for the ceramic fibre blanket). The structure will still be plenty strong enough I think and I can always fill in those gaps later if I can be bothered.
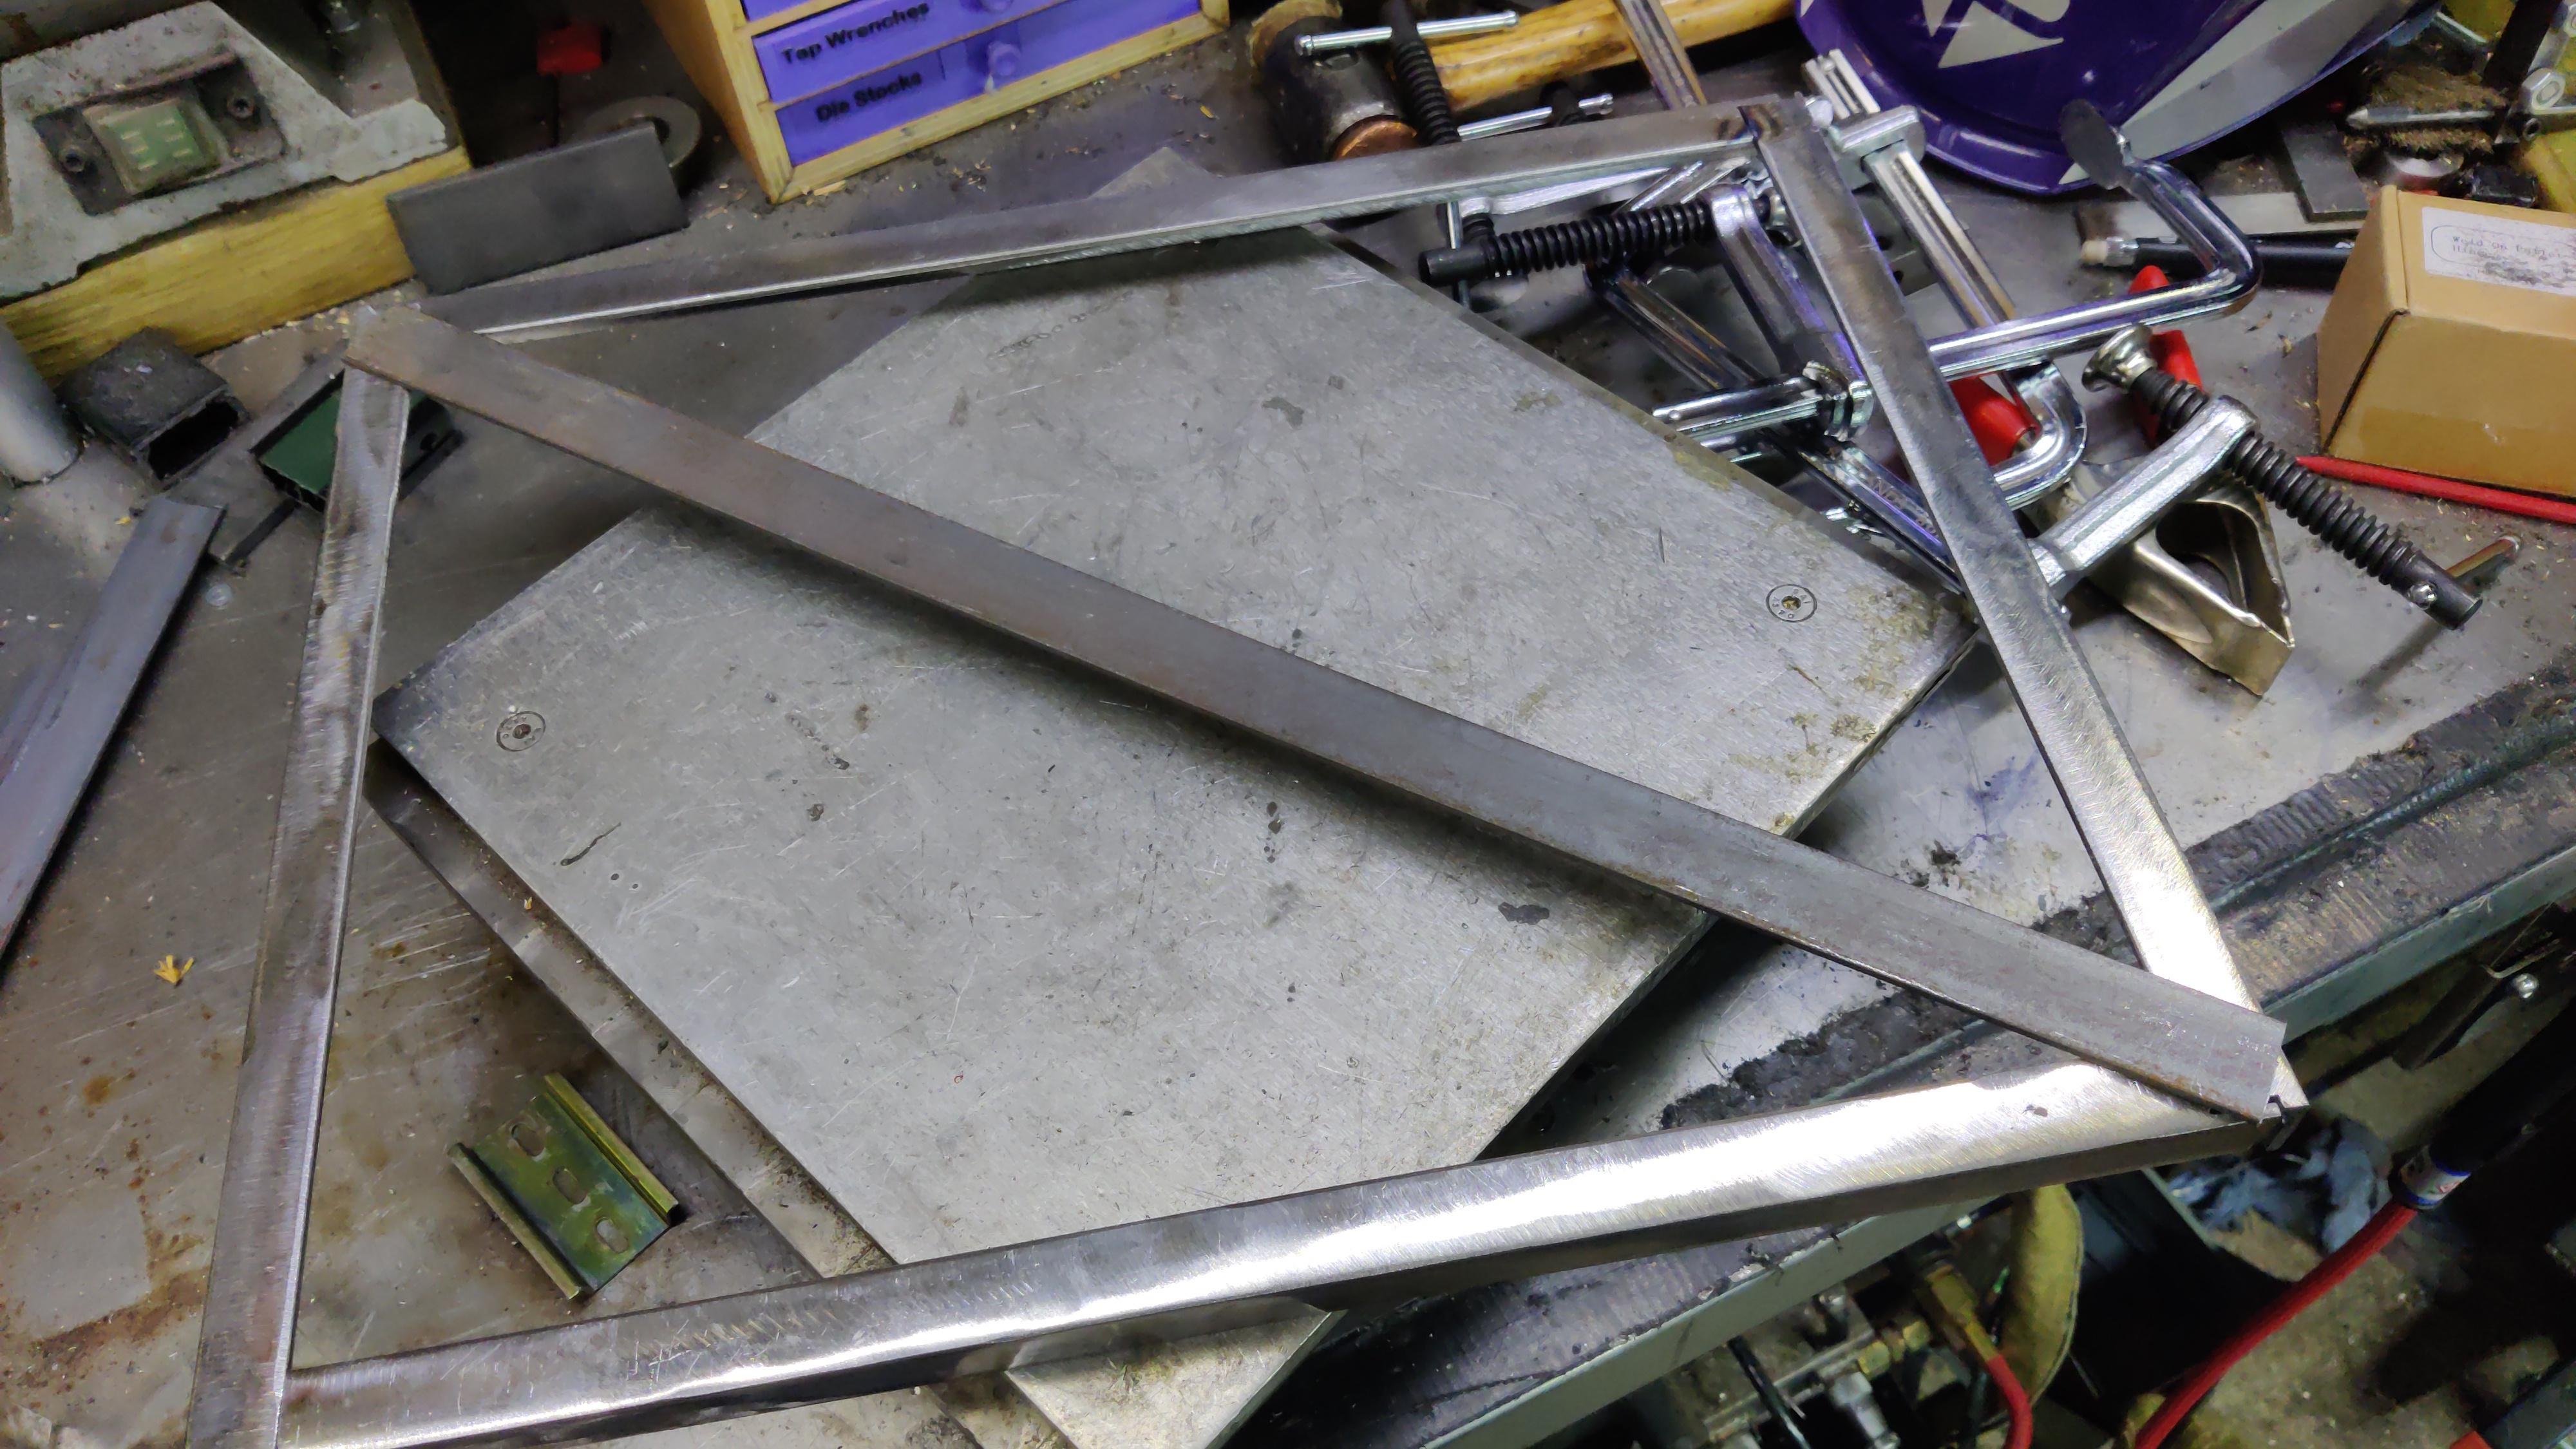
I mentioned earlier that I might add a cross-brace. This is roughly what it would look like:
I'll definitely add one of those (out of some wider steel) on the back of the chamber as it'll give me something convenient to attach the thermocouple housings to, but I'm not convinced the top and bottom need it yet. The sides may benefit from something else for reasons I'll get to in due course.
Anyway, I chucked a load of bits of flat bar into the citric acid bath; hopefully if I leave them until next weekend then the mill scale will come off with less effort than was required with the angle iron.
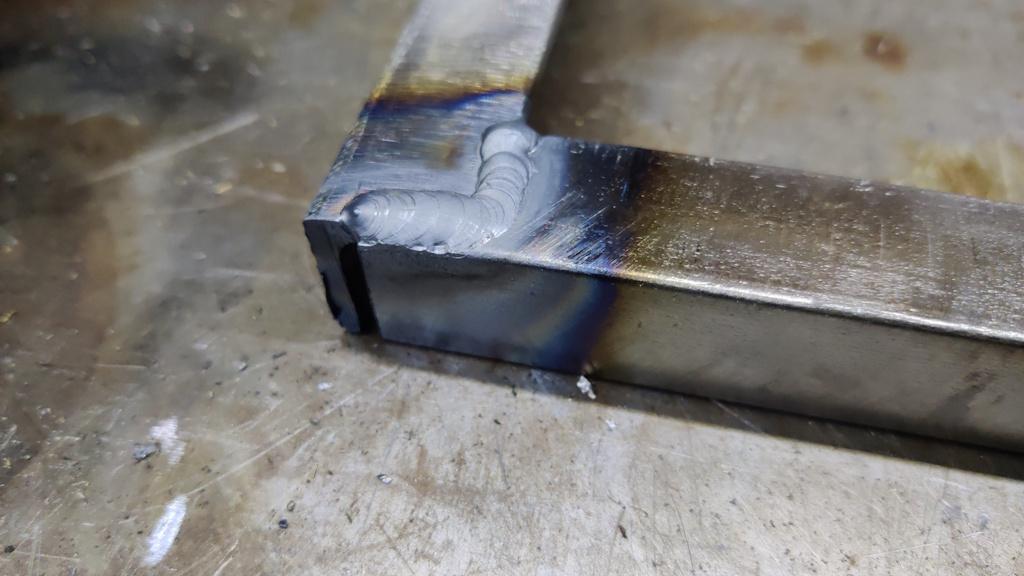
With the frames tacked together and checked for square, I could weld the pieces a bit more rigidly together, just welding along two seams. In this photo you can see that gap I mentioned before:
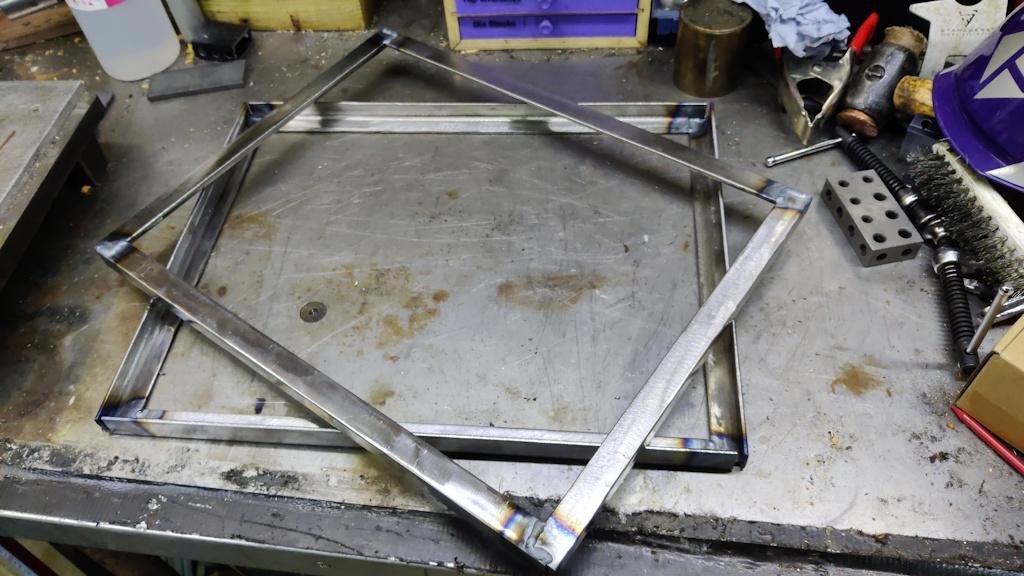
It didn't take long at all to get the two frames were welded together:
To fill in the holes, I used 0.8 mm steel, of which I have plenty (all rust free as well!) Incidentally, sheet metal is one of the reasons why I ditched working in imperial years ago (tapping drill sizes and American numbered/lettered drill sizes being some of the others). Working in metric, I measure a sheet of steel as 0.8 mm and, if I want to order more, I find a (metric) supplier and order 0.8 mm sheet. Working in imperial, I measure the sheet as 0.031" (or if I've got a fancy fractional-reading caliper, 1/32"). So I order 1/32" steel, right? No, you have to go and look up what size that is in SWG or AWG as that's what imperial sheet sizes are typically sold as. When I worked in imperial I found I was constantly having to look stuff up; when I switched to metric that all stopped and I rarely have to consult any data books any more. I've yet to find a down-side to working purely in metric so I can't imagine I'll ever go back.
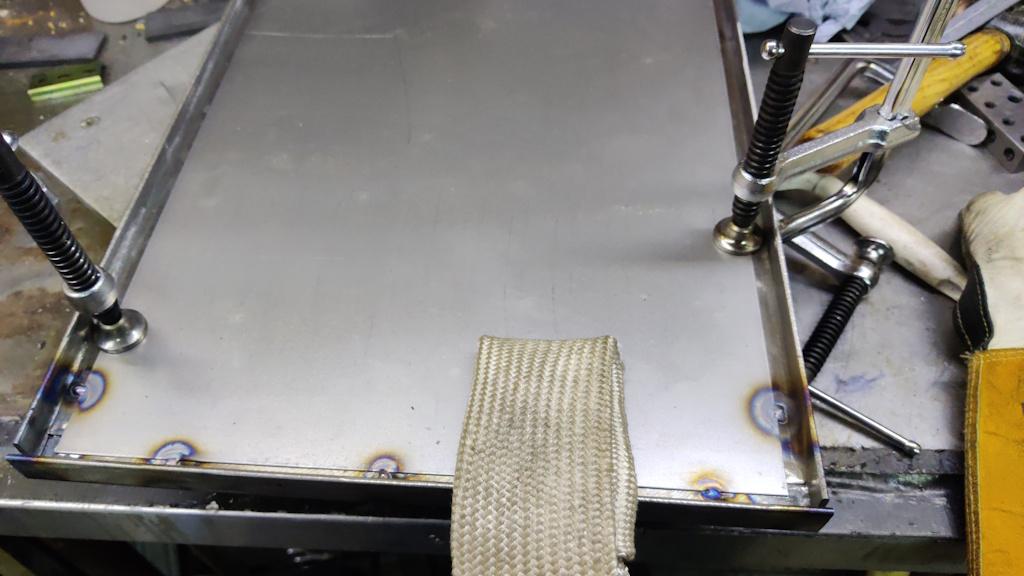
I plasma cut the sheet steel to size, but this time (unlike the control cabinet) I allowed only a 5 mm overlap with the angle iron. That made it much easier to do the tack welds as I could comfortably start the weld on the 12 mm-ish area of the angle that wasn't covered and then carefully draw the bead back onto the thinner sheet. The first few tacks done:
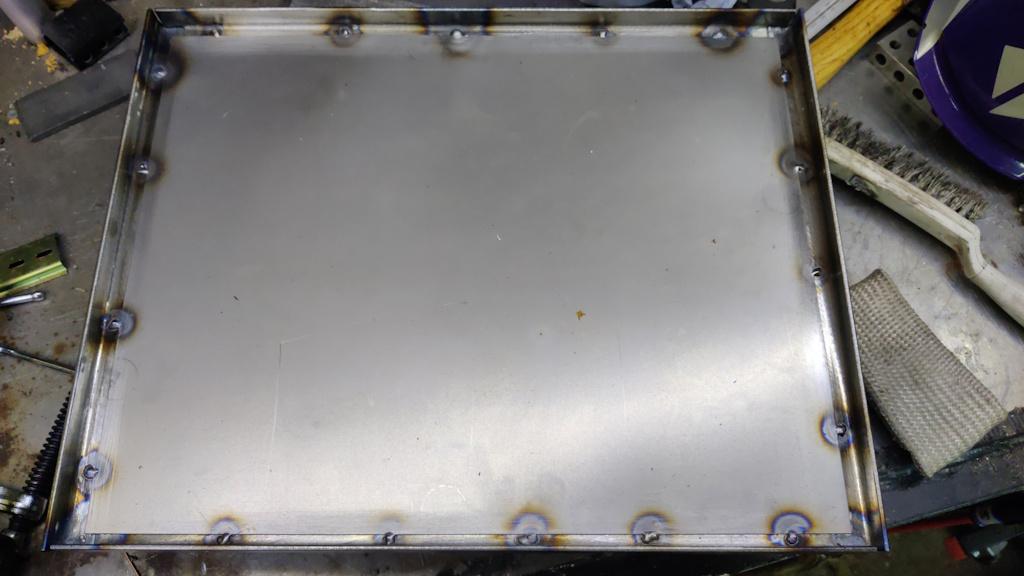
All welded.
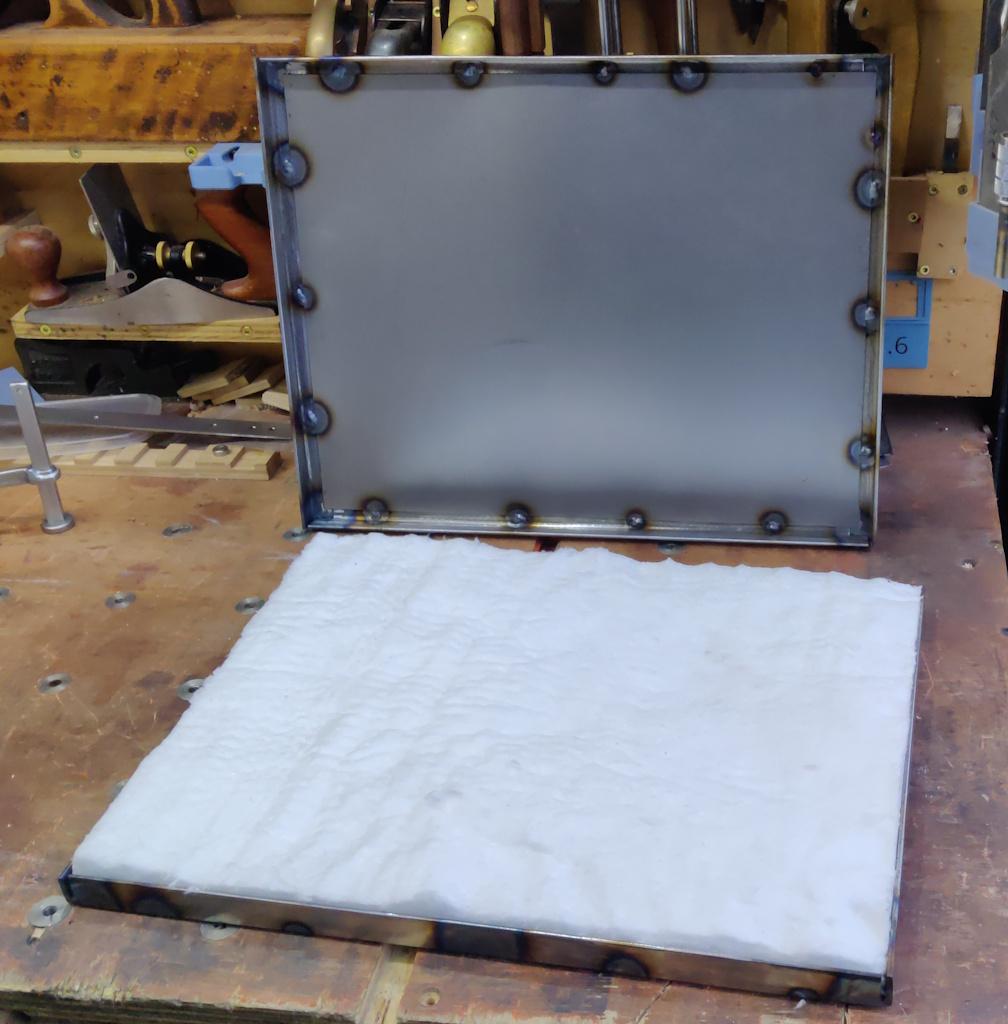
I cut a bit of ceramic fibre blanket to size and shoved it into one of the frames:
That shows why I said earlier that it probably would have been better to use wider angle iron. Once the bricks are in place pressing down on the blanket, it'll shrink a little and there will be a small overlap of angle iron to bricks, but it'll only be a couple of millimetres I think. Hence the sheet metal is the thing that'll be holding the bricks in place.
I could probably split the ceramic blanket in two (to make it thinner), but I'm going to proceed as-is for now and see what it looks like as the rest of the frame comes together. Back to work tomorrow unfortunately, so there probably won't be a lot of progress until next weekend now.
Page 20 of 35
This website is free and ad-free, but costs me money to run. If you'd like to support this site, please consider making a small donation or sending me a message to let me know what you liked or found useful.

 Return to main project page