Heat Treatment Oven Build Process
Page 21 of 35
Posted 17th January 2025
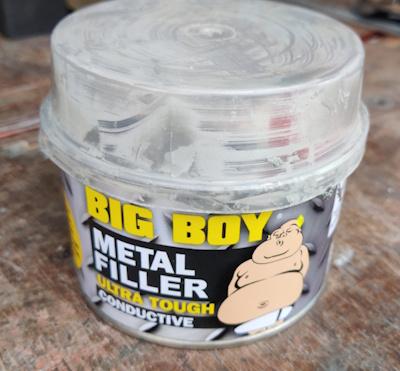
When we last left the control cabinet, I was discussing the idea of filleting the corners with some filler (mainly to cover up some slightly shoddy welding in a couple of places). I bought some of this horrible stuff:
I say horrible as it's awful to work with. It cures in about five minutes, which is nowhere near long enough for this sort of job. The blurb says its ready for sanding in just 15 minutes, but it would need a heck of a lot less sanding if it cured more slowly and hence allowed you to get it in the right place.
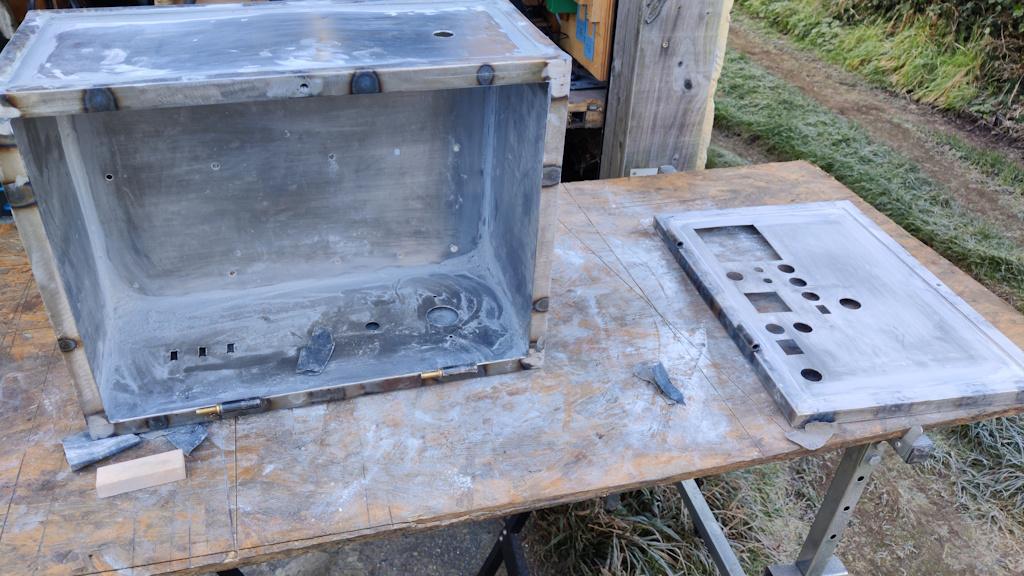
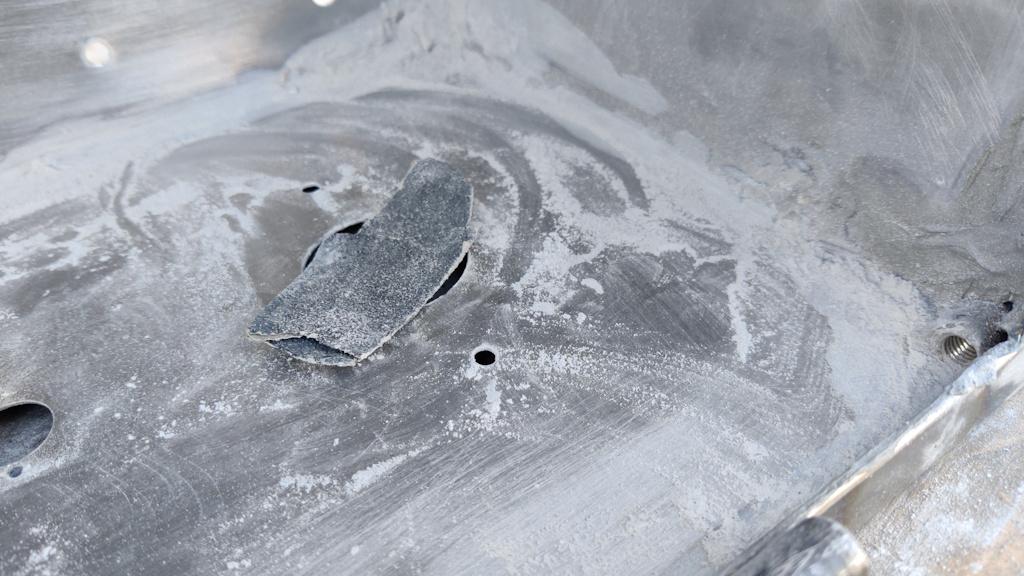
Anyway, I applied it (a sixth of a tub at a time, mixed with 2.5 g of the hardener). It was very hard to get it to go where you wanted without it also going everywhere else, so I then had a fairly long period of sanding and making vast amounts of filler dust.
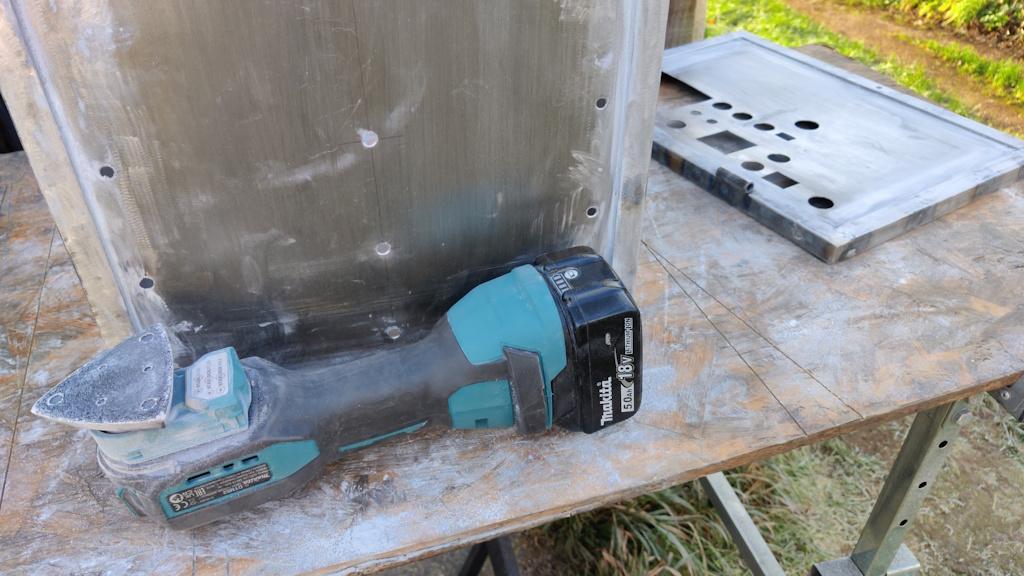
Where I could, I used a sanding plate mounted on an oscillating multi-tool (with a respirator on):
This is the first time I've used a sanding pad on the cordless multi-tool and it's a lot more frustrating to use than on the mains-powered (Fein) one. The Makita one uses a pin to hold the bit/pad in place, but that means you have to peel off the sandpaper to be able to get at the pin if you want to change the orientation of the pad. With the Fein tool, you just pull the lever to release the pad, turn the pad to the new orientation and push it back on again.
Anyway, after a lot of oscillating multi-tool powered sanding, there was then a lot of hand sanding (again while wearing a respirator)...
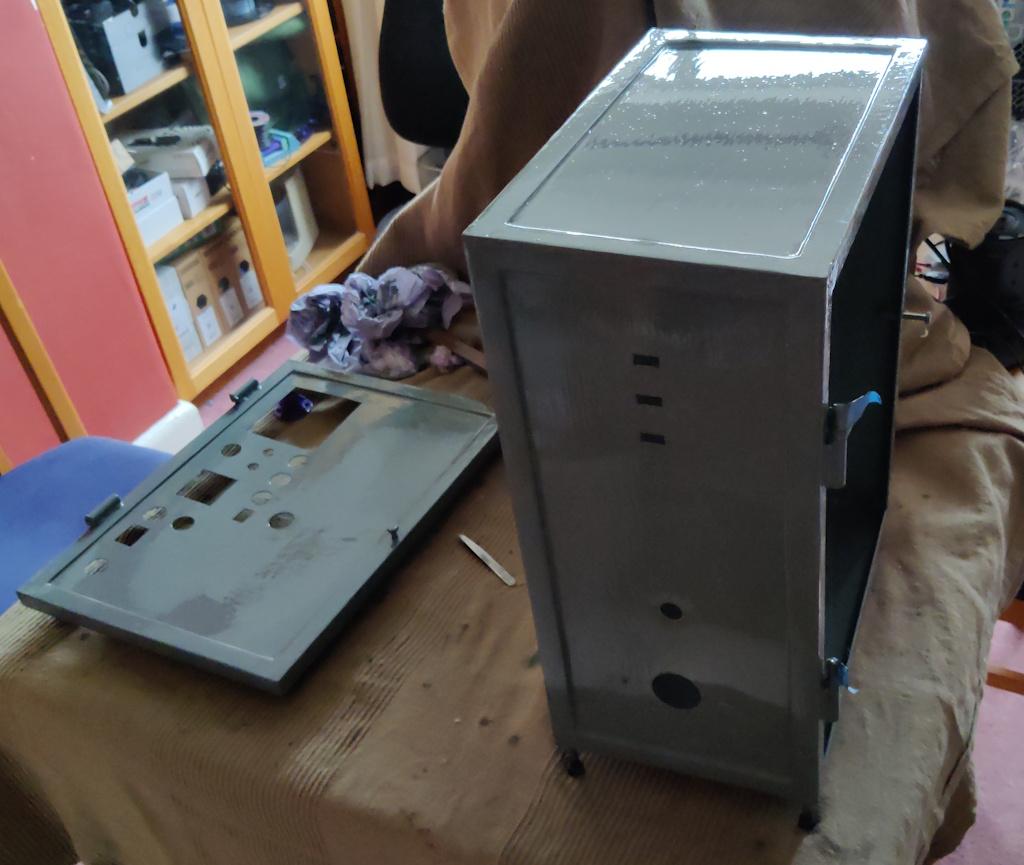
... and then a lot of vacuuming and compressed-air blowing of dust. I then colonised the end of the dining room table (with thick cotton throw thing covering up the table surface and the back of my laptop and monitors) and applied the paint. I used Jenolite Directorust Slate Grey Satin paint; I bought a litre of it and used substantially less than a quarter of the tin.
I used what I think is a relatively posh brush (Hamilton Perfection Pure Bristle), but, like every other paint brush I've ever used, I spent half the time picking loose bristles out of the paint using a pair of tweezers. After applying two coats with the Hamilton brush, I used a cheap foam paint brush for the bits that needed touching up.
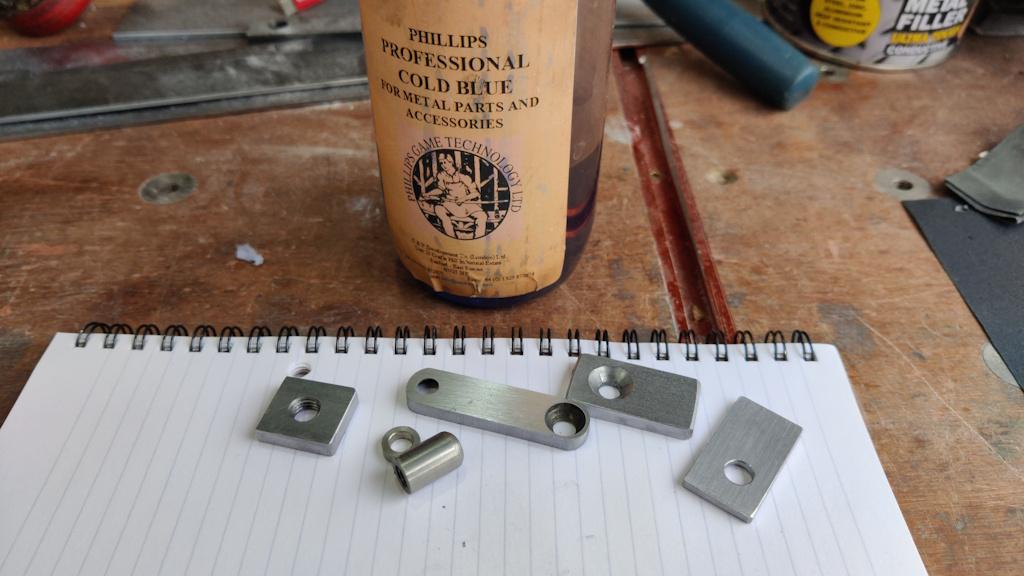
While the paint was drying, I made a couple of extra bits for the latch. I didn't want the moving part of the latch to be rubbing against the paint, so I made a small metal spacer for the fixed parts and a washer for the moving parts. All the latch parts then got a bath in some cold blue to give them a bit of protection:
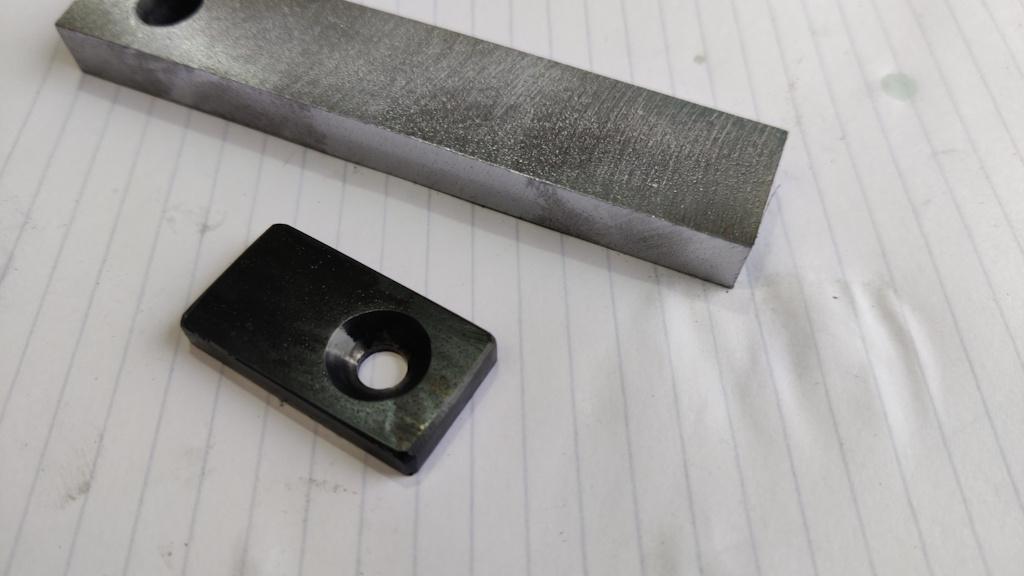
This picture shows one of the blued parts next to a bit of mild steel to show the difference to the colour:
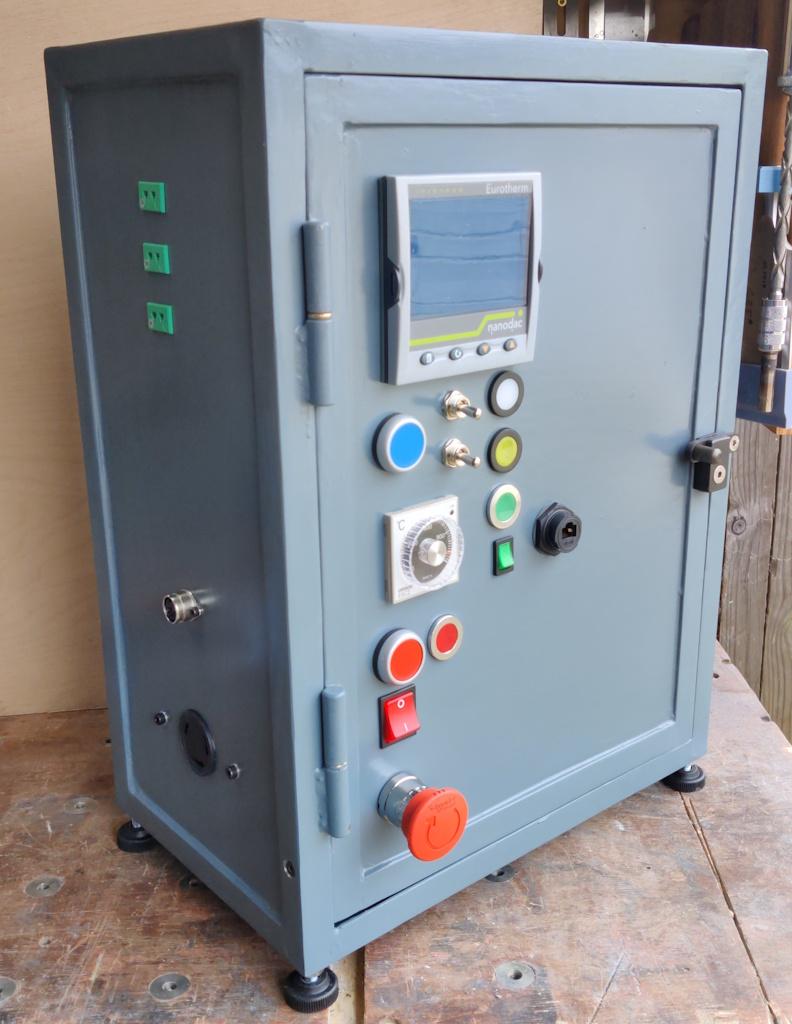
With that done and the paint dry, I could fit the various bits of electrickery into the cabinet and get some photos. The outside of the box:
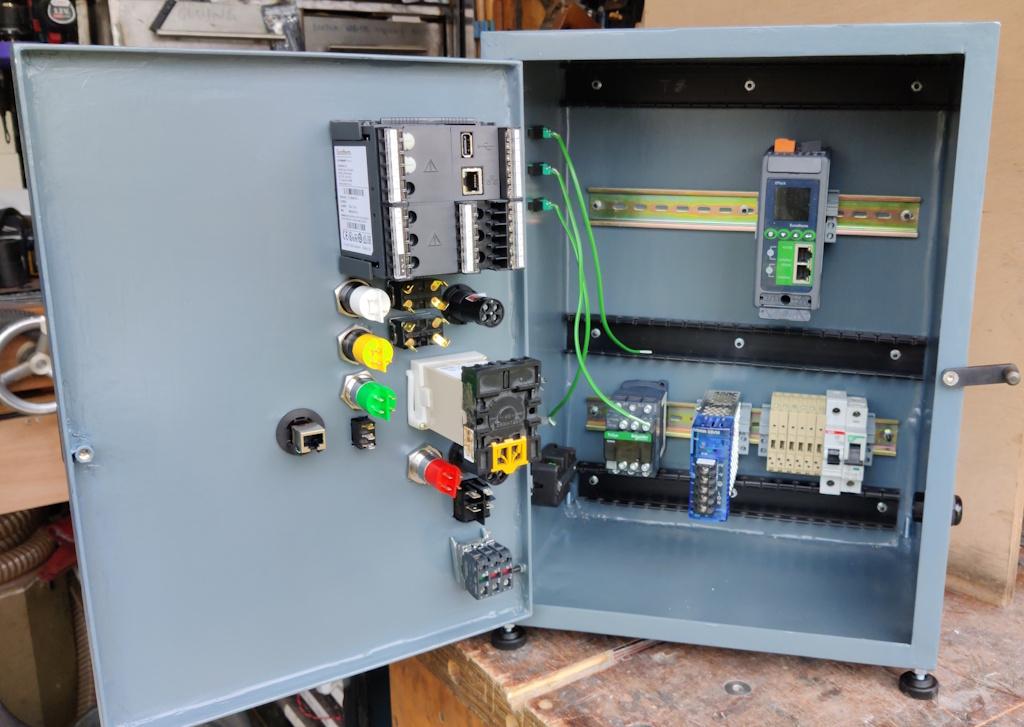
The inside:
As you can see, I haven't really started the wiring yet: the only thing I've done so far is attach the thermocouple cable to the three thermocouple sockets as I figured that would be easier before fitting them into the cabinet. Wiring it up will be something I can do gradually while sitting in the warmth of the house!
Overall, I'm really pleased with how the cabinet is looking. I still detest painting (although not as much as I now detest car body filler!), but that's easily the best-looking paint job I've ever done; I'd definitely use the Jenolite paint again. It would have saved several weeks and a lot of work to just buy a simple project box and cut holes in it as required, but there's something quite satisfying about having made it from scratch myself.
Page 21 of 35
This website is free and ad-free, but costs me money to run. If you'd like to support this site, please consider making a small donation or sending me a message to let me know what you liked or found useful.

 Return to main project page