Heat Treatment Oven Build Process
Page 22 of 35
Posted 18th January 2025
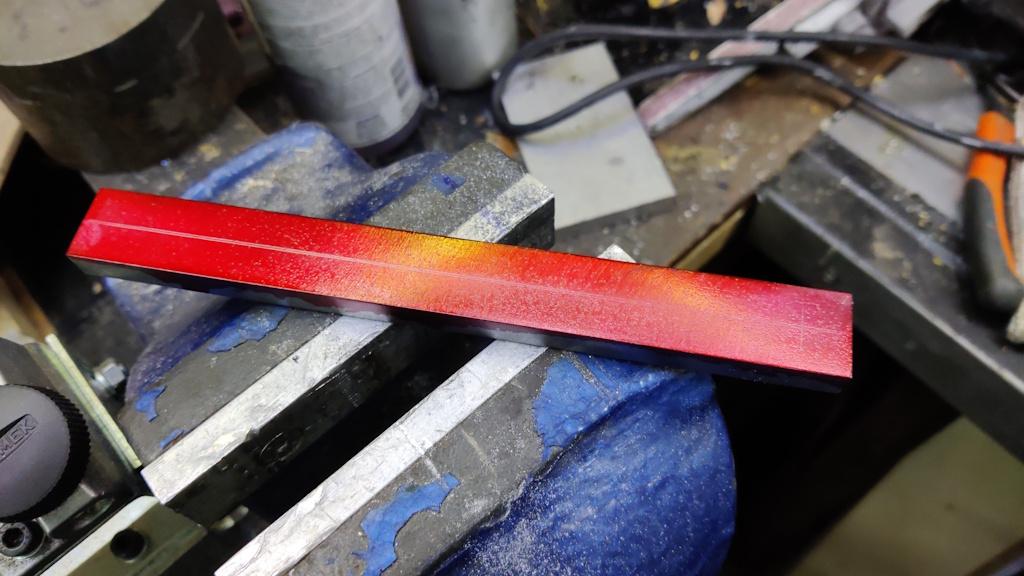
Back to the chamber. I found a bit of 20 mm × 10 mm steel bar in the drawer and marked it up with Dykem red. I then scribed a centre line down the middle:
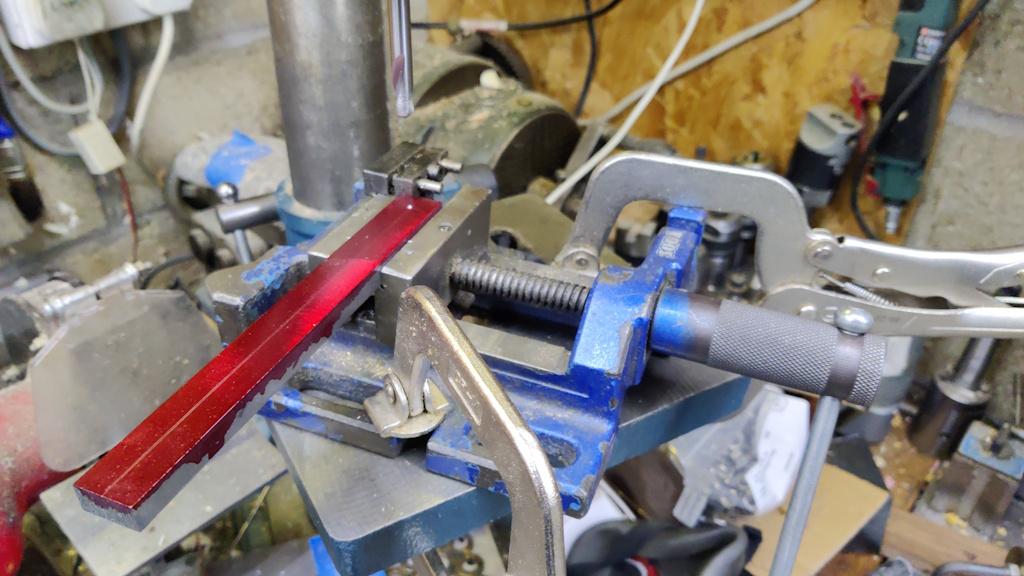
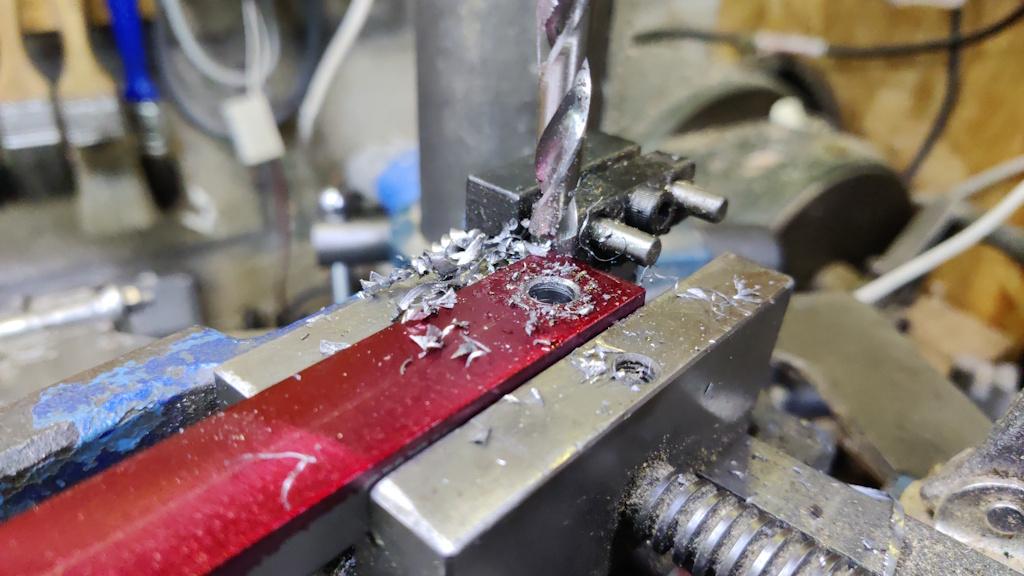
It then went through a repeated sequence of spot drill...
... drill (6.8 mm) ...
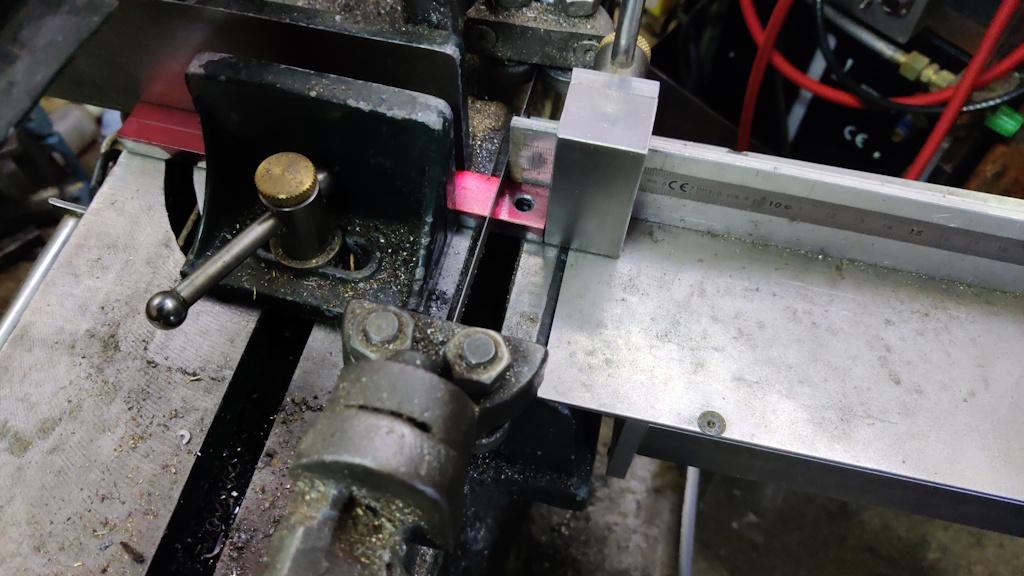
... and bandsaw, using my Bandsaw Cut-Off Table for a consistent length of each piece:
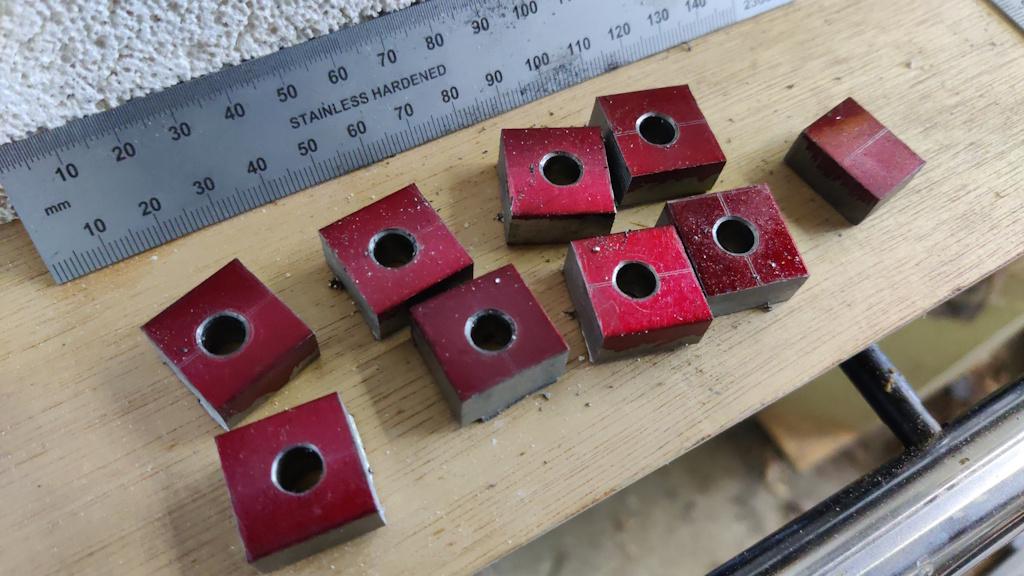
That gave me this pile of little brackets:
In my head that had been enough pieces for all the side joints (I'm going to make the chamber dismantle-able rather than welding it together permanently). I was obvious not running on all cylinders that day as there needed to be 16 of them, not 8, so an alternative plan was needed for the extra bits (I'd used up all of that size of steel bar).
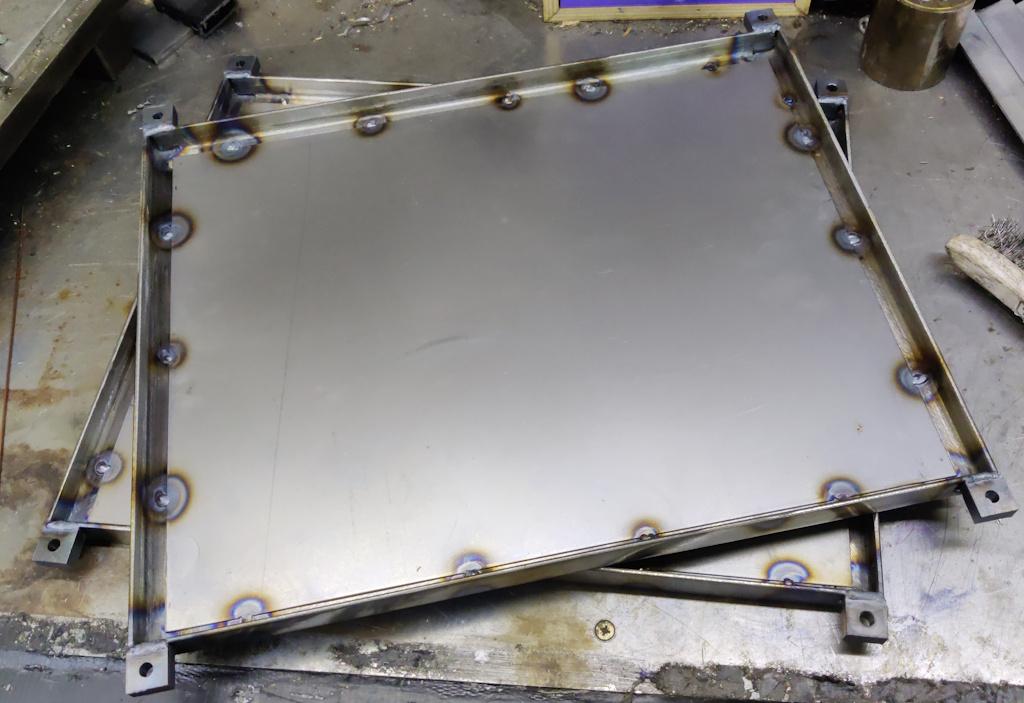
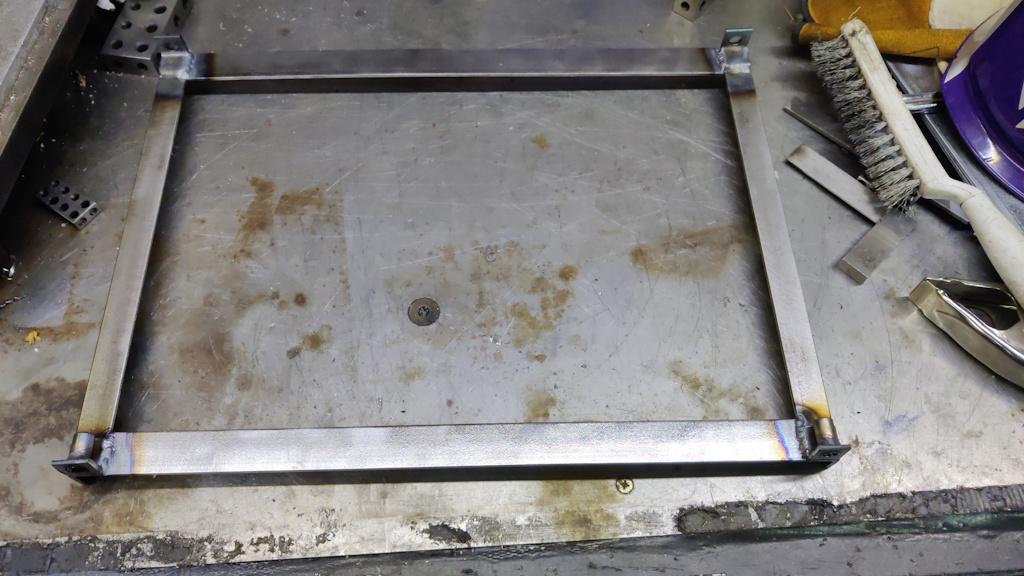
Anyway, I decided to worry about that later and just welded the brackets onto the top and bottom frames of the chamber:
At that point, the holes were still 6.8 mm. The plan was for one frame to have M8 threaded holes and the other to have clearance holes, but I figured it was easier to do that after welding them in place as that way I wouldn't have to worry about which bracket went on which frame.
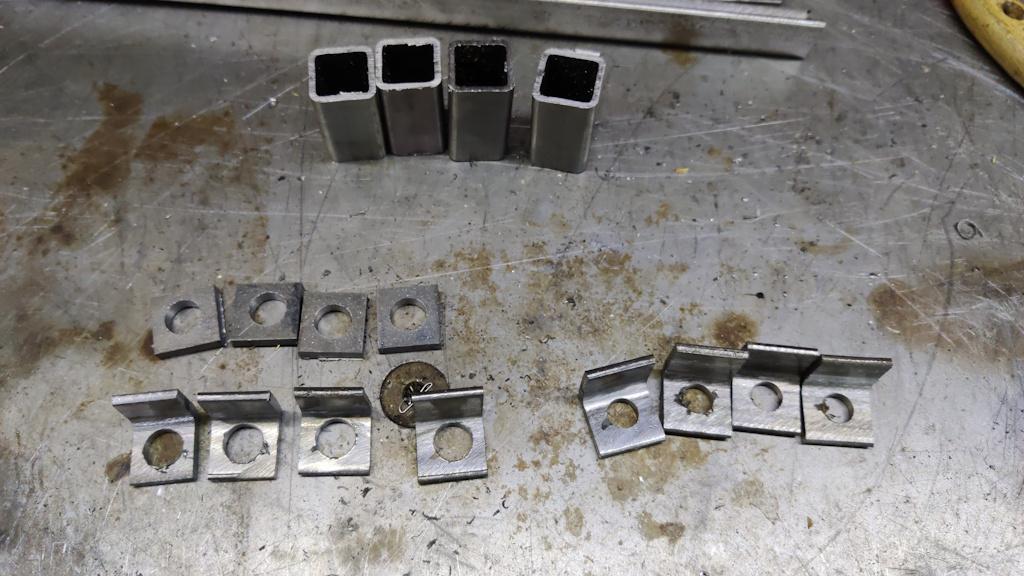
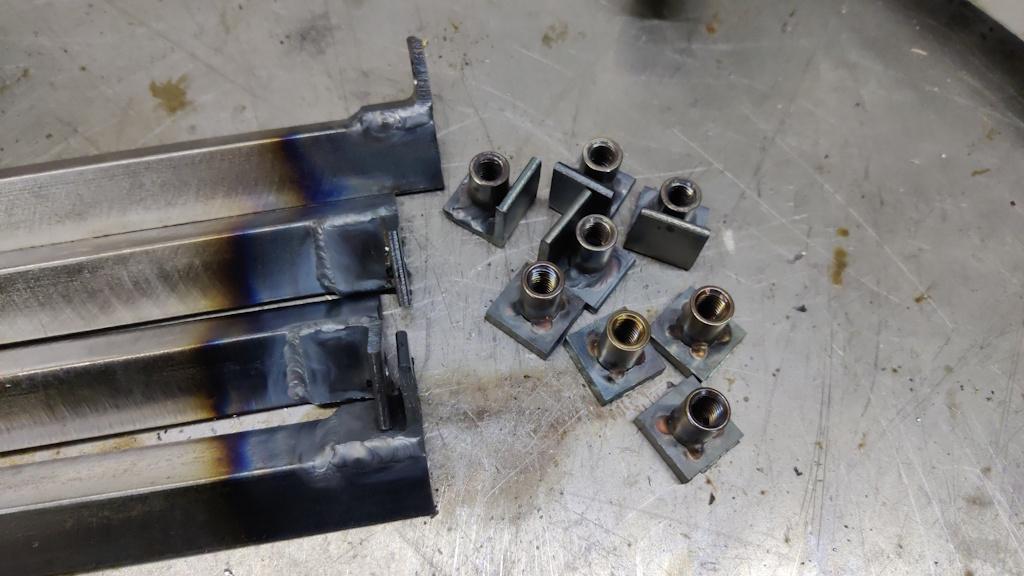
For the other halves of the joints (which were going to be made from the imaginary 8 other bits of that flat bar), I cut some short lengths of 3 mm × 20 mm angle iron. While I had the bandsaw set up with its cut-off table, I also cut some short lengths of 20 mm square box section and some bits of 20 mm flat bar:
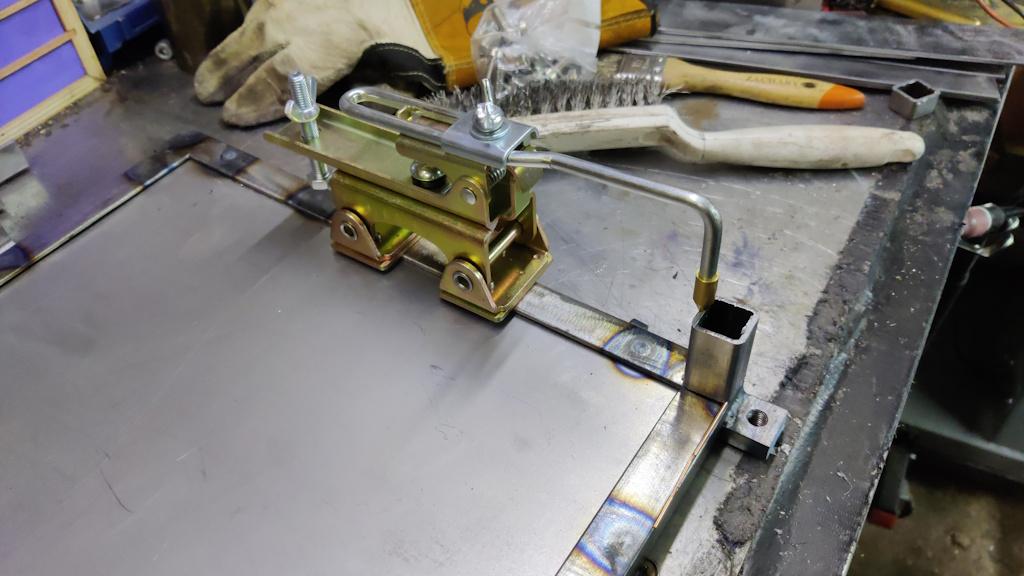
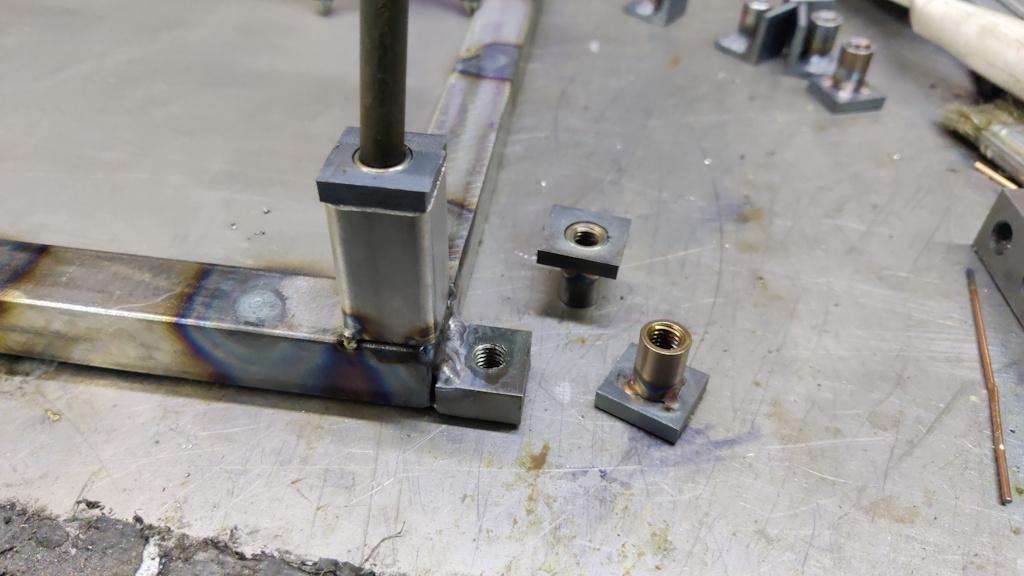
The box section pieces got tack-welded onto one of the frames, using a handy little spring clamp to hold them in place and some TIG filler wire to lift up one end (as my bandsaw vice has slipped a bit and needs re-adjusting for square cuts!)
That clamp really comes into its own when you're welding something onto an up-right, but it's useful now-and-then for horizontal stuff too.
I then welded some weld nuts ("cylindrical coupling nuts") into four of the angle iron pieces and also into the flat bar pieces. The angle iron pieces with plain holes got welded onto the end of some longer bits of angle iron:
The bits of flat bar with their weld nuts then got tack-welded onto the ends of the upright box section pieces:
With all those pieces tack-welded in place, I could then work around all four sides of either end of each of the box section pieces to firmly attach them to the base frame:
The box section piece provide somewhere for the chamber feet to go:
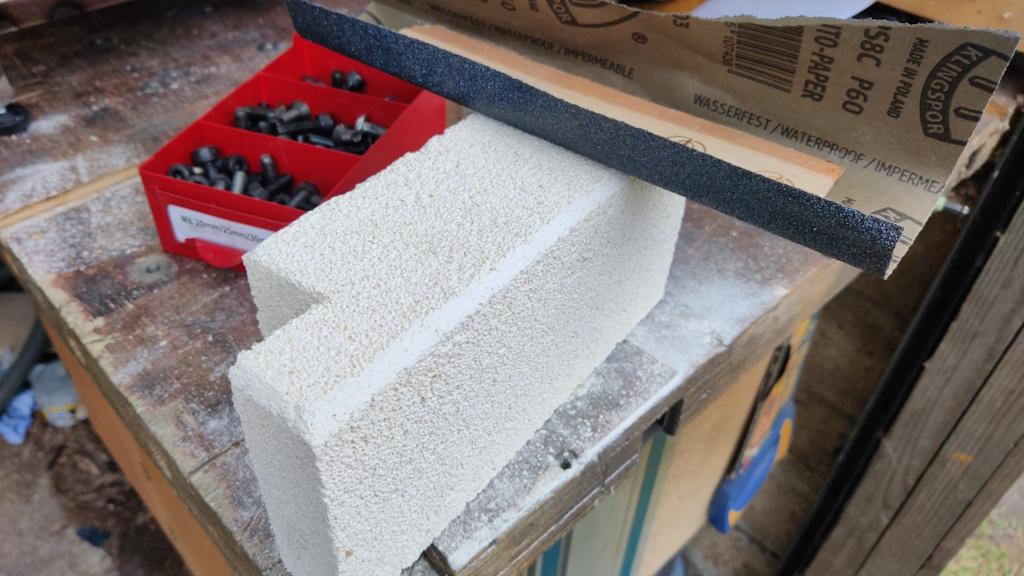
It was then time to start a rough assembly of the chamber pieces so that I could work out whether I'd got the lengths of the angle iron uprights correct. Before doing that, I applied a chamfer to the front-most bricks with some sandpaper wrapped around a bit of wood:
That chamber is there to allow the front of the bricks to be flush with the outside of the front bits of angle iron so that the door can close and produce a good brick-to-brick seal.
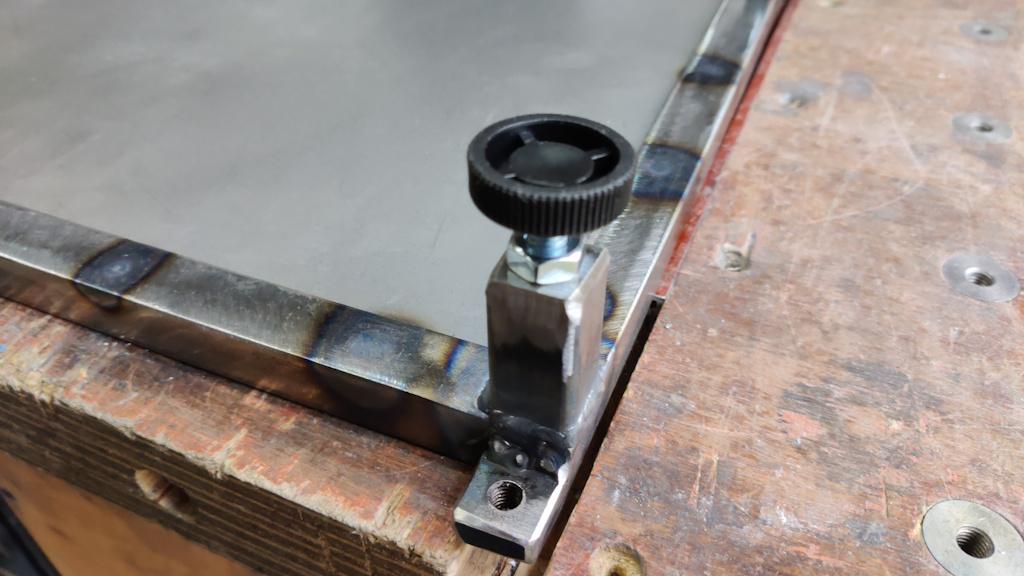
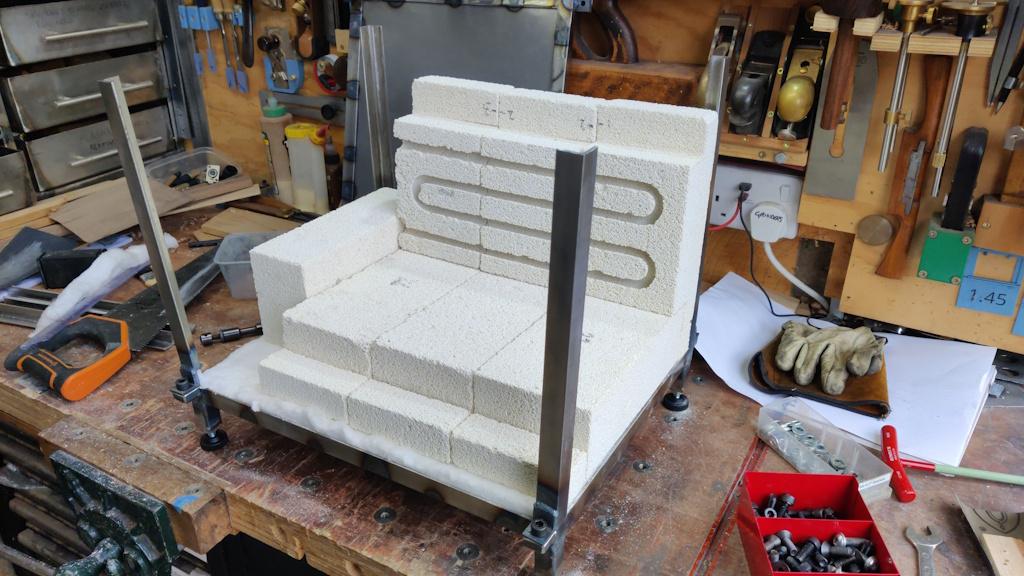
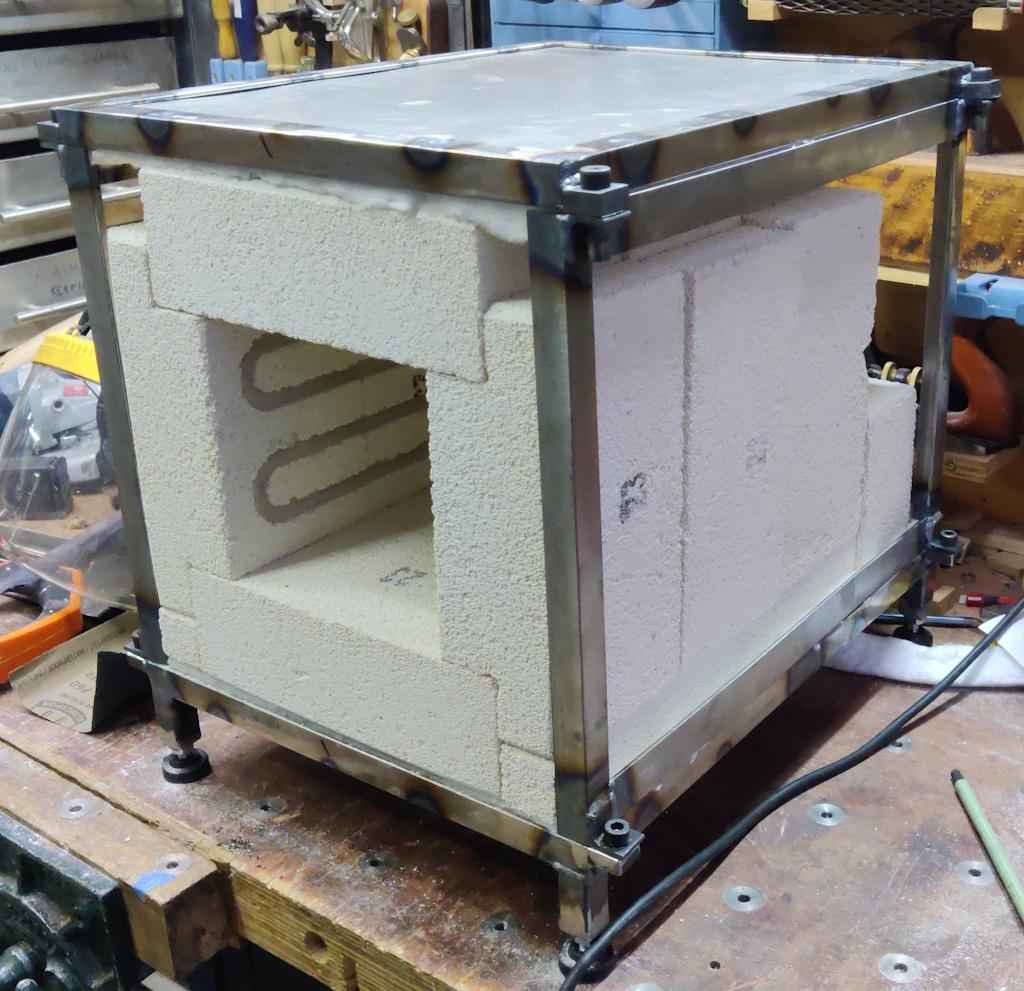
With the chamfers applied (and the holes in the lower frame tapped M8), I could start assembling the frame:
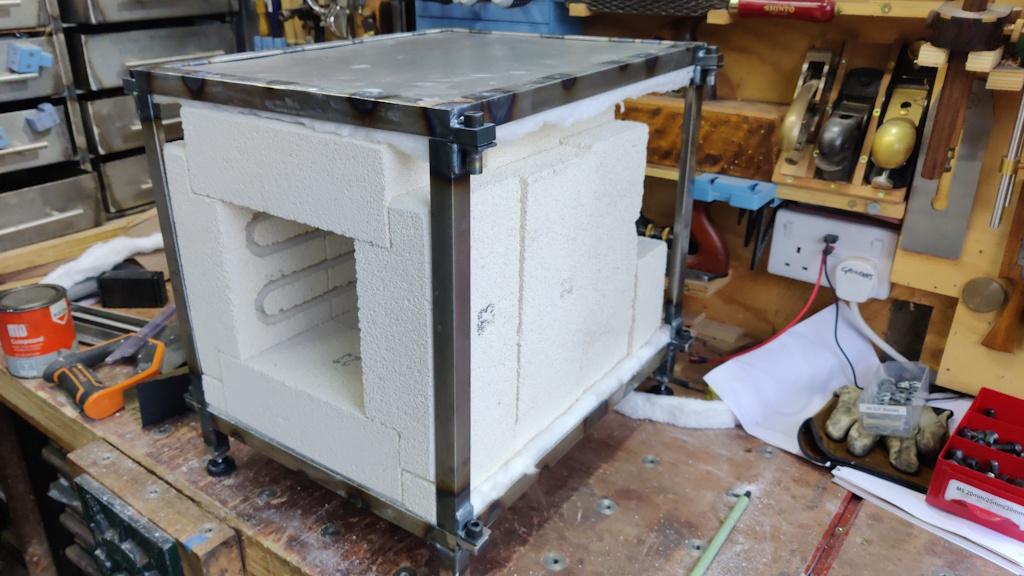
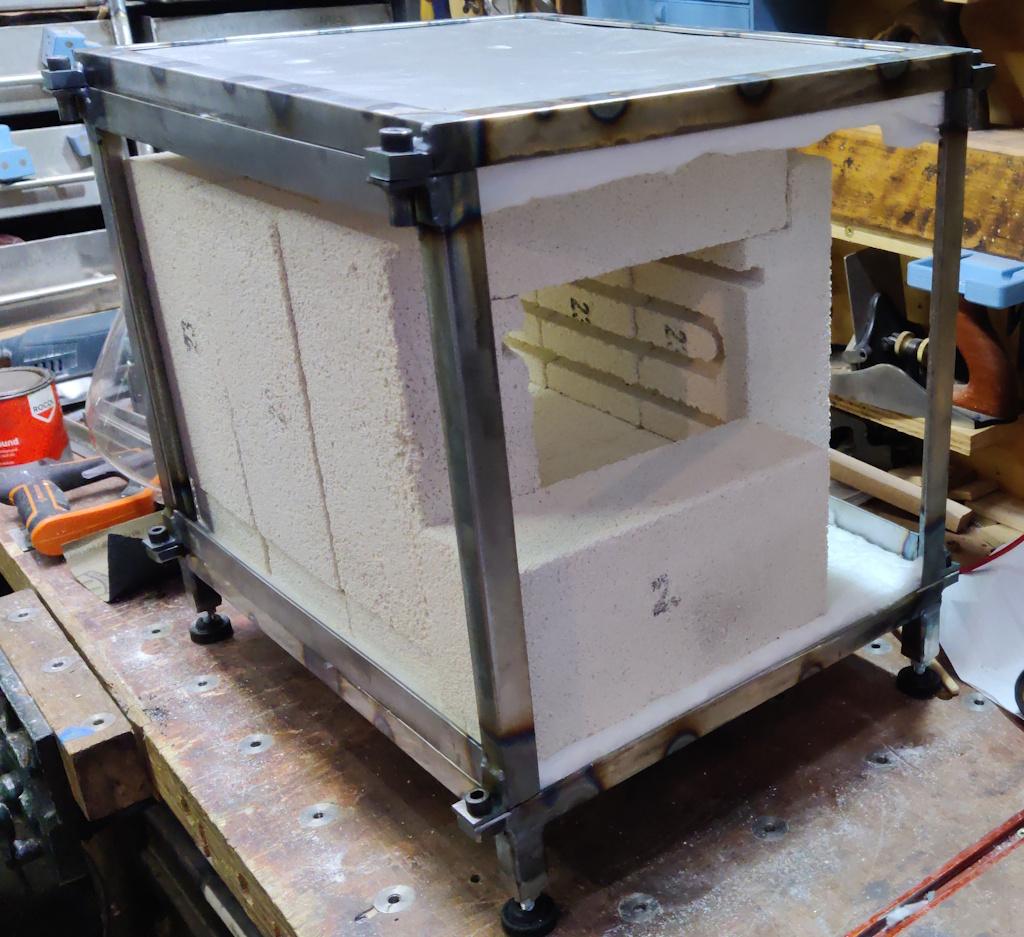
It turned out that I'd judged the length of the angle iron uprights just fine, so I welded on the other bits of angle iron (the ones with the weld nuts fitted) and then (after drilling out the holes in the top frame brackets), I could assemble the frame:
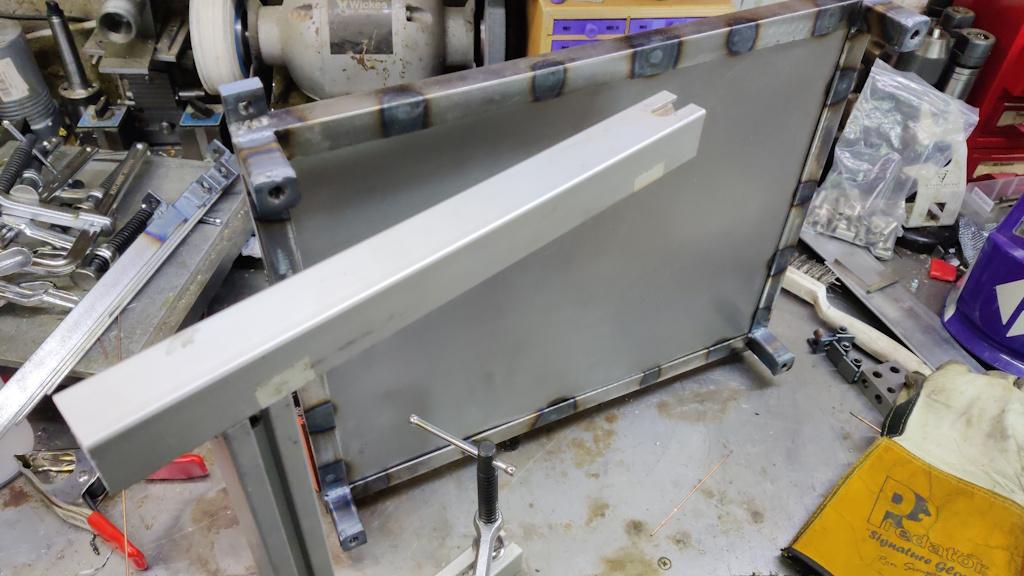
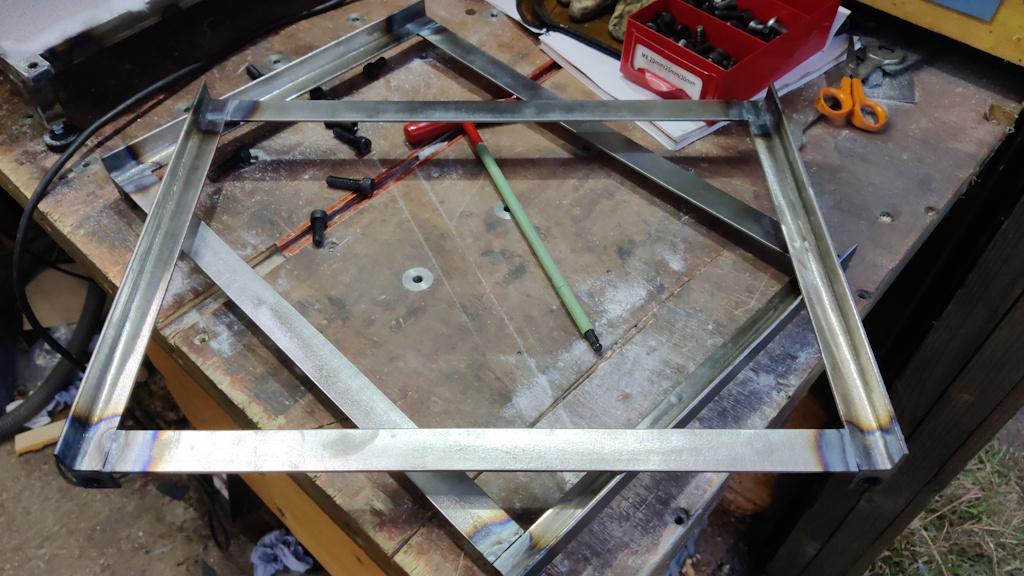
I want to put some sheet across the sides (and probably the back) as well as the top and bottom. To make that sheet easier to fit, I decided to turn the individual uprights into frames. I had some flat bar that I'd de-mill-scaled in citric acid, so I cut the flat bar to length and then welded it between the angle iron pieces to make frames:
This shows the other side of the two frames:
They could then be test-fitted:
Tomorrow I'll cut-to-size and weld in some bits of 0.8 mm sheet to fill in the side gaps and then see if it'll still go together once I've put some more ceramic fibre blanket into the sides. I'll then have to figure out what to do about the back:
I still haven't completely decided on the brick layout for the back. I also need to decide what to do in the way of joining the angle iron up (e.g. like the flat bar on the sides), whether to add ceramic fibre blanket and steel sheet and also how to mount the thermocouples and heater connections. Hopefully I'll get all that sorted tomorrow and then I've just got the rather daunting job of figuring out the door (especially daunting as I don't think I've got enough 20 mm angle iron to make the door in the same was as the chamber and also I'll have the challenge of getting it hinged in a suitably robust way).
Page 22 of 35
This website is free and ad-free, but costs me money to run. If you'd like to support this site, please consider making a small donation or sending me a message to let me know what you liked or found useful.

 Return to main project page