Heat Treatment Oven Build Process
Page 26 of 35
Posted 7th February 2025
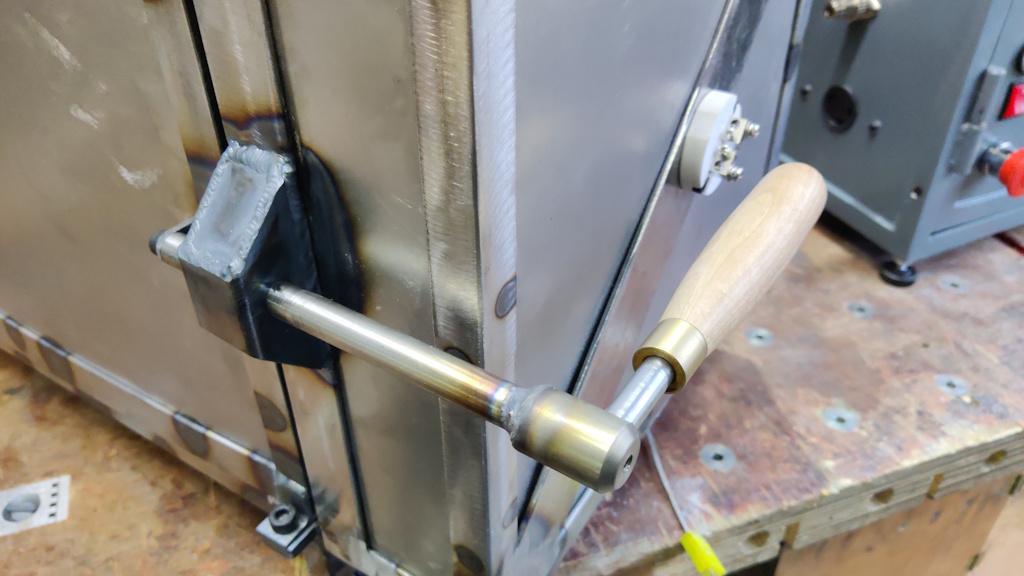
This afternoon I got to work on a latch to hold the door shut. I'd been pondering on lots of options for this and going down a rabbit-hole of methods of making the latch adjustable but still sufficiently rigid. In the end I decided that adjust-ability can come, for now, from a few simple methods. If I need to make the round bits shorter, I'll use a lathe. If I need to make them longer, I'll use washers. If it needs anything more drastic than that, there's always the angle grinder and the welder!
With a (very) vague design in mind, I found some bits of stainless steel and one of the rejected chisel handles I made last year (rejected just because the wood was a bit bland in colour).
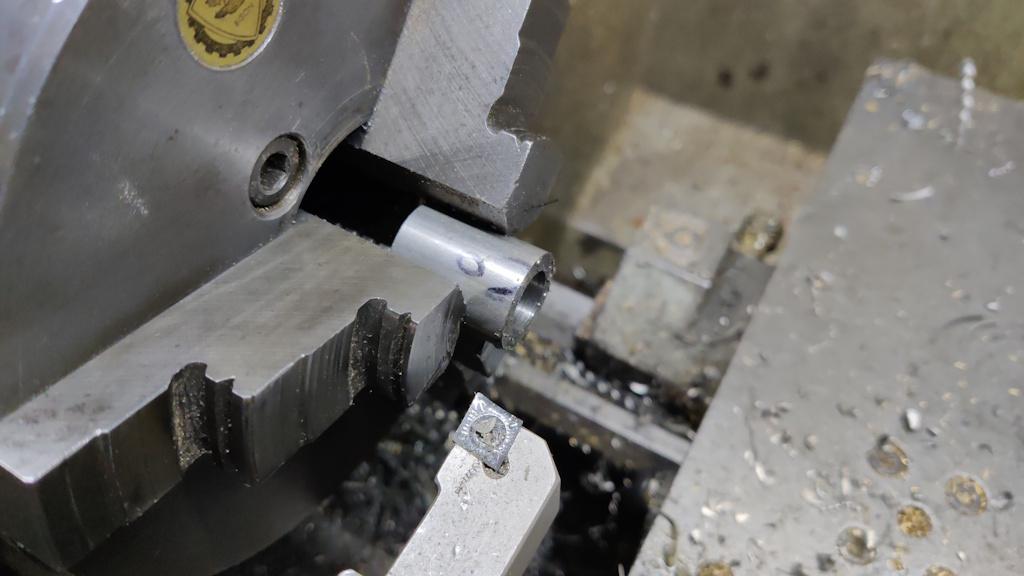
There was then a short sequence involving a few bits of very simple turning...
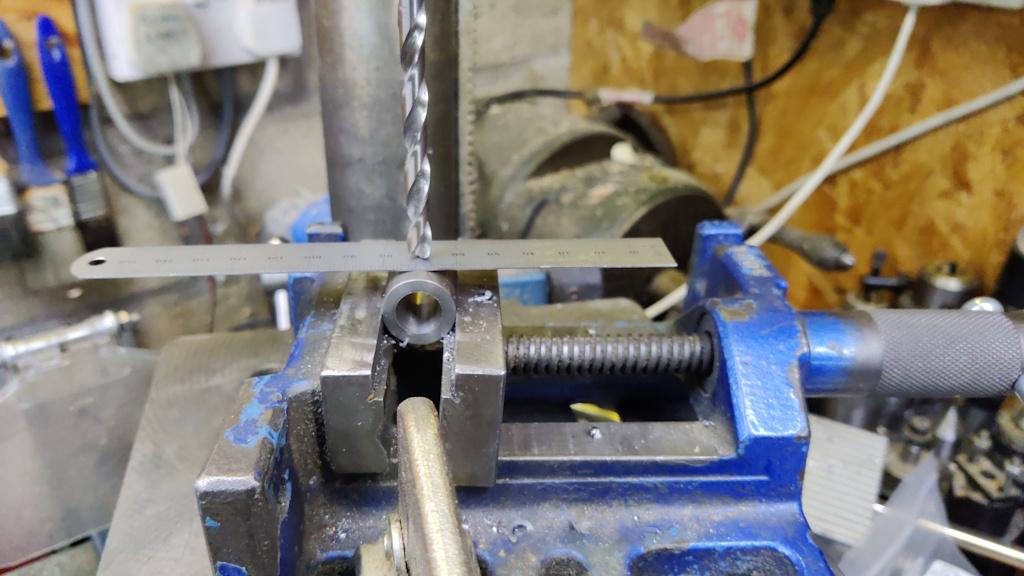
... a few holes made on the pillar drill...
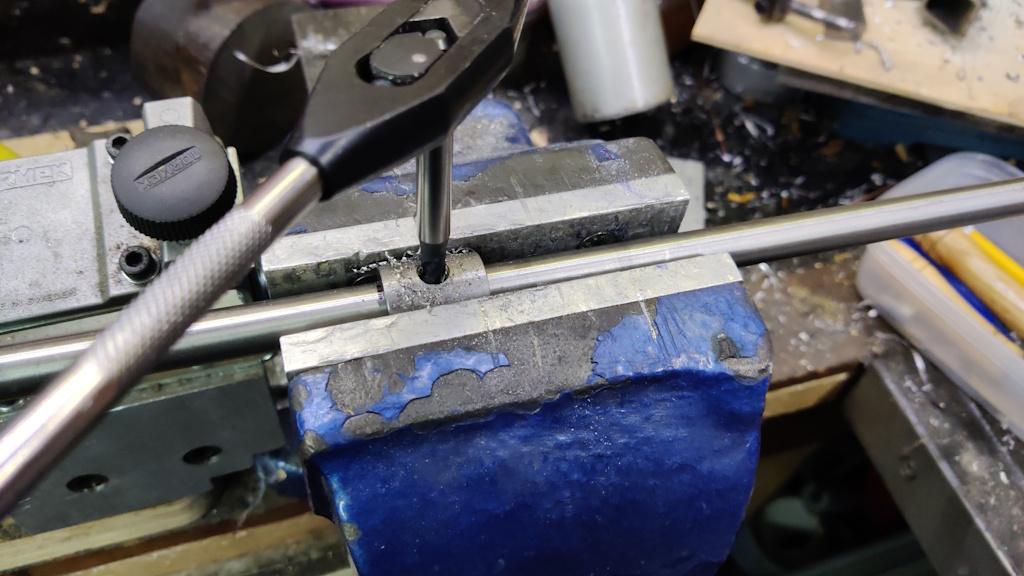
... and some holes tapped:
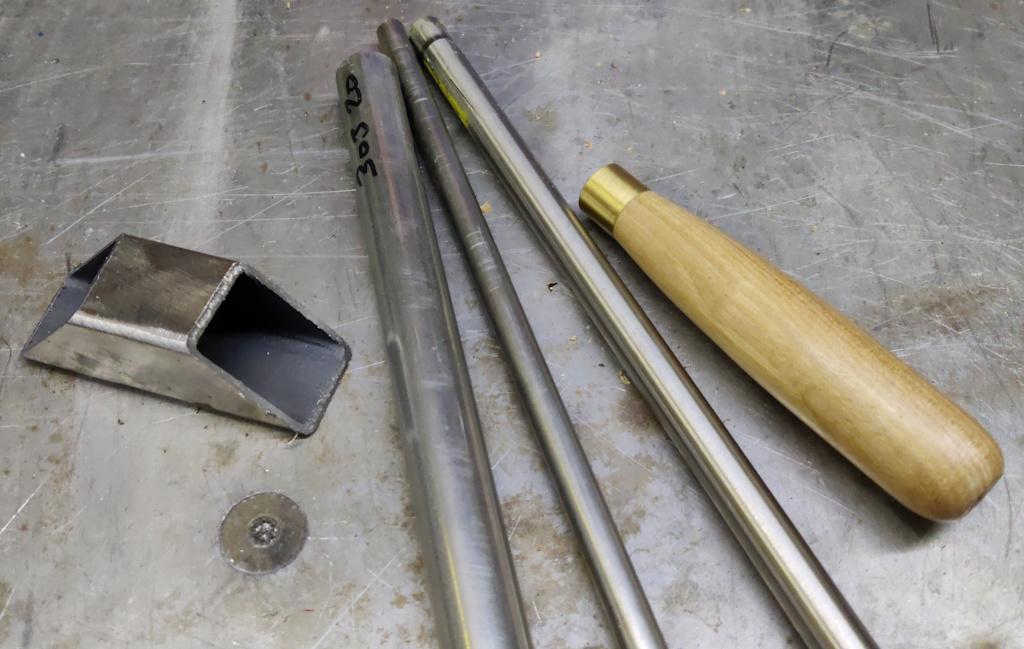
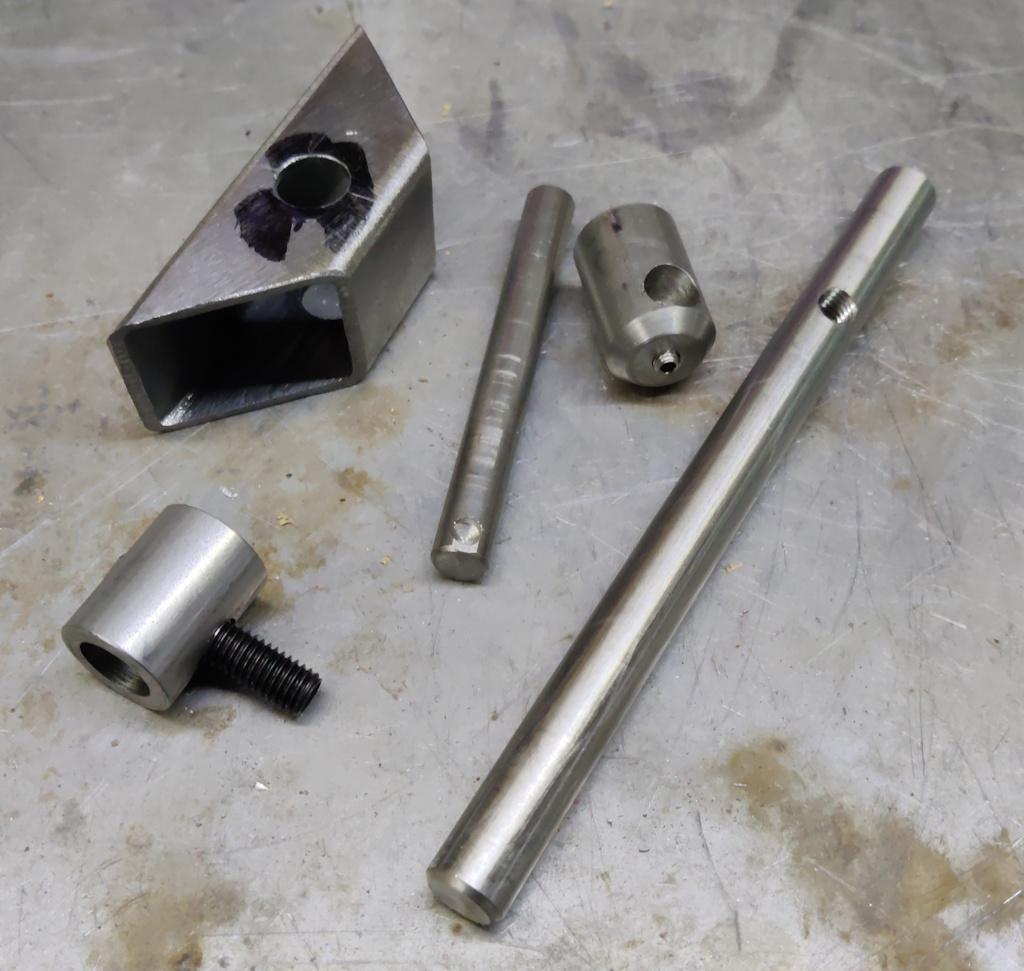
That produced this little pile of machined bits:
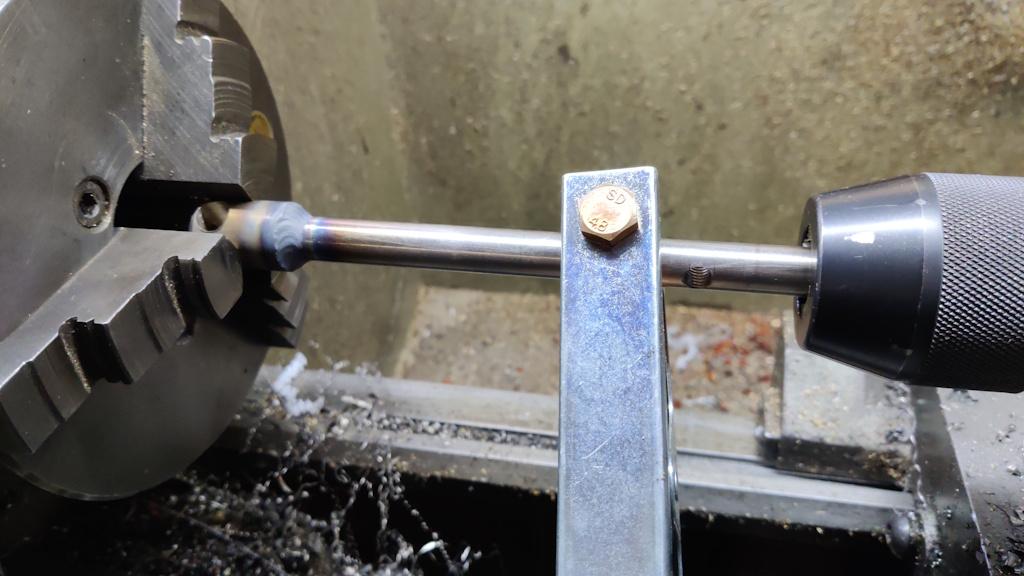
Most of them are getting joined with screws (so the mechanism can be dismantled and tweaked if necessary), but I wanted the two bits of the main shaft to be held together a bit more permanently (partly as the wider diameter part wasn't long enough to give a good location for a cross-screw), so I decided to weld them. I did that on the lathe, with the gearbox set to 40 rpm and the variable speed drive turned right down (so that it was turning at much, much slower than 40 rpm: probably closer to 2 rpm at a wild guess) - the smooth rotation of the lathe gave me the best chance of a moderately neat weld:
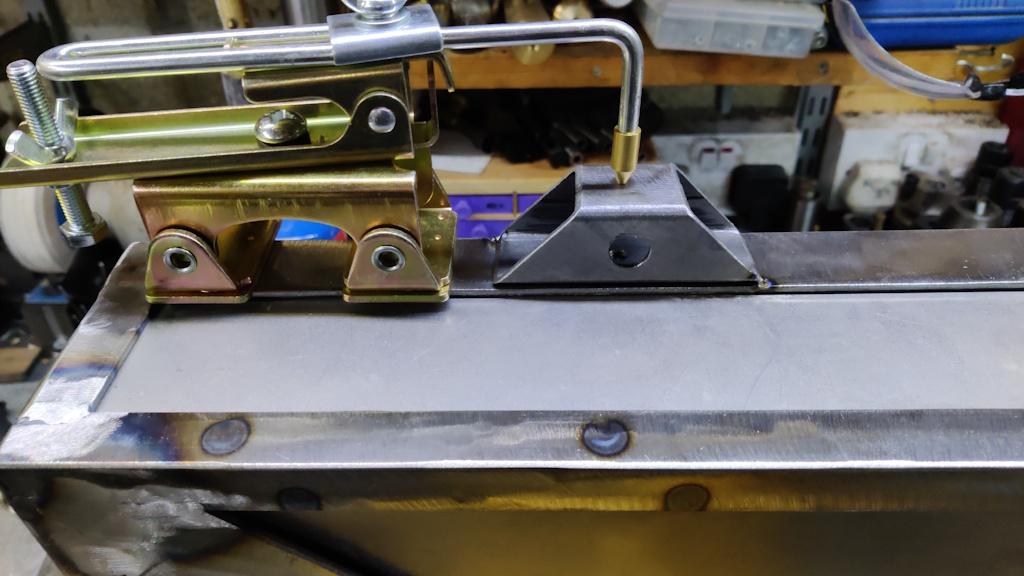
The door bracket (which I'd cut off a spare bit of box section at 45° for purely aesthetic reasons) got tack welded to the door, using the magnetic finger thing to hold it down:
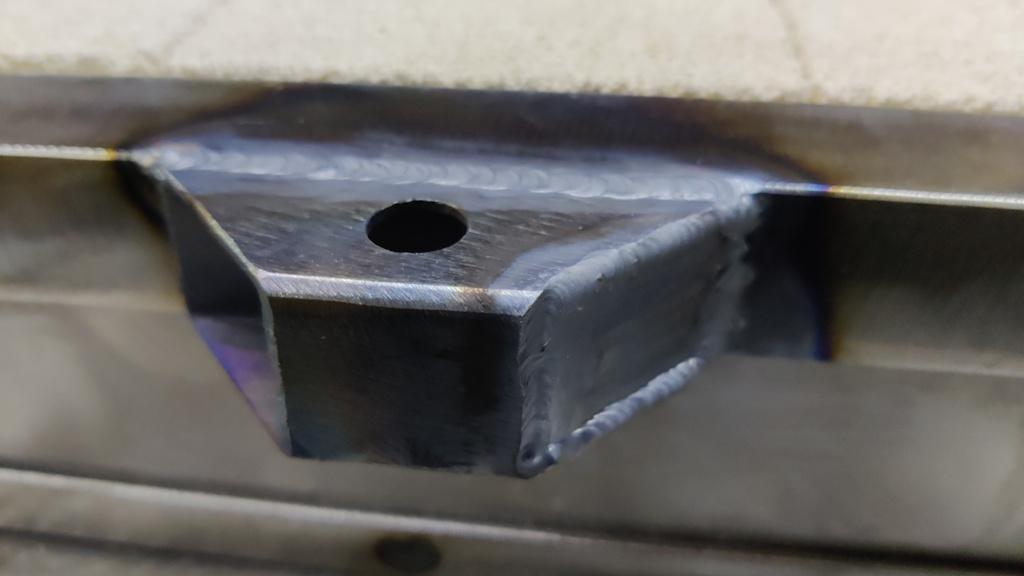
I cut off a spare bit of 3 mm plate that was about the right width and used that to fill in the end of the box section, just on the upper side (the lower side needs to be open to allow access for fitting a grub screw):
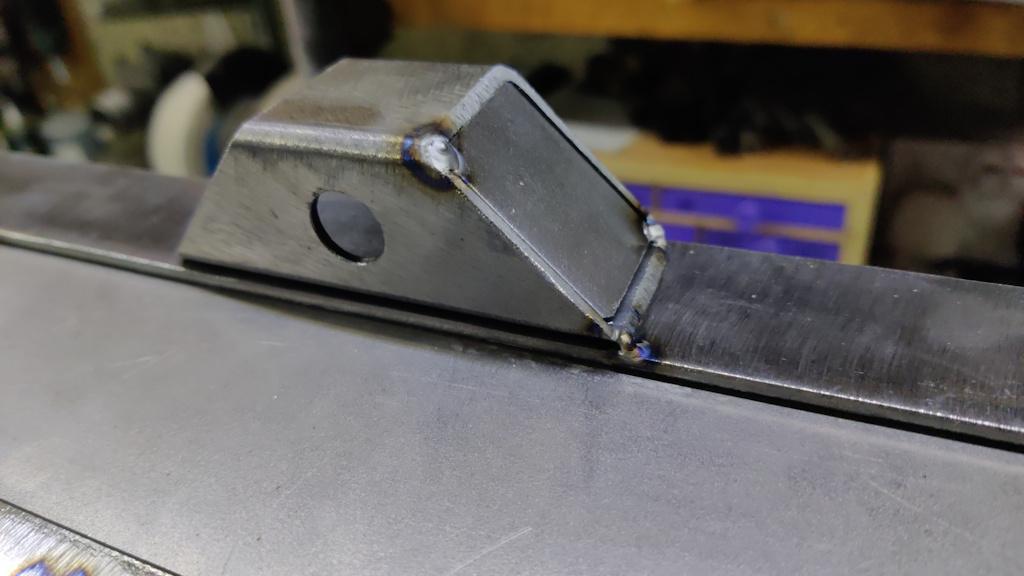
I could then weld it more thoroughly, before saying by the traditional welder's incantation of "well, that's not going anywhere":
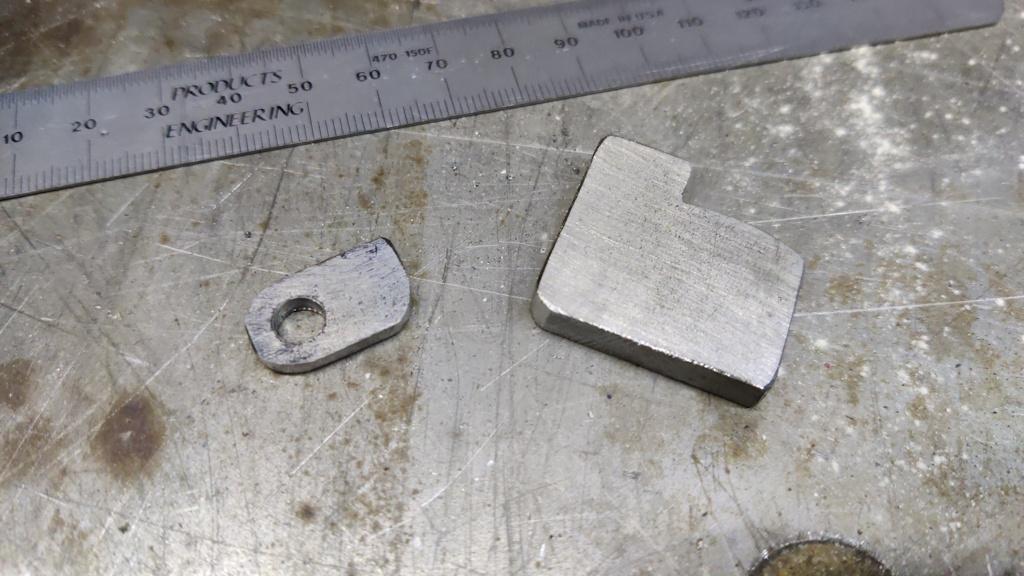
I needed two more bits for the latch mechanism; they were just made with saw and file (plus the pillar drill for one hole):
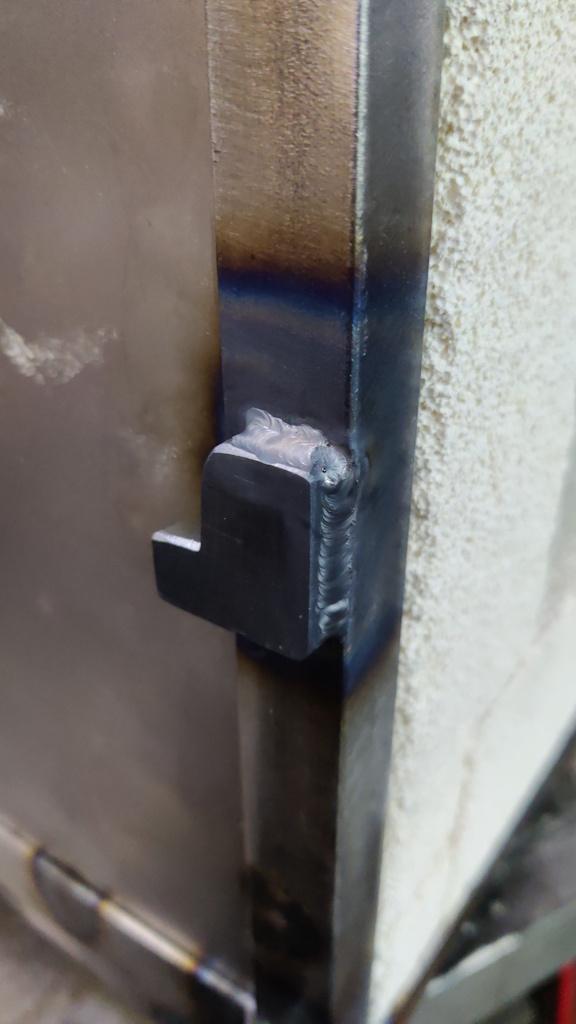
Fitting the latch stop was an example of where the magnetic finger clamp thing really comes into its own:
I only bothered to weld two sides of the latch stop as the other sides were awkward. I'm sure two sides will be ample:
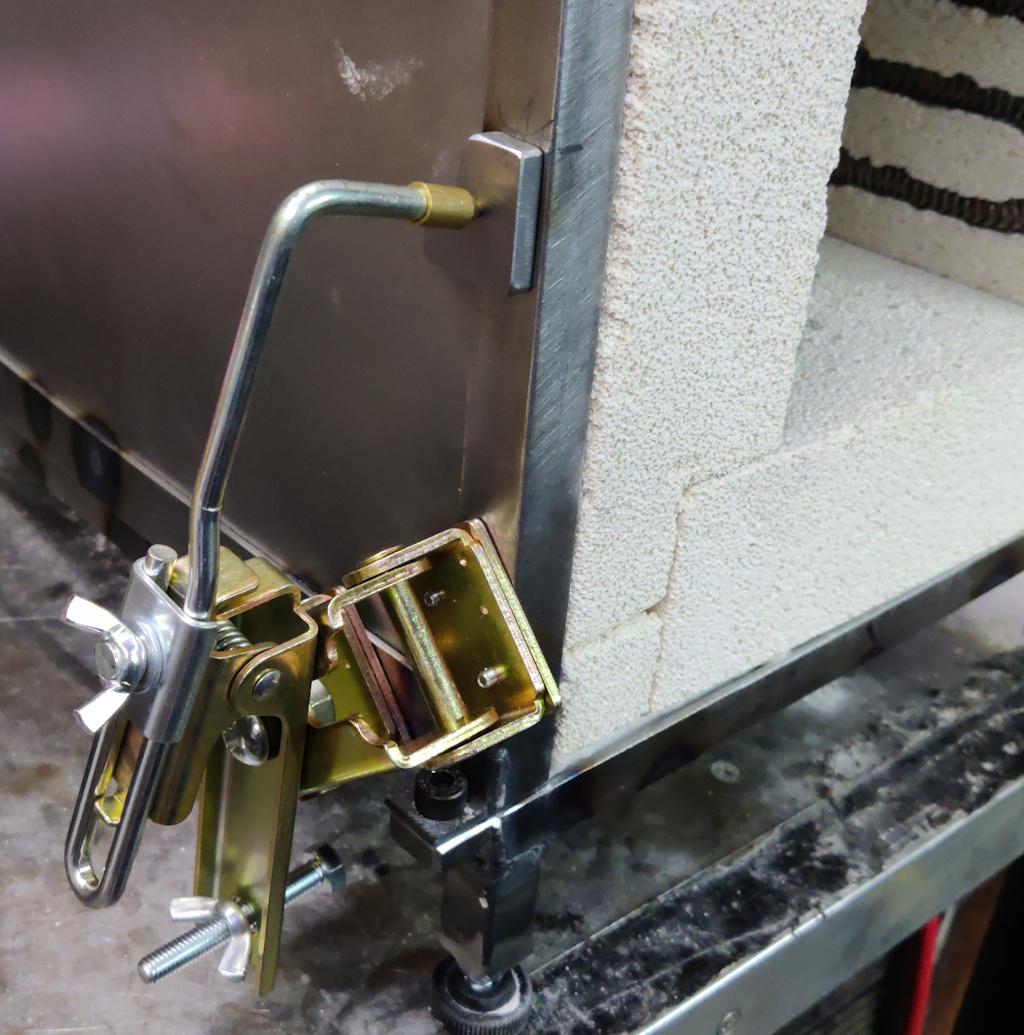
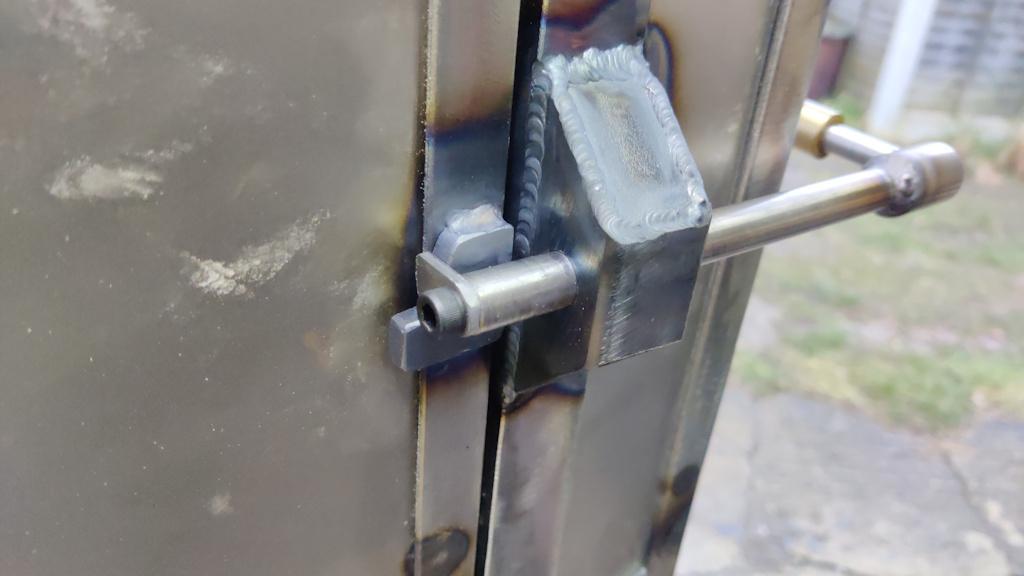
Once all the bits had cooled down, I could assemble the latch:
Rear view:
It seems to work well at the moment. It'll be interesting to see what happens when I get it up to temperature. I've no doubt that things are going to move a lot when it gets hot. Steel has a coefficient of thermal expansion (CTE) of about 10 μm/m/°C, meaning for every degree of temperature increase, a metre long bit of steel will grow by 10 μm. I'm sincerely hoping the outside (steel bit) of the thermal chamber won't get anywhere near the temperature of the inside, but if it did then the chamber would grow in length by about 4 mm over an 800°C temperature rise! I've no idea what the CTE of the insulating fire bricks is. Anyway, we'll see what happens; on the first run I intend to bring the temperature up very very slowly.
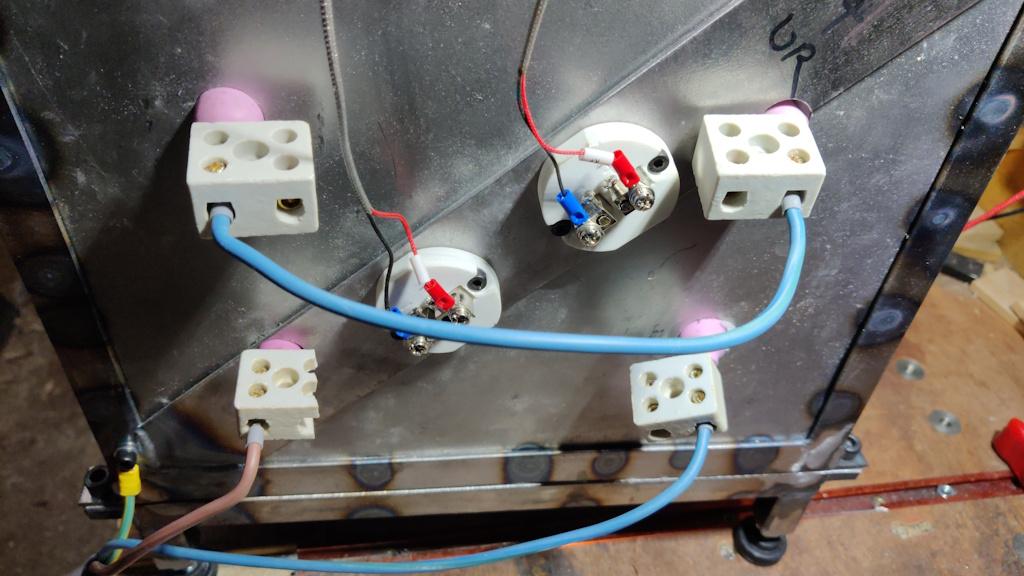
The last remaining major job I can think of at the moment is fitting the door interlock. That shouldn't be especially complicated; I'll probably have a go tomorrow or Sunday. However, in the meantime I do have the little bypass fitting in the side of the control cabinet so I thought I'd wire it all properly and do a little low temperature test. I did some probably slightly iffy wiring on the back...
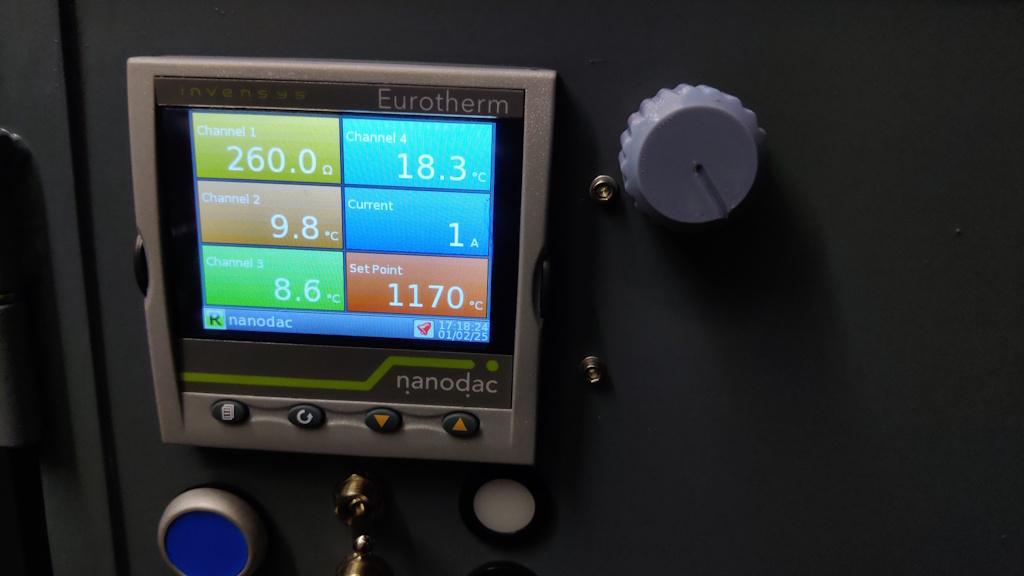
... and then plugged in the control cabinet. Not much happened!
It's putting current through the coil (I can hear the coil buzzing a bit), but hardly any: I think it got up to 3 A. The coil is 20 Ω, so the current should be of the order of 12 A. I think this is probably to do with the playing I was doing (with a lightbulb) as the load a month or two ago. I'd been trying to set it up to limit the current through the lightbulb (which, being only a 40 W bulb, was never going to be very high). I now need to figure out what I did and how to undo it!
I haven't really delved into the EPack programming that much yet. I did a quick experiment changing one setting that I remembered having tweaked compared to how it was set up when I received it, but on re-testing no current flowed at all, so I obviously made it worse! More investigation needed methinks.
Page 26 of 35
This website is free and ad-free, but costs me money to run. If you'd like to support this site, please consider making a small donation or sending me a message to let me know what you liked or found useful.

 Return to main project page