Japanese Style Pencil Case Build Process
Page 11 of 12
Posted 1st November 2024
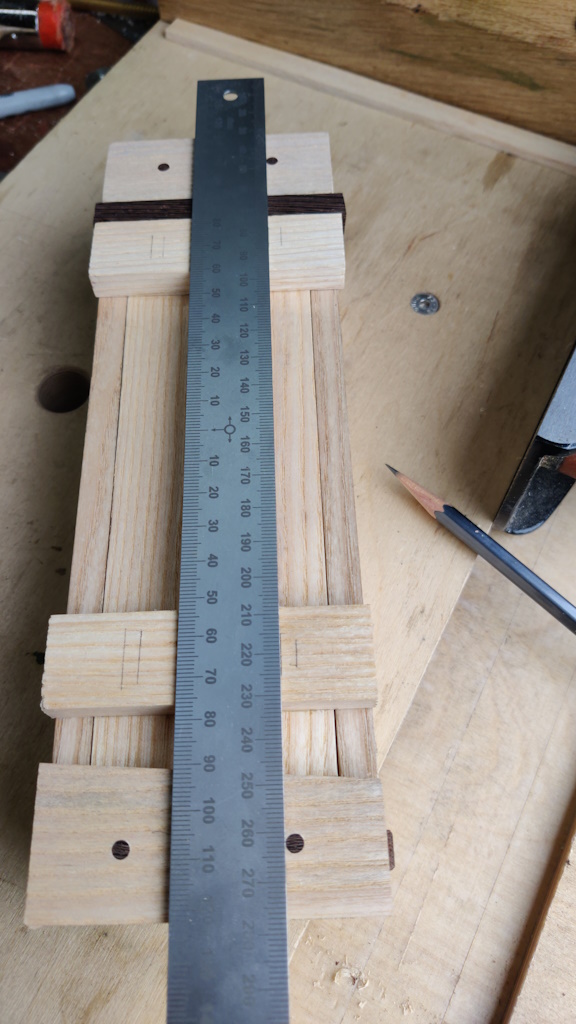
Before lunch, I took the lid out of its clamps and, having fitted it to the box, used a steel rule to mark along either side of the intended dowel locations, lining up with the dowels in the base:
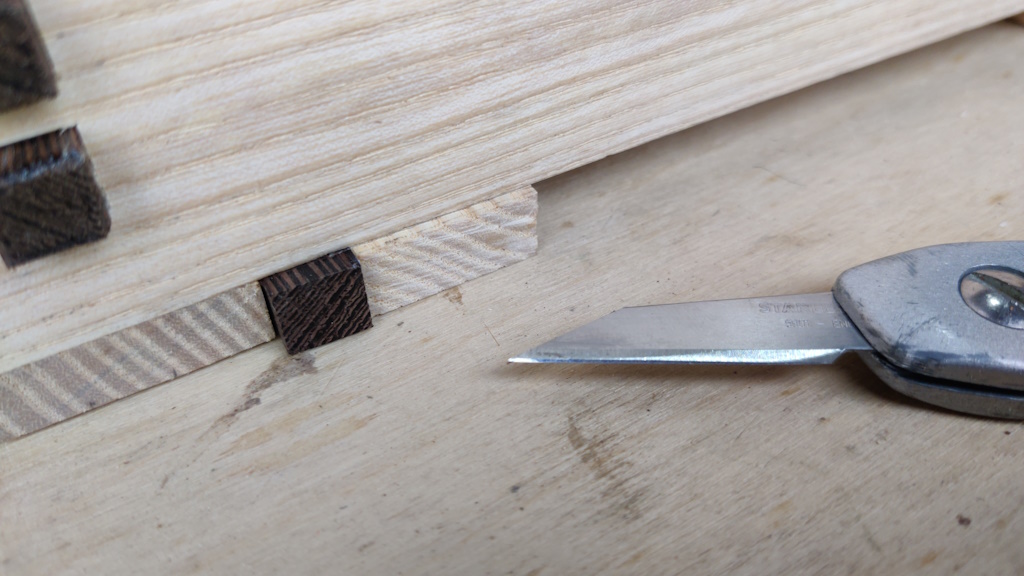
While the lid was in place, I used a knife to mark the length of the cross-pieces:
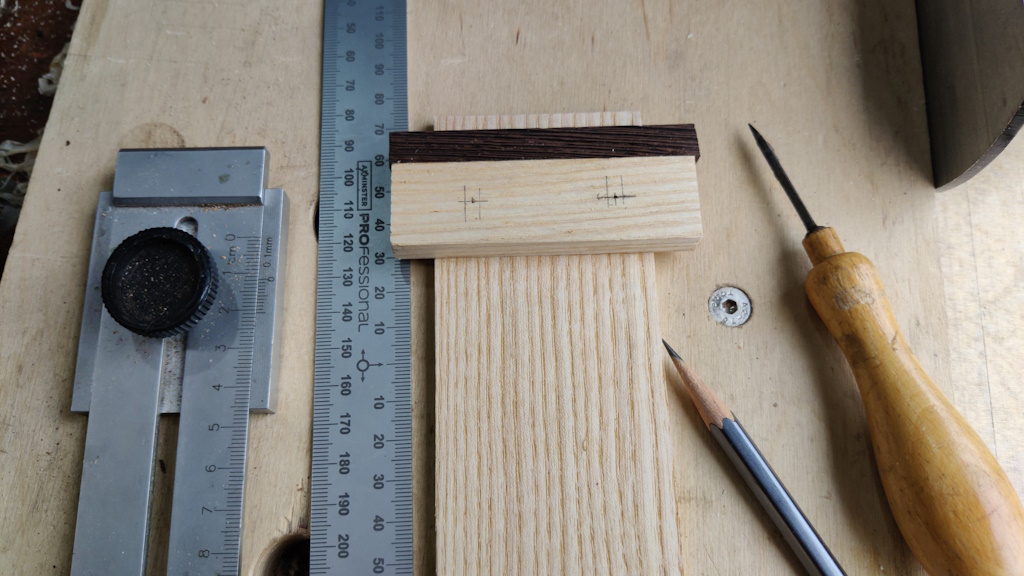
I could then bisect the two lines to find the dowel locations in one axis and then find the middle of each ash piece for the locations in the other axis. That got marked with pencil and then awl:
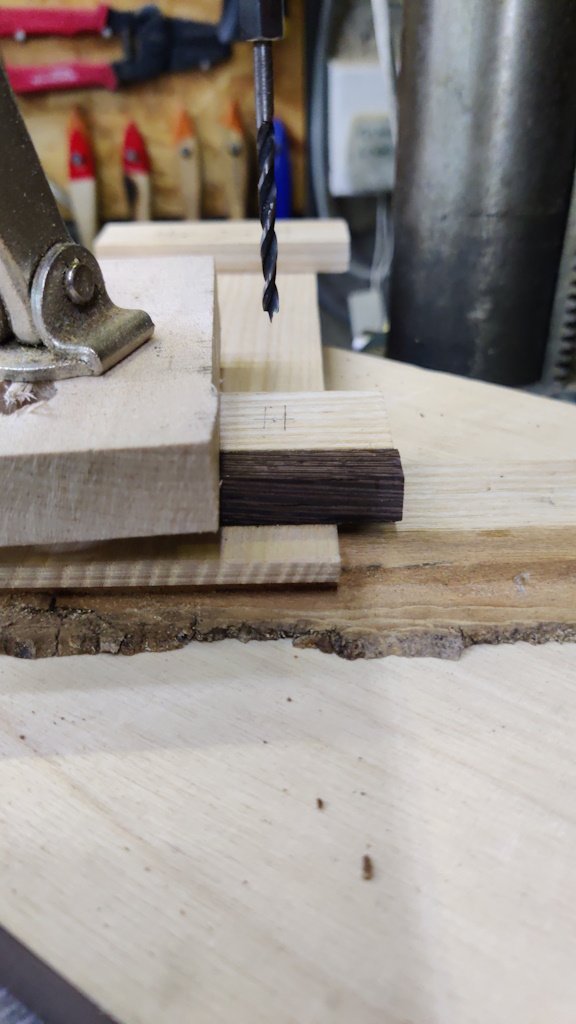
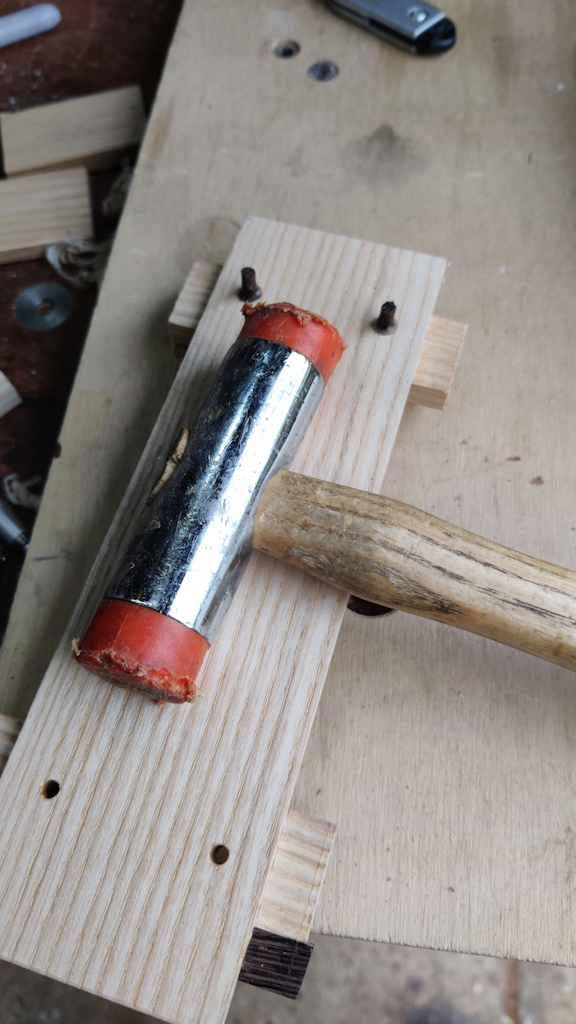
As these dowels will be through-dowels, I wanted to avoid break-out. The top surface will get planed down a lot later, so I could have just drilled from the bottom and not worried about it, but marking from the top was easier. To prevent break-out, I clamped the lid firmly down to an off-cut for each drilling operation, using a C-clamp for speed and convenience:
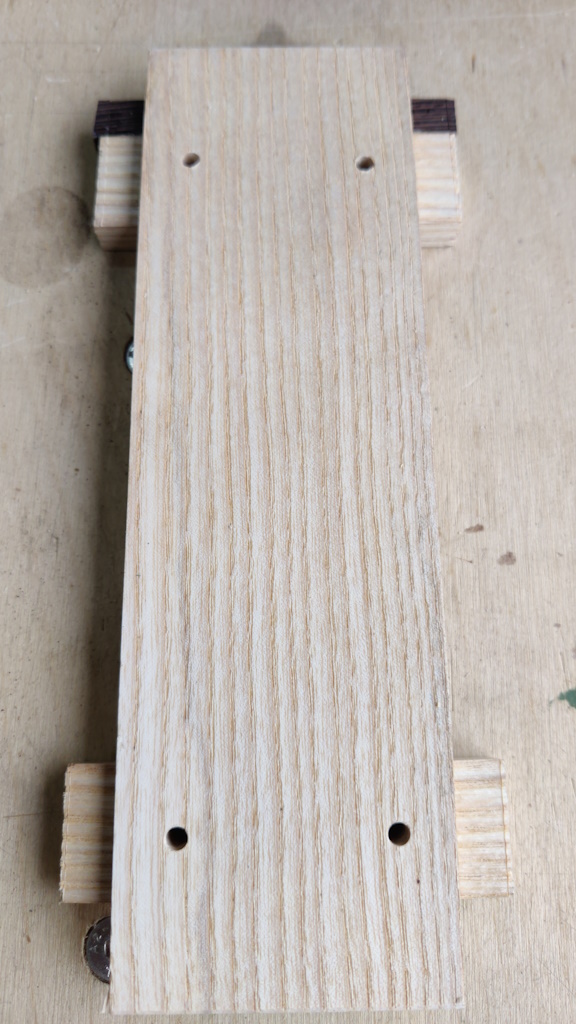
That left some nice clean exit holes on the underside:
I was feeling too lazy to warm up the liquid fish glue, so just applied it to the holes and dowels as it came out of the bottle (which worked absolutely fine) and tapped the dowels in:
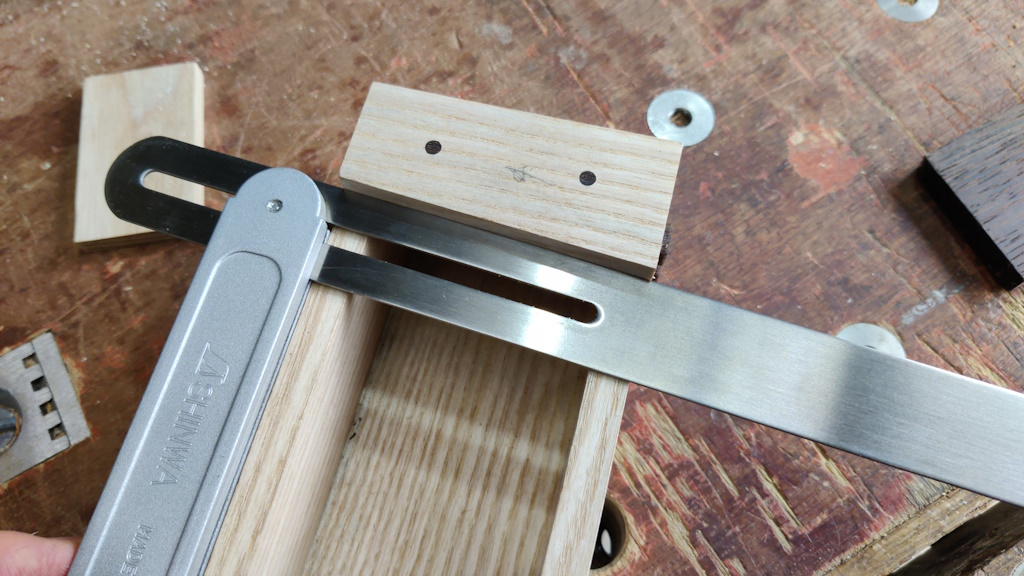
While the glue was drying, I got on with making the wedge. I started by using a sliding bevel to gauge the wedge angle from the box base:
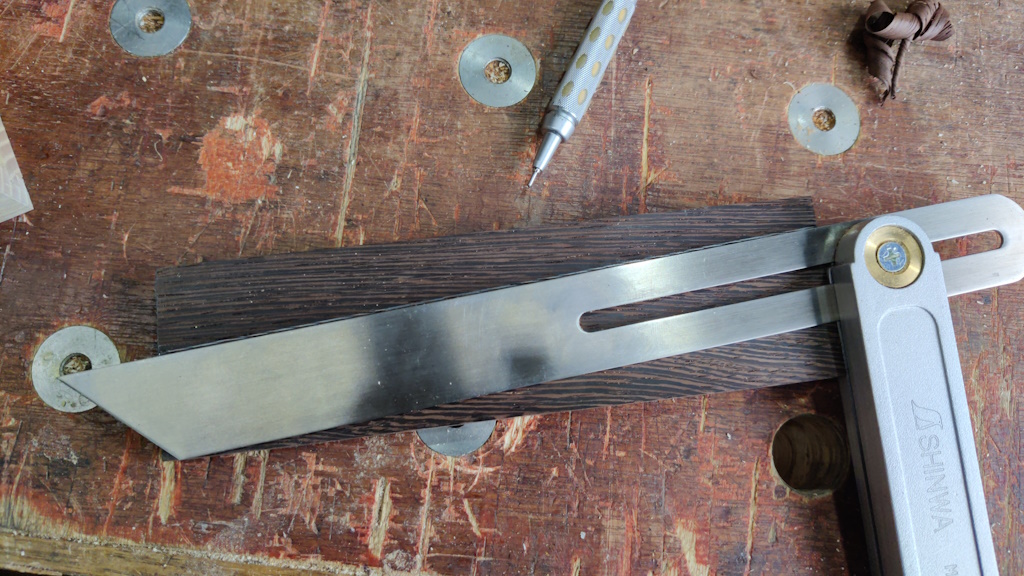
After shooting one end of a wenge piece square, I could use it as a reference for the sliding bevel's stock:
That bit got cut off with a dozuki:
I then planed the two edges square and flat. I could then tap the wedge into place and check the angle. It took a couple of minor tweaks to get it right, but it was quite quick. I then planed both edges at a slight angle to match the taper on the lid and base piece against which the wedge will ride. The wedge is hence narrower at the top and it shouldn't be possible for the wedge to lift up while it's tightly in place.
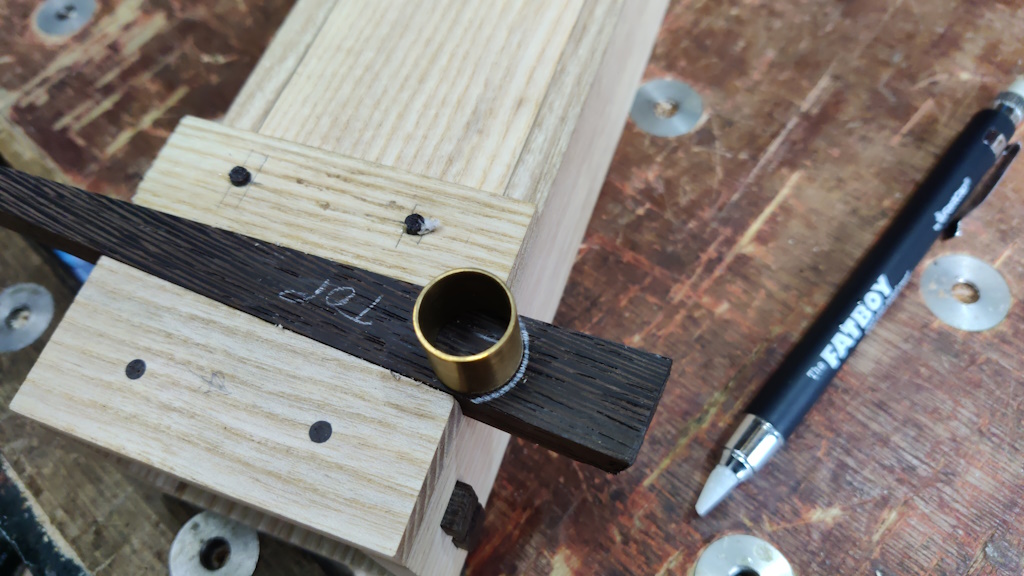
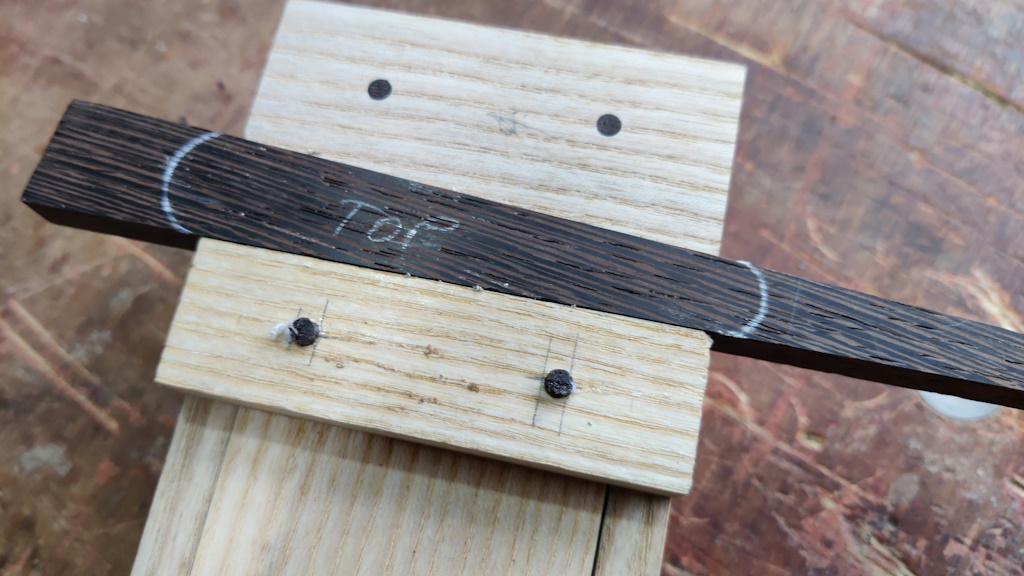
With the wedge tapped into place, I could find some convenient round objects and draw round them:
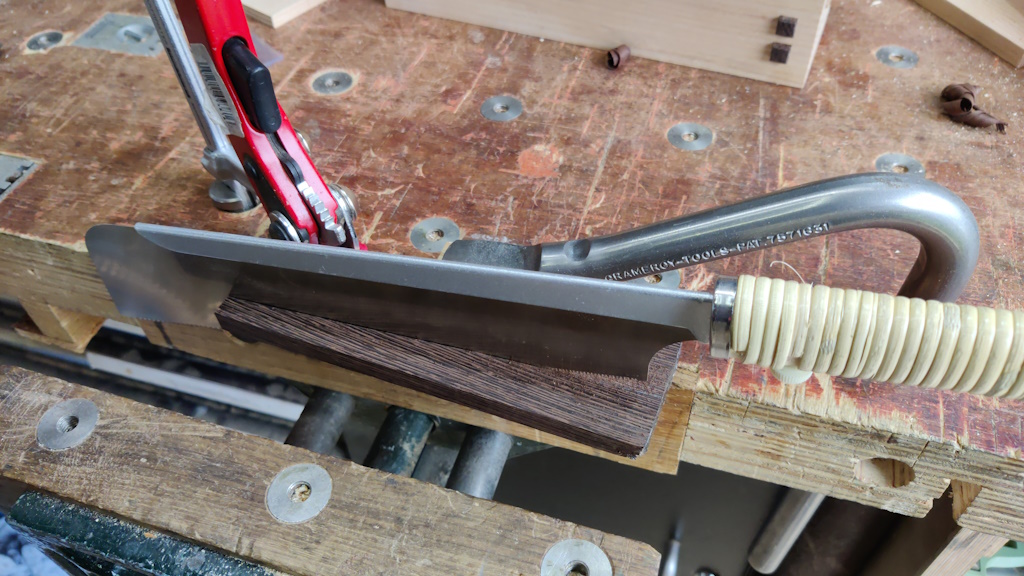
To get rid of most of the waste, I used a cross-cut dozuki to make a couple of saw cuts through the wedge:
I then used a chisel to gradually turn the edges into a curve:
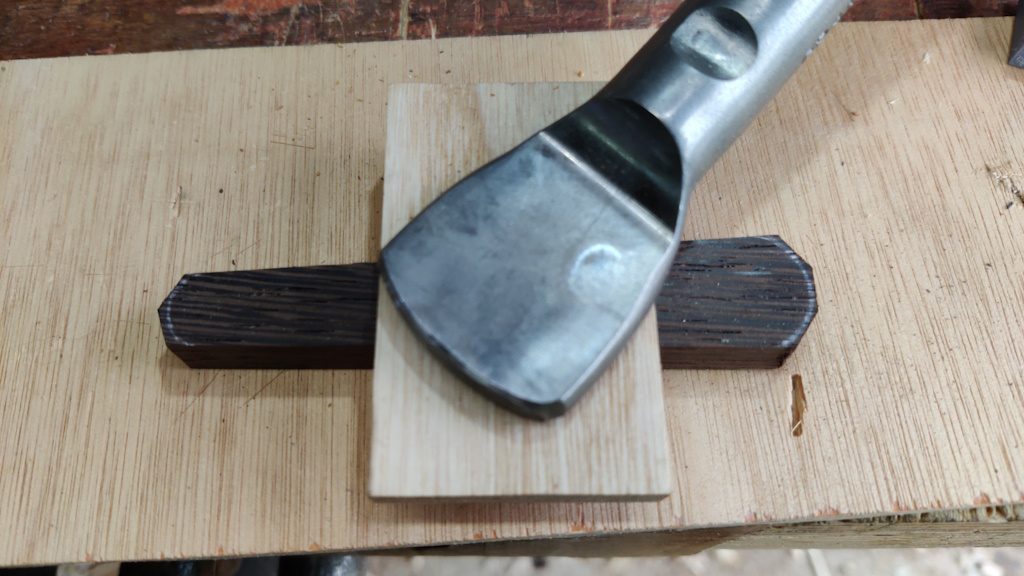
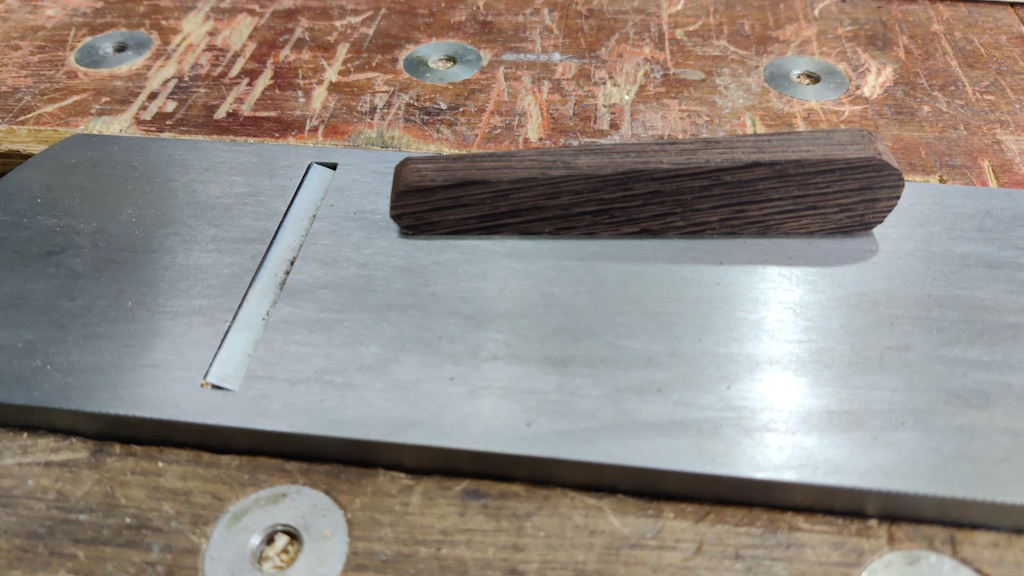
The #4½ was then clamped upside down in the vice and I used it to further smooth over the ends:
I was quite pleased with that. It really wasn't very long ago that I would have resorted to sandpaper for something like that and it's much more satisfying to do it with a cutting tool.
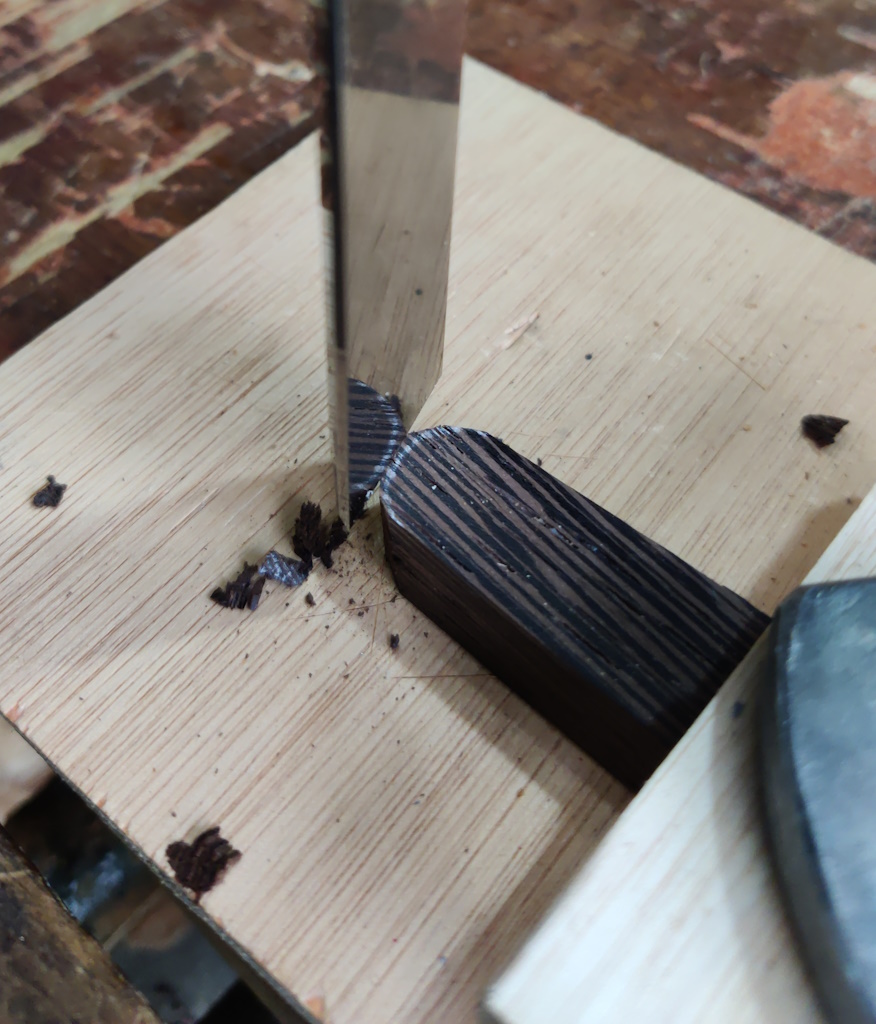
To plane the cross-pieces to length, I clamped the lid in the vice with a conveniently sized off-cut of sweet chestnut against the cross-piece to prevent break out. I then attacked the ends with the low-angle block plane until the knife line I'd made earlier had just disappeared.
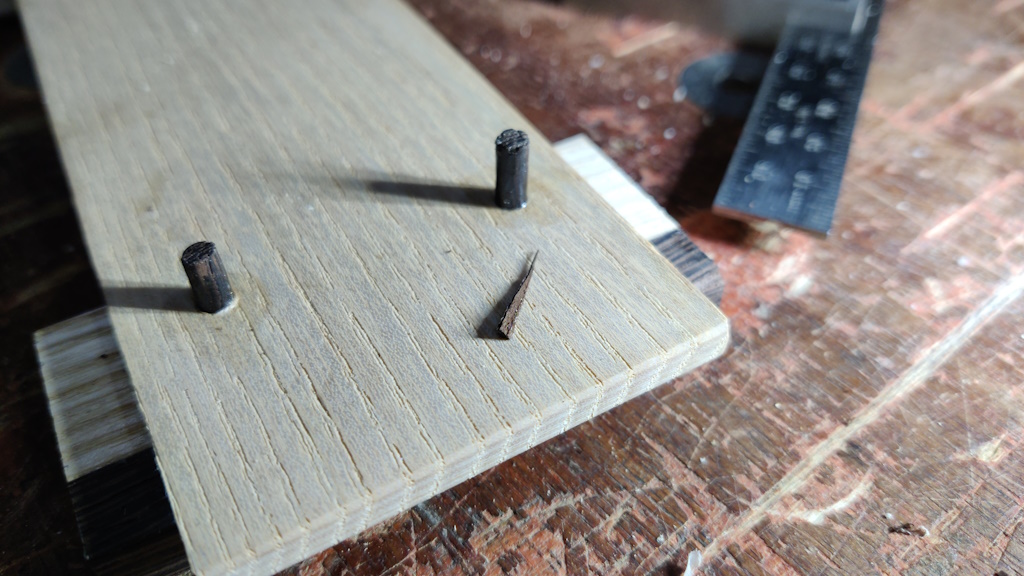
Unfortunately, I somehow still managed to have a tiny bit of breakout on the wenge piece (it looks much, much smaller in real life than in this photo!):
Fortunately (and really quite surprisingly), I managed to find the bit that broke off.
This is where I made a stupid mistake. I wanted to carry on sorting out the other ends, so I put the tiny little wenge piece inside the box body (where it couldn't possibly get lost) for safe keeping, with the plan that I'd glue it back into place as soon as I'd done the other cross-pieces. I promptly forgot about it and instead decided to plane the top surface of the cross pieces.
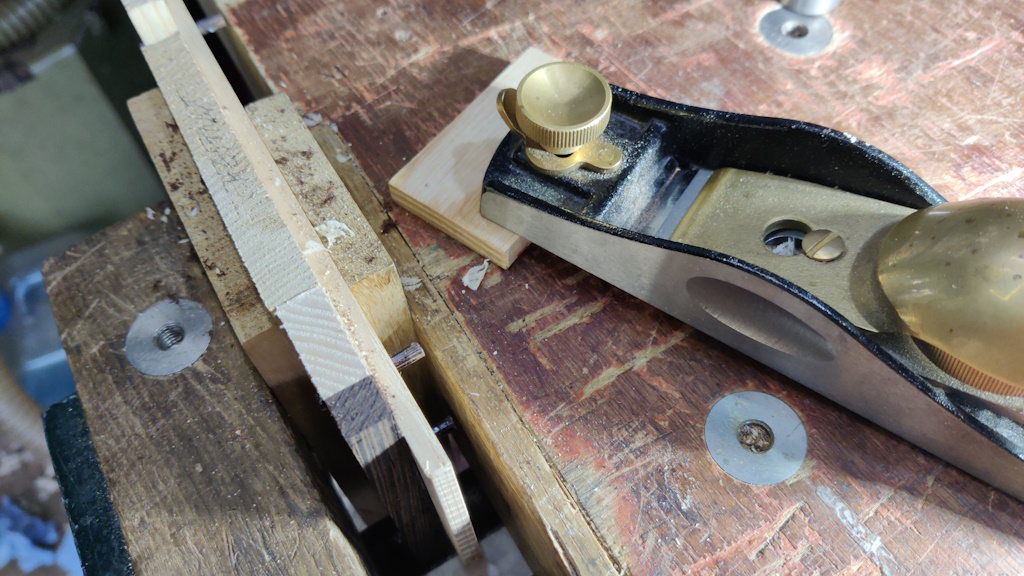
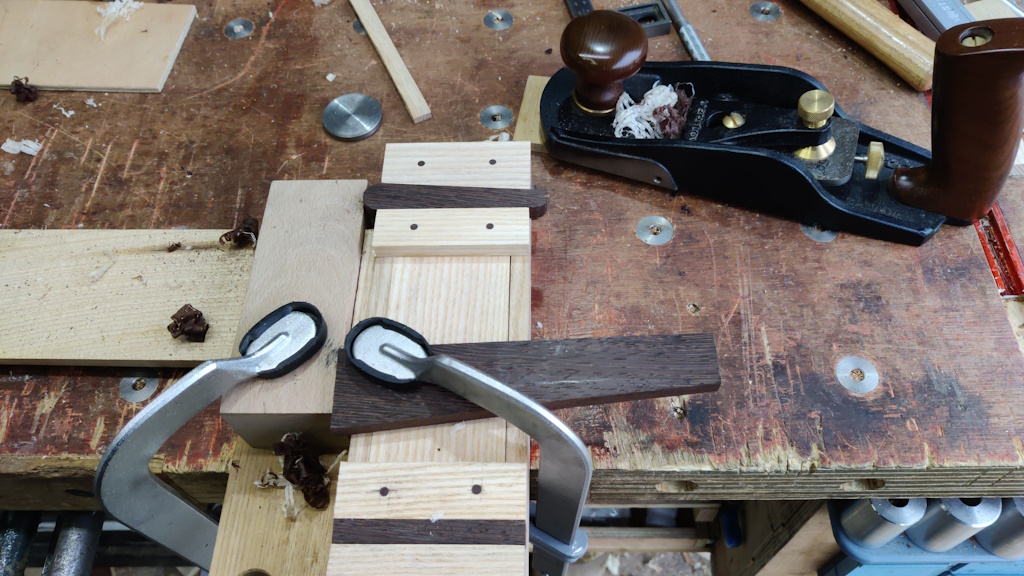
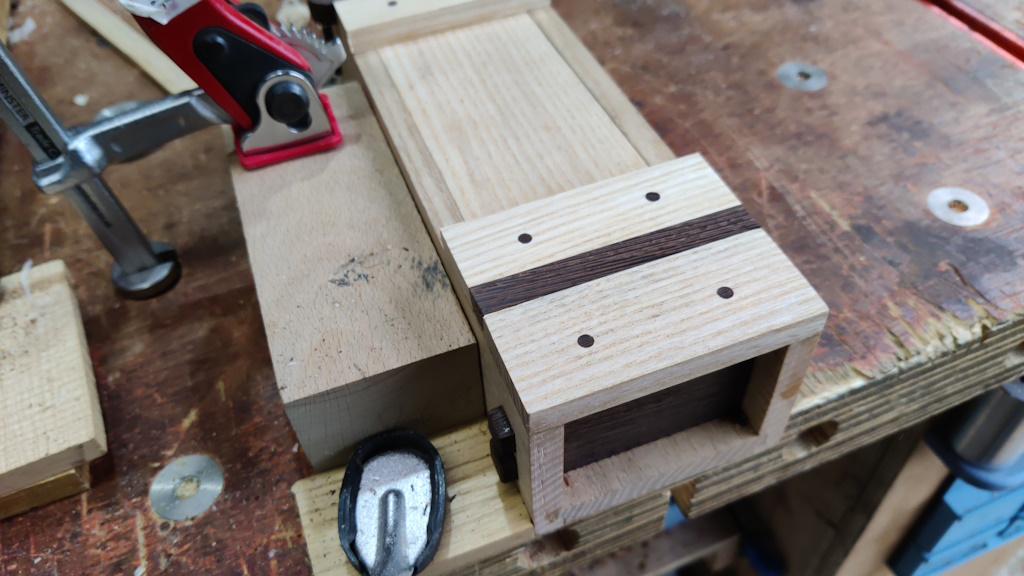
To do that, I fitted the lid and tapped the wedge into place. I then realised that I'd arranged the grain on the cross pieces such that planing them would need to be done in the direction that would push the wedge out. To deal with that, I came up with a simple planing stop that supported both the side of the box and the end of the wedge:
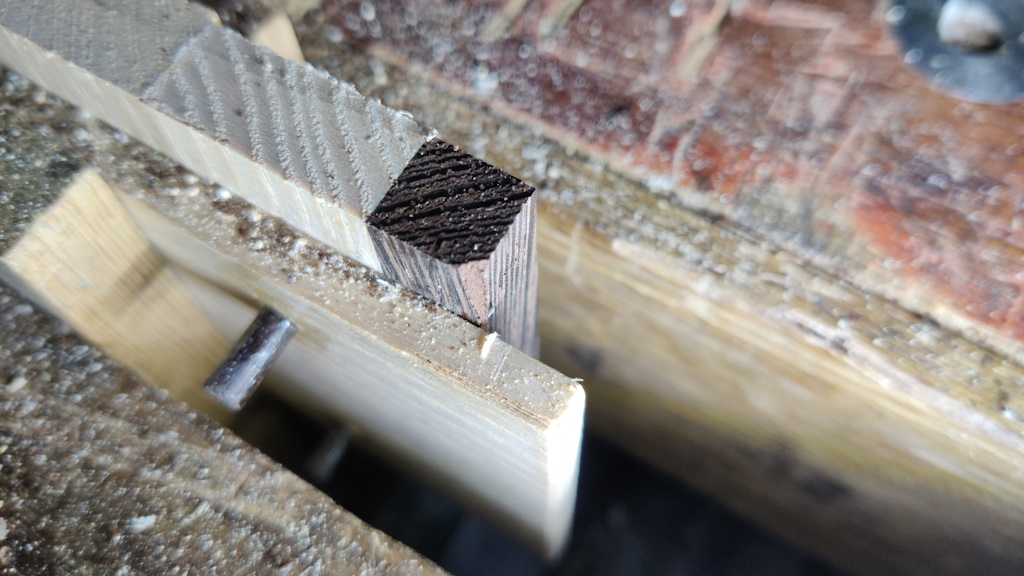
The other end was much simpler:
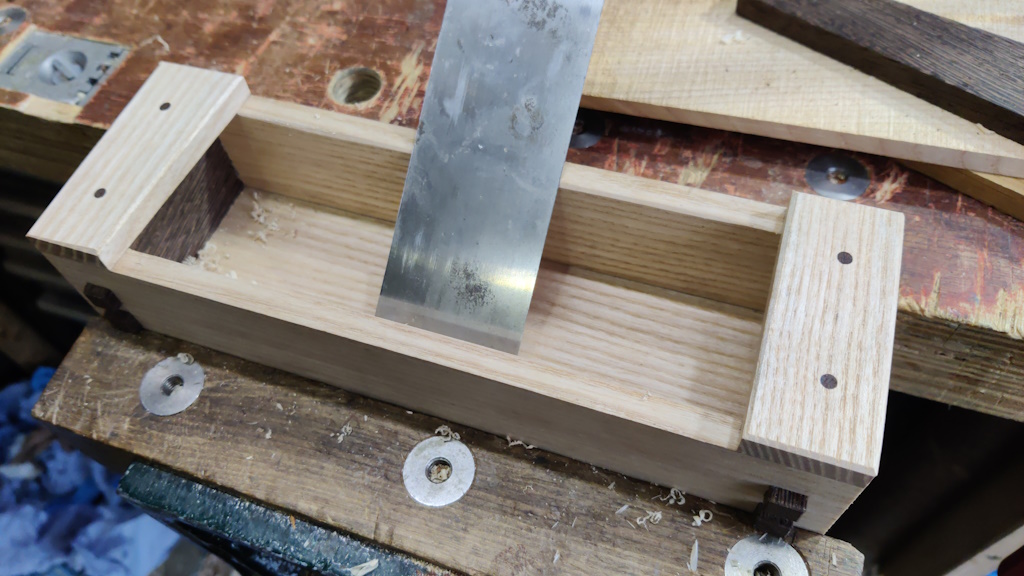
I was very close to completion at this point, so I felt it was time to give all the corners a light chamfer. Mostly that was done with the block plane, but the internal corners (which I really should have chamfered before putting the box together) I did with a card scraper (which was satisfying again as previously I would have done this with sandpaper):
At that point, there were lots of little card scraper curls that had fallen into the box, so I tipped it up and blew into the box to get rid of them... and then remembered the little piece of wenge that I'd put in there for safe keeping. Never mind, it's really not that obvious unless you're looking for it, so I think I'll put it on the list of mistakes made and (hopefully) lessons learnt!
With that, the box is essentially complete. I've given it the first coat of Mike's Magic Mix, but it was getting a bit dark for a decent photograph, so I'll get some pictures tomorrow.
Page 11 of 12
This website is free and ad-free, but costs me money to run. If you'd like to support this site, please consider making a small donation or sending me a message to let me know what you liked or found useful.

 Return to main project page