Japanese Style Pencil Case Build Process
Page 10 of 12
Posted 31st October 2024
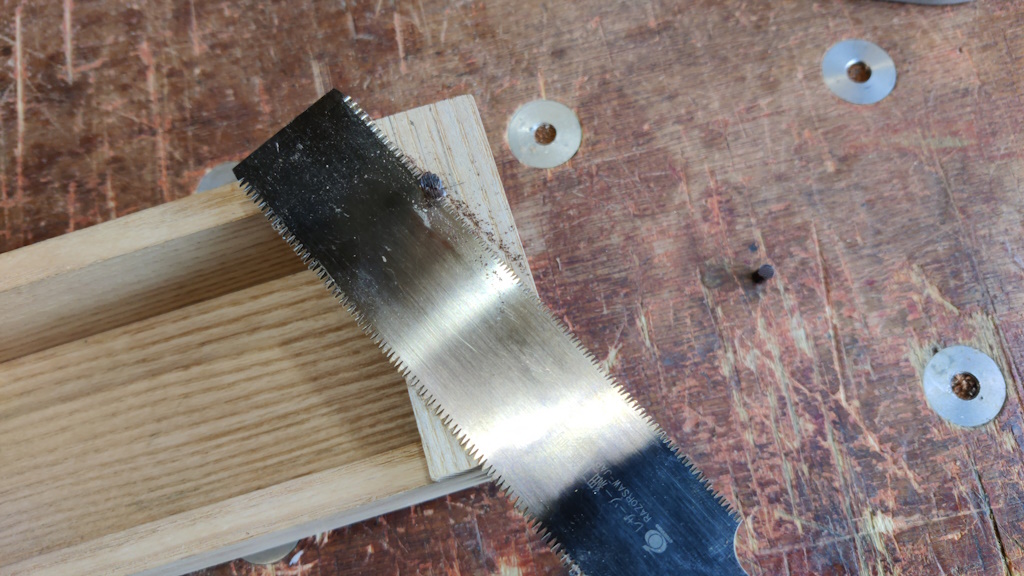
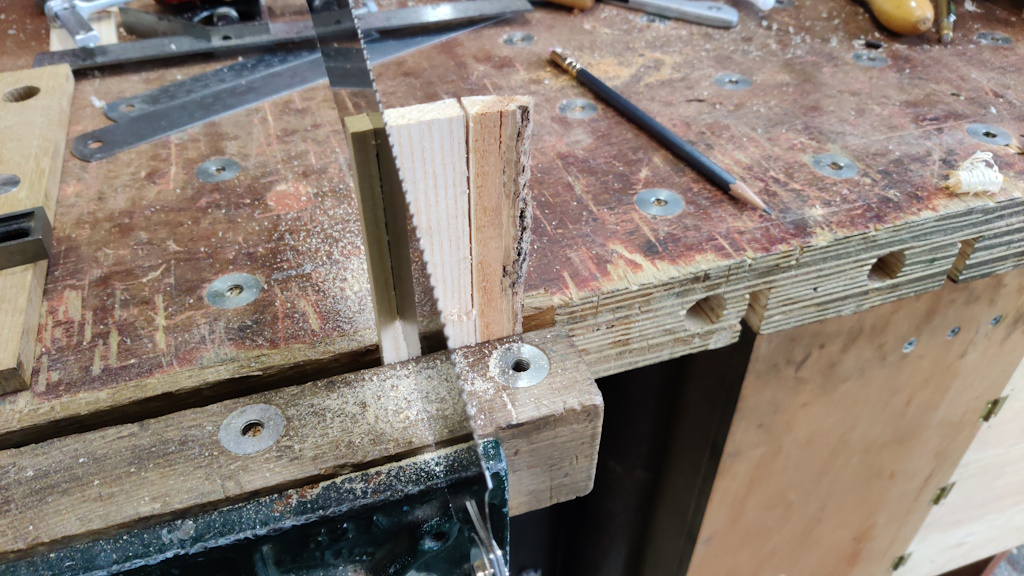
Another brief outing to the garage this evening saw a little more progress made. I started by chopping off the tops of the dowels with a flush-cut saw:
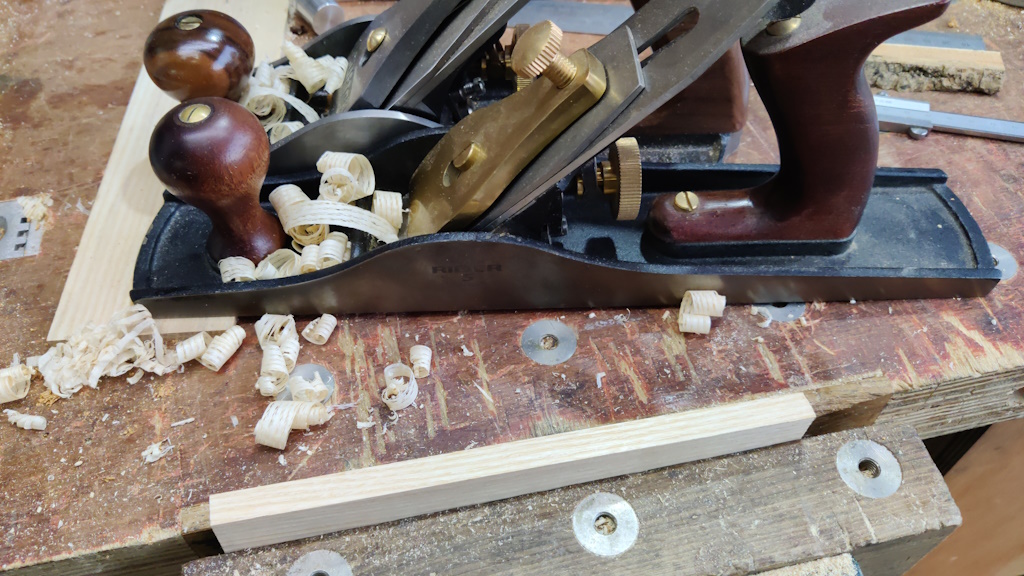
Then planed the tops to give a smooth finish:
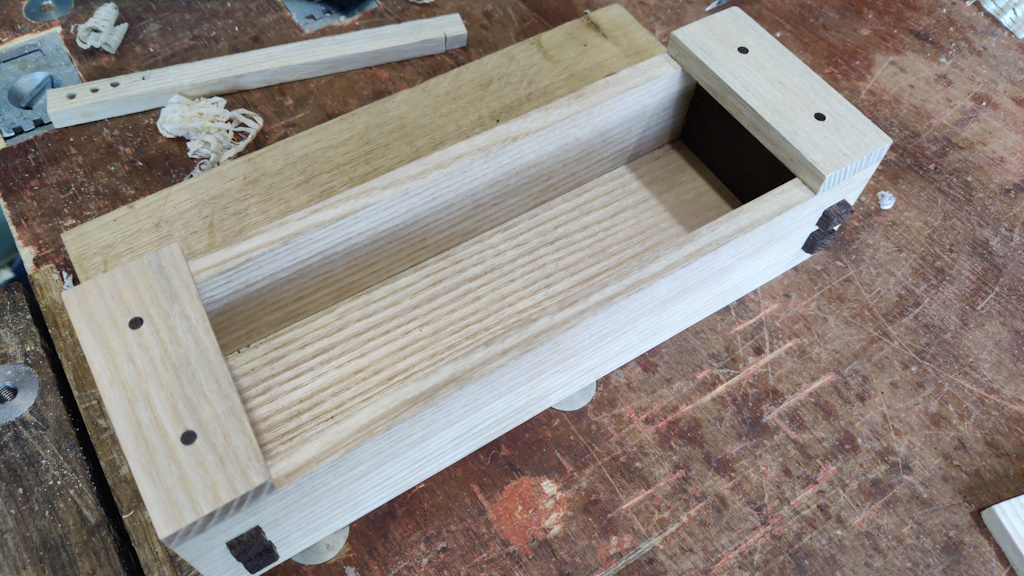
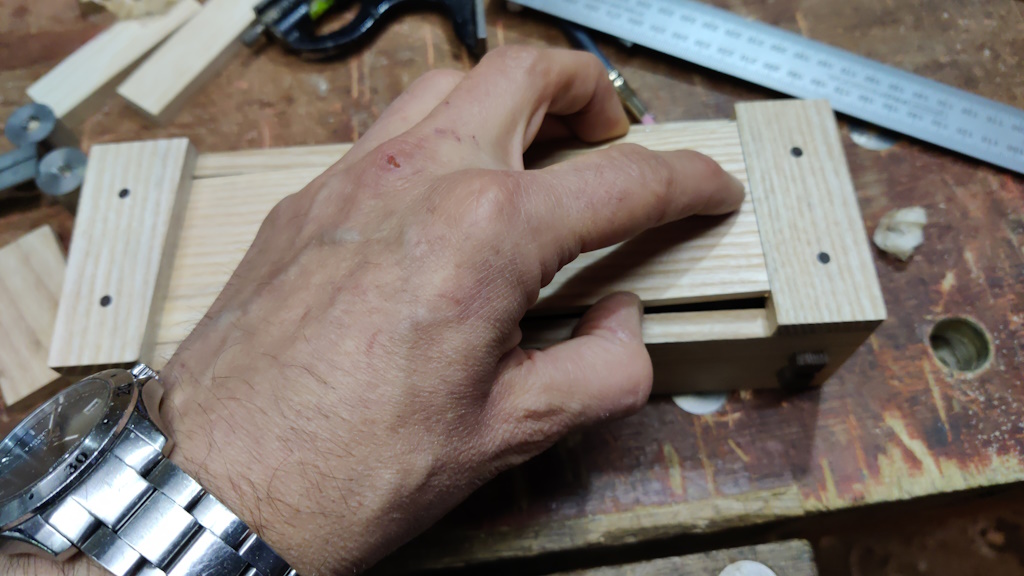
With that done the body of the box is basically finished. I'll do a bit of light chamfering here and there, plane the end grain on the end of the box and plane the bottom before applying oil, but other than that it's done I think.
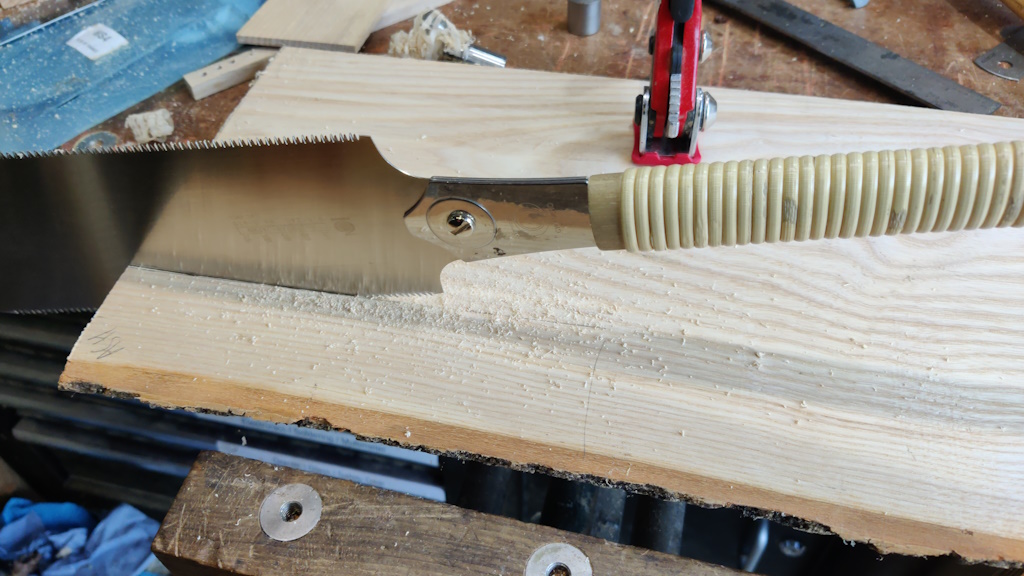
Unfortunately, the cross-pieces attached to the box used up my last little bit of prepared ash. To get the cross-pieces that go on the lid, I needed to dig out a big plank and attack it with the Ryoba:
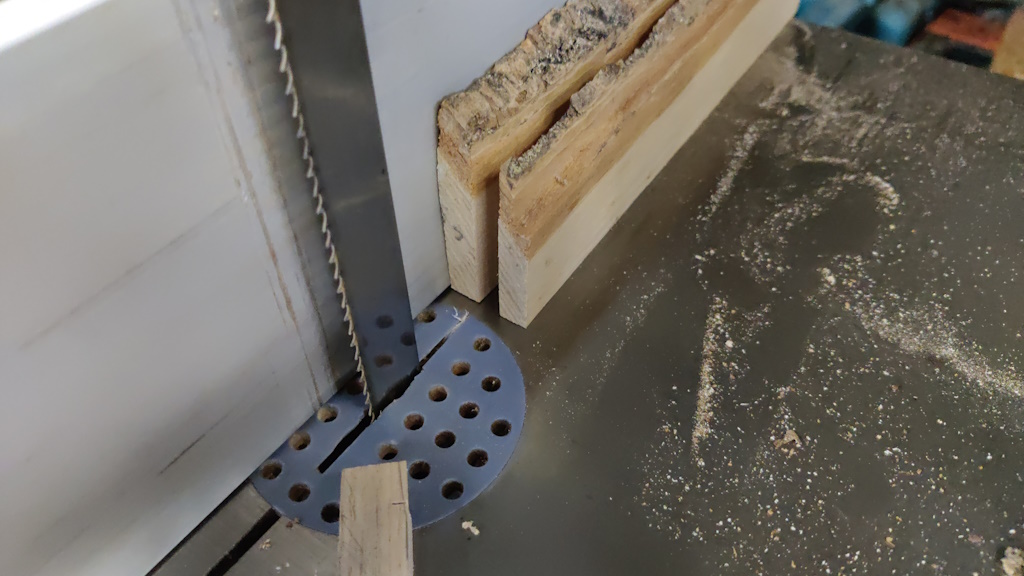
The cut-off piece got planed on one side and one edge and then fed through the bandaw:
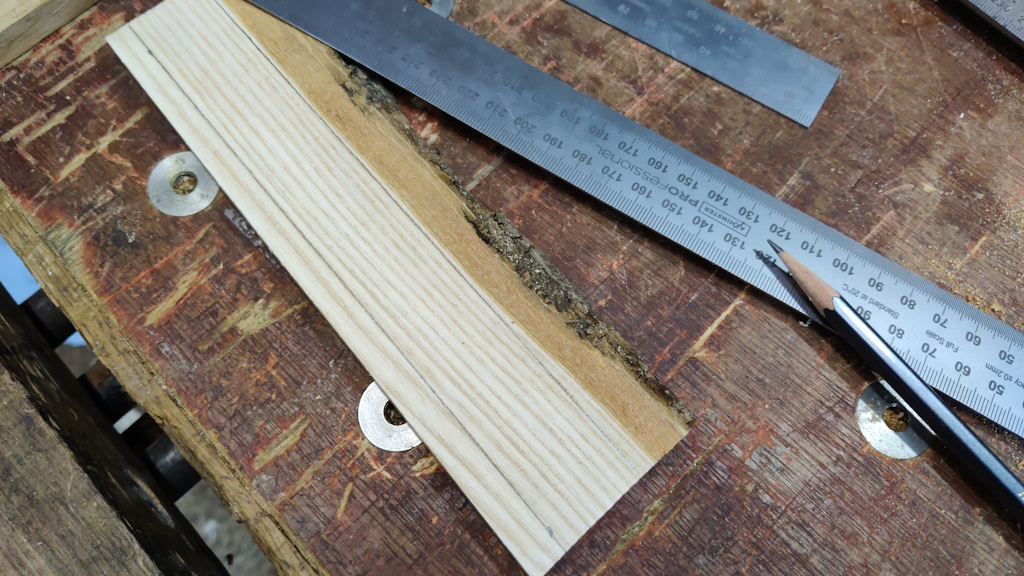
I could then pick the bit I wanted (with the grain as similar as possible to the other top pieces) and mark out a rectangle:
I chopped that up in the vice (rather erratically):
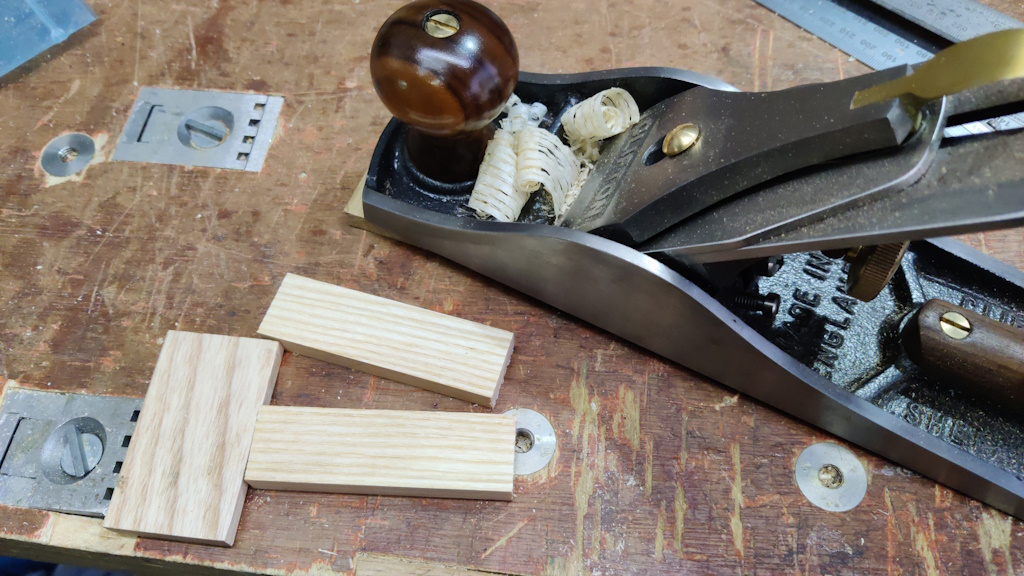
I then planed the edges until they were parallel and square to the first side...
... and, after chopping the piece in two, I planed the bandsawn face:
That left it slightly thicker than the pieces that are currently attached to the box, but I'll deal with that once they're glued in place. The lid was planed until it was a fairly loose fit width-wise in the box (to allow for a bit of expansion of the lid) and then I used the shooting board to reduce the length until it would just slip past the back stop when the other end was tucked under the wedged front stop:
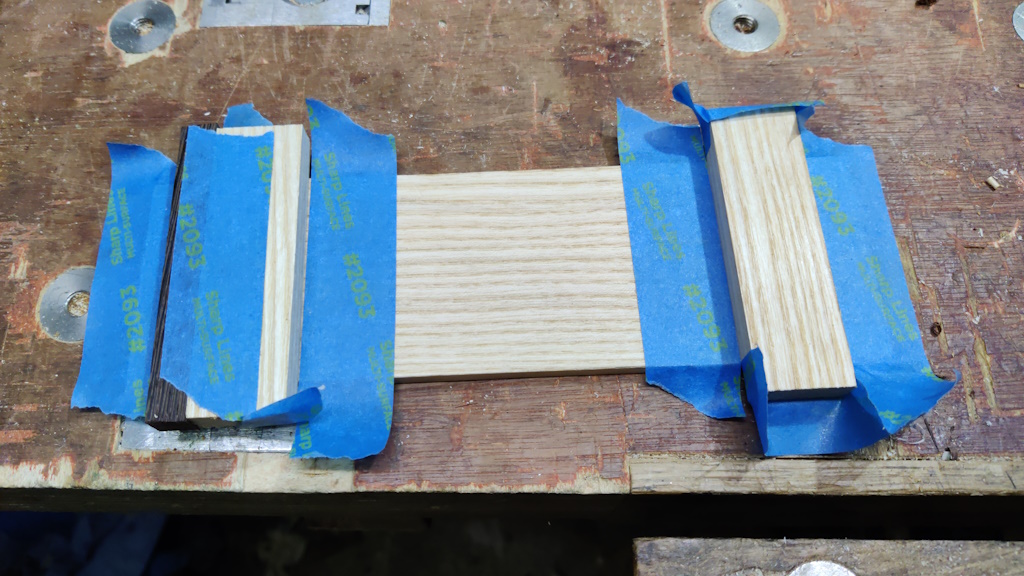
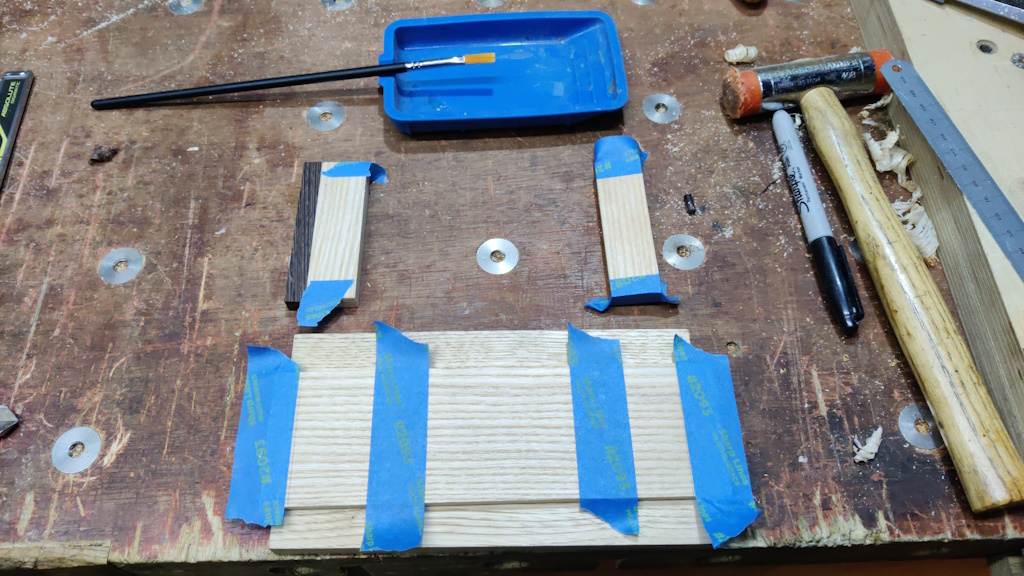
I could then figure out and mark where the top pieces needed to go and mark the locations with masking tape:
The fish glue went in a mug of hot water to loosen it up a bit and I got everything else ready to go:
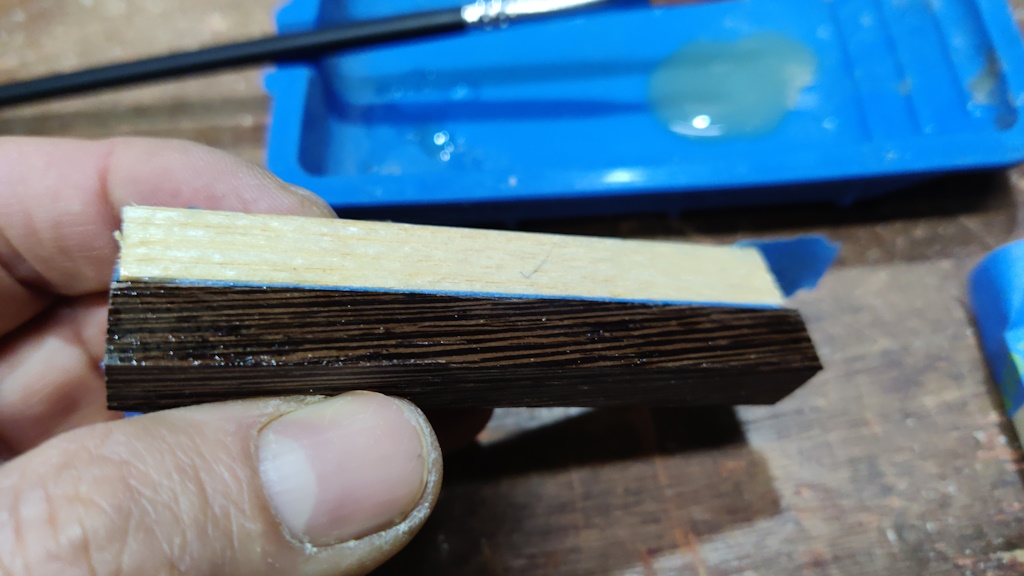
I started by gluing the edge joining the little bit of wenge ("prepared off camera as the youtubers like to say!) to the ash piece:
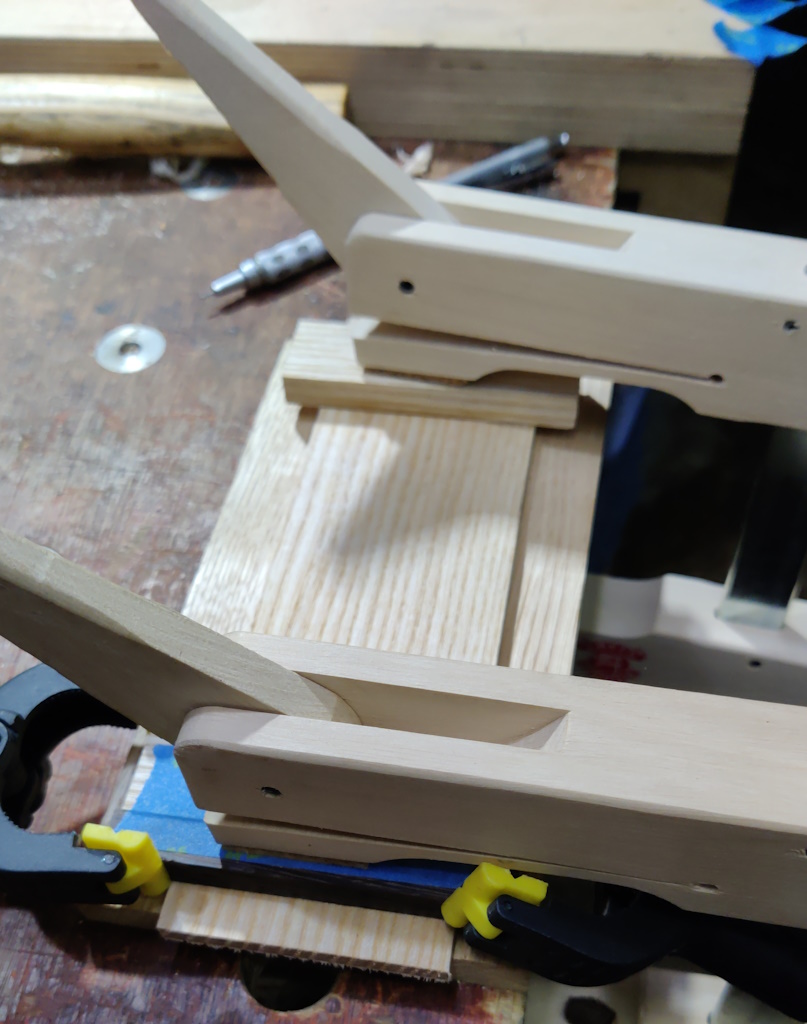
As is now traditional, I then stopped taking photos and just got on with applying glue and getting everything clamped in place. I used the wooden cam clamps again so that I could easily tweak the position after getting it in roughly the right place. Once the clamps were tight, I peeled away the masking tape and wiped off the squeeze-out with a moist cloth.
Tomorrow I'll hopefully drill the dowel holes and glue the dowels in place. I'll also make the wedge.
Page 10 of 12
This website is free and ad-free, but costs me money to run. If you'd like to support this site, please consider making a small donation or sending me a message to let me know what you liked or found useful.

 Return to main project page