Japanese Style Pencil Case Build Process
Page 2 of 12
Posted 20th October 2024
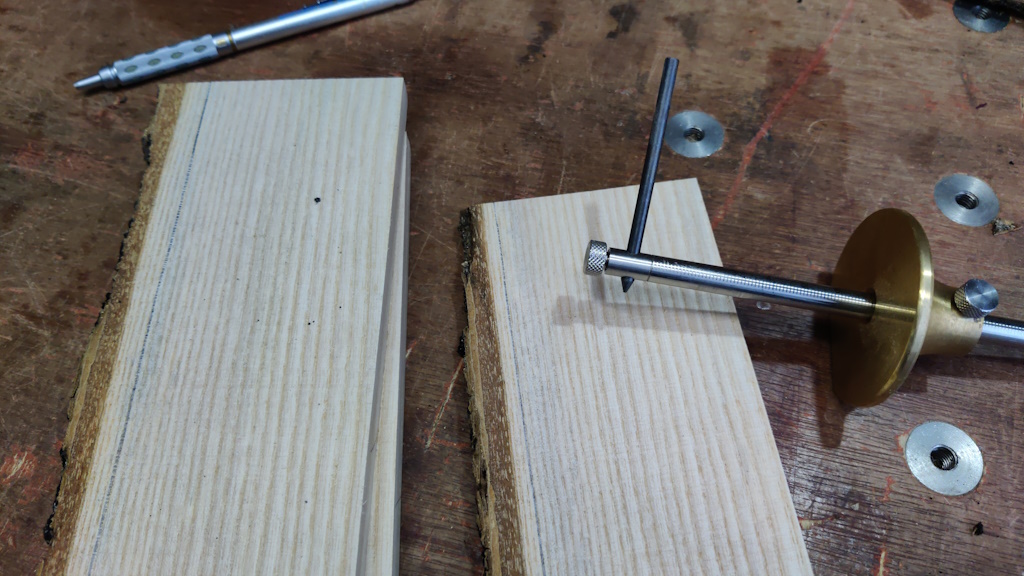
I haven't been getting much time in the workshop lately, but I have made a bit of progress. I started by using an interchangeable head marking gauge I've got, fitting a pencil lead in place and marking a consistent width, as big as possible but with all the bark removed:
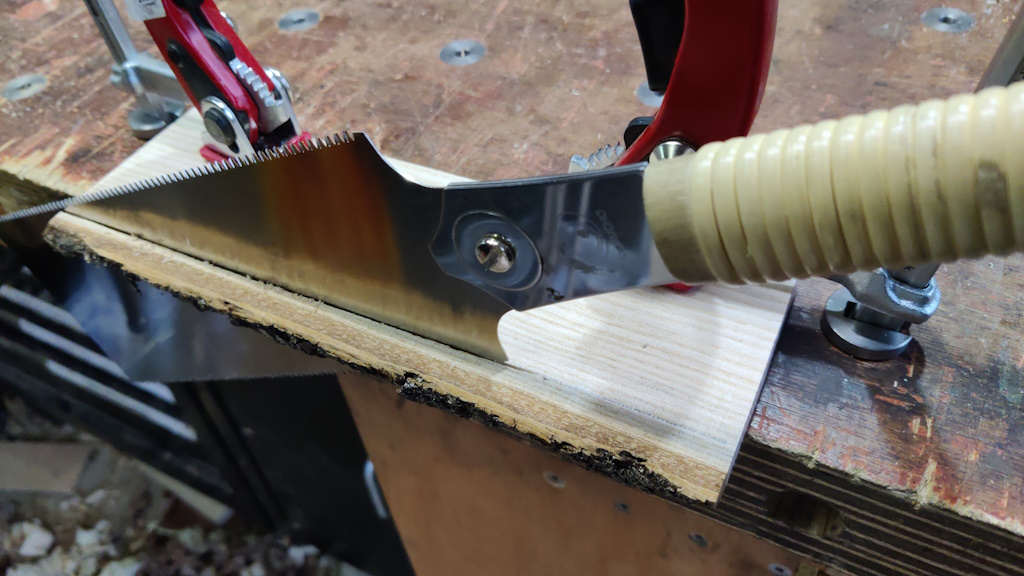
I then sawed the bark off.
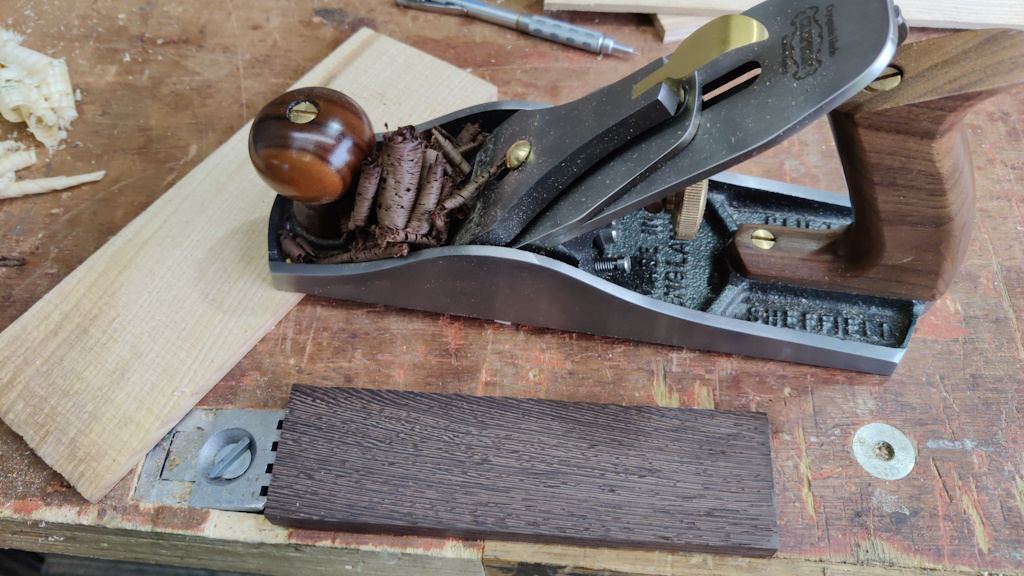
All the bits then got planed to thickness (9 mm), using my new toy for the well-behaved boards like the wenge slices...
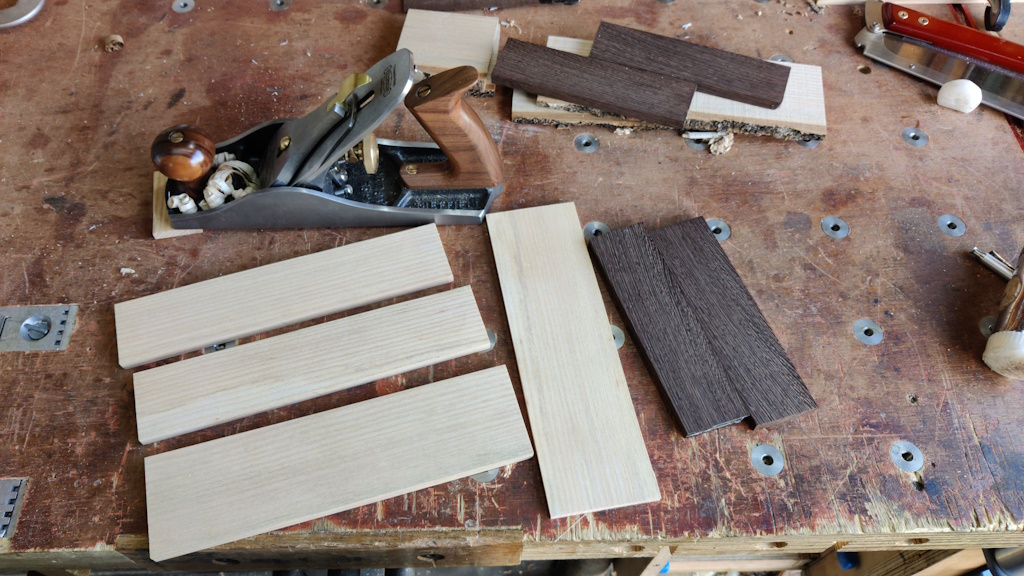
... but resorting to a 62° cutting angle Veritas bevel-up smoothing plane for some of the ash bits. Once everything was thicknessed, I took two of the ash bits and sawed and then planed them down to 52 mm width and I also planed one of the off-cut slices of ash down to 5 mm thick: that one will form the box lid in due course:
The 52 mm wide parts, destined to be the sides of the box, got shot to the same length (a bit under 250 mm I think, but I was just aiming for them both being the same rather than going for a particular dimension):
I then ploughed a groove along the bottom edge of each side piece. I did this with my Stanley #45, using a home-made 5 mm plough plane blade. The groove is 5 mm wide, 4 mm deep and offset 4 mm from the base of the box. To plough the groove I used a "sticking board" that I made several years ago and had forgotten all about until I recently unearthed it when digging through some plywood off-cuts - it worked really well:
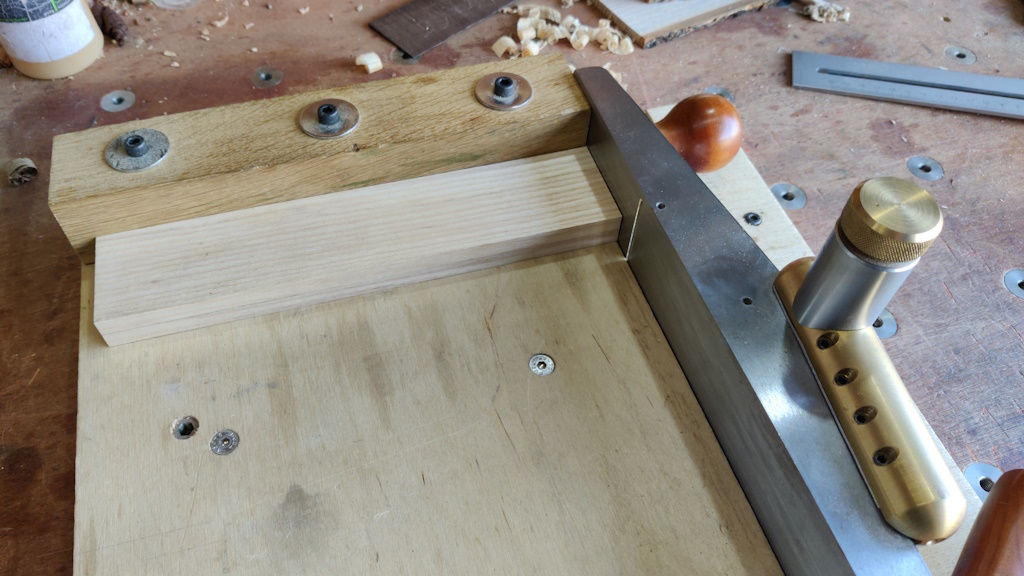
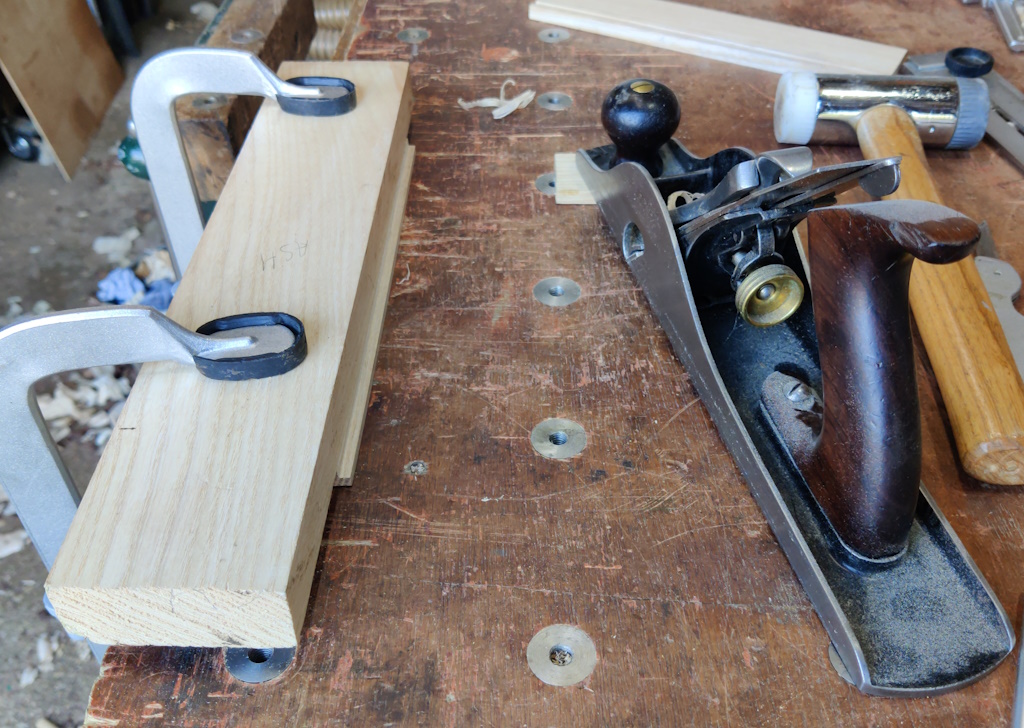
To cut the rebates in the base piece, I decided to use my #10 rebate plane. This doesn't have an integrated fence, so I clamped a lump of ash on top of the base piece and registered the side of the rebate plane on the edge of the clamping piece. For the first rebate, I did this with the board clamped on the edge of the bench (so I was planing right-handed but with the grain):
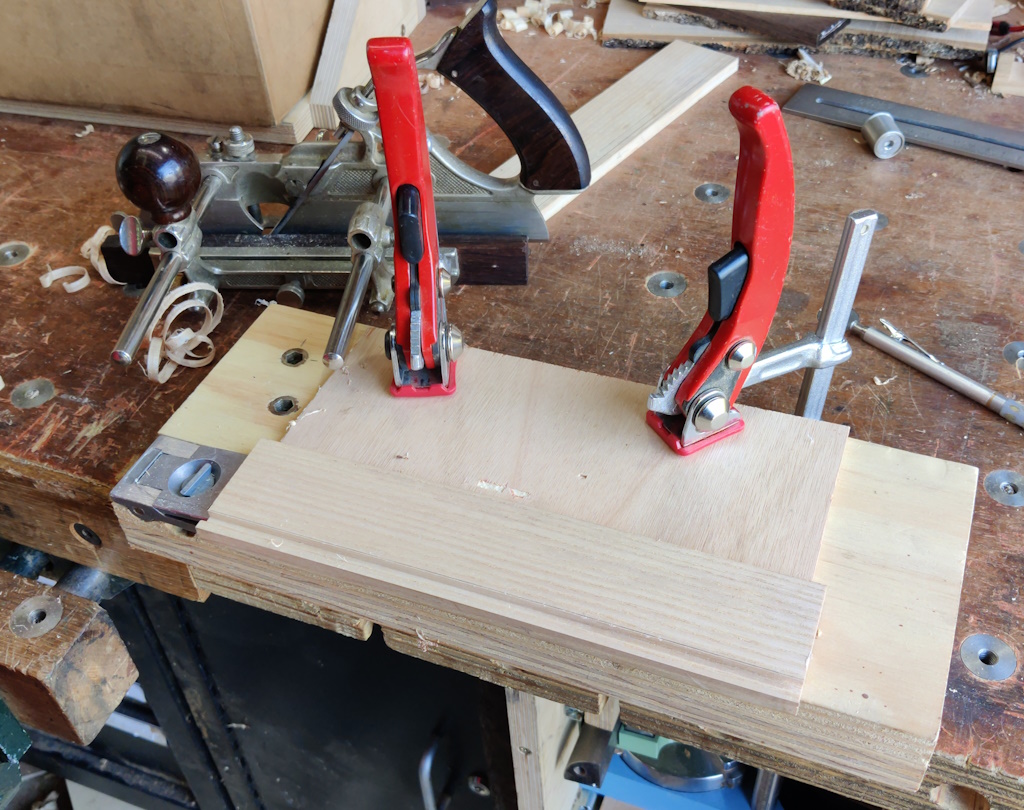
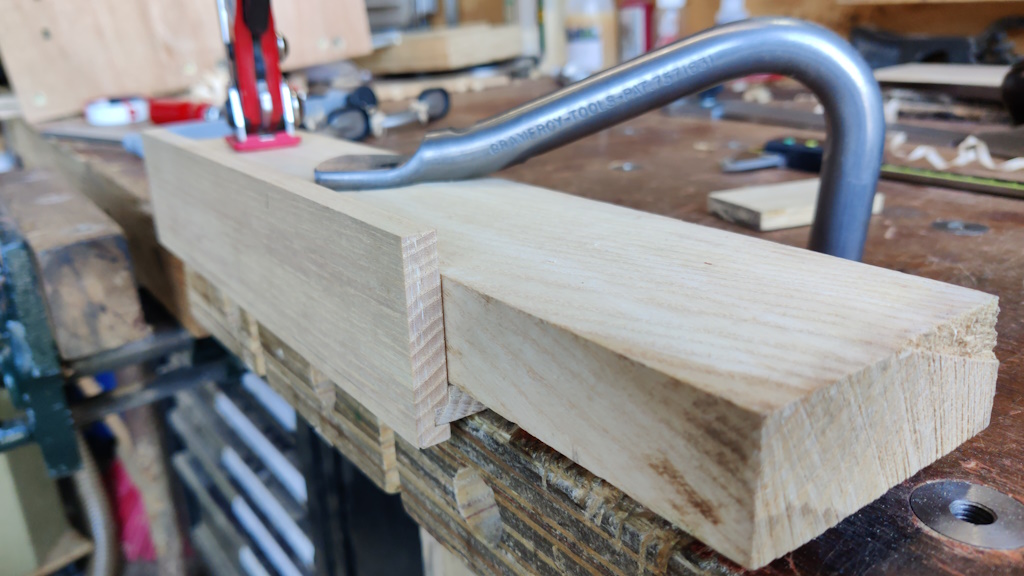
With hindsight it might have been easier to do it with the board hanging off the edge of the bench and planing left-handed, but it worked just fine like that. To plane the other rebate I had the board hanging off the edge of the bench (which was much easier for checking progress), but this made clamping a bit awkward:
I bought two of those iron holdfasts a year or two ago when someone was selling them off fairly cheaply. I've used them a few times but they're a lot more limited than the ratcheting sort that you can see holding the left-hand end of the board. I imagine that when I eventually upgrade to a bigger workshop and can have free space under a bench then the holdfasts will work really well, but at the moment I'm limited to a very small subset of the bench holes and many of them even need adjustments (for example in this case I had to completely remove one of the drawers to give the leg of the holdfast somewhere to go). The big advantage of the holdfasts over the ratcheting ones is that they have a much longer reach, which was needed in this case as I didn't have any conveniently located dog holes.
The advantage of having the base piece hanging off the end of the bench while cutting the rebate is that I could very easily check progress and get a really good fit (note that this test fit was done with the side piece upside down, but that shouldn't affect the result if I've done it right!):
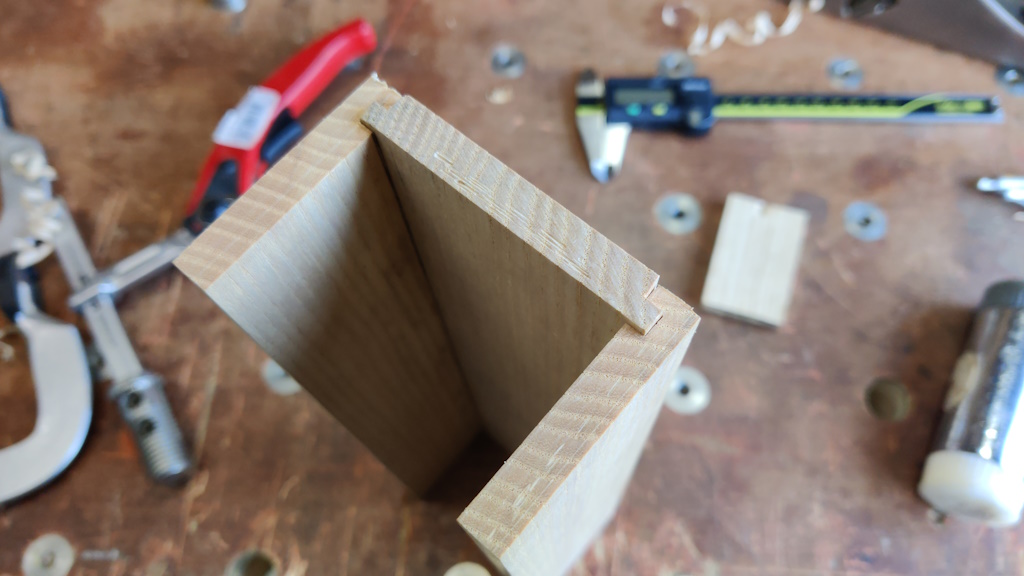
I could then test fit the three pieces together. This was the point that I realised it would have been sensible to shoot the base piece to length at the same time as shooting the sides:
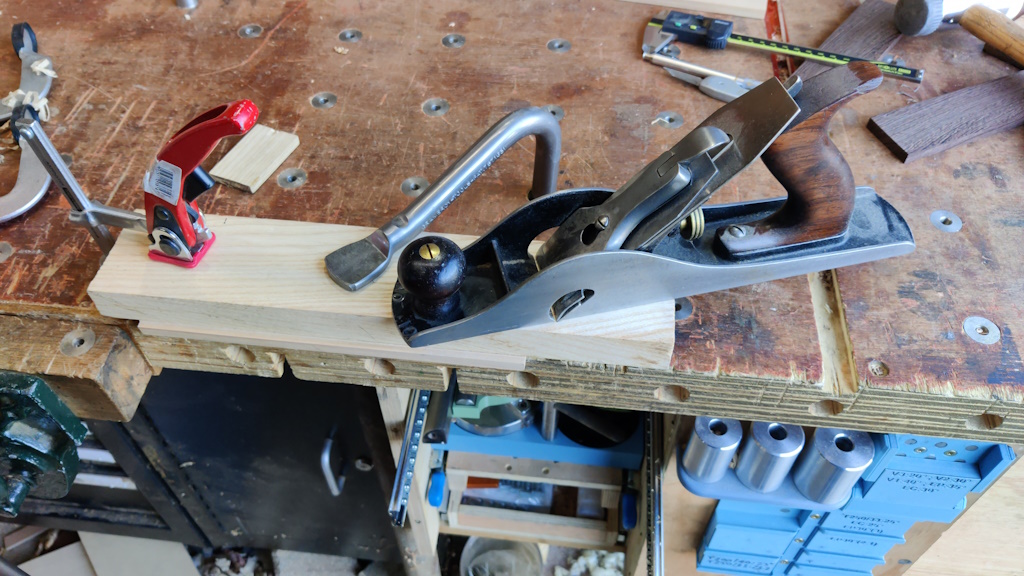
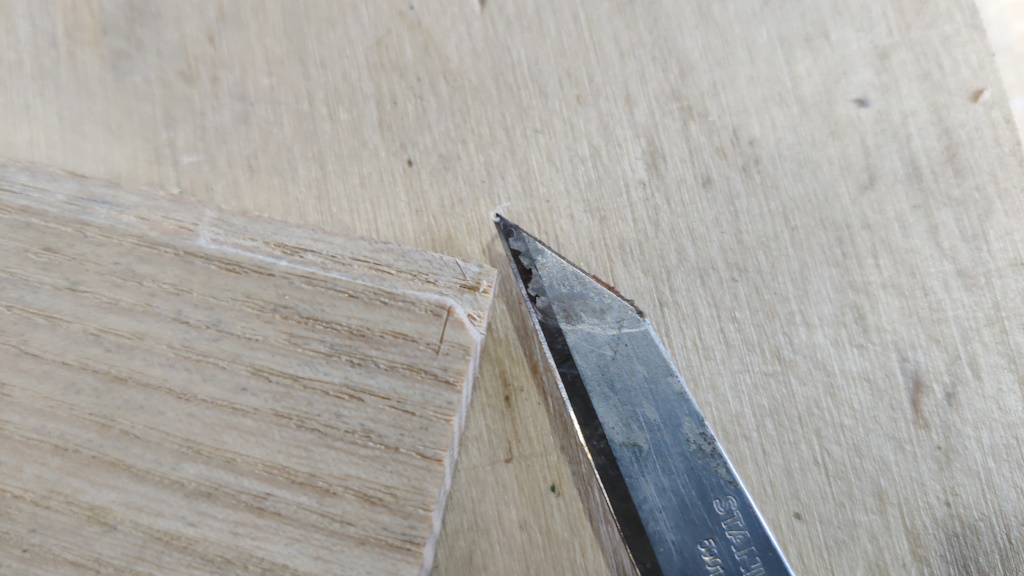
Now that the rebate has been cut, shooting the ends will inevitably mean an unsupported exit point for the shooting plane (unless I made an over-complicated custom fence!). To avoid break-out, I used a knife to mark the intended length of the base piece and then used the same knife to cut a chamfer leading up to that length mark:
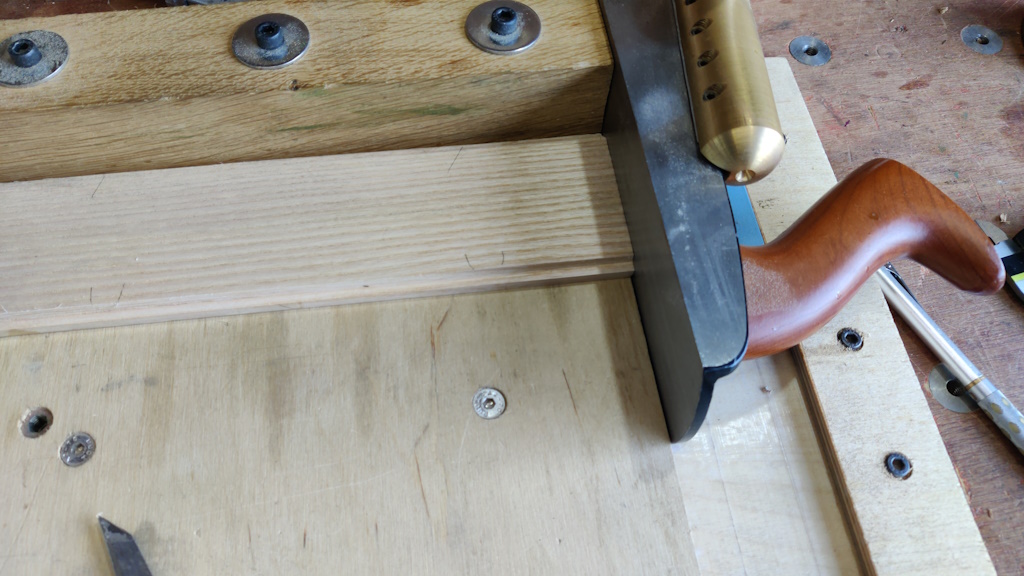
That chamfer gave the edge a bit of protection and I could safely shoot the base to length:
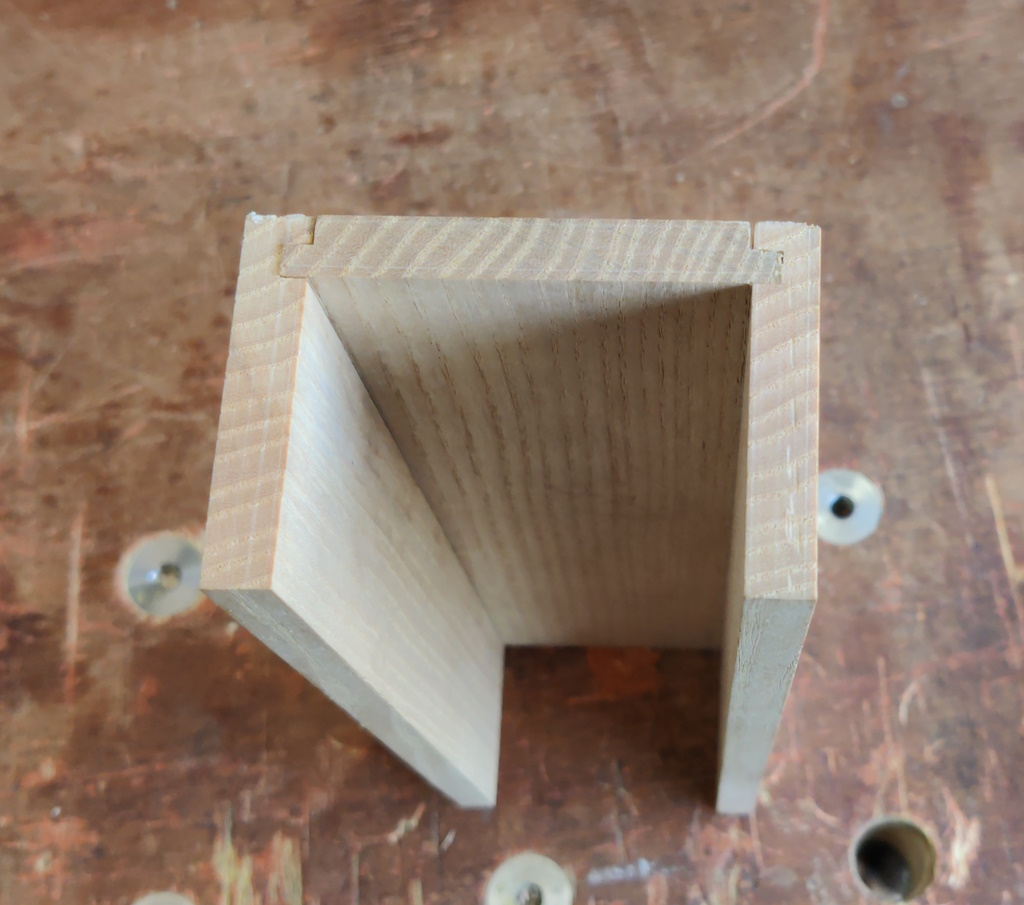
Apart from a quick test fit, that's as far as I've got to date:
The next job will be to start working on the end pieces (which will be made out of Wenge). They're going to be housed into the three pieces you see in the above photo, but I'm also going to have some tenons going through the side pieces so that the end of the Wenge pieces will be visible on the long side face. I've never tried to cut a through-mortice-and-tenon without having a wedge to take up any gaps so this could be an interesting challenge!
Page 2 of 12
This website is free and ad-free, but costs me money to run. If you'd like to support this site, please consider making a small donation or sending me a message to let me know what you liked or found useful.

 Return to main project page