Japanese Style Pencil Case Build Process
Page 3 of 12
Posted 21st August 2024
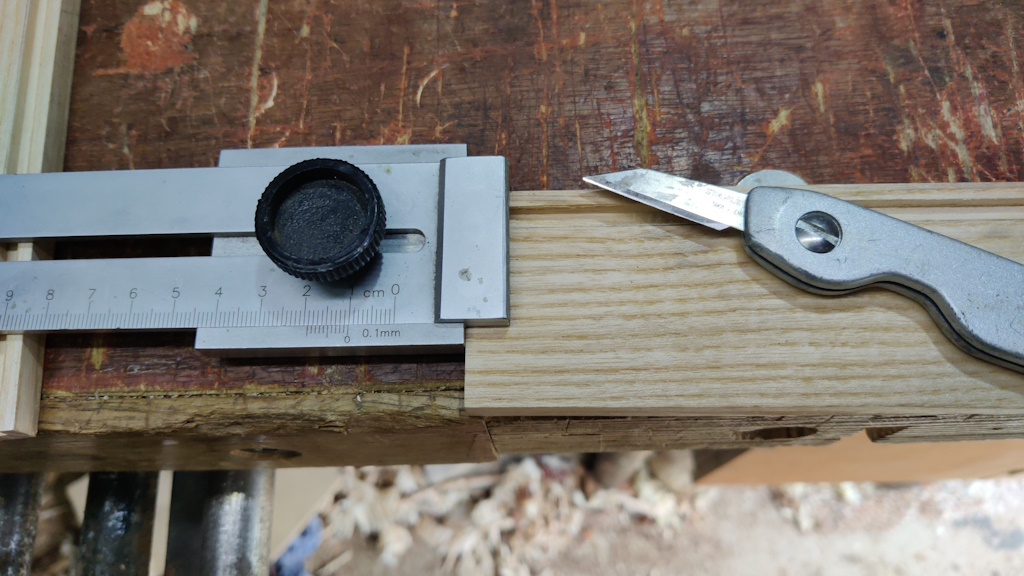
I had 45 minutes free before an appointment this evening, so I thought I'd have a go at cutting the housing joints. I shot the ends of the wenge pieces square, then cut and shot them down to be 6 mm wider than the box. I then used my edge distance gauge thing to mark 10 mm in from each end of each of the sides (which had previously been shot to the same length):
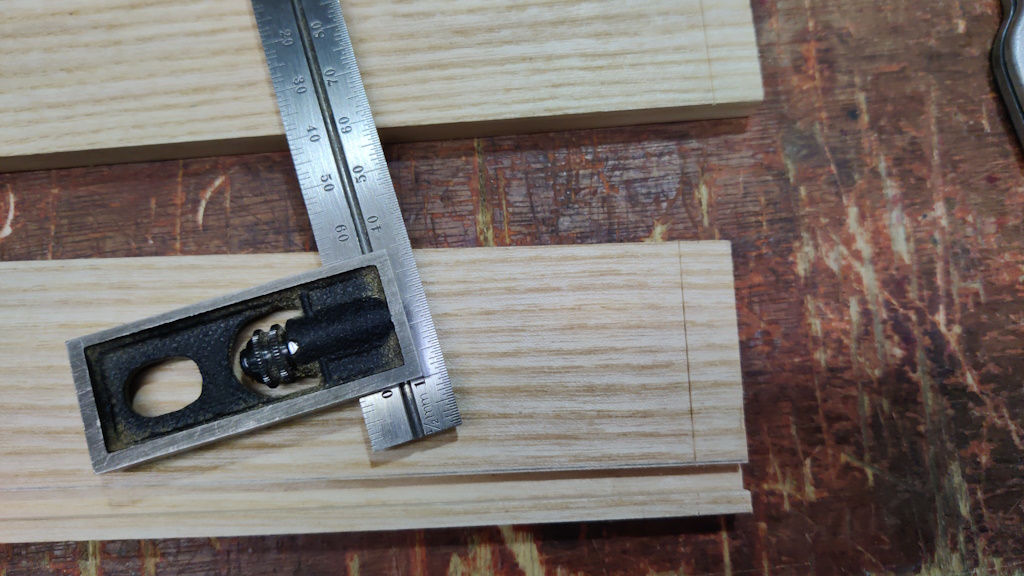
That mark was then squared across the inside face...
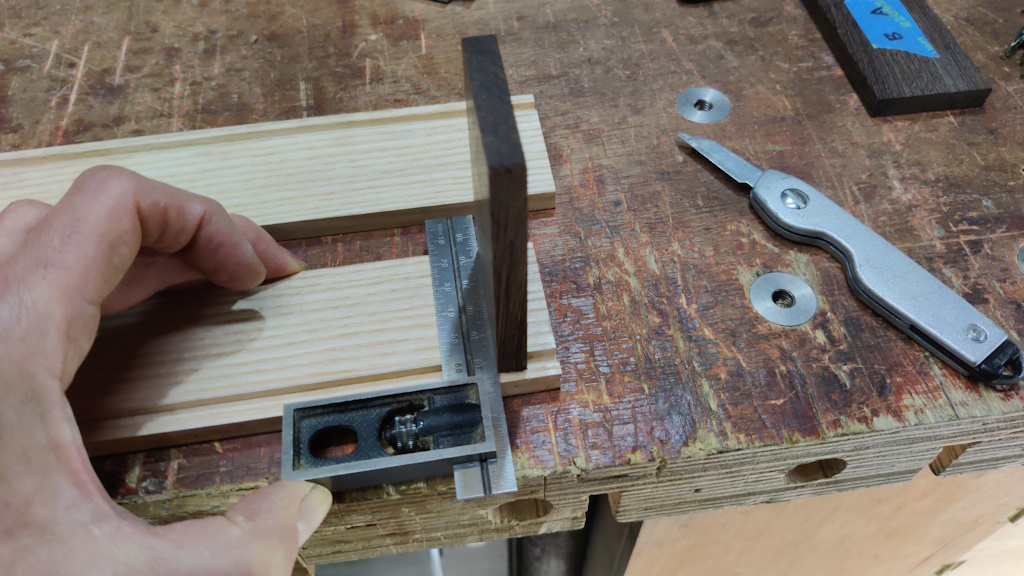
... and the wenge pieces could then be used to make another knife line the right distance away:
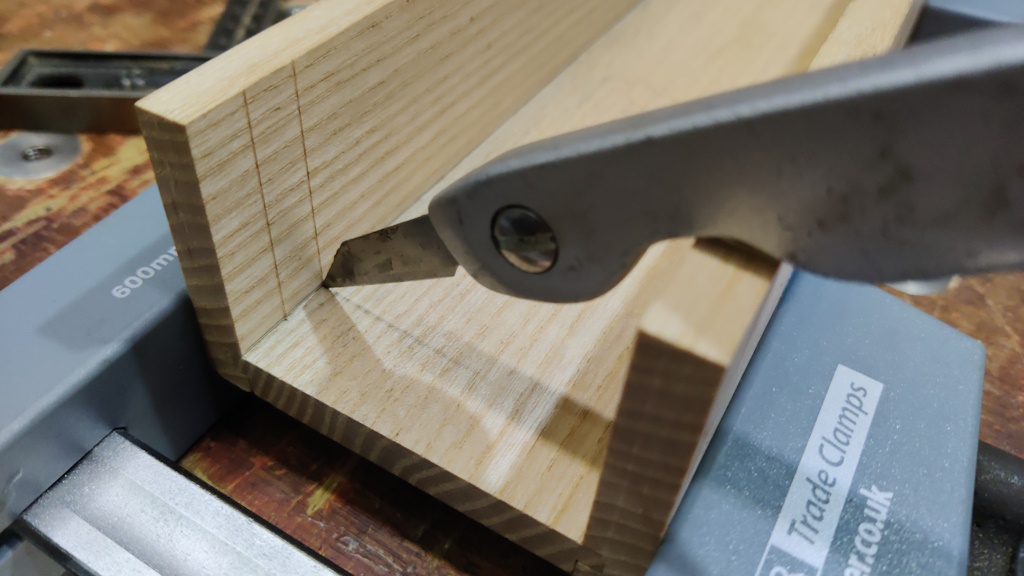
I then assembled the three ash box pieces with some clamps to hold them in place and transferred the knife marks on the sides onto the base:
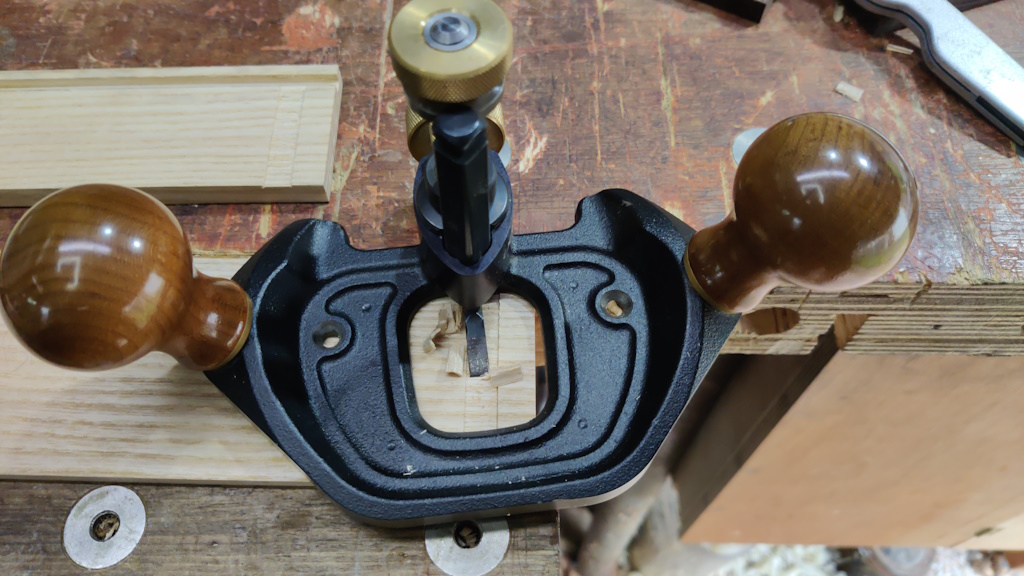
It was then just a case of taking the waste out with the router plane (down to a depth of 2 mm), reinforcing the knife lines every now and then:
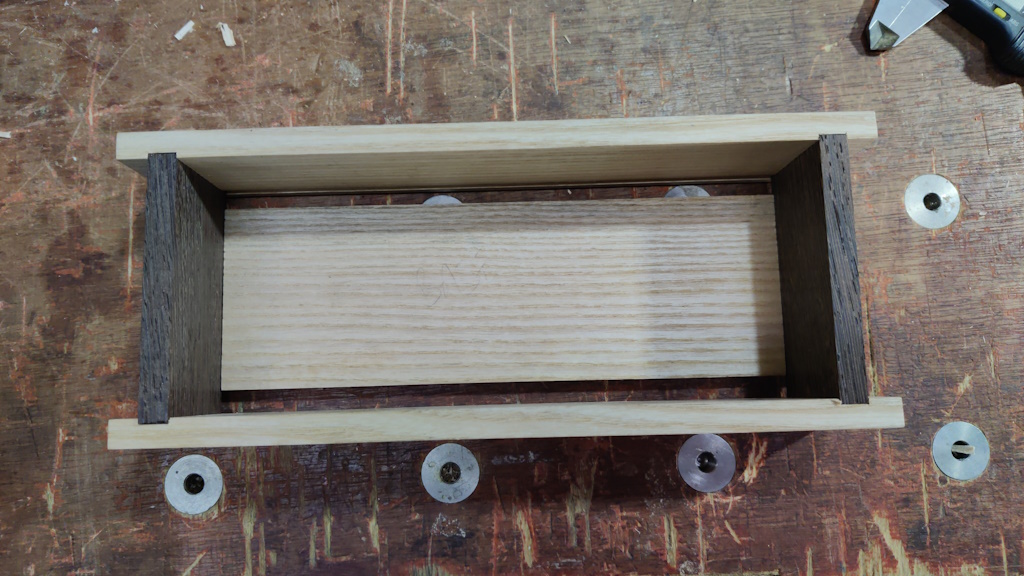
With that, the four box parts could be test fitted:
It should be obvious from the photo that, while the wenge pieces fit into the housings, the sides don't go fit with the base. That's because the wenge pieces have been cut to be 6 mm longer than the total width of the base as I'm planning to make some mortice-and-tenon joints (with the tenons sticking 3 mm out of the side of the box). That's the next job (and is a little daunting!)
Page 3 of 12
This website is free and ad-free, but costs me money to run. If you'd like to support this site, please consider making a small donation or sending me a message to let me know what you liked or found useful.

 Return to main project page