Japanese Style Pencil Case Build Process
Page 4 of 12
Posted 23rd October 2024
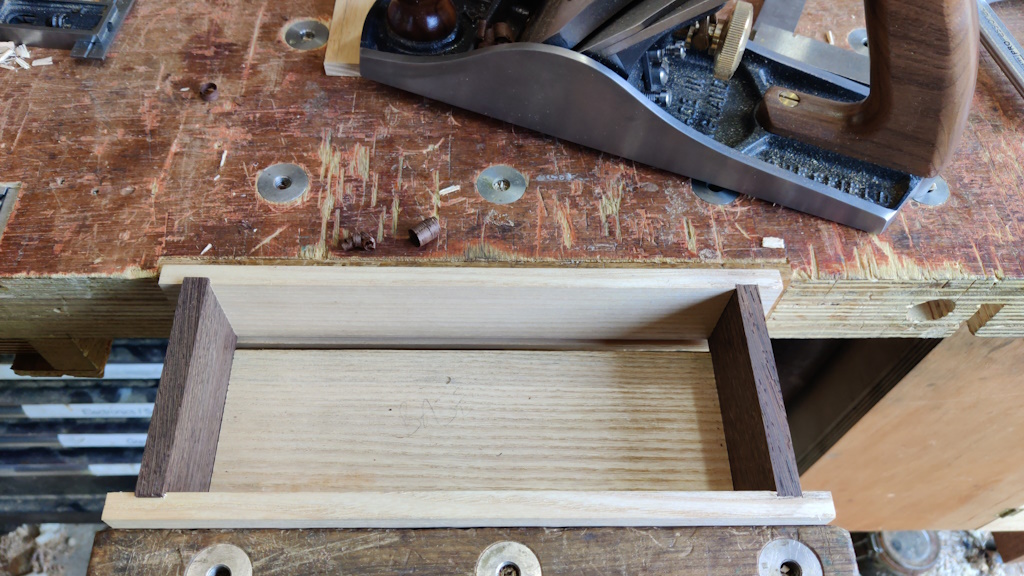
The next job was to get on with the mortice and tenons. To simplify marking up, I decided to start by clamping the test assembly in the vice (adjusted such that the bottom of the sides were in line with the base with the ends pushed into the housings in the base). I could then plane the tops of the wenge end pieces to be flush with the top of the sides. That would allow me to reference that edge when marking the cut lines. This photo was taken after flushing the right-hand end piece and before doing the left-hand one:
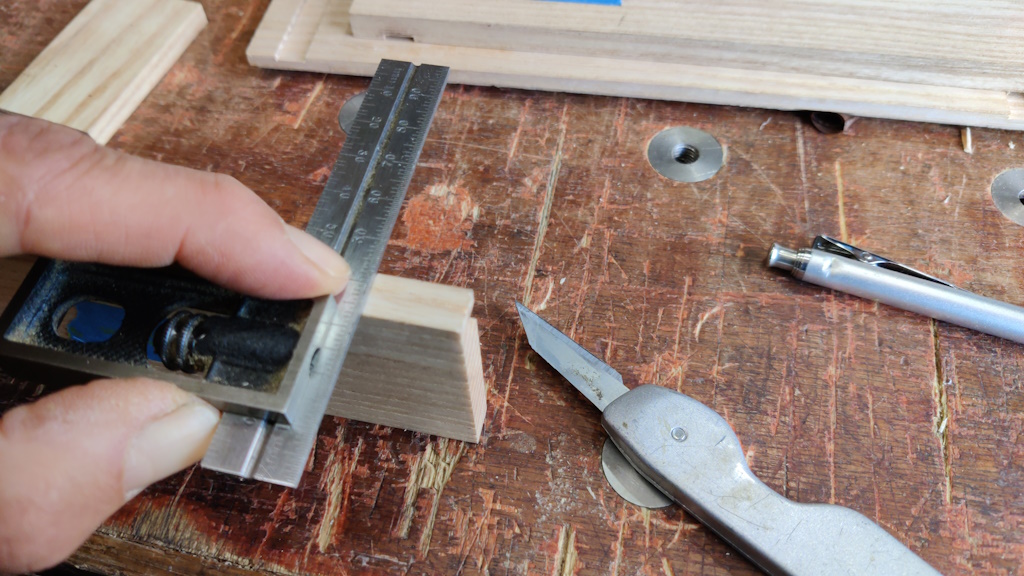
For the sides of the mortices, I used some knife "nicks" to transfer the housing positions around the bottom of the sides (sorry for the blurry photo):
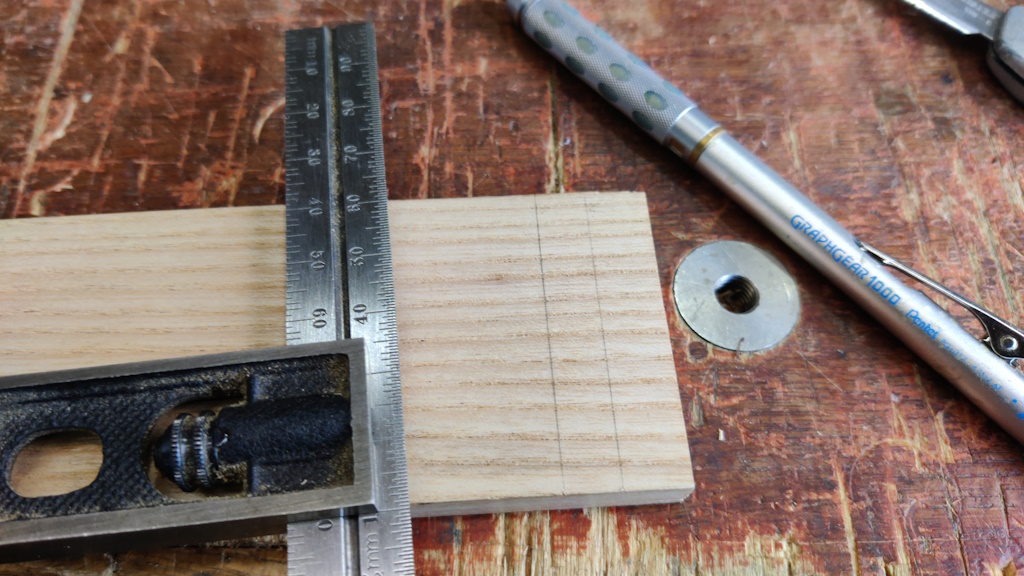
I then transferred those marks up the outside faces using a light touch with a pencil:
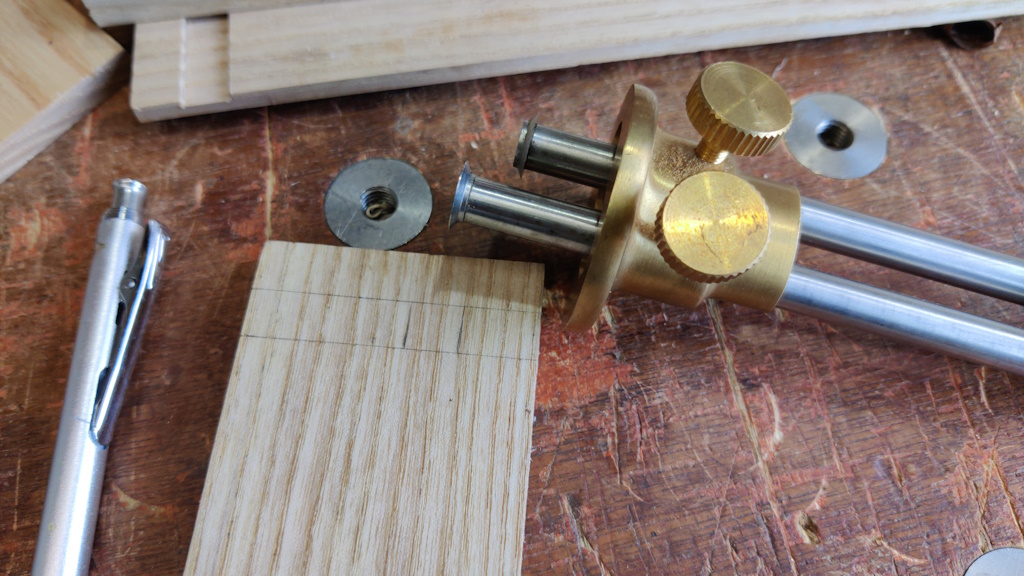
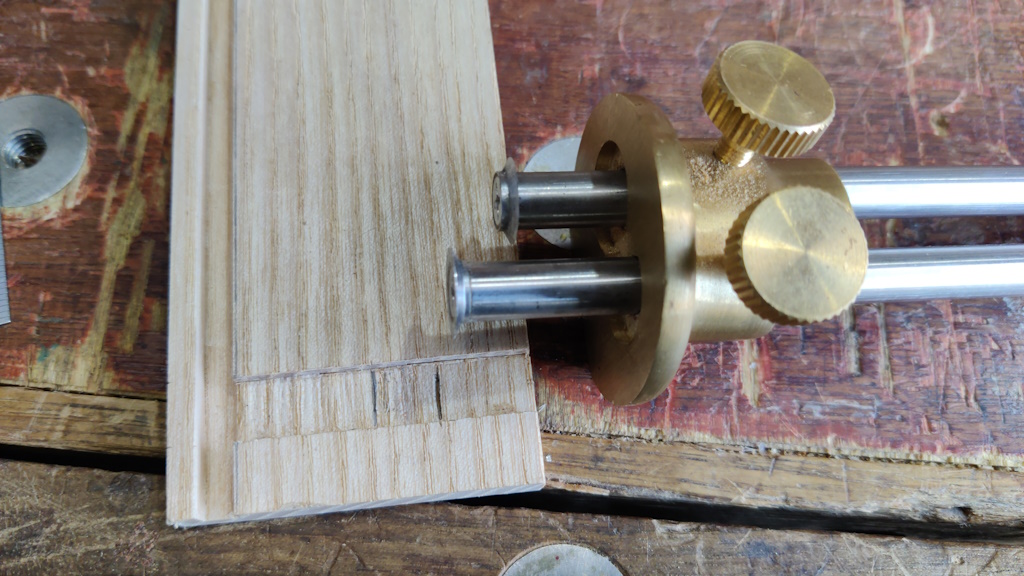
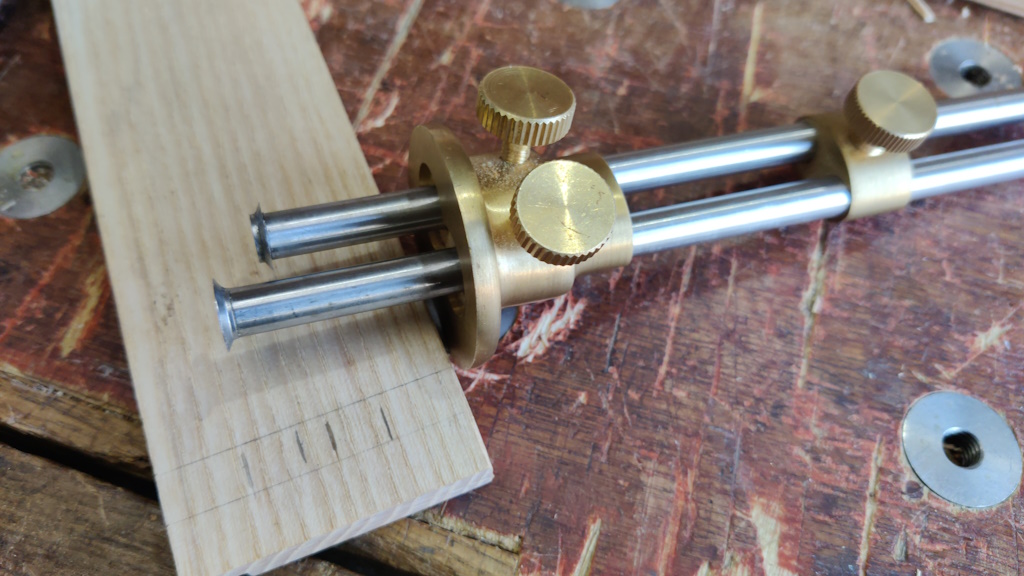
My mortice gauge was set up to have the wheels set apart by roughly the thickness of the wenge end pieces. I'm aiming for a roughly square mortice, but it's not critical (and the two wenge pieces are ever so slightly different in thickness so I just went for an approximate average). I then moved the two cutters (now clamped together) out such that the one nearest the fence was 14 mm away from the fence and then I could reference off the top edge of the side piece and mark the first two tenon walls (and reinforce those marks with a pencil to make them a bit easier to see):
I could then do the same thing for the inside face...
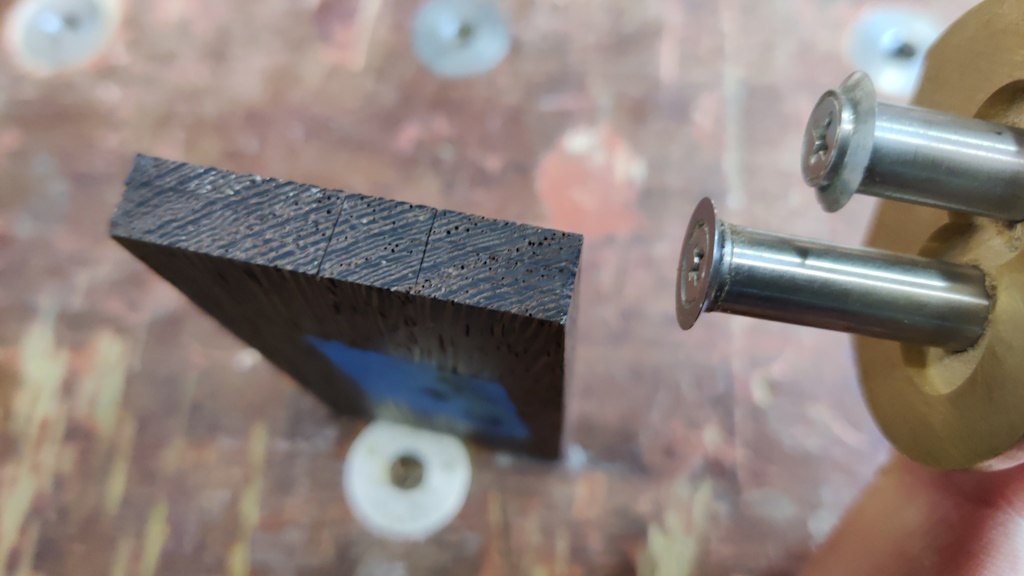
... and the end of the wenge end piece (with hindsight, it would have been better to cover the end in masking tape first to make these lines more visible):
I then made a very light mark with one of the wheels of the mortice gauge but this time with it referenced off the bottom edge of a side piece. I could then use that mark as the basis for extending the pair of wheels out such that I could mark that same point but referencing off the top again:
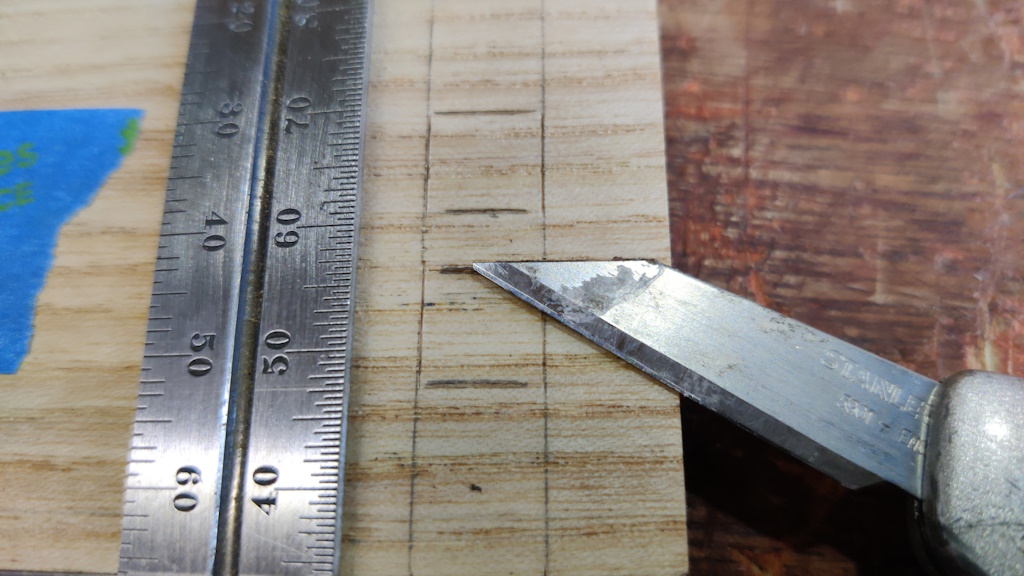
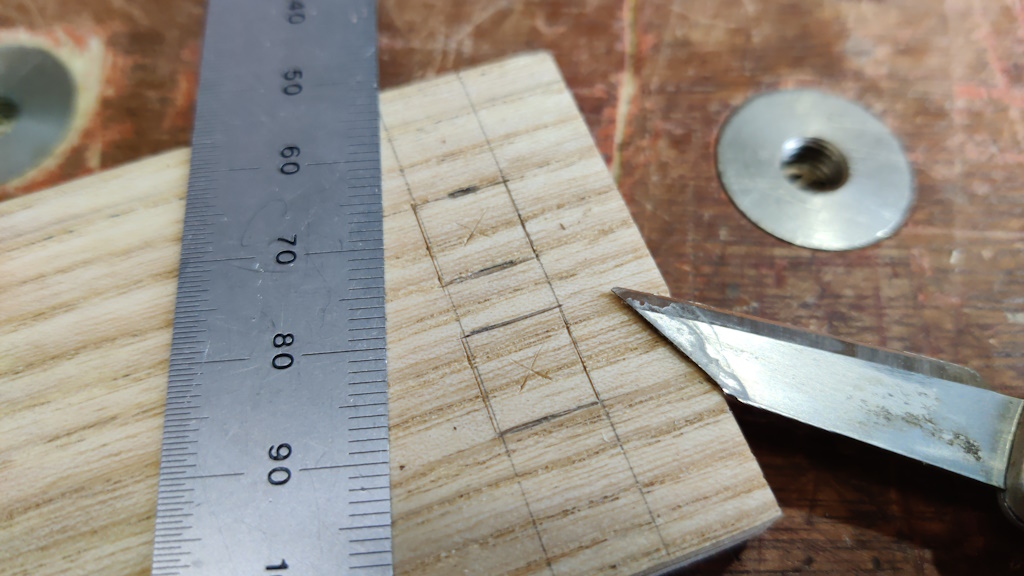
That got repeated on all mortices (inside and out) and all tenons. That gave me the limits of the mortice so I could go over the pencil lines with a knife in the relevant areas:
Now that I had the squares defined, I decided to drill the bulk of the waste out. To make that easier, I used the corners of the squares as reference points and knifed a small cross in the middle of each box:
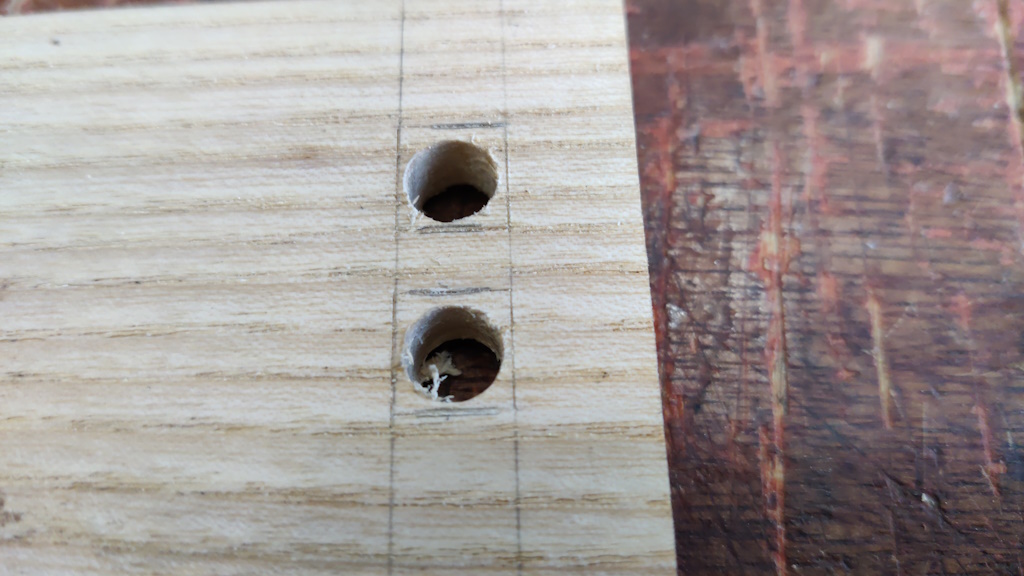
After pushing an awl into the middle of each cross, I drilled them out 7 mm (the squares are about 9 mm on each side, so that gave 1 mm all around as a safety margin):
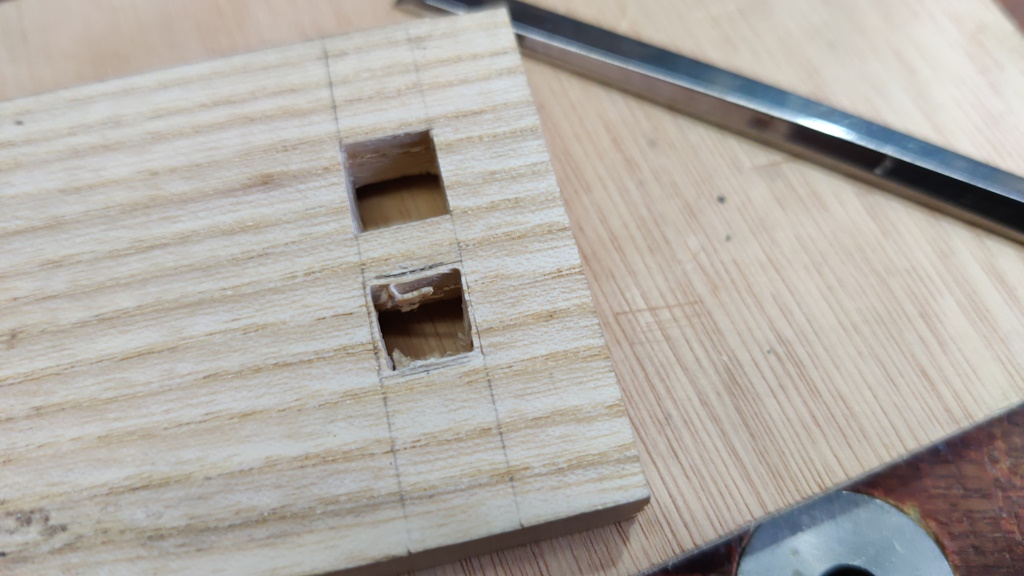
For each mortice, I started with a 6 mm chisel to get close to (but not up to) the lines, then switched to an 8 mm chisel for the final cuts. This photo shows one completed mortice and one that's only had the 6 mm chisel stage:
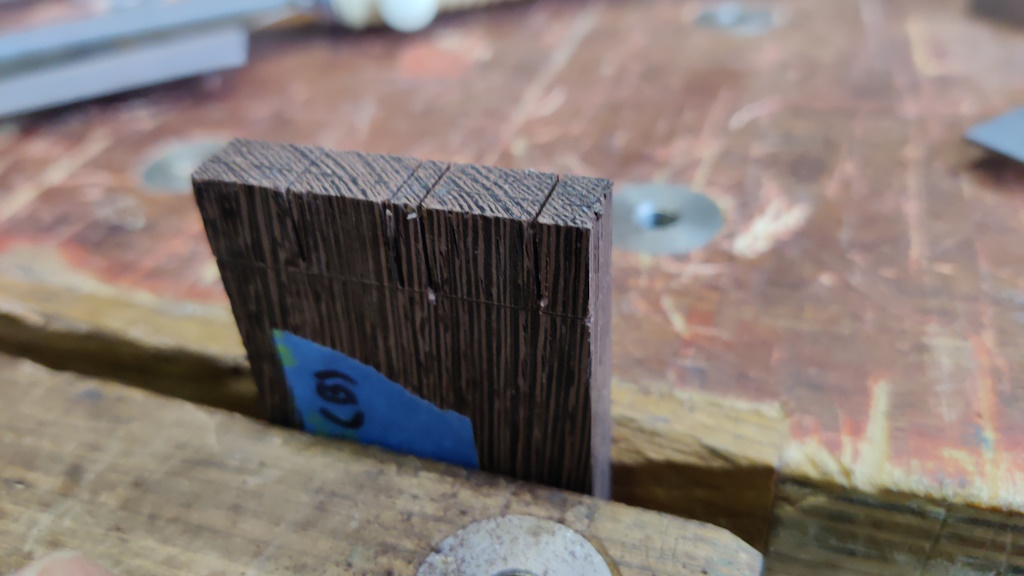
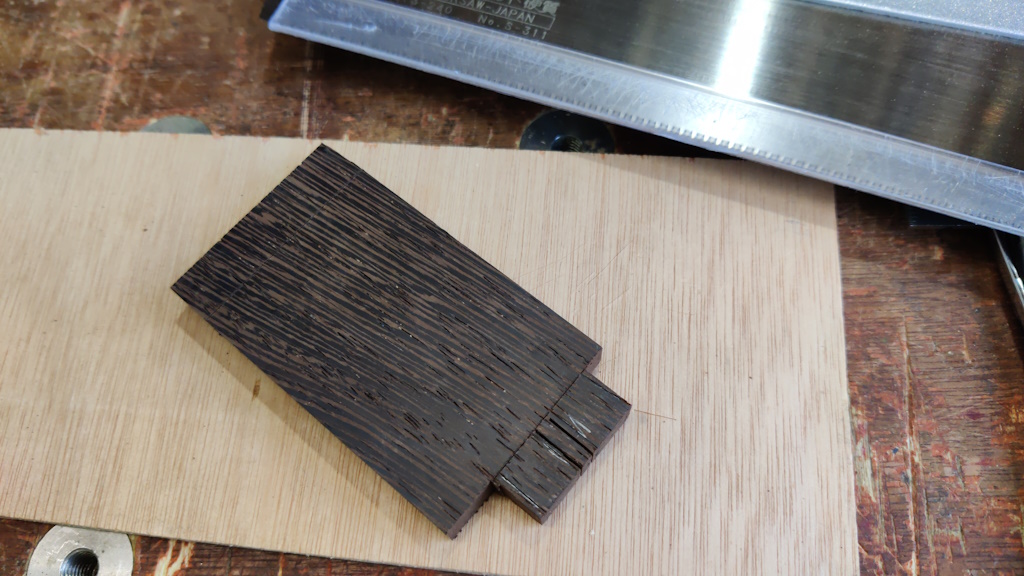
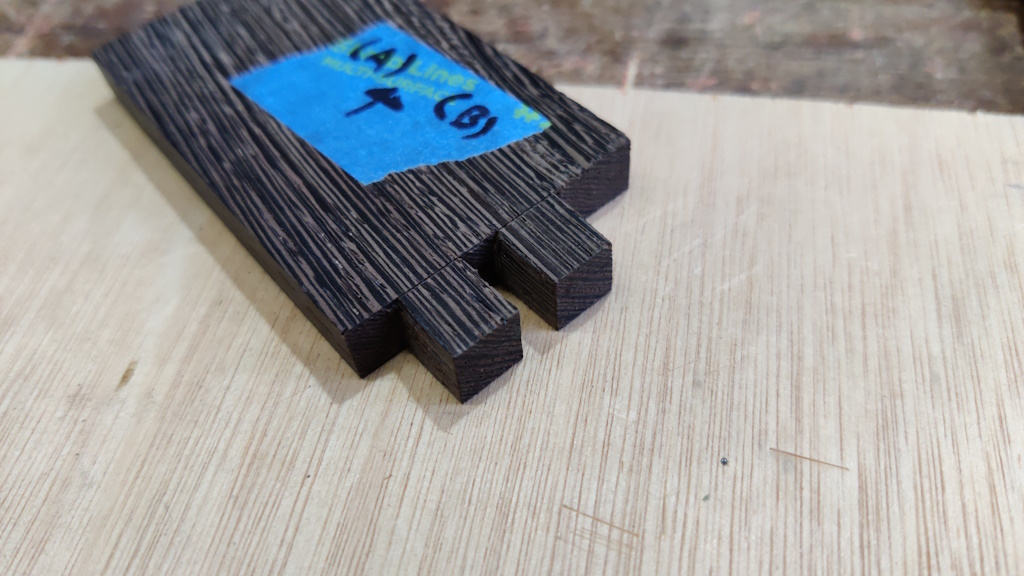
For the tenons, I considered sawing directly to the lines (which is what I now do with dovetail joints). However, the ends of these tenons are going to protrude through the sides and I figured that a chisel cut would look better than a saw cut, so I sawed a little way away from the lines:
For the cross-cuts I just sawed to the line: the shoulder line will be hidden within the housing so it's not the end of the world if it isn't perfect.
That left the middle section...
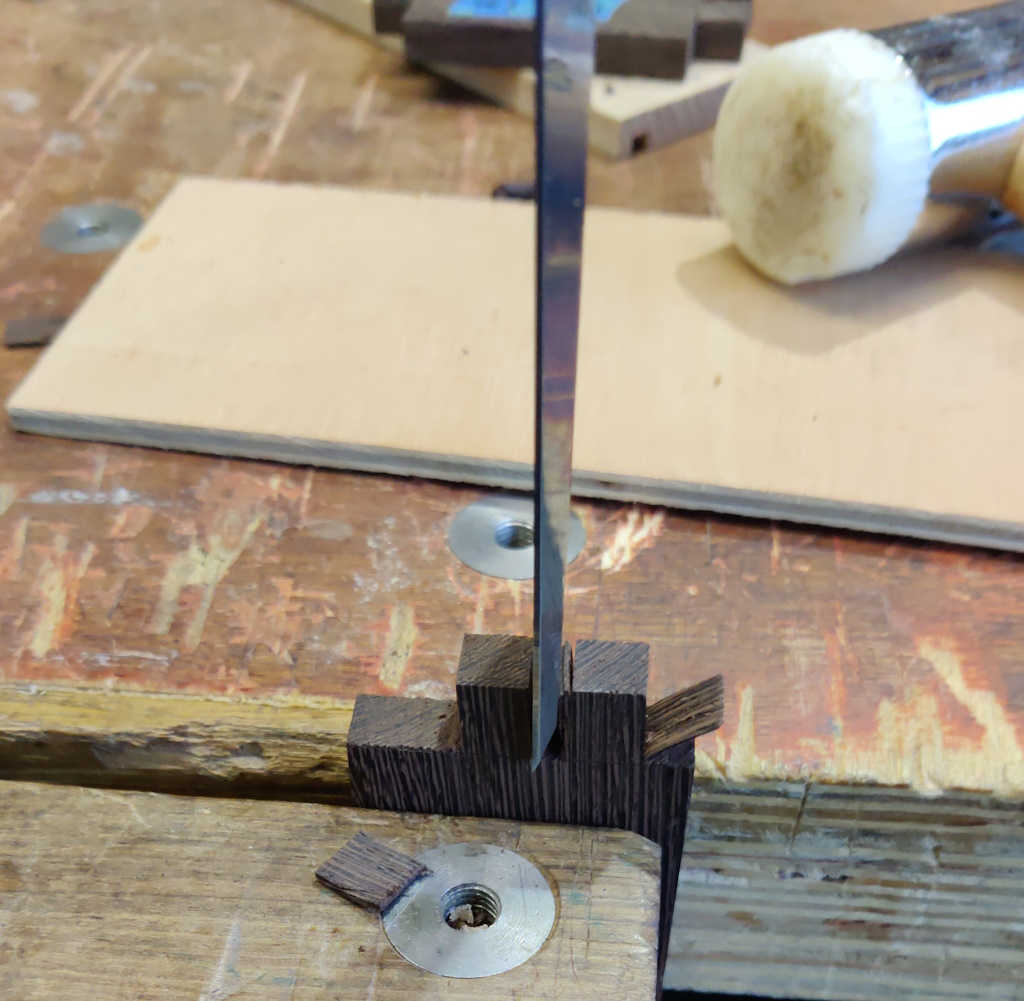
... which I chopped out with a 3 mm chisel:
I then used a bigger chisel (18 mm I think, but maybe 16 mm) to cut to the lines:
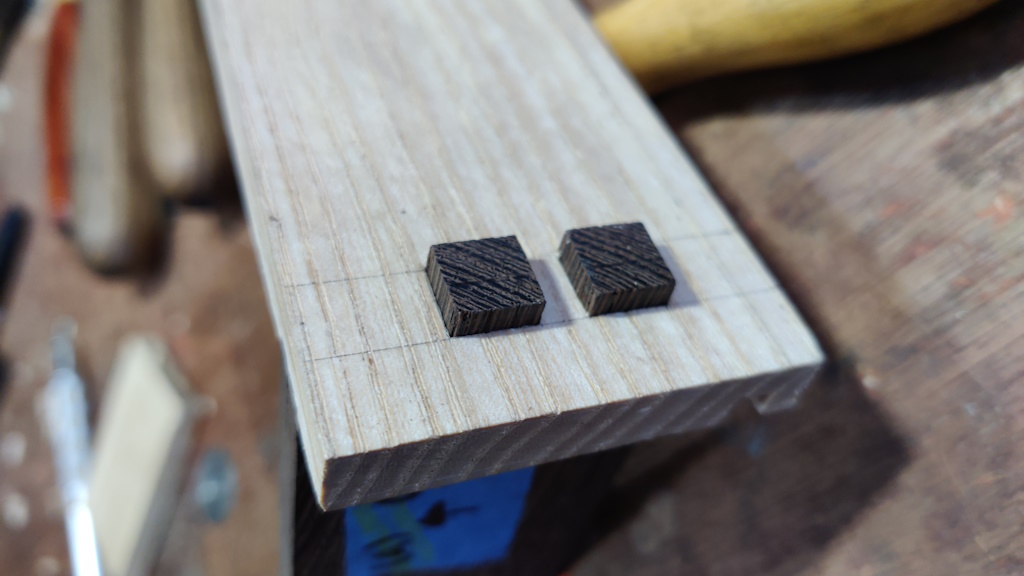
With that done, I could do a test fit of my first ever protruding tenon:
The corners of the protruding bits will get chamfered at some point, but apart from that the joint is done. I was really pleased with that for a first attempt.
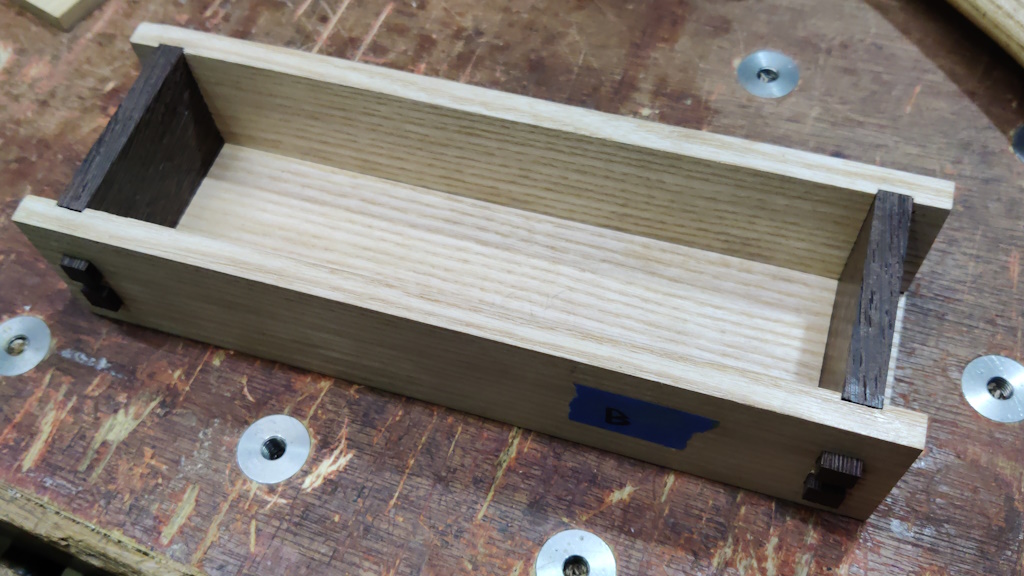
I then finished off all the others and could dry assemble the box base:
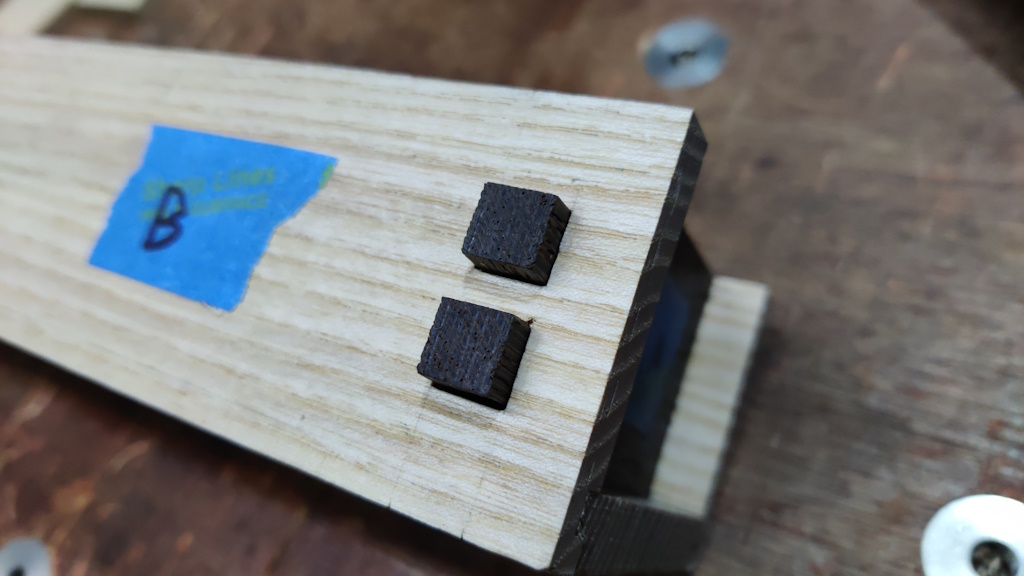
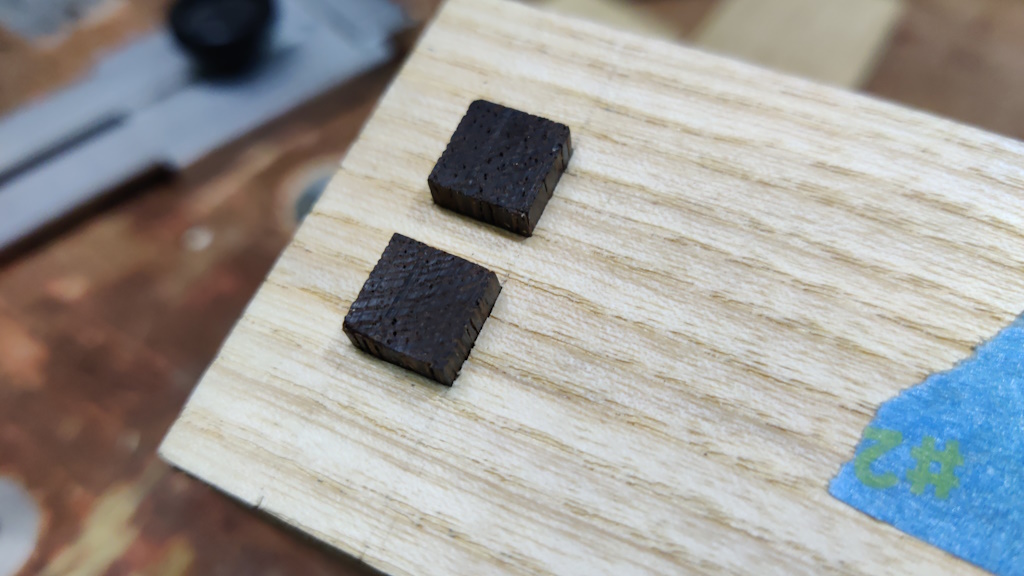
This was the worst one of the four joints - I think there's a bit of a gap underneath the bottom tenon, but it's very hard to see (it might be clearer in daylight, but worst case I can probably put a small off-cut of ash in the gap):
This was probably the best:
Overall, I was really pleased with how that went and it all seemed very straightforward. The joints went together with a bit of light tapping which felt about right for a strong joint.
The next thing to do is to start to think about how the top pieces are going to be held together. More on that soon...
Page 4 of 12
This website is free and ad-free, but costs me money to run. If you'd like to support this site, please consider making a small donation or sending me a message to let me know what you liked or found useful.

 Return to main project page