Minimal Tool Challenge Box Build
Page 9 of 9
Posted 20th December 2023
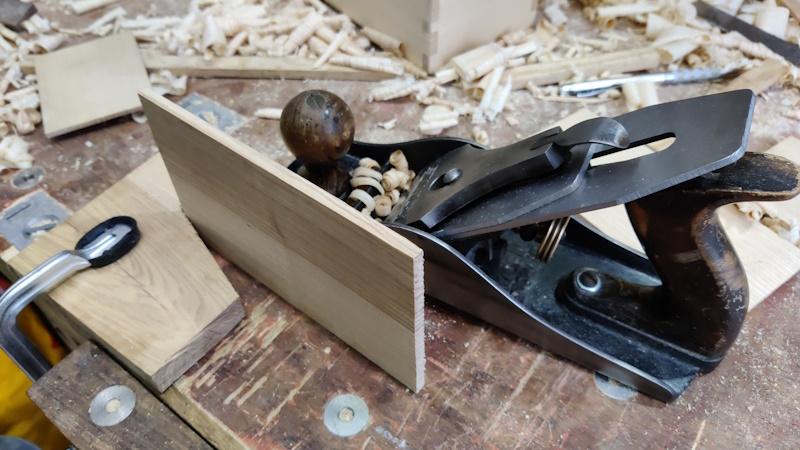
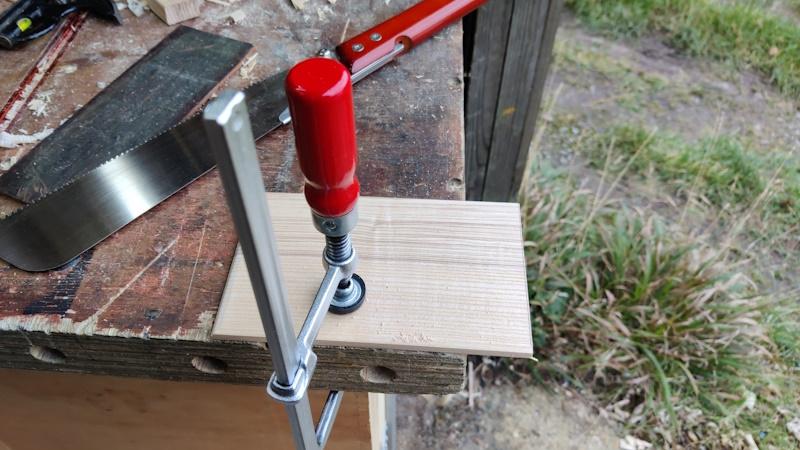
Once the glue had been left for enough time to dry, I planed the face on the side with the gap-fillers and the bit that had previously snapped off. Once that was done I got back to the lid. First of all, I trimmed it to width (having trimmed an offcut to width first to use as a reference):
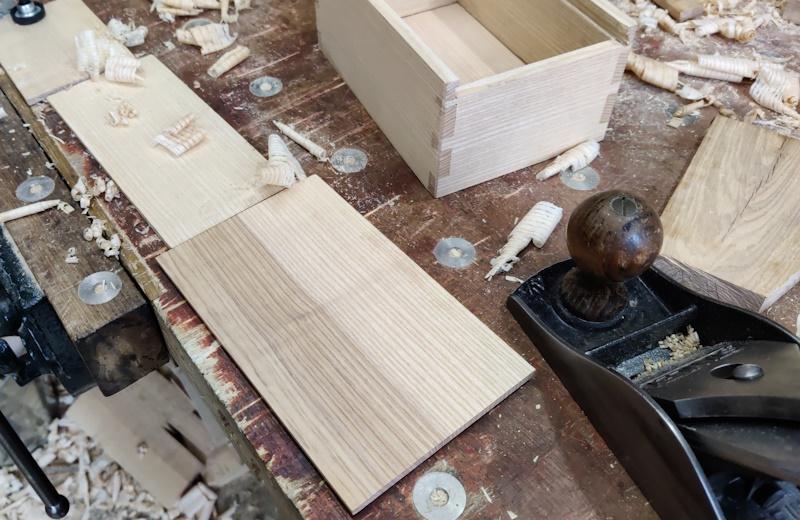
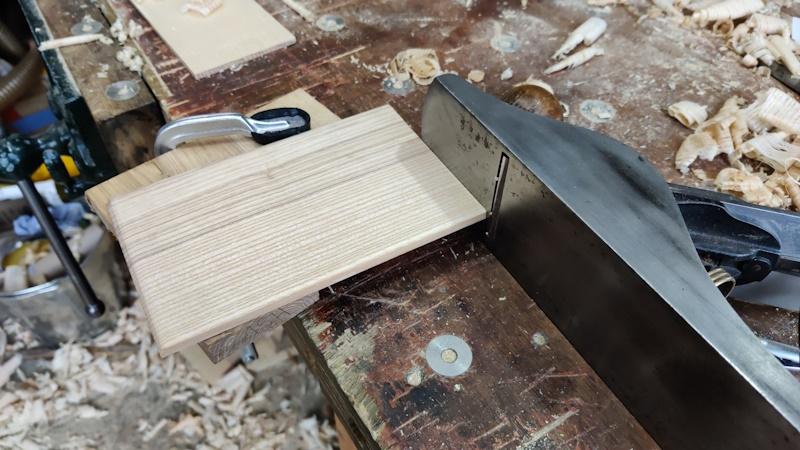
I then planed the lid down to the thickness of the groove, leaving it at a rather tight fit:
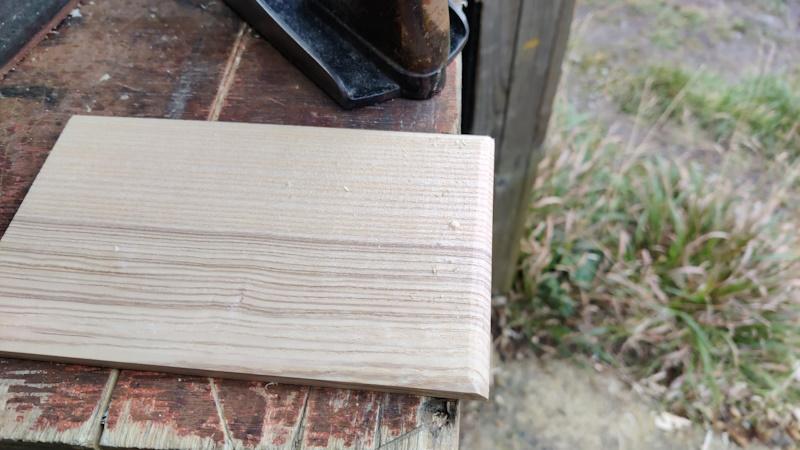
A chamfer was applied to the underside (now making it a more comfortable fit) on three sides:
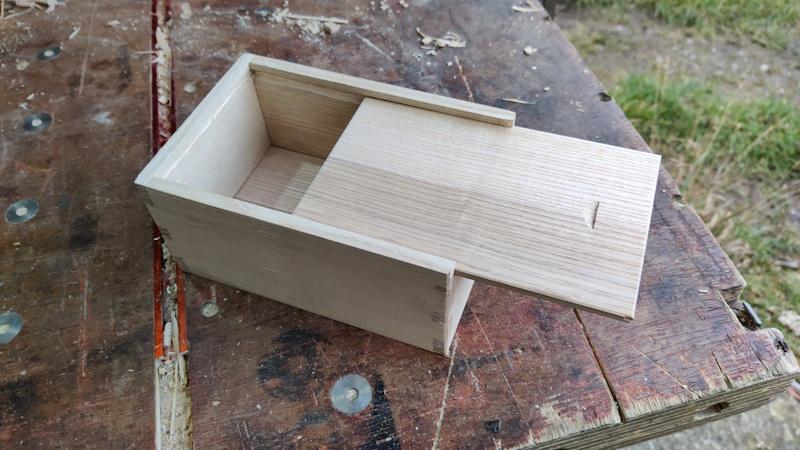
The lid was then slid into the box and the length marked:
I chopped it to length in the usual way (for once, the cross-cut saw was actually doing what it's good at!)
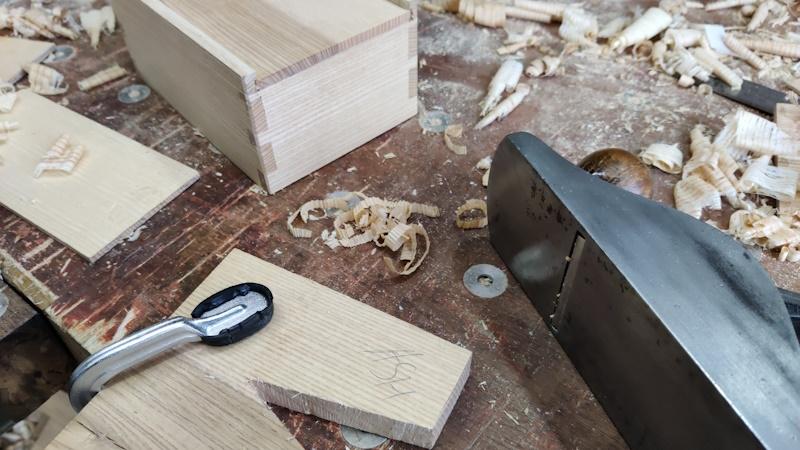
To clean up the end, I used a makeshift shooting board:
Amazingly, the plane was still managing to take some nice end-grain shavings despite all the abuse and lack of sharpening it has endured:
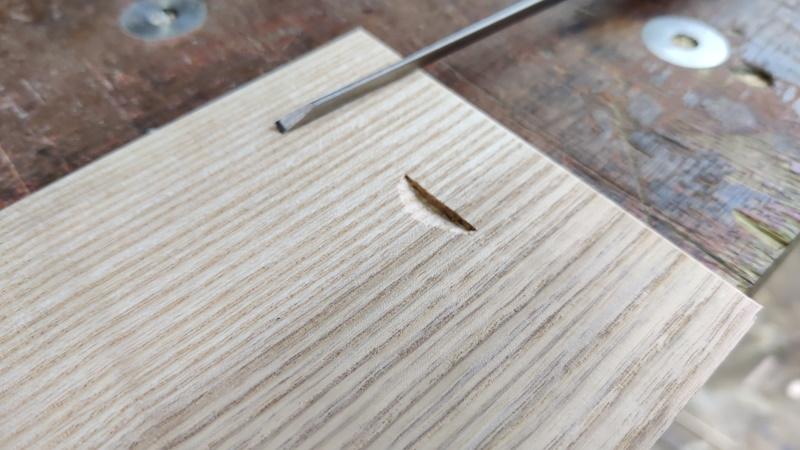
The last job was to chisel out a notch for use as a finger pull:
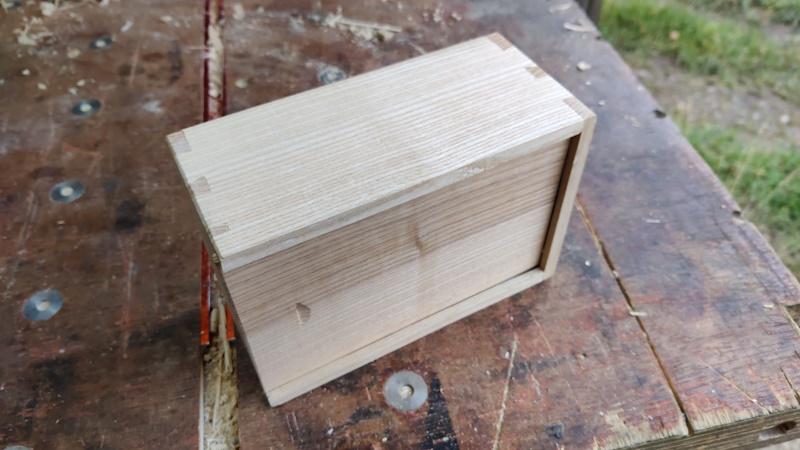
Finally, I can call it done:
I guess it could be argued that it's not finished without some, well, finish, but I've decided it's a perfectly serviceable and attractive box without any oil or whatever. That's partly to keep the tool count down, but mainly because I really can't be bothered to do any oiling!
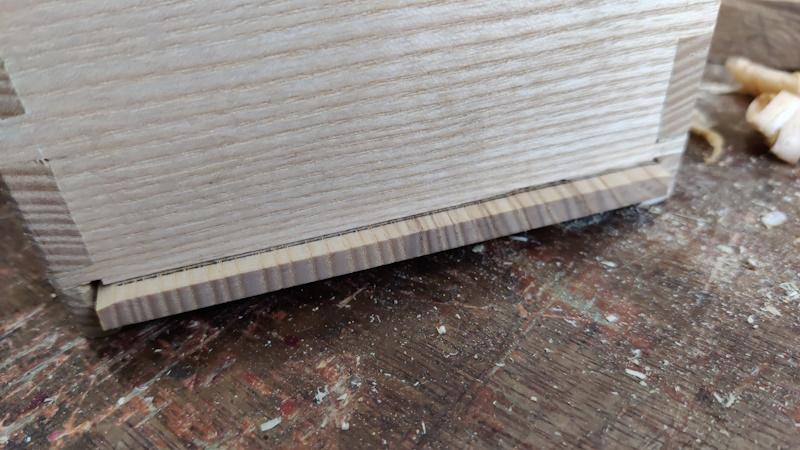
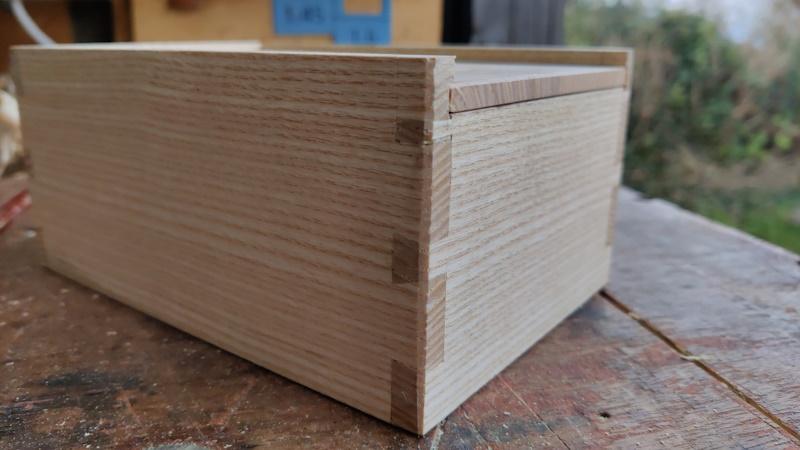
This photo shows the filled in gaps and the re-glued snapped-off bit: neither are especially obvious in my opinion:
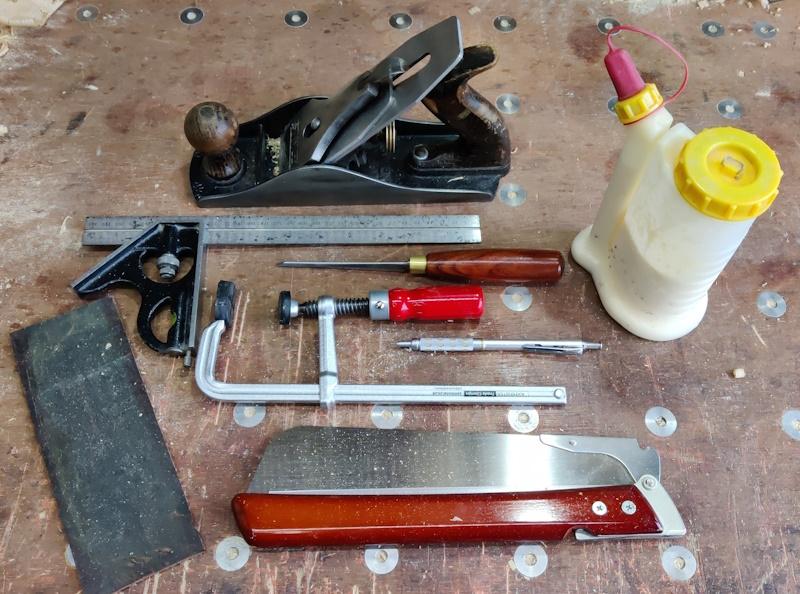
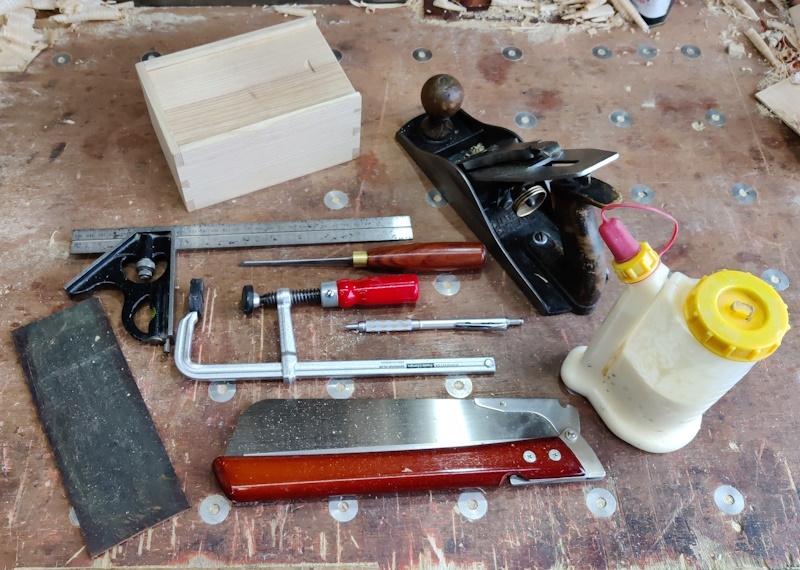
The final tool list consisted of the following 8 tools:
A Stanley 4½, a combination square, a 3 mm chisel, an F-clamp, a pencil, a (poorly chosen) cross-cut saw, some glue and a leather strop. No vice, no bench dogs, no sharpening stone, no cloths/rags and a distinct lack of any common sense shown by trying to do this challenge!
All that was left to do was a quick photo with the 8 tools I used to make the box:
Given how difficult some of the operations were, I really don't think I'd do it again, but I also think it was worthwhile in some ways as I learnt a few things and came to appreciate a few things more.
For example, I really grew to appreciate how good a rip saw is at ripping! I was really impressed with how well the plane blade and the chisel continued to cut with regular stropping and no sharpening stone attention. They'll get some TLC now that the project is finished, but they coped admirably. With hindsight it would have been better to pick a slightly more robust F-clamp as that little one was quite hard to tighten sufficiently for some operations. I also learnt that a plane blade doesn't make a very good (for which read: safe) marking knife: I've picked up a lot of cuts and nicks from this project! Finally, I'm sure the next few times I pick up a plough plane or router plane I'll be very appreciative of how much easier they make things compared to just a chisel.
Page 9 of 9
This website is free and ad-free, but costs me money to run. If you'd like to support this site, please consider making a small donation or sending me a message to let me know what you liked or found useful.

 Return to main project page