Minimal Tool Challenge Box Build
Page 8 of 9
Posted 20th December 2023
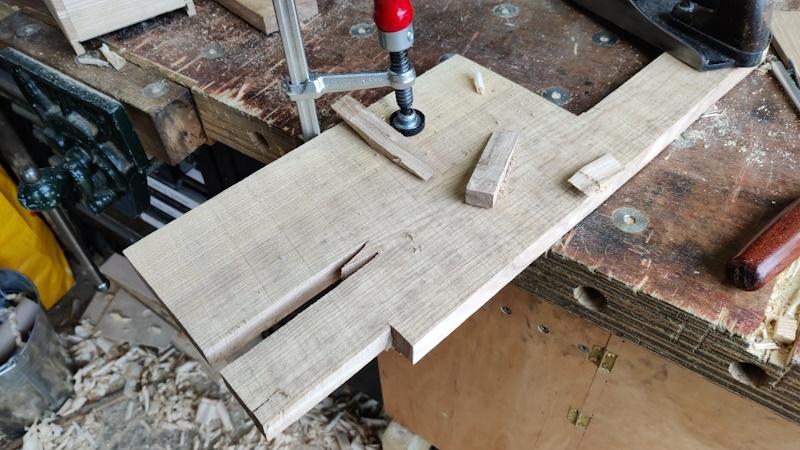
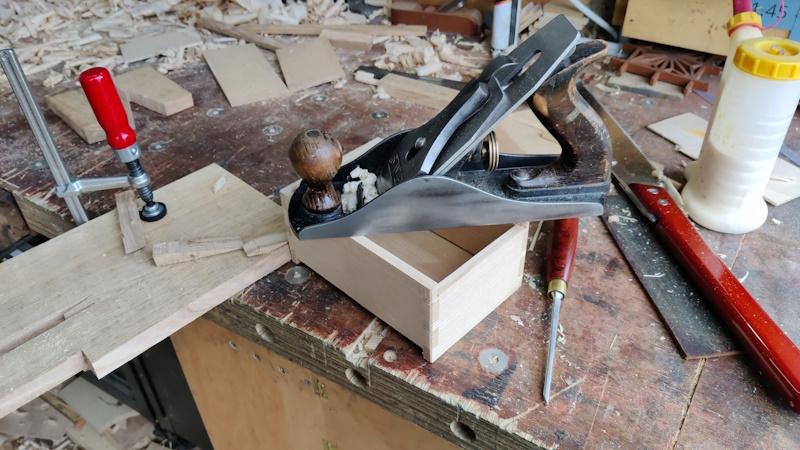
To help planing the sides without a vice available, I cut some notches in some of the leftover ash:
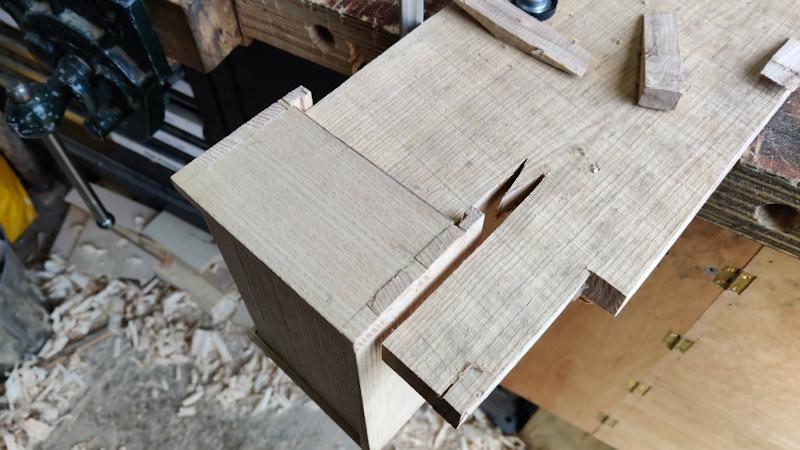
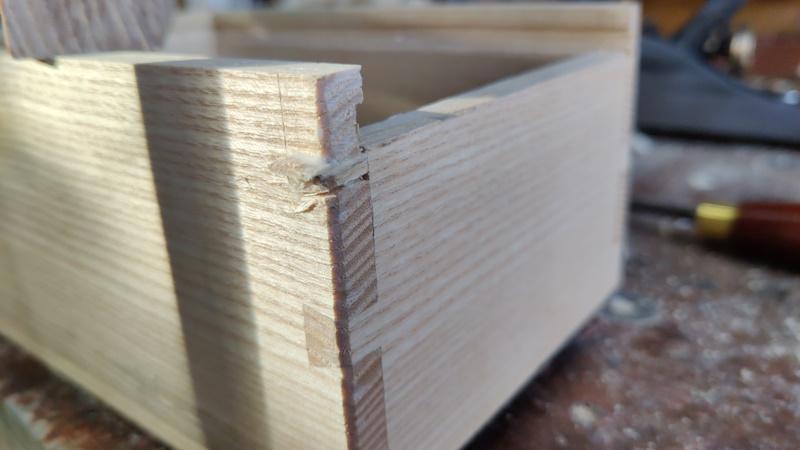
Unfortunately, as soon as I did the first pass with the plane, the bottom of one of the sides snapped off:
I guess the groove wasn't big enough. At least it was a fairly clean break, so I used the plane blade to enlarge what is now a rebate in the snapped off bit. That should give plenty of clearance for when I glue the snapped off bit back on.
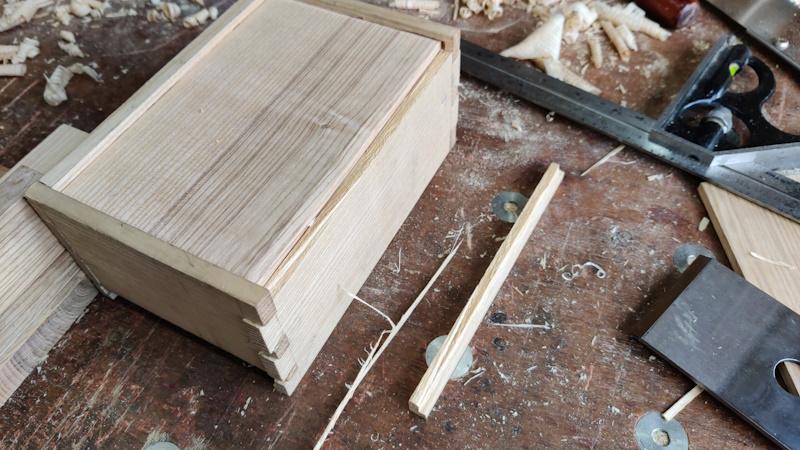
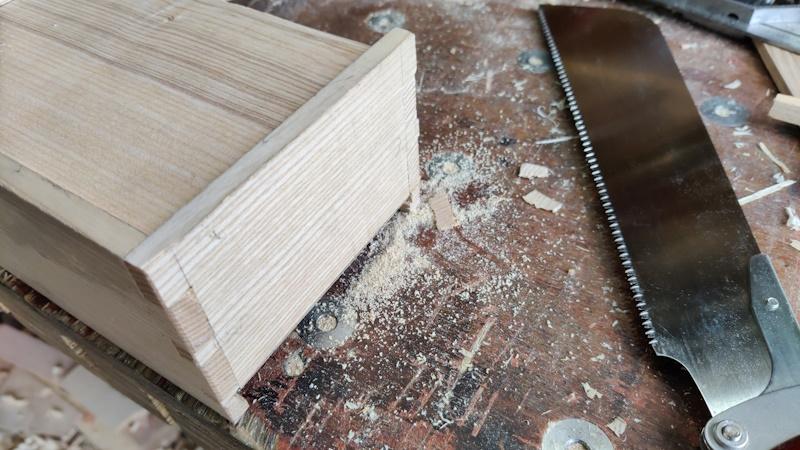
To save working my long-suffering plane blade (which has had a lot of stropping but still hasn't been sharpened), I sawed the ends off the tails and pins where they were long enough to do so:
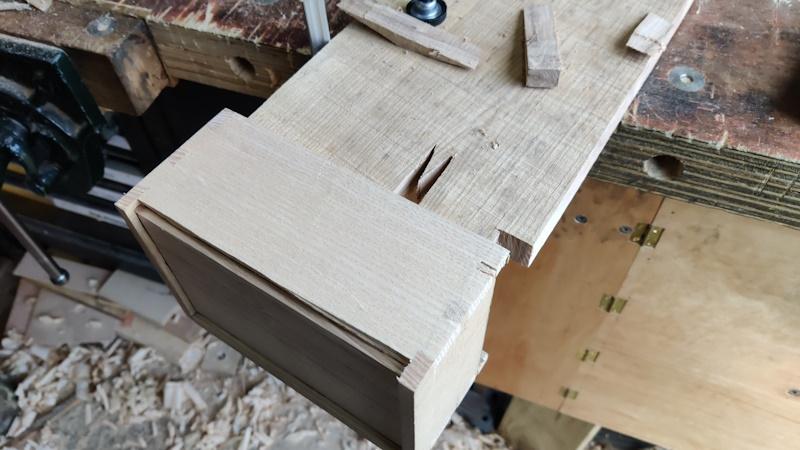
I could then use the notched offcut to plane the sides...
... and the ends:
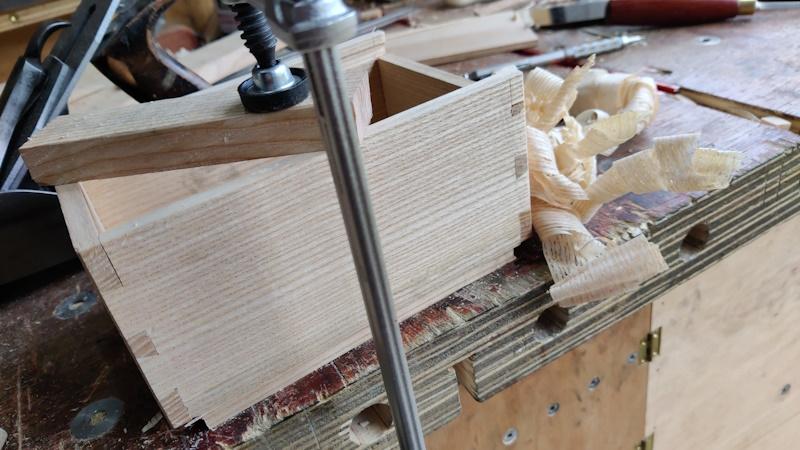
While the offcut was clamped to the bench, I also used it as a planing stop to plane the top surface:
That done, I figured the best thing to get on with was gluing the broken off bit back on again:
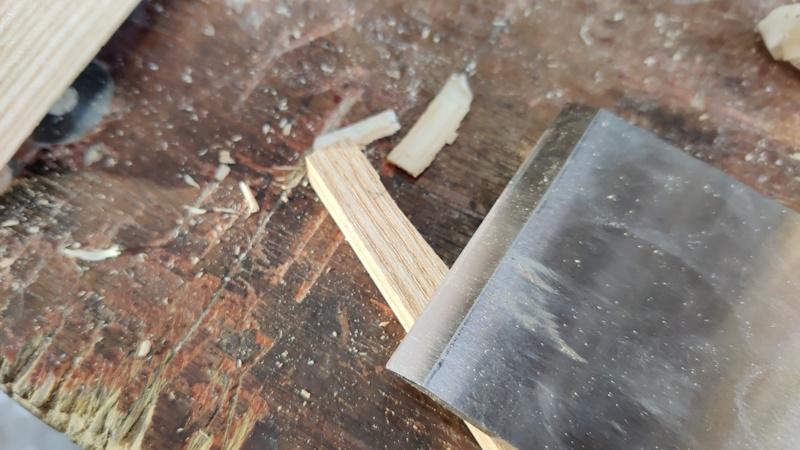
While that was clamped in place, I used the plane blade to pare off bits from an offcut:
Two of those pared bits were smothered in glue and shoved into the holes where I sawed on the wrong side of the line. This photo was taken after inserting the first one.
They were hammered into place with an offcut of ash (actually the notched piece I used for edge planing earlier).
I don't think it's going to look beautiful, but hopefully it won't be as obvious as it was before.
I was going to get on with preparing the lid, but then I realised that my only clamp is busy holding the box to the bench for the glue-up, so I won't have a way of making a planing stop and hence it's going to have to wait until the glue has dried enough.
Page 8 of 9
This website is free and ad-free, but costs me money to run. If you'd like to support this site, please consider making a small donation or sending me a message to let me know what you liked or found useful.

 Return to main project page