Block Plane for Travel Tool Chest Build Process
Page 5 of 10
Posted 27th April 2024
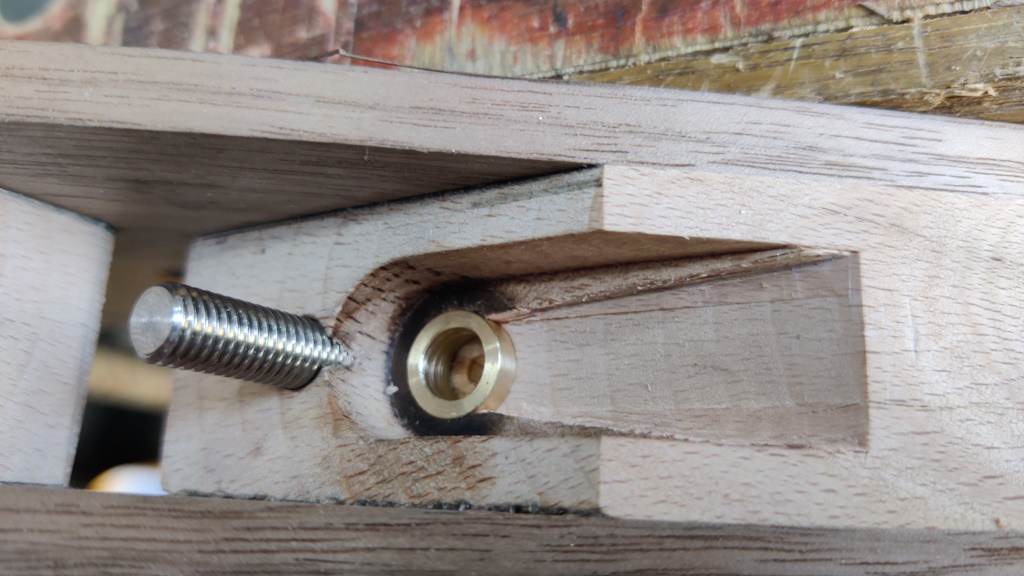
Once all the glue was dry, I turned the straight slot into a tapered one using a 10 mm chisel. This photo sort-of shows a before-and-after shot: I've opened out the one side but not the other:
I could have done this on the milling machine at the same time as milling the slot, but I'd have needed to rotate the vice for each side of the slot and it's a lot quicker and easier to just do it by hand. This photo shows the finished slot with the little brass bush fitted into its pocket:
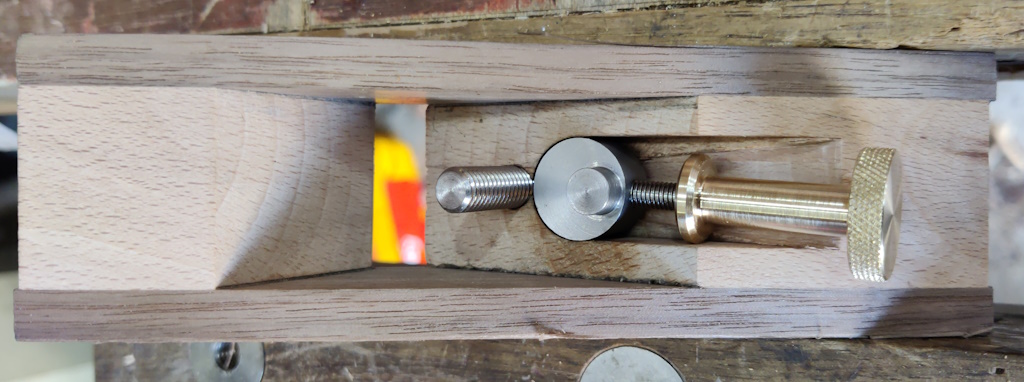
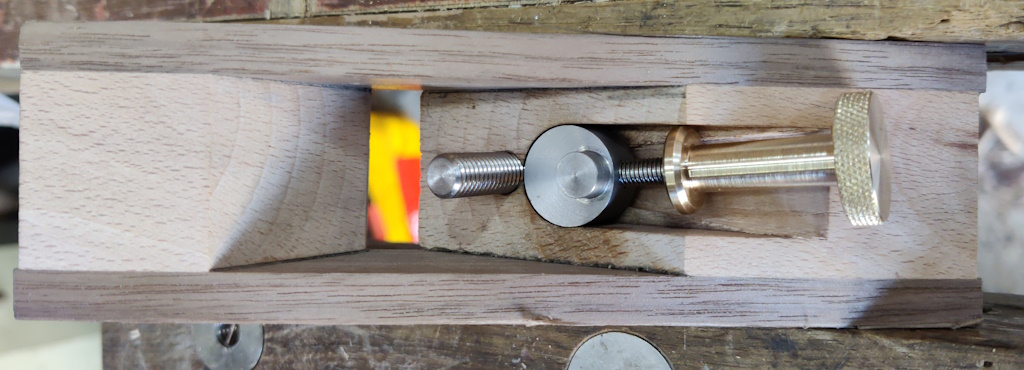
The following two photos show the two extremes of movement of the adjuster mechanism.
It's not a lot of movement, but it will hopefully provide enough to ensure the blade is aligned properly with the body (as I said before, the blade will be sharpened with a honing guide, so the end should be perfectly square to its sides). The cam can be mounted in either orientation (cam at the top or cam at the bottom). With the cam at the bottom, the effective angular rotation of the blade will be slightly more than it will be with the cam in the position shown in those photos.
The next job was to shape the body a bit more. Firstly, I reduced the thickness of the sides to about 4 mm with a hand plane:
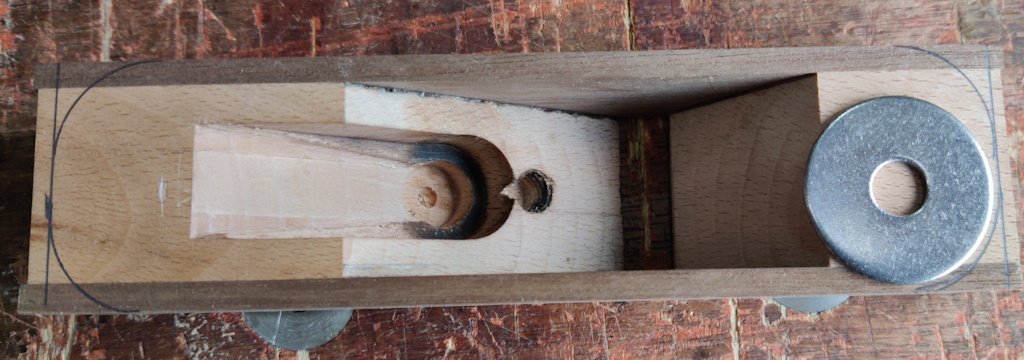
I want some rounded corners on the plane (as I had on the previous versions), so I marked the corner shape with a 30 mm penny washer:
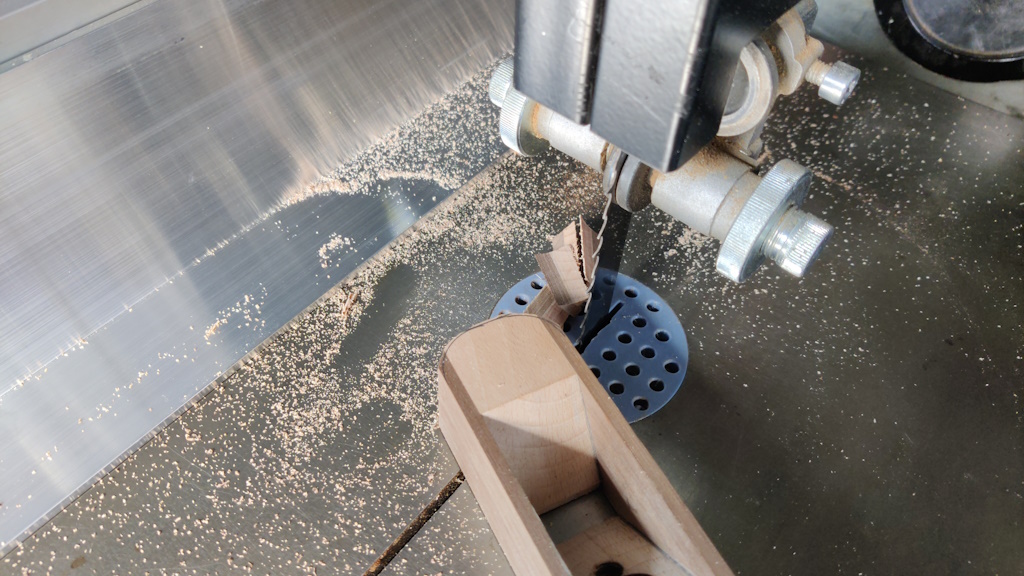
Shaping it was all done with power, firstly the bandsaw:
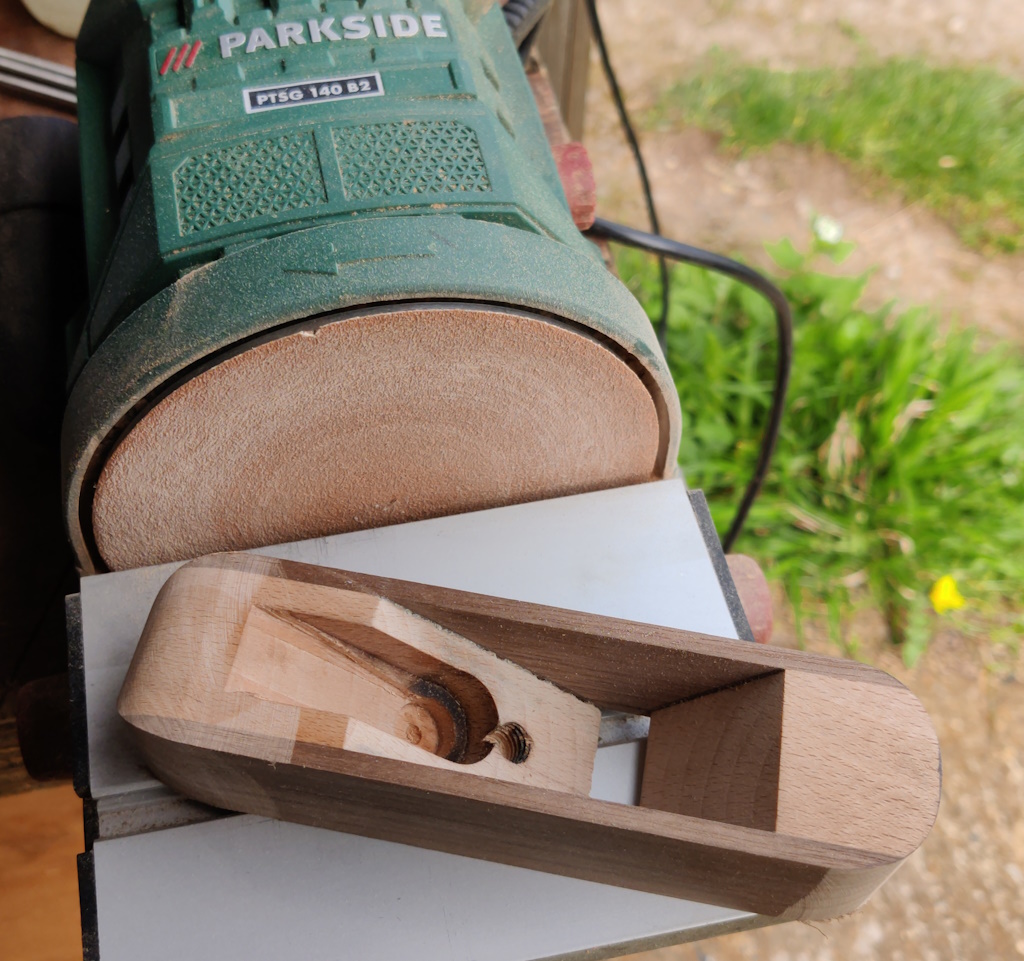
Then my woefully underpowered little disc sander:
More shaping will be required once the body is reduced to its final height, but that's a job for later.
Page 5 of 10
This website is free and ad-free, but costs me money to run. If you'd like to support this site, please consider making a small donation or sending me a message to let me know what you liked or found useful.

 Return to main project page
