Travel Tool Chest & Workbench Build Process
Page 109 of 144
Posted 3rd November 2023
I asked the expert on aesthetics (aka my other half) what she thought about the various models and her favourite was the little leather loops (which I hate!) followed by the brass hooks at the top, then a toss-up between the recessed brass knobs and the leather handles (the latter of which she was concerned would look rubbish after they sagged after a bit of use).
Having just had a try at making a recessed brass knob in a bit of scrap, I'm feeling inclined to abandon that idea, although I might have another go before making a final decision.
Anyway, for the completeness of the record, this is what I did...
I started with a bit of American Black Walnut that was mostly sapwood but had a reasonable amount of heartwood on one face. I sawed & planed it until it was the same size and thickness as the front of the top drawer (which I figured was likely to be the most difficult one given it's so shallow).
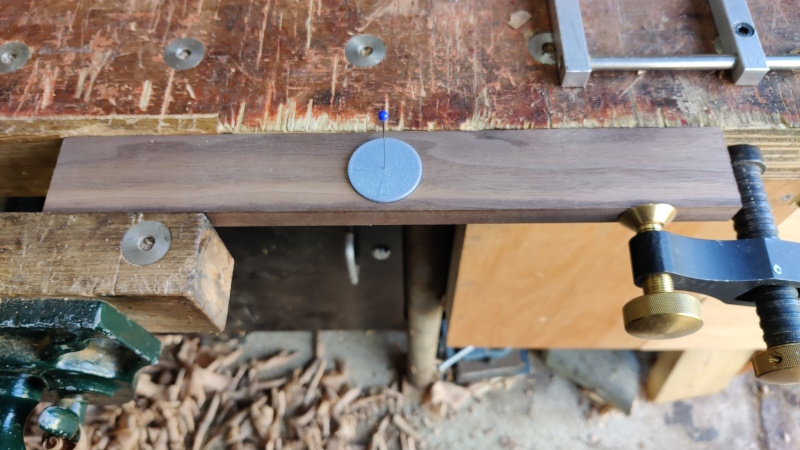
I couldn't find my pair of compasses, so I let the 3D printer knock up a quick disc with a hole in it for me to drawer round and, after finding the centre of the board, I drew the outline of the recess.
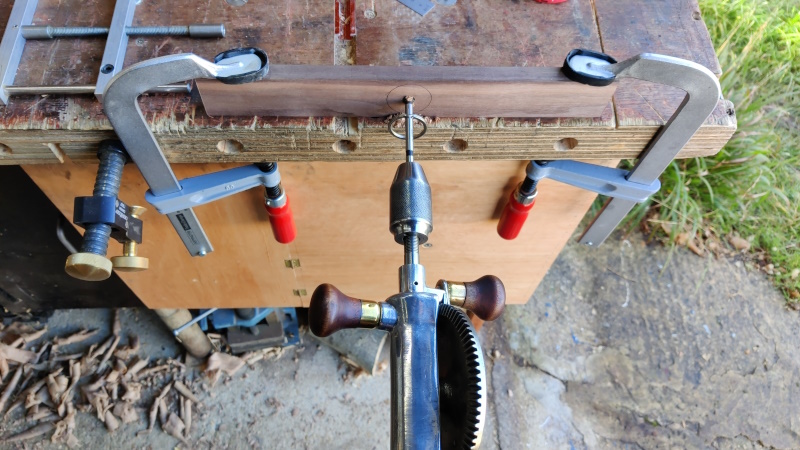
To set the depth of the recess, I used a 10 mm Forstner bit, which conveniently had a body (if that's the right term) that was 8 mm long, exactly the same as the depth I was aiming for. I put it in my egg whisk drill thing and drilled to depth:
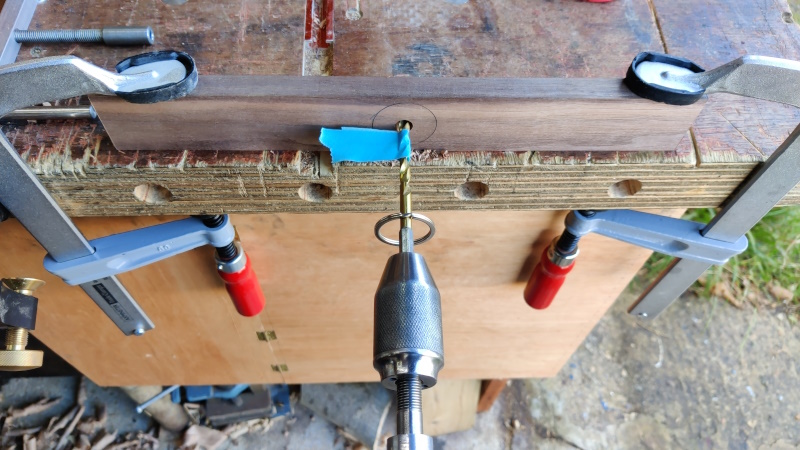
I then put a bit of masking tape around a 6 mm twist drill and deepened the hole a few millimetres further (still not coming out the back of the "drawer front"):
I'm torn on whether to rely on glue or drill the rest of the way through 3 mm and then come from the other side with a (hand-held) countersink, but for now I thought I'd stick with the blind hole option.
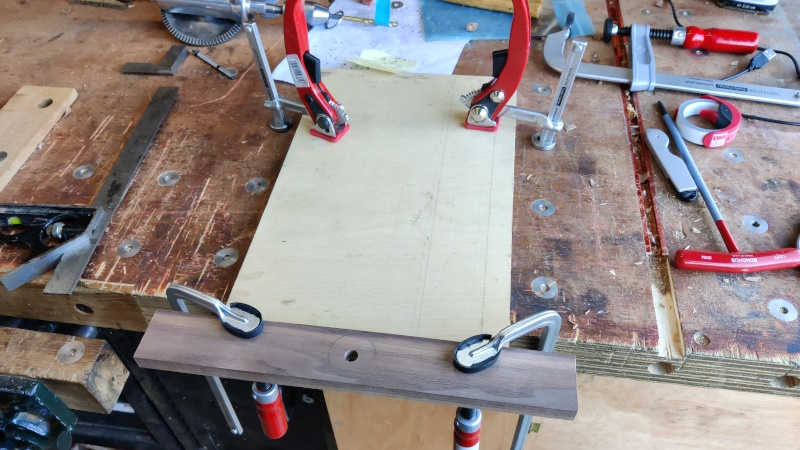
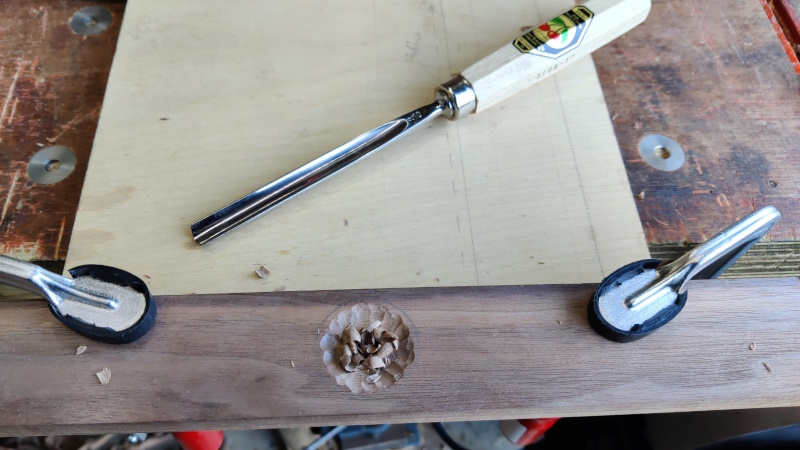
A handy bit of plywood was marked with a pencil line at the inside depth of the top drawer and then clamped to the bench. The offcut of ABW could then be clamped to that, with the clamps positioned in a similar manner to what would be possible if the drawer sides and bottom were there:
I then grabbed a handy (8/10) gouge and started to attack it:
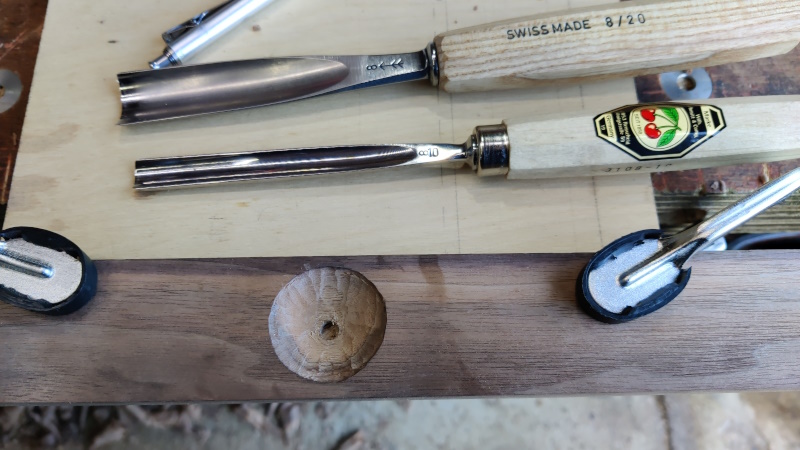
After getting most of the way there, I switched to a larger (8/20) gouge to be a bit closer to the radius of the recess, but I didn't get on very well with it and eventually went back to the small one. After much embuggerance, this is what it looked like:
I think one of the problems with this sort of recess is that the eye is very good at spotting any out-of-roundness, so imperfections in the carving stick out like a sore thumb. Perhaps it would be better if I put a shallow knife cut around the template before starting and then I could work up to that line (and possibly finish with some careful knife cuts).
Another potential and rather debatable issue (highlighted by my other half) is that the rest of the box has a very smooth (planed) finish, whereas the gouged recess looks a bit rough-and-ready.
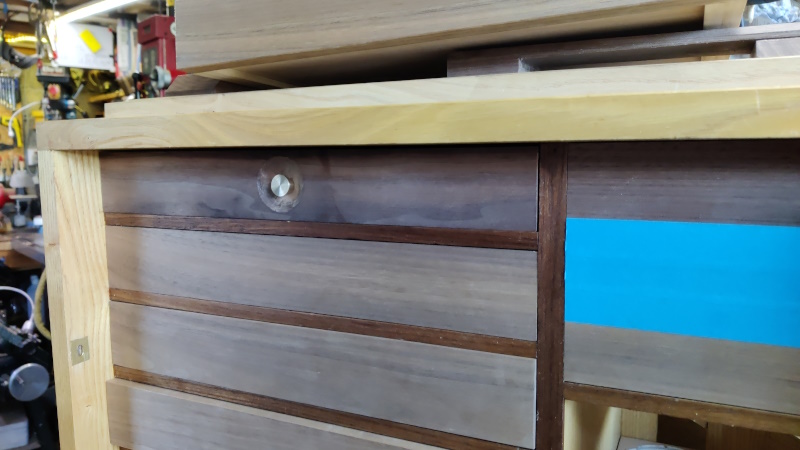
Anyway, as the test piece was exactly the same size as the top drawer front, I could slot it into the drawer gap and see what it would look like in practice (with a hastily knocked up brass knob to go with it):
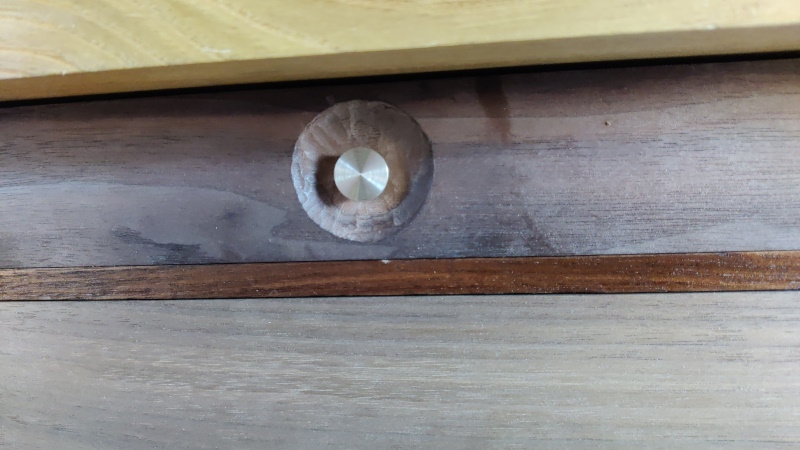
Close-up:
I'm definitely not convinced, but at the moment I'm not sure whether the issue is my carving skills or whether it's just a bad idea from the start. It occurred to me that another option would be making the recess with a big Forstner bit, but I think it would look a bit pants so I probably won't even bother to CAD-model that option.
I am inclined to have another go and see if I get any better on a second attempt. I'll also give the top-of-drawer brass hook things a go and see what that looks like.
At least all of these attempts are in bits of scrap, so I haven't ruined any of my finished drawers... yet.
Page 109 of 144
This website is free and ad-free, but costs me money to run. If you'd like to support this site, please consider making a small donation or sending me a message to let me know what you liked or found useful.

 Return to main project page