Travel Tool Chest & Workbench Build Process
Page 118 of 144
Posted 17th November 2023
Exercises in photolithography. I haven't finished the photolithography versions yet, but I'm making progress, so I thought I'd write it up.
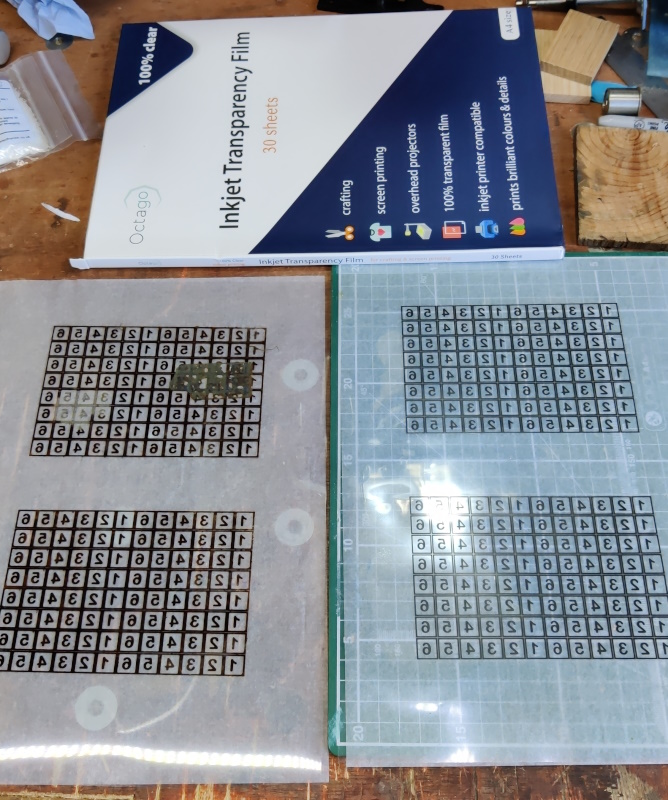
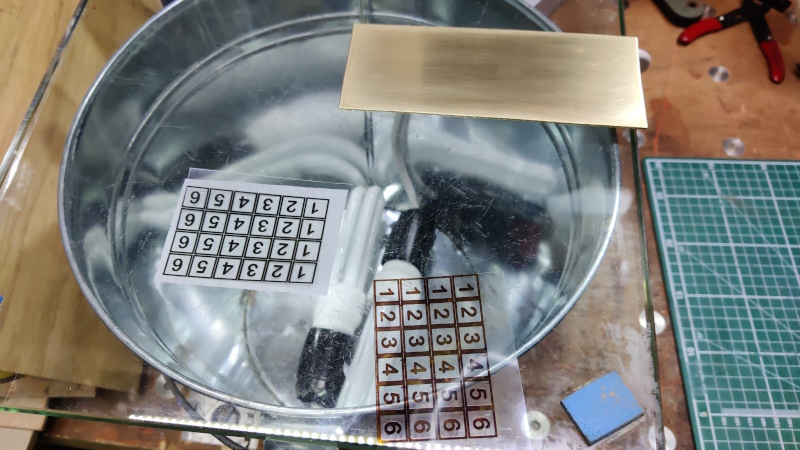
I bought some "inkjet transparency film" and printed out a pattern on my inkjet printer (as with the press-n-peel paper, the image is mirrored, but unlike the press-n-peel, it isn't inverted for this process). It looked a bit pants to be honest (I possibly just need to tweak the printer settings a bit) so I decided to take some of the acetate into work and print the pattern on the laserjet – that came out looking much better.
As you can see I also made the mistake of leaving the inkjet one lying ink side down on a bit of cardboard, which proceeded to stick to the ink!
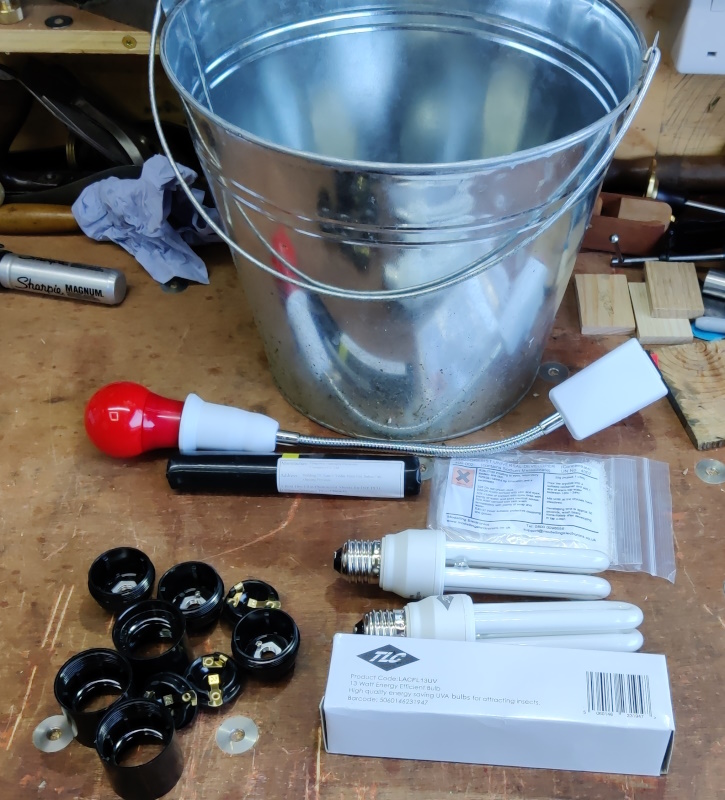
Next up was to assemble the kit I needed, some of which is shown in this photo.
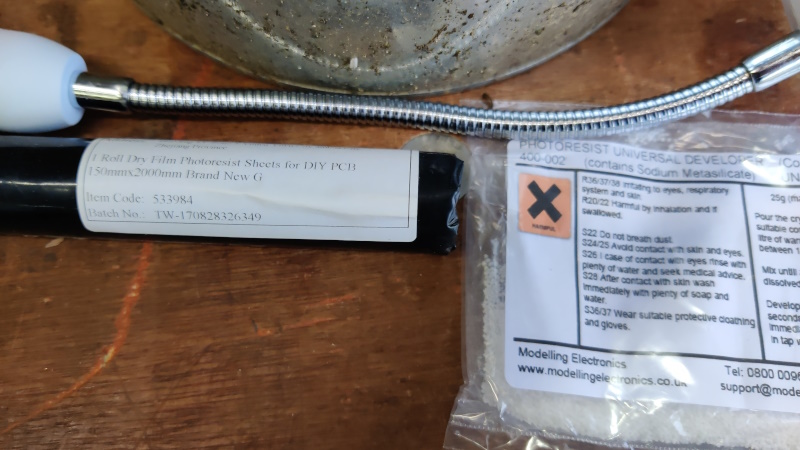
That includes a metal bucket (metal as it'll be more reflective than plastic), some UV light bulbs, some light fittings for E27 screw thread bulbs, a darkroom safe light (basically just a red bulb) and these two chemicals – photosensitive film and photoresist developer:
There were also a handful of more mundane tools like an iron, a cutting mat, a knife and ruler, some masking tape etc.
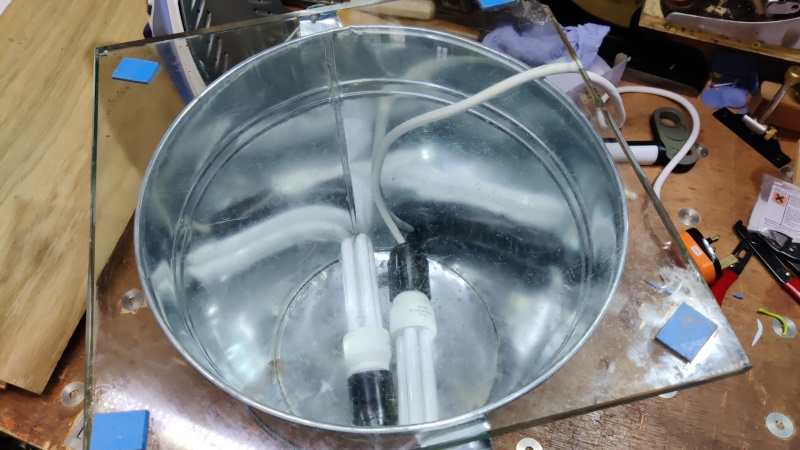
The lights were wired up to a plug and dumped in the bottom of the bucket and a (rather scratched, which probably isn't ideal) piece of glass placed on top:
The first part of the process is very similar to the press-n-peel process: trim the template to size and give the brass piece a very thorough clean: I used 600 grit wet & dry under a running tap and then cleaned the surface with acetone.
Once everything was ready, I then left it all for a few hours as I needed to wait until it got dark outside (I suppose there's one benefit of these ridiculously short evenings).
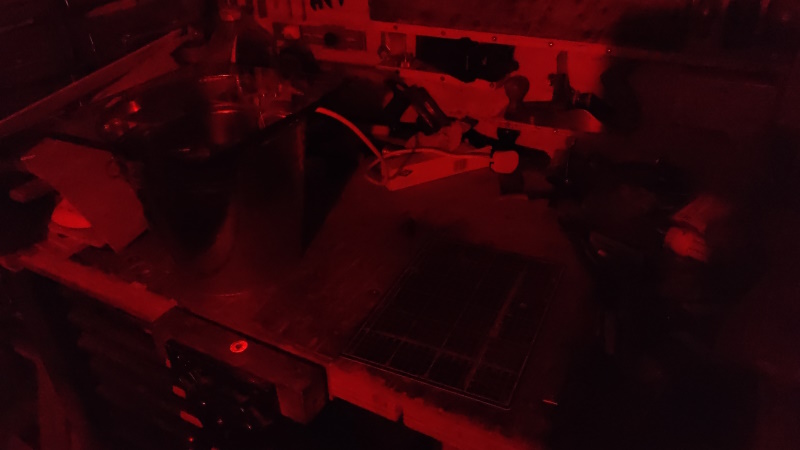
I didn't take many photos of the process from here for the simple reason that it's all done under dim red light and it really isn't very easy to see, let alone take any photos:
You'll just have to put up with a textual description (or go and watch #9 in Clickspring's Byzantine Sundial Calendar series on patreon/youtube, which is what I based the process on).
Once the light is off, it gets really hard to see what's going on. The first thing to do is get the photosensitive film out of the black tube and cut a bit off. The photosensitive film has two layers of protective cover. One gets removed immediately (with a bit of masking tape stuck on the corner to help lift it) and then the film gets laid on the brass plate and pressed firmly with a bit of paper towel.
The paper towel is rubbed around a lot to try to get rid of any air bubbles. If there are any major ones, the film can be lifted and then you can have another go. If you manage to crease the film, then you just have to cut another piece and try again. The brass has to be really, really clean and free of particles – I don't think I got it quite clean enough, but in my case I don't think it's a problem (as I'm making lots of spares so I only really need one of each number to work).
Once the film is smooth all over the brass, a piece of paper is put on top and then an iron (I used the wool setting on the successful attempts) is briefly but firmly pressed on the paper. This sticks the film firmly to the brass. You can check progress by removing the iron and trying to tug on the corner of the film. If it peels off easily, you need more iron time.
Once the film is firmly attached, I trimmed any excess off and then peeled away the other protective layer. The transparency is then placed on top with the printed side against the film (hence printing it mirrored).
The whole lot is then placed face down on the glass-covered bucket, then something heavy put on top to stop anything from shifting (I used a bit of wood and a smoothing plane!). I then put my lab coat over the top of the whole assembly (I don't know how dangerous UV bulbs are but I thought it better to err on the side of caution).
The power was then turned on and I left it for 1 minute and 40 seconds before turning the power off again.
At that point, you need some of the photoresist developer mixed up. I intended to mix up a quarter of the pack, but slipped on the scales and mixed up a half of the pack instead. The stuff I've got wants 25 g per litre in room temperature water.
The brass piece goes into the developer for about 30 seconds, brushing with a soft brush all over the surface until the unexposed film has all gone. It's then rinsed in tap water (and the light can come back on!)
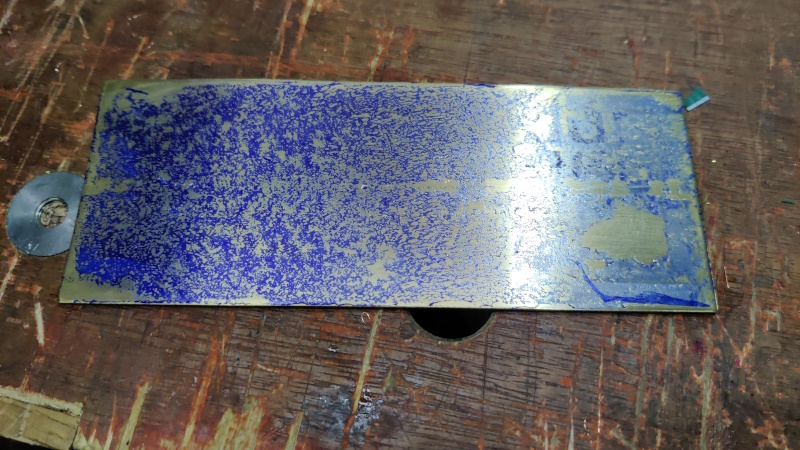
That description covers what I did on the third attempt. The first attempt looked like this:
On my first attempt I'd assumed that it needed a similar amount of ironing to the press-n-peel paper. It really doesn't: that much heat just melts everything!
This was my second attempt:
That was before I re-read the notes I'd made while watching the Clickspring video – I hadn't used the soft brush while it was in the developer. Going back and having another go in the developer resulted in it being over developed.
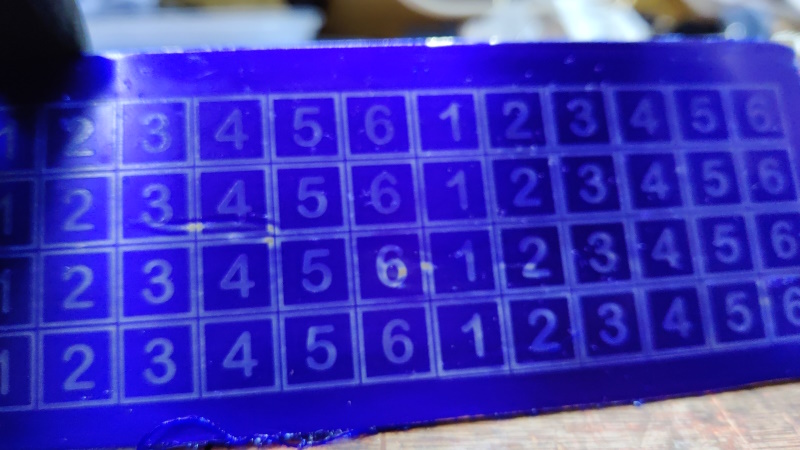
This was the next attempt:
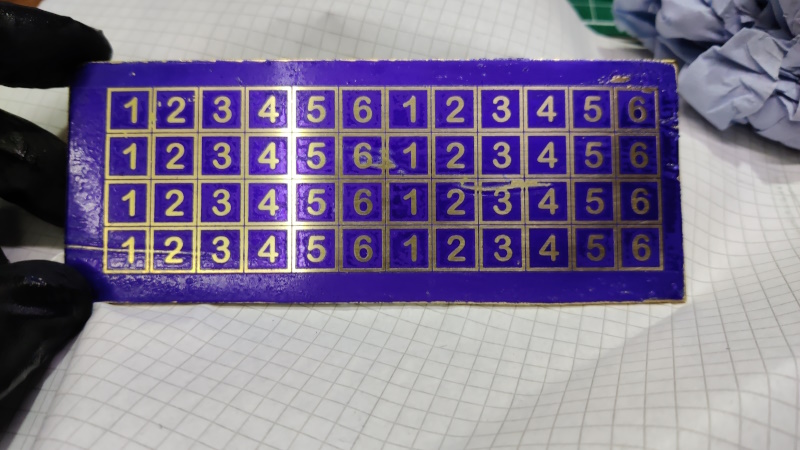
I was happy with that. There are some definite blemishes where the film hadn't stuck properly, but given this is the first day of photolithography for me, I thought it was worth carrying on.
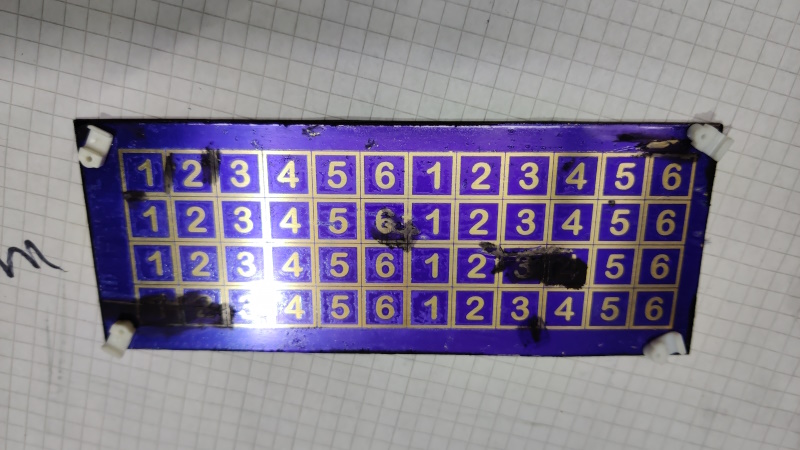
Next job was sharpie marking some of the blemishes (I really should have done this with paint, but I was being impatient) and gluing on the plastic clips again.
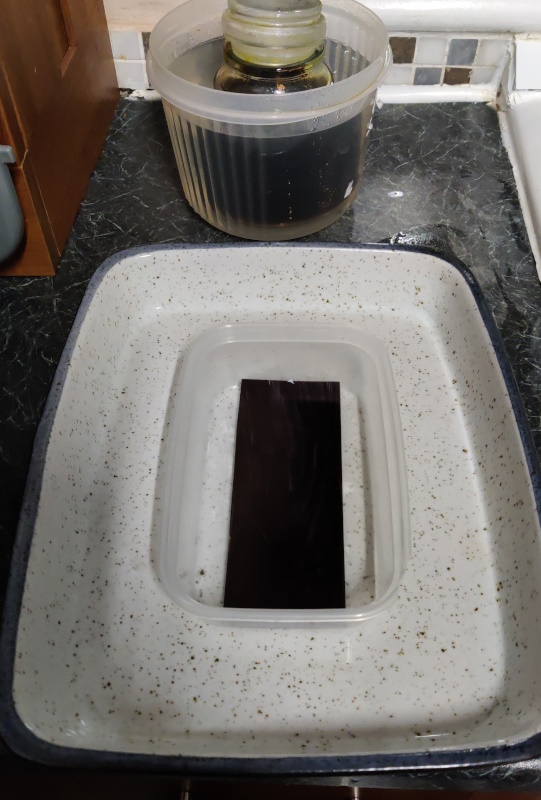
It then went in the warm ferric chloride bath for 25 minutes:
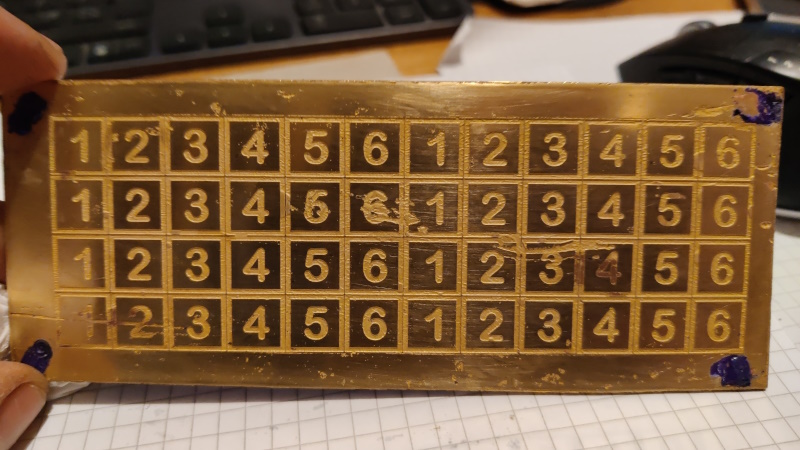
Finally, it came out, was rinsed with water and then dunked in acetone to remove the film completely:
I think there should be enough good squares in there to do the job, but we'll see what it looks like once I've added the black shellac and cleaned it all up (that's a job for tomorrow).
Given that this is the first time I've tried photolithography, I'm really pleased with the result. It's a much, much nicer process to do than the press-n-peel stuff. Ironing the film on is quick and you can check progress and carry on if it hasn't worked (rather than starting again like the press-n-peel film). The printed transparency is reusable rather than sacrificial like the press-n-peel film. The UV cure bit is quite quick and once it's come out of the developer you can easily see whether the process has worked. If it looks a bit shabby, you just wash the film off with acetone and have another go, so you don't waste the brass piece.
It's a bit awkward working under the dim red light (although it probably would have been better if the light wasn't behind me so I was also working in shadow), but overall it's a much better option I think. With hindsight it would have been better to space the numbers out a bit more: I've got some fairly narrow lines to cut down, but I think it'll be okay if I'm careful. I'll worry about that after blackening the numbers tomorrow.
Page 118 of 144
This website is free and ad-free, but costs me money to run. If you'd like to support this site, please consider making a small donation or sending me a message to let me know what you liked or found useful.

 Return to main project page