Travel Tool Chest & Workbench Build Process
Page 128 of 144
Posted 4th February 2024
The 3D printer has been running pretty much continuously for the last week, churning out more drawer liners. I'm nearly finished now, with two more bits of the mallet drawer to print and then just the chisel drawer to sort out (I haven't even got as far as modelling that one in CAD yet).
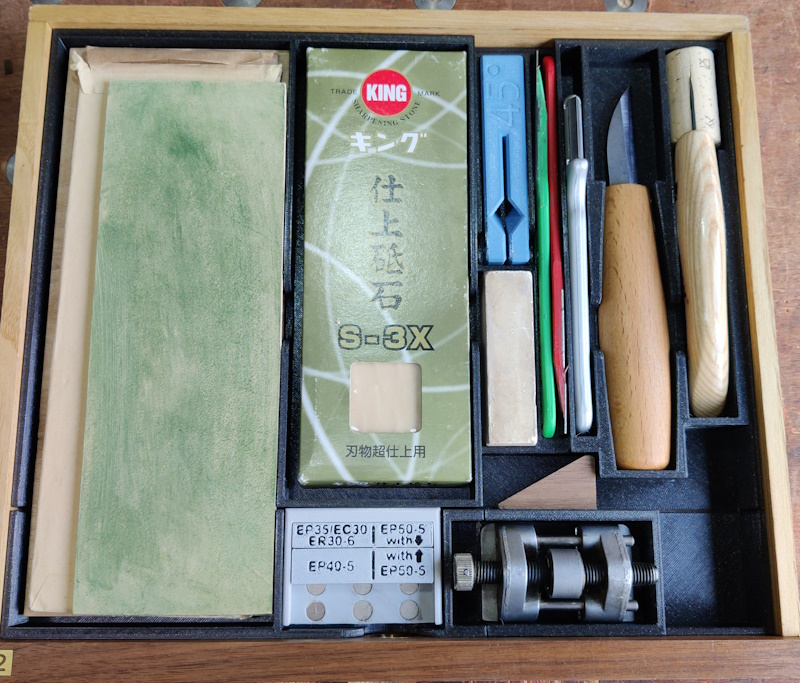
You've seen the saw drawer already, this is what is nominally the sharpening drawer but also has a couple of knives and a handy wooden block in it:
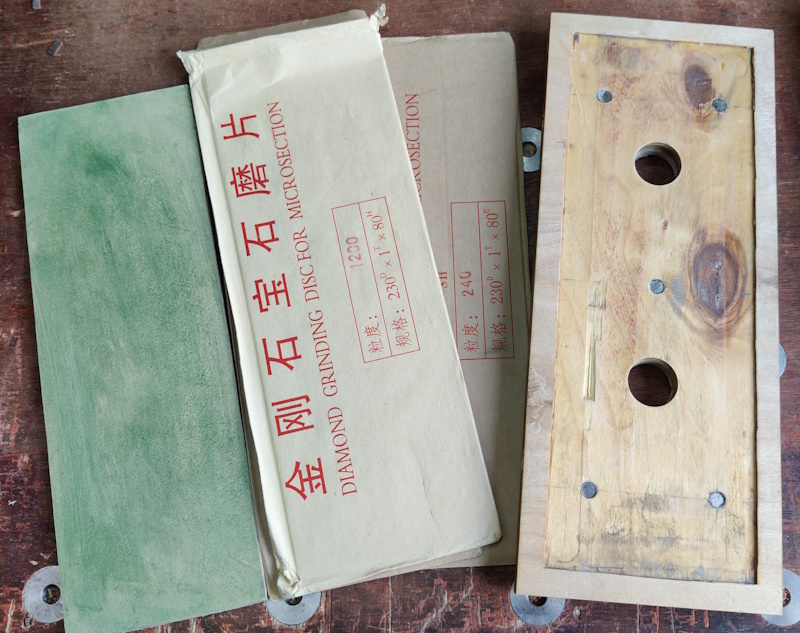
At the bottom of the left-hand compartment is a piece of plywood with a recess cut into it and some magnets set slightly sub-flush. That provides a base for a selection of cheap 1 mm thick 230 mm × 80 mm diamond plates. Being nice and thin, they don't add much weight, but the plywood keeps them flat. The green thing is a bit of leather (with some stropping compound rubbed in) glued down to a thin steel plate of the same size, so it can be used on the plywood base if necessary as well.
The plywood piece also has some 8 mm holes drilled in the side, so it can be clamped down if necessary (although I doubt it will be necessary).
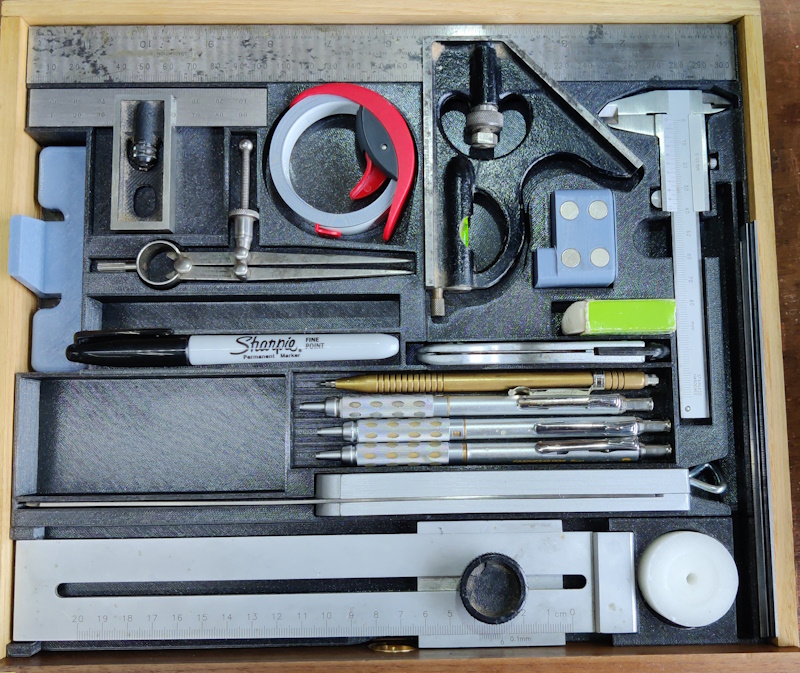
The measuring / marking drawer is also finished (note the 150 mm rulers standing on their sides on the right-hand side of the photo):
The empty areas are unallocated: there was nothing obvious I could think of that would fit neatly there, so I just hollowed the space out & it can be used for anything that fits and might be useful.
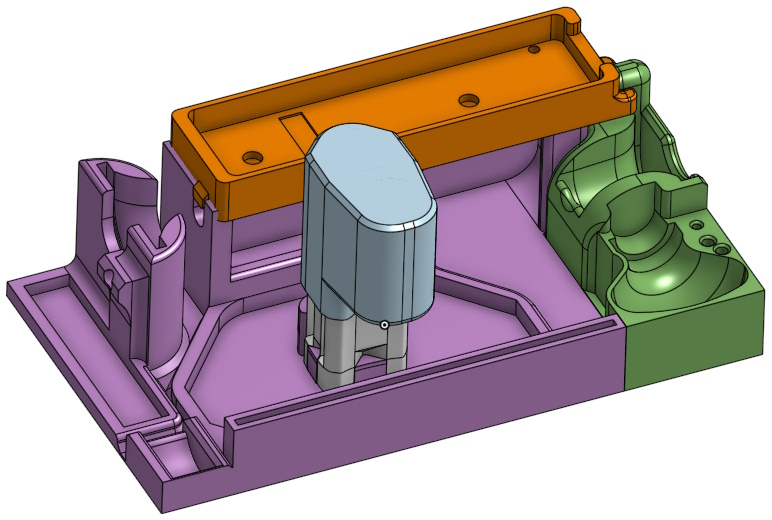
I've also finished the most complicated of the drawers: the router plane drawer. It was way more complicated than the other drawers as I was making full use of the third dimension to cram stuff in.
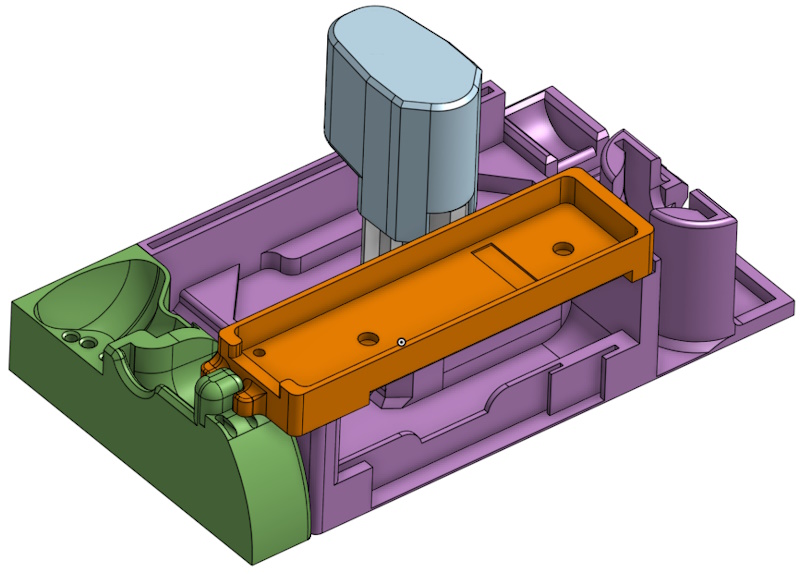
This is what the model looked like once everything was finished:
A view from another angle:
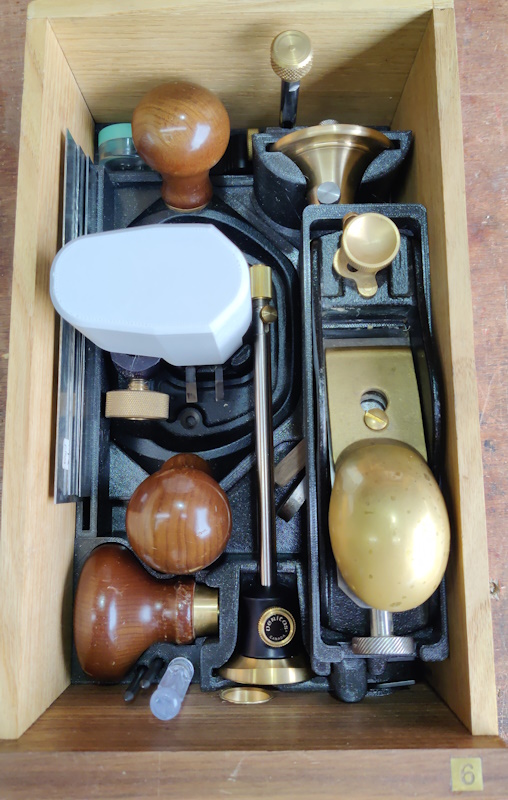
This is what it looks like "fully stuffed".
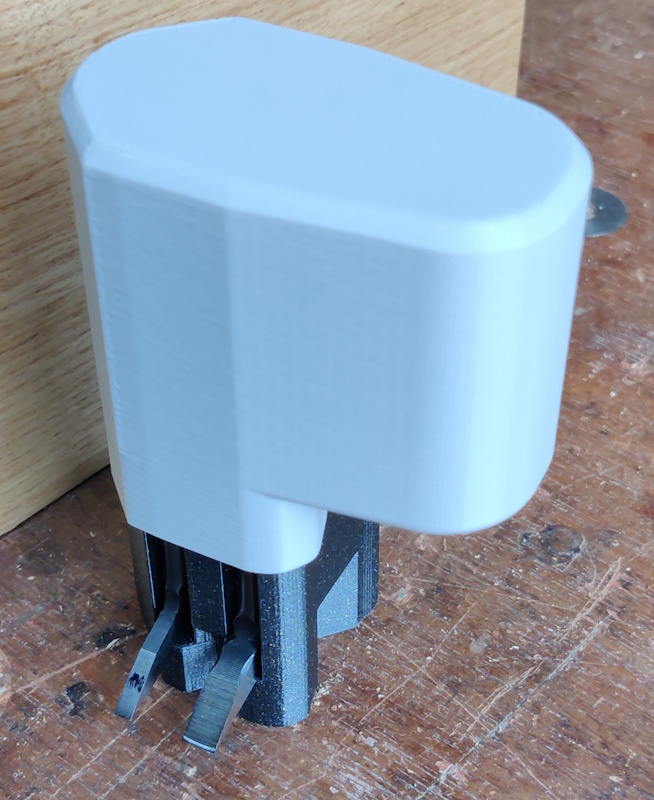
The router blade holder thing lifts out in one piece (the pale grey cover is there to stop idle hands from getting cut on the blades and also to give a bit of extra protection against the whole assembly falling over – it goes over the router plane's adjuster screw).
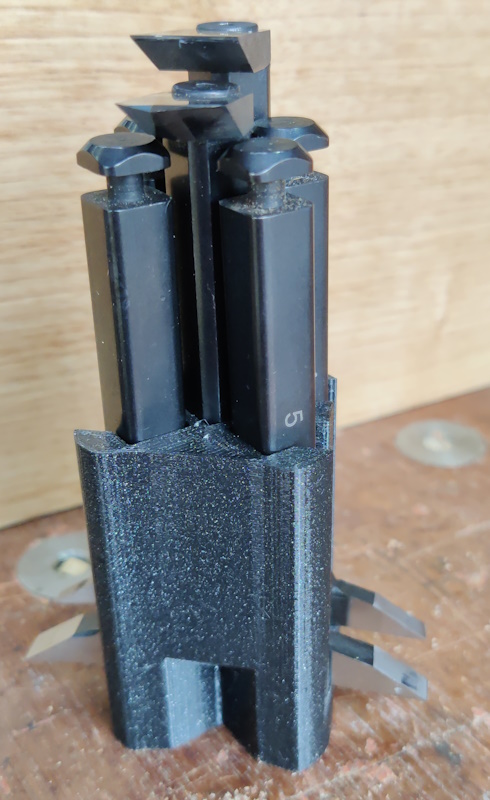
The grey cover is a fairly loose fit; this is what it looks like underneath – space for 6 router plane blades of different widths: 3, 4, 5, 6 mm and the 1/2" / 12.7 mm wide "standard" ones (it's handy having the different widths as I'll be using the router plane as a plough plane):
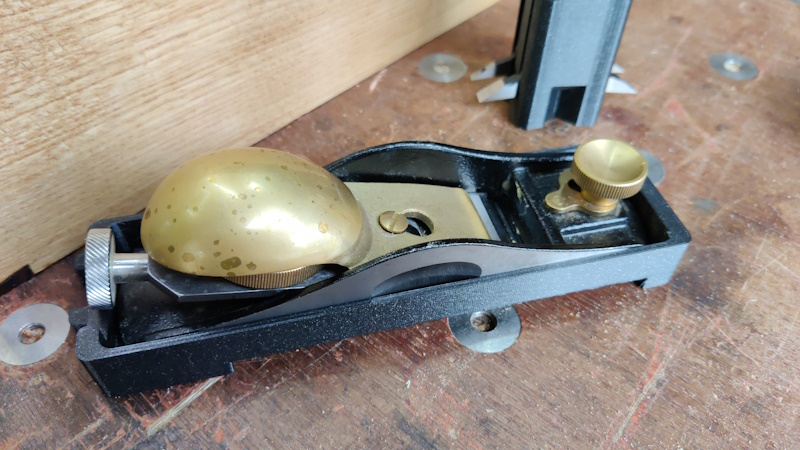
The metal block plane sits on a tray that lifts out as well:
I'd wondered about omitting the metal block plane and just taking the home-made wooden one, but I thought I'd keep my options open for now as I use that little Quangsheng thing quite a lot. As it's in a removable tray, it would be very simple to just not fit the tray if I decide not to carry the metal block plane.
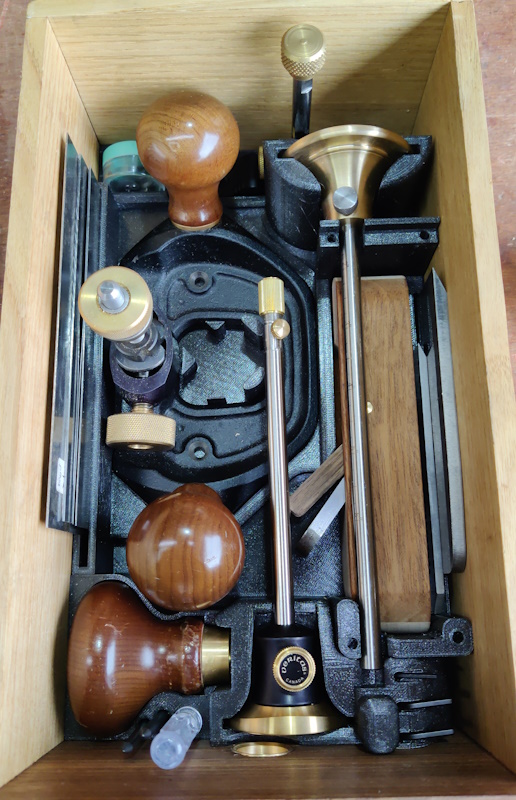
With the router cutters and the plane tray removed, the rest of the contents are visible:
Hiding down the left-hand side are a selection of card scrapers and on the right are spare blades for the Veritas smoothing plane and the Quangsheng block plane. The right-hand marking gauge has lots of different heads (two wheel marking heads, one pin marking head and a pencil marking head – in the little green-lidded jar in the top-left), so it offers a lot of flexibility. It's probably gratuitous including the Veritas one as well, but it's surprising how often I have one gauge fixed at one setting and want a second gauge.
In the bottom-right of the drawer are a selection of the Allen keys that came with Veritas stuff – Veritas insist on using inch-based fasteners, so I keep the Allen keys near the tools as I can't just grab any nearby Allen key (as it would inevitably be metric).
Page 128 of 144
This website is free and ad-free, but costs me money to run. If you'd like to support this site, please consider making a small donation or sending me a message to let me know what you liked or found useful.

 Return to main project page