Travel Tool Chest & Workbench Build Process
Page 129 of 144
Posted 18th April 2024
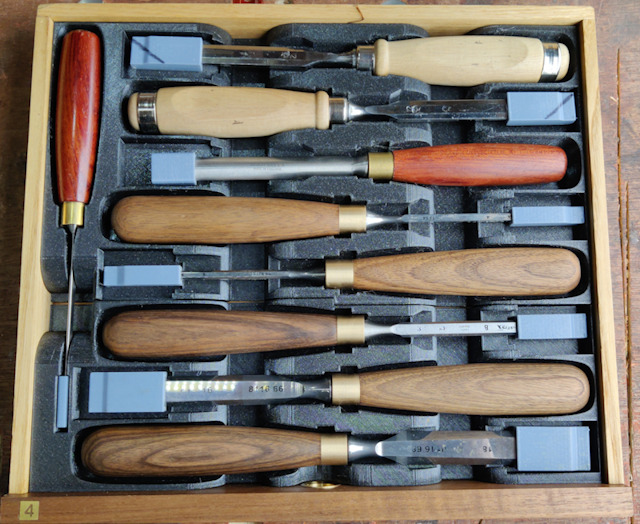
Having recently finished making new handles for my Narex chisels (see here or here if you haven't been following along), I could finally get on with the last job on the tool-chest: designing the 3D-printed insert for the chisel drawer. I did quite a bit of playing around with different layouts and ended up with this:
The slot on the left is a dedicated one for a 3 mm chisel as I think I'll always want one of them for box making. The other slots are designed to take either the Narex ones with the new handles or some other types (as shown in the photo) including my skewed-end chisels. Some of my gouges fit too, so they can be taken if that's what I want to do. I decided against doing dedicated slots for specific chisels as limits my options too much. With this layout I can think about what I'm likely to make when I'm travelling and take an appropriate set of chisels.
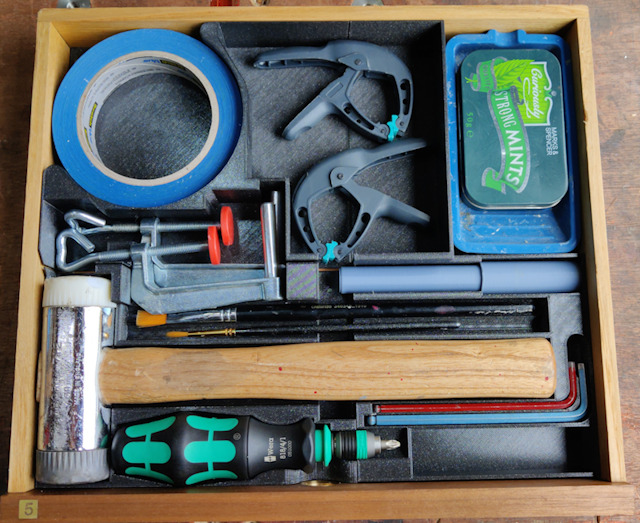
I finished the bottom drawer a while ago, but I don't think I've posted a photo of it yet, so for completeness, here it is:
There's a bit of flexibility in that drawer and also some empty space that can be filled with whatever seems a good idea at the time. The "Curiously Strong Mints" tin is empty, but it'll be handy for taking odds and ends like screws / hinges or whatever.
I think I can now say that the chest is finally completely finished. I'll be taking it to France in June and giving it a proper try.
Page 129 of 144
This website is free and ad-free, but costs me money to run. If you'd like to support this site, please consider making a small donation or sending me a message to let me know what you liked or found useful.

 Return to main project page
