Travel Tool Chest & Workbench Build Process
Page 130 of 144
Posted 9th September 2024
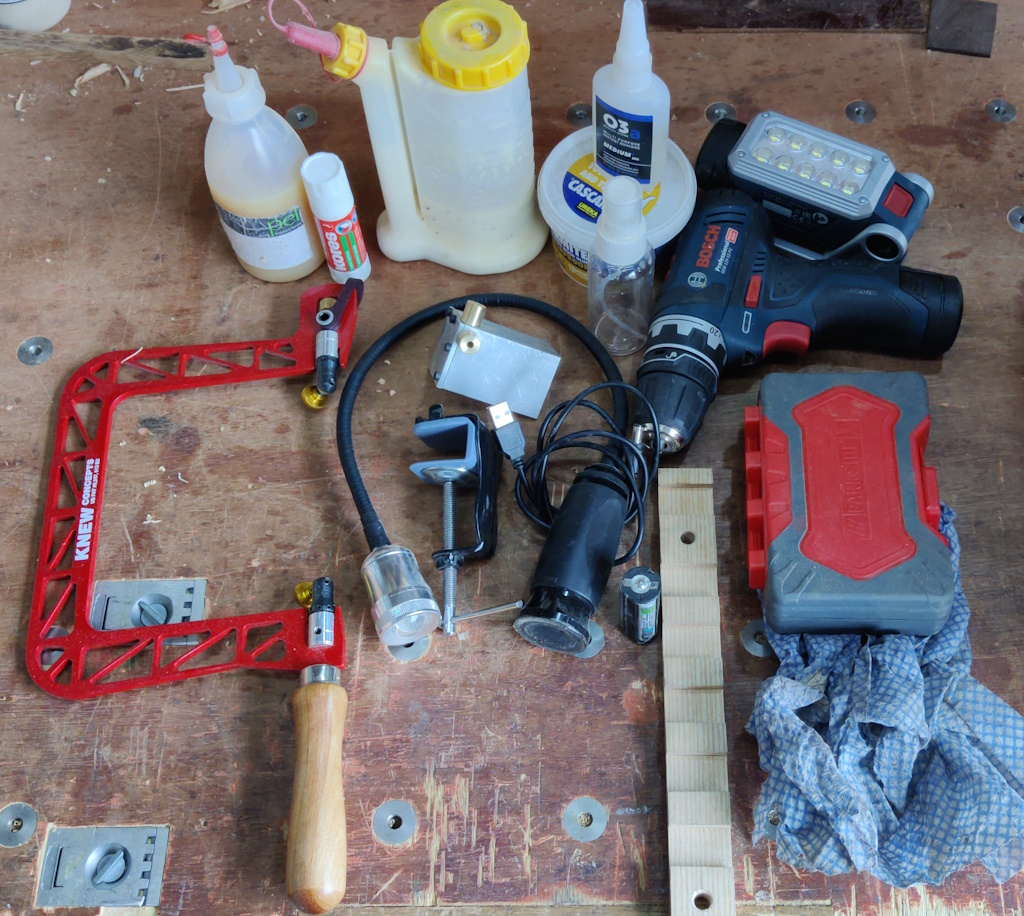
Well, this is it: the "christening". This is the first time I've taken the completed tool chest away on holiday. In addition to the tools that fit in the various drawers, I added a few more rugged tools that could get chucked in a bag and taken separately:
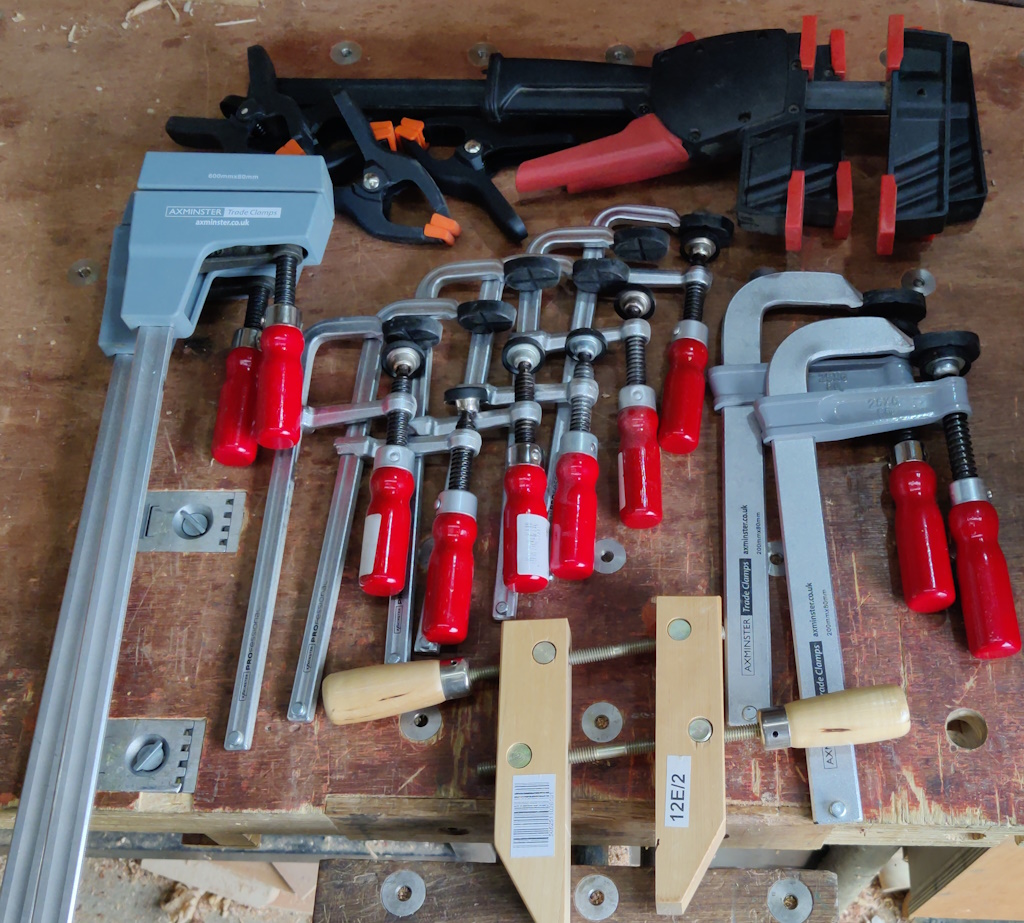
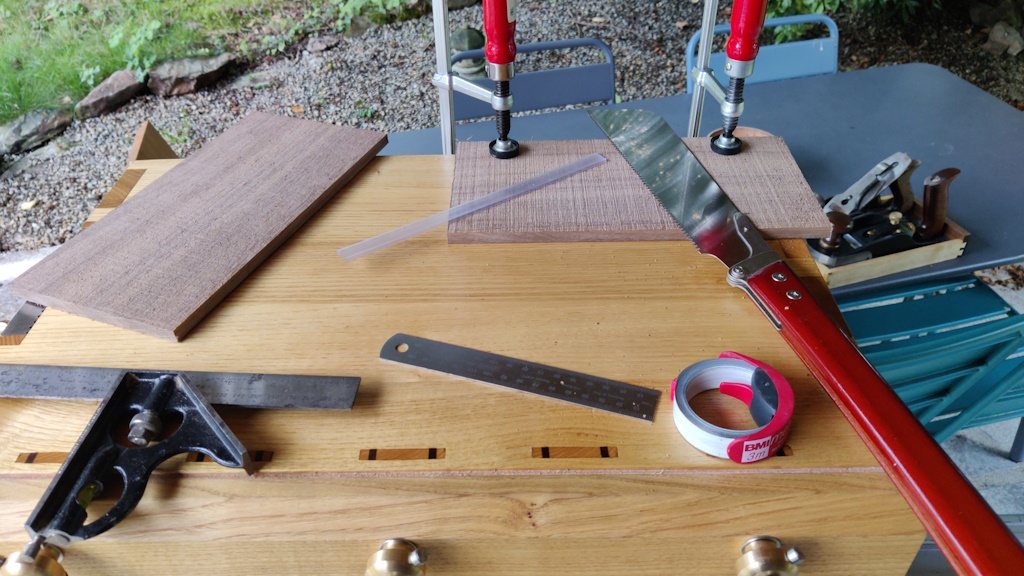
I also got a bit carried away with clamps (although the quick clamps were there more for the purpose of holding a sheet up to a trellis to block the sunlight than for woodwork):
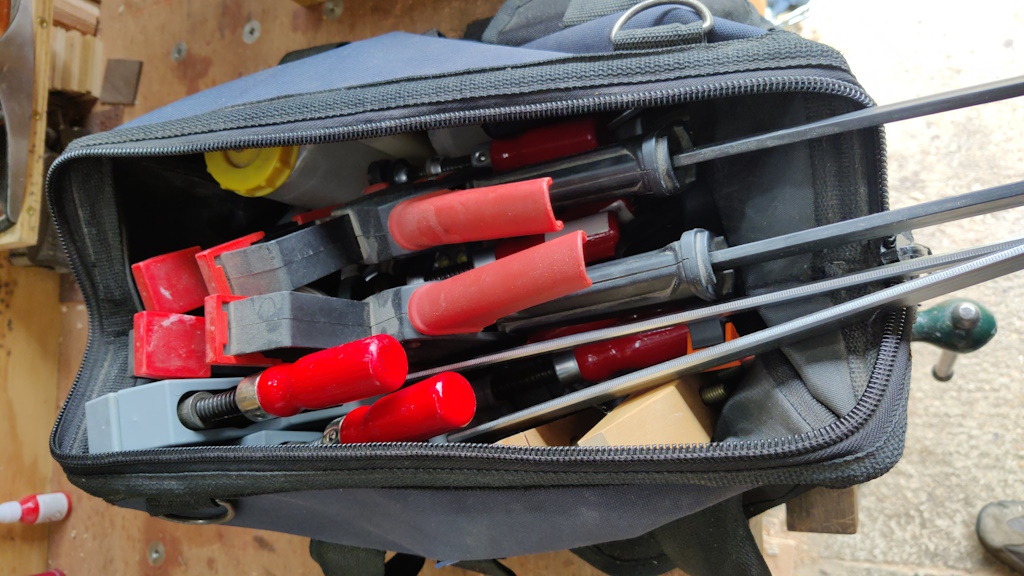
All of the extra tools and the clamps got chucked in this canvas tool bag...
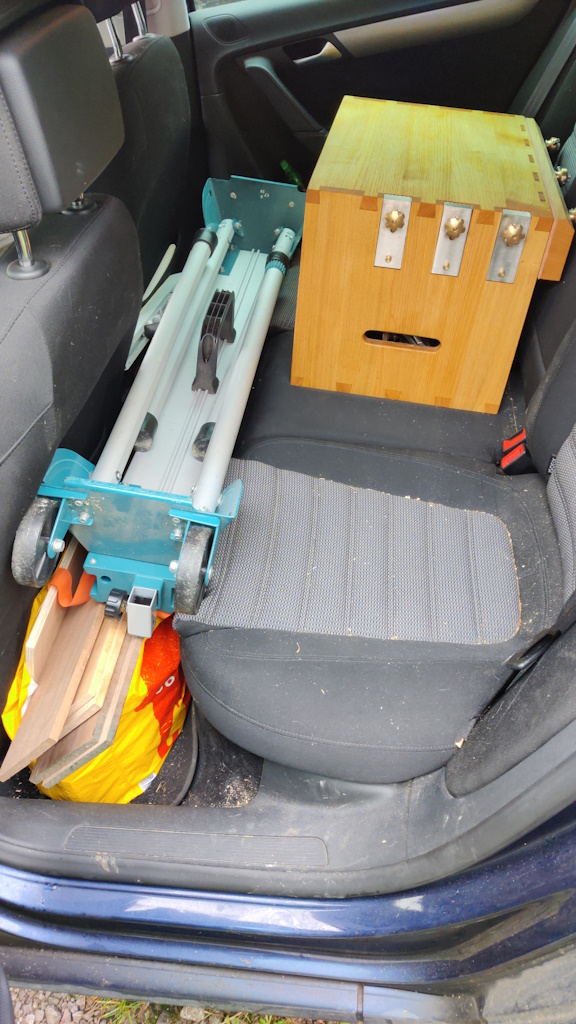
... and then the tool bag, a bag of wood, the mitre saw stand and, of course, the tool chest got loaded onto the rear seats of the car:
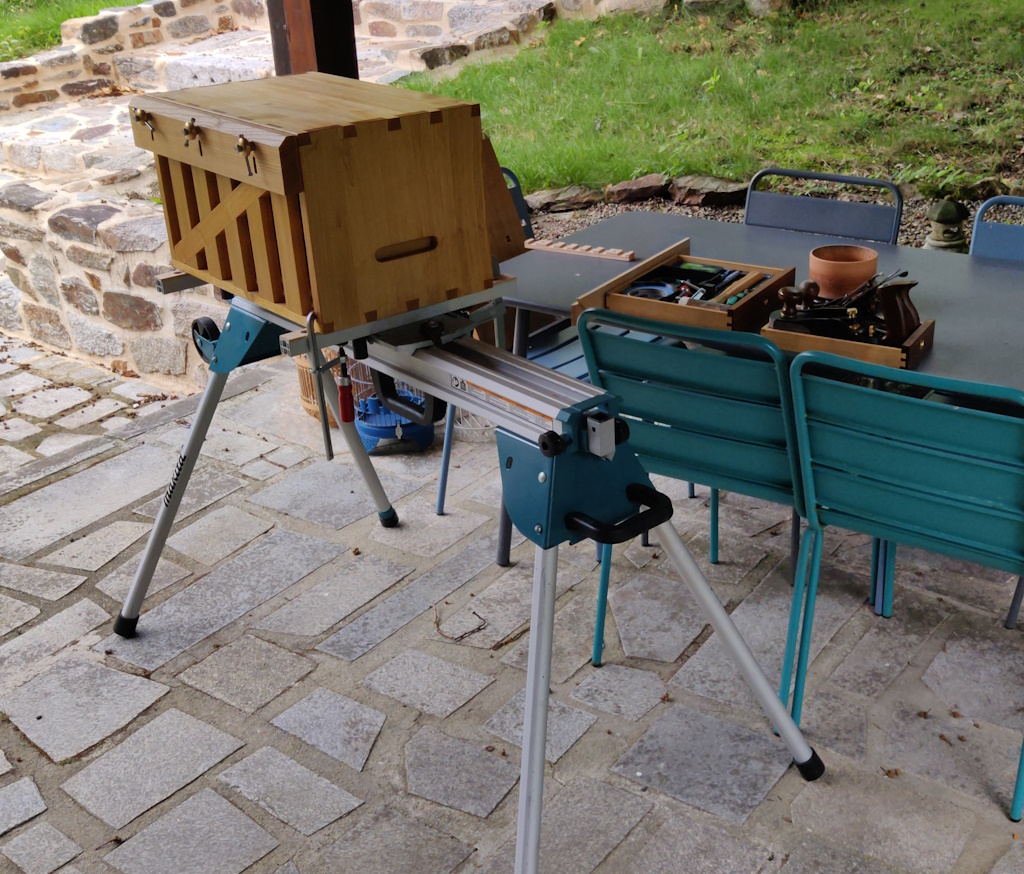
Here it is set up on the covered patio in Brittany:
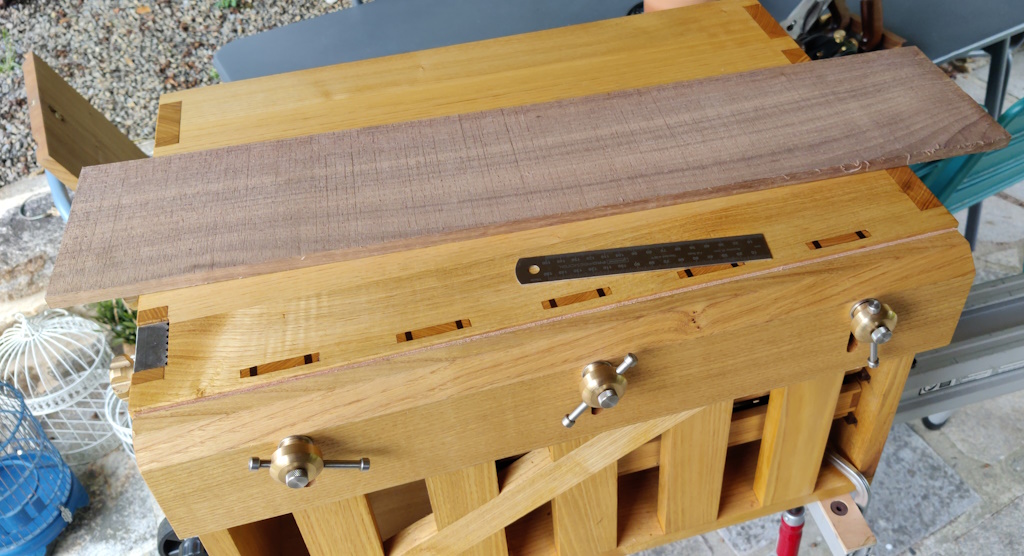
I thought I'd start with something quite simple to ease myself back into box-making and, more importantly, into working with the tool chest as a bench. Among the bits of wood I brought with me was this plank of walnut:
Some of the wood I brought with me has been resawn (with the bandsaw) in half and can be used to make a box with the grain wrapped around. This is a one-off piece so arguably less precious so I thought it would be a good choice for the first go.
I started by clamping it to the chest and using the folding Kataba to chop it into shorter & more manageable lengths:
Next up was planing the bandsaw marks away, using the low angle plane, which is serving as my general-purpose plane here:
One piece finished:
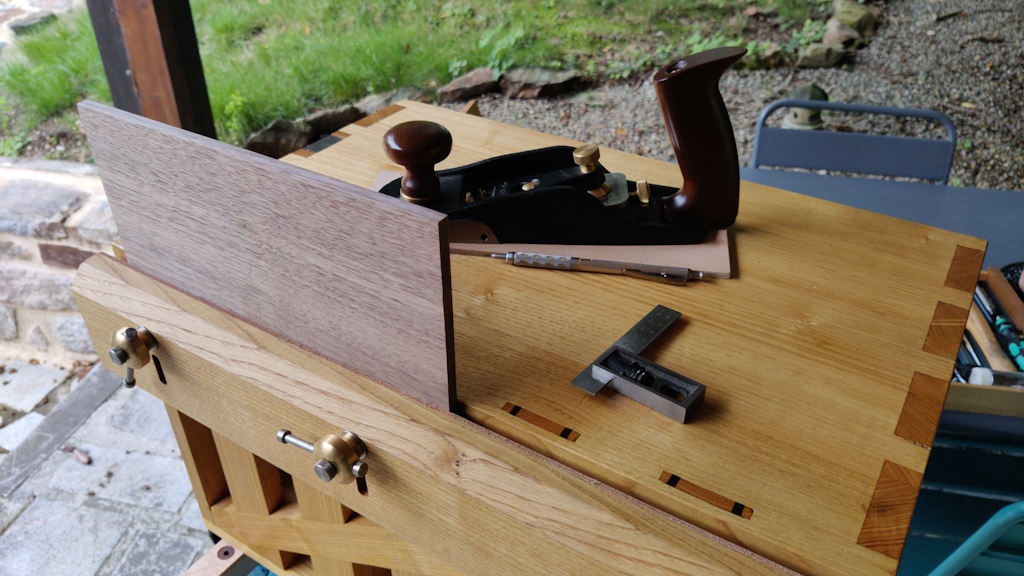
To plane the edges, I decided to try just clamping the piece in the vice:
It would have been held more robustly (and at a more comfortable height) if I had removed the vice and just clamped it to the back, but it was interesting to try this approach and it worked just fine. I also could have removed the middle vice screw and mounted it lower down, but I didn't think of that at the time!
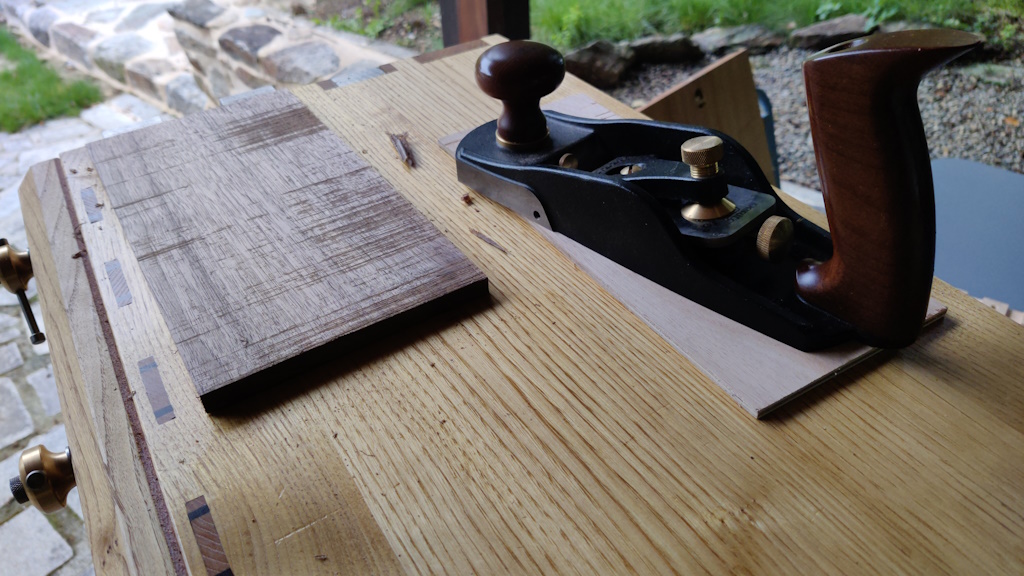
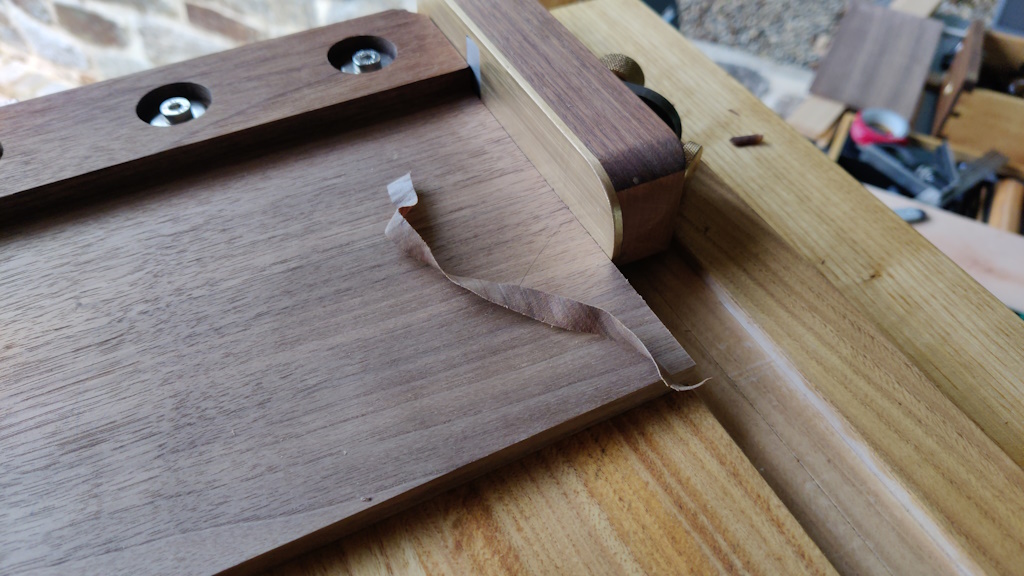
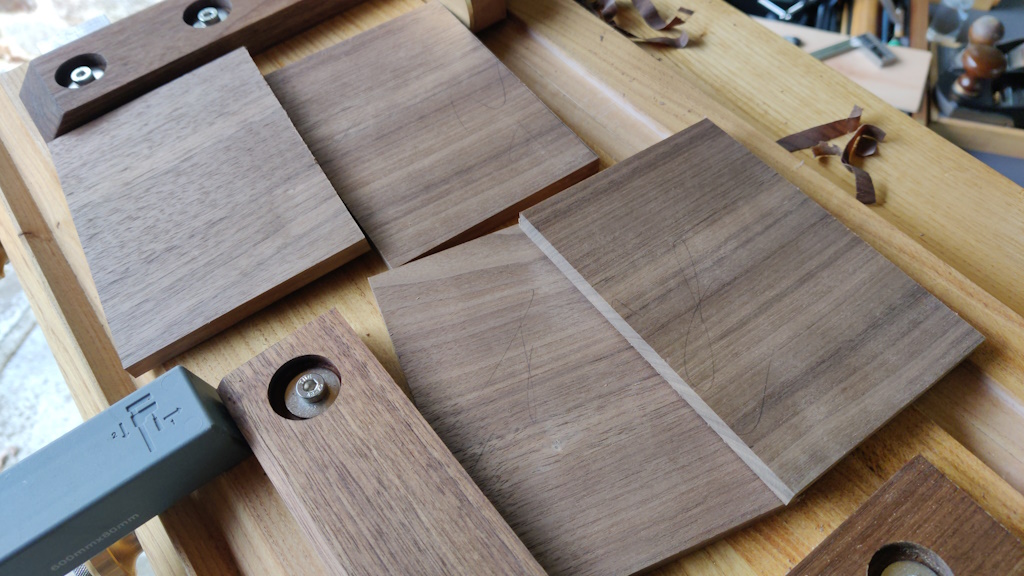
To make a box, there's no real need for the ends of the pieces to be perfectly square (as the ends of the pieces can be planed off after joining the box pieces together). However, planing them square does make it a bit easier as you can mark using the ends for reference. More importantly though, I went to great lengths to make a custom shooting-board for this chest, along with a home-made plane to use with it, so it would be a shame not to give it a go!
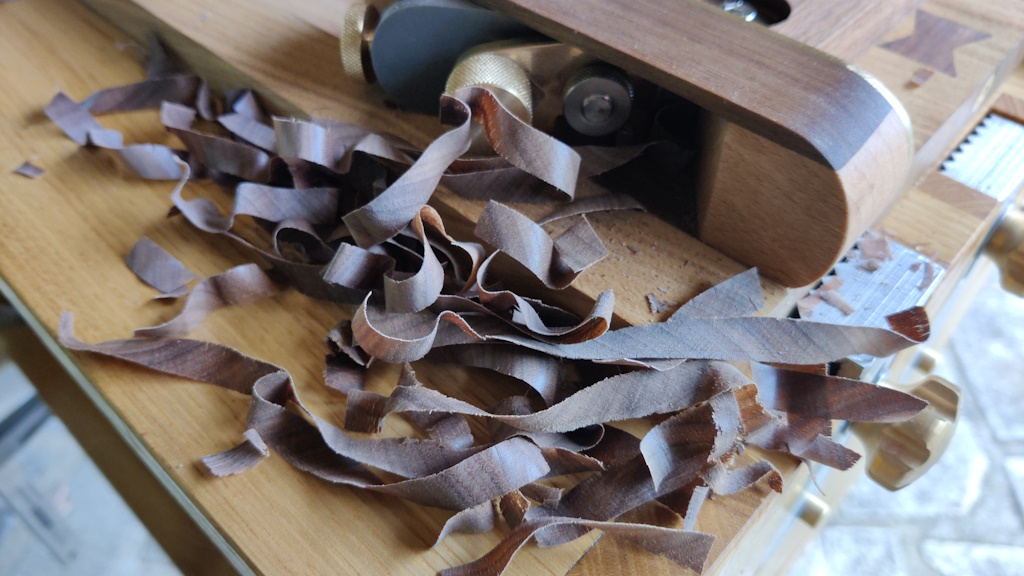
The plane worked beautifully, producing a lovely pile of end-grain shavings:
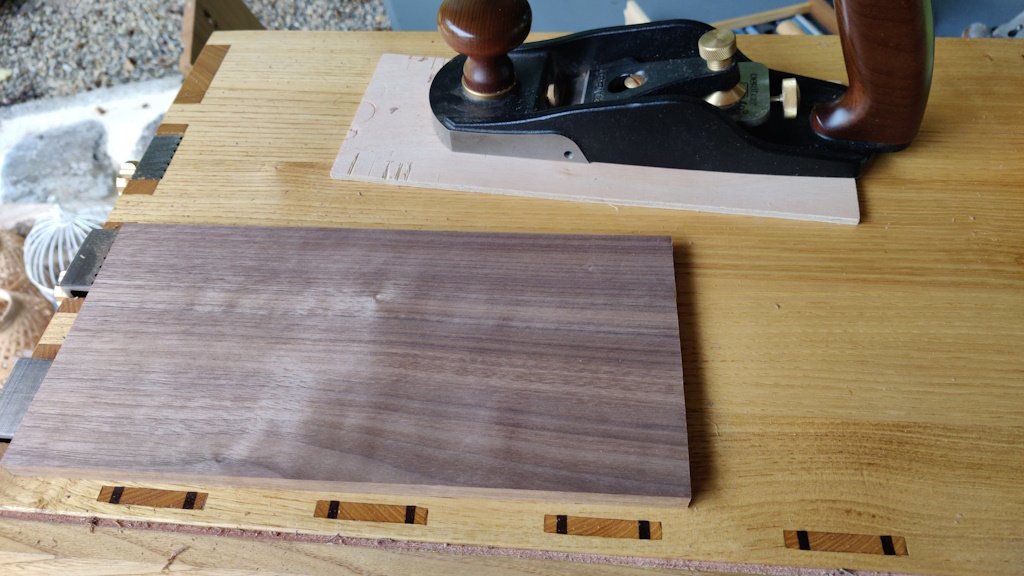
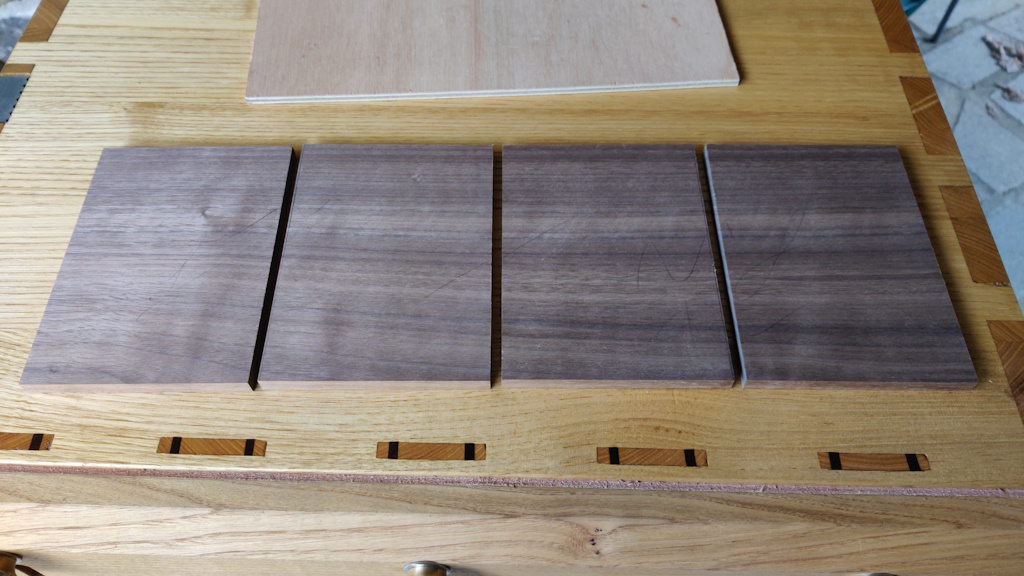
After getting rid of the saw marks, planing to thickness (after removing the saw marks the plank was between 9 and 10 mm thick and I planed it down to about 8 mm thick) and shooting the ends, I had four blanks to work with:
They got laid out in the right order (the order they'd been in the original plank) ready for marking up:
... continued in the next post.
Page 130 of 144
This website is free and ad-free, but costs me money to run. If you'd like to support this site, please consider making a small donation or sending me a message to let me know what you liked or found useful.

 Return to main project page