Travel Tool Chest & Workbench Build Process
Page 135 of 144
Posted 14th September 2024
I haven't done anything with the tool chest over the last couple of days as we've been exploring Brittany a bit more. However, today and tomorrow have been designated as rest days so I thought I'd start another box.
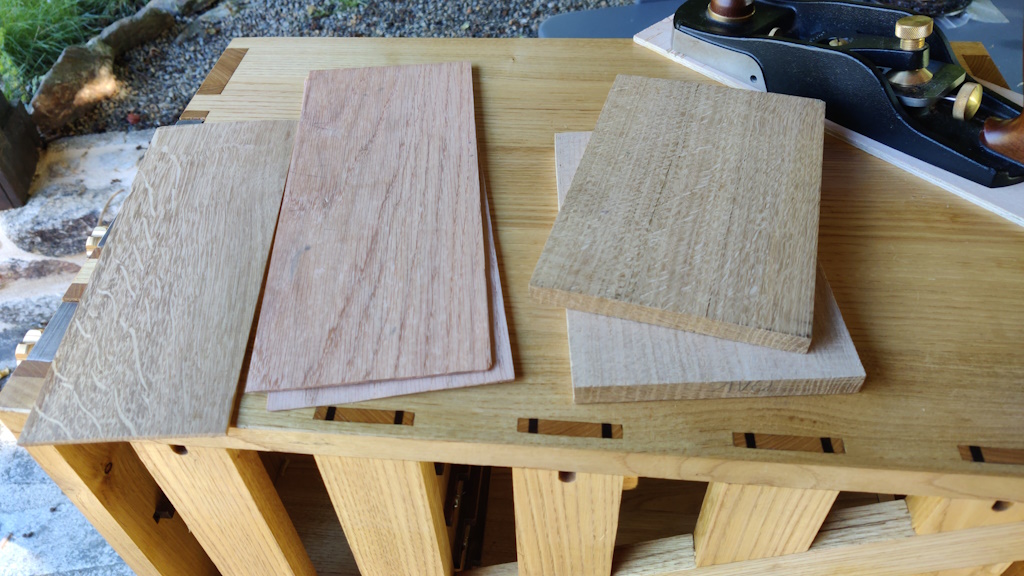
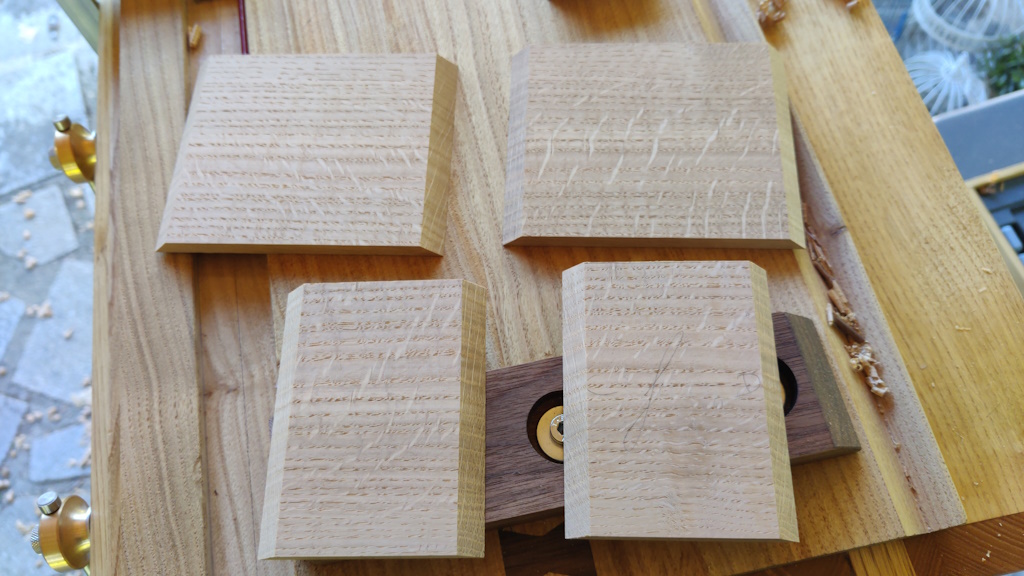
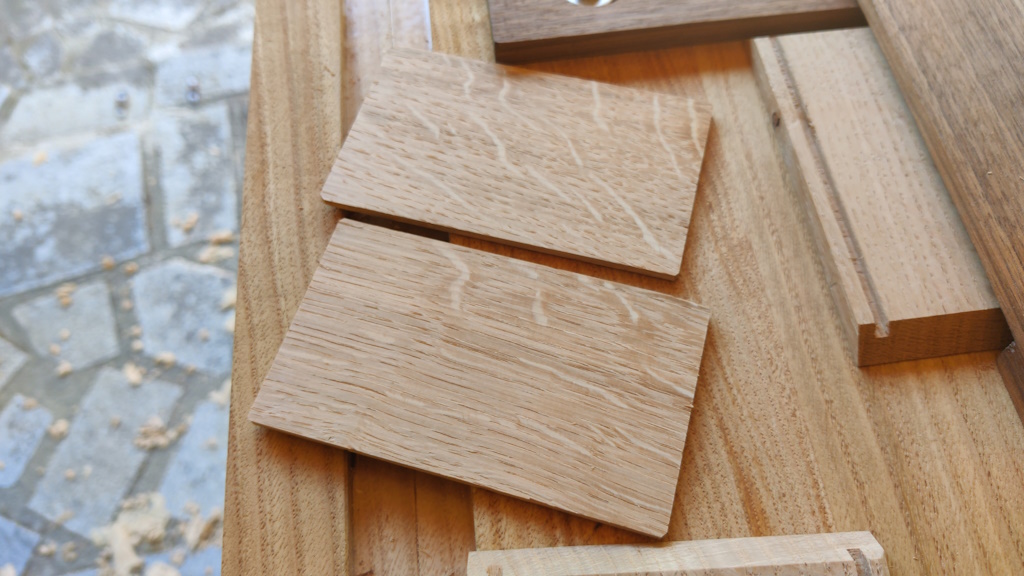
These are some oak bits I brought with me:
The bigger bits were about 12 mm thick; the thin bit is about 3 mm thick and the two bits of (what I believe is) red oak are more like 2 mm thick, possibly a bit less. The bigger bits are a bit thick for a box (especially one as small as this will be due to the wood sizes) so they need a lot of planing to bring them down to size.
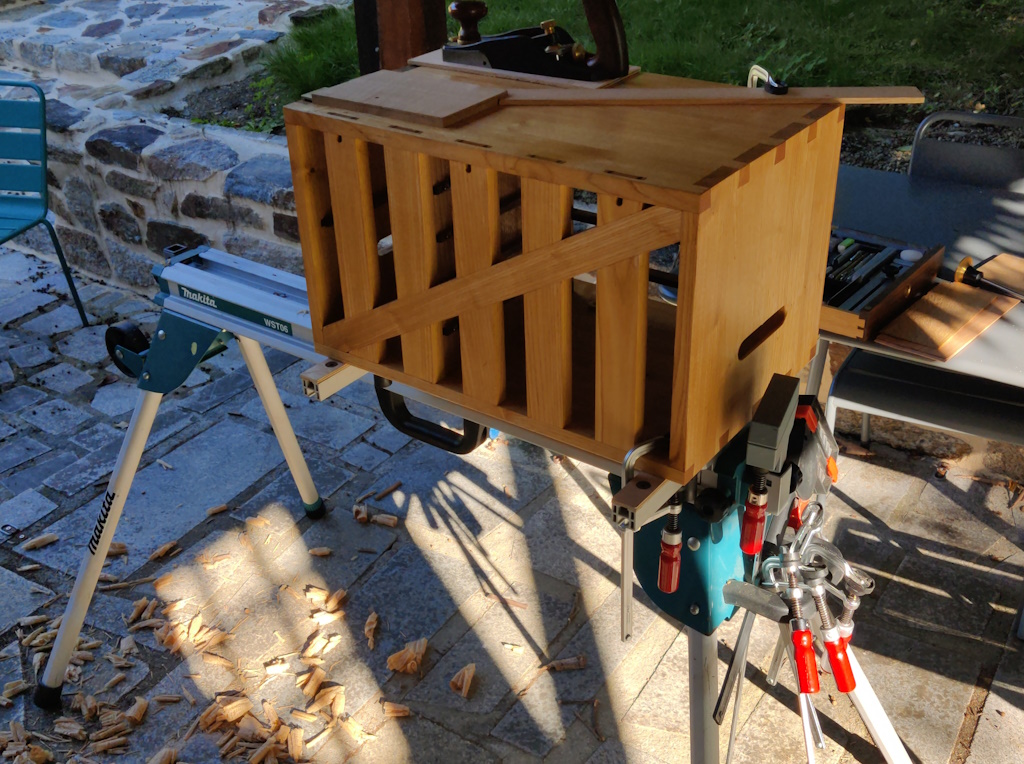
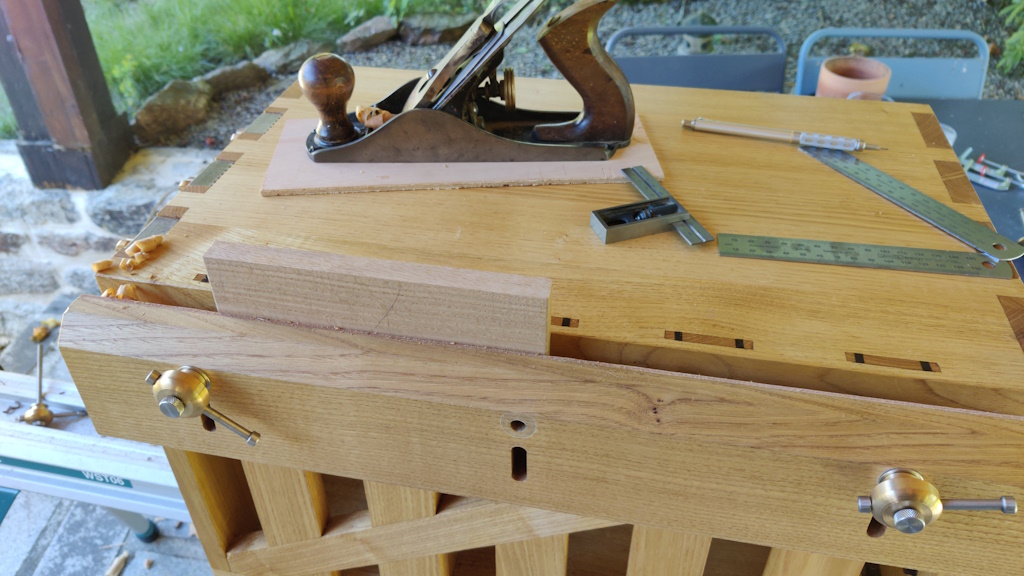
Planing them down was quite a work-out, but I quite enjoyed it nonetheless. Under normal circumstances (i.e. in the home workshop) if I had 3–4 mm to take off the thickness of a piece of wood, I'd start with the scrub plane. I don't have a scrub plane here, so I just worked away at them until they were down to size. Incidentally, I realised (and I'm sure I've realised this before, just forgotten it) that the chest & stand combination is much more stable (less likely to lift off the ground under heavy planing) if it's slid along to the other end of the mitre saw stand thus:
Hopefully I'll remember that next time!
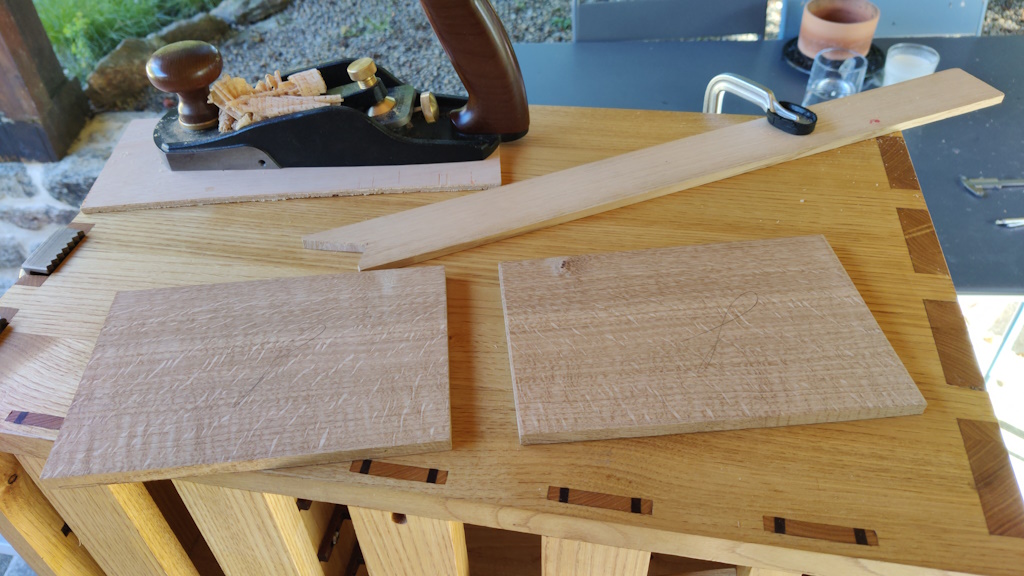
After a pleasant period warming the muscles up and trimming the oak blanks down, I ended up with these two bits of oak, both about 8 mm thick...
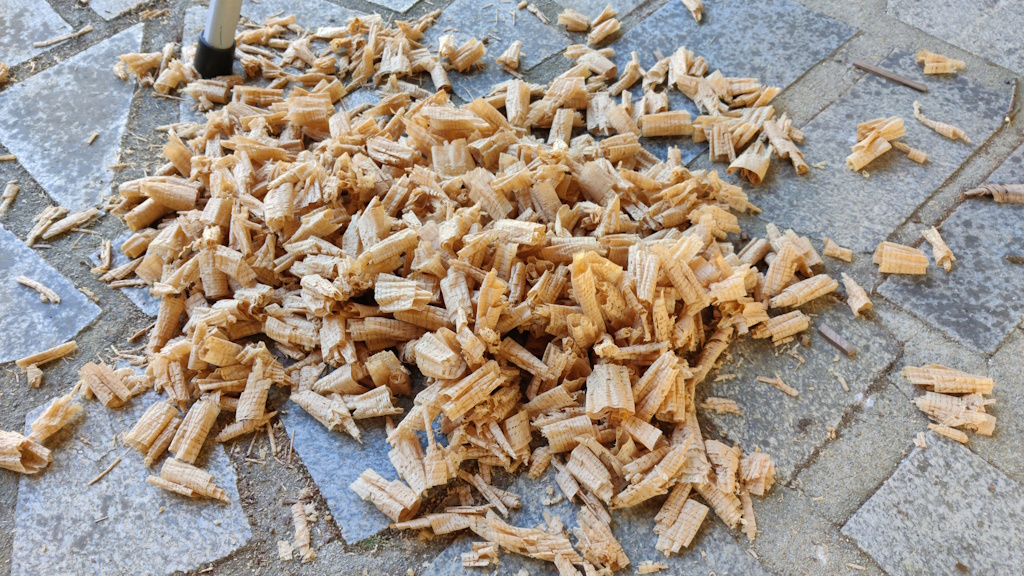
... along with this pile of oak shavings:
The next job was to bring the edges square to the faces and as close to parallel as I could manage. I took advantage of the ability to remove the middle vice screw to make it easy to hold the boards for edge planing:
They then got chopped up in the usual way to make the four side pieces:
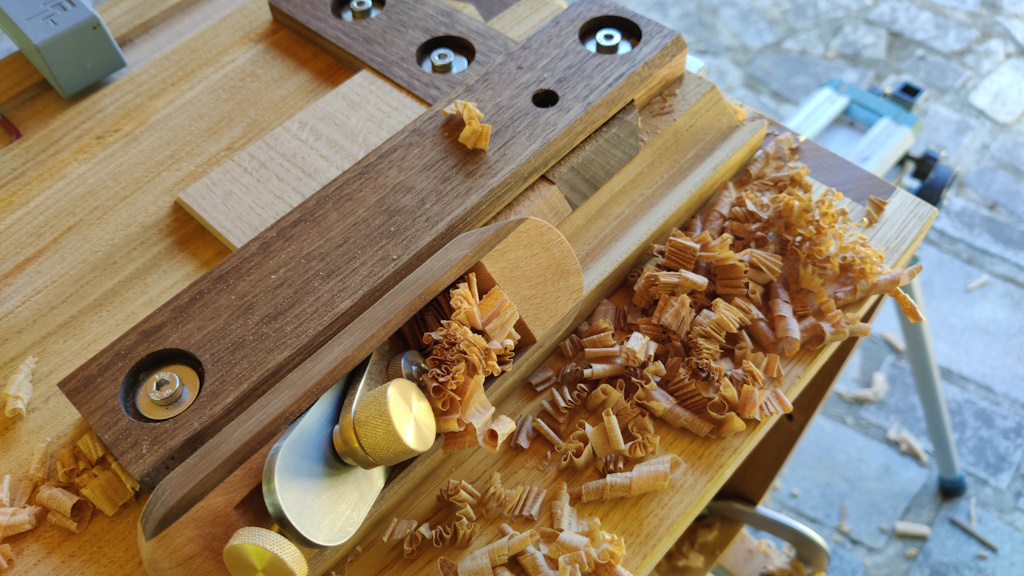
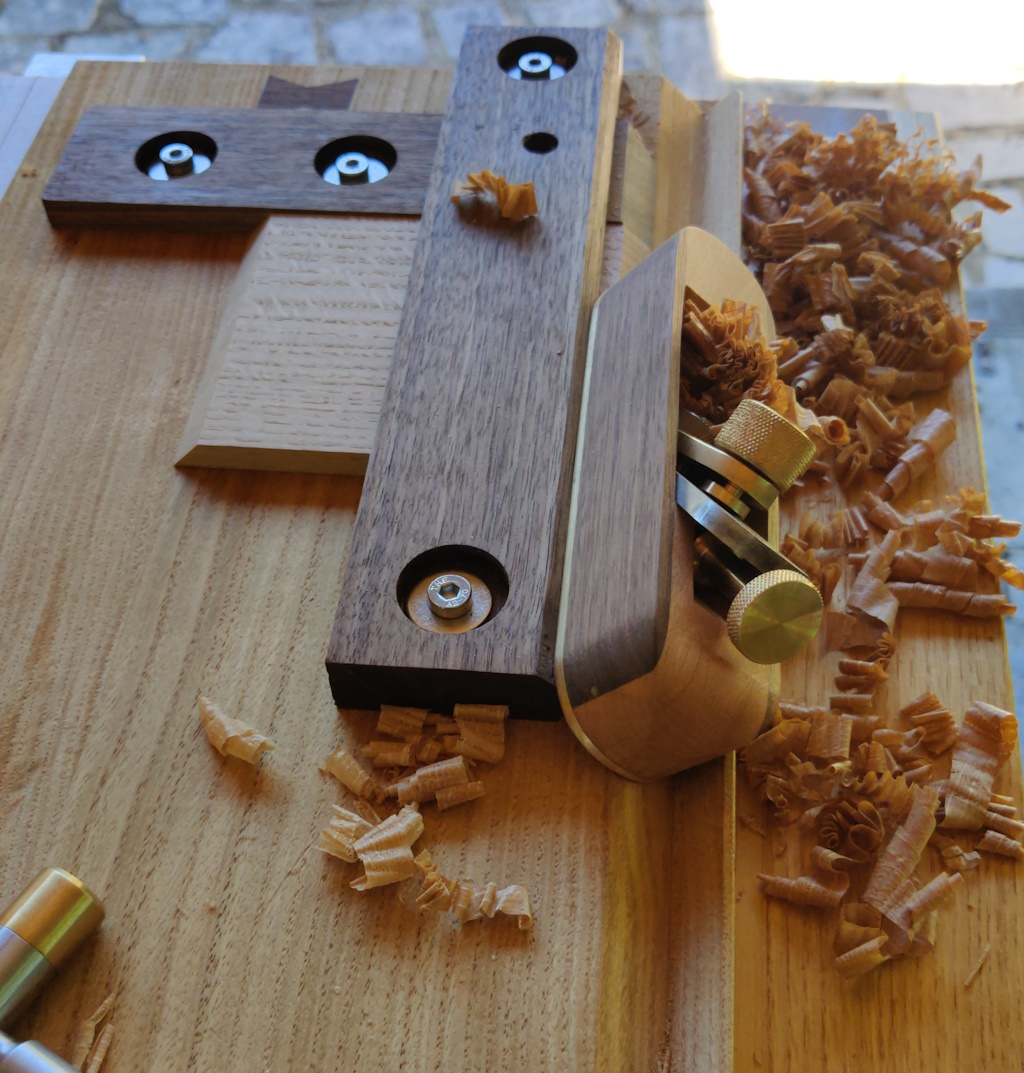
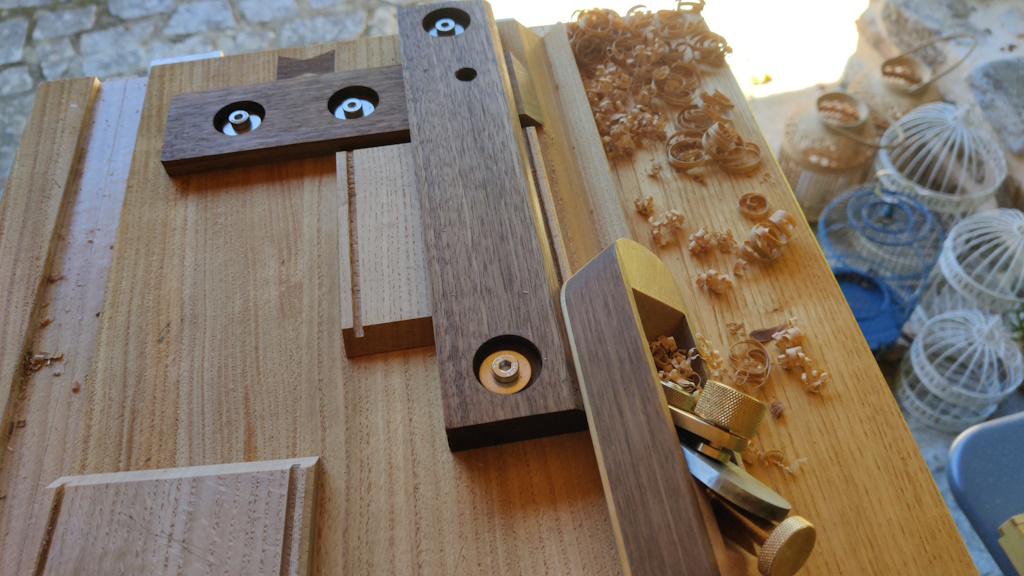
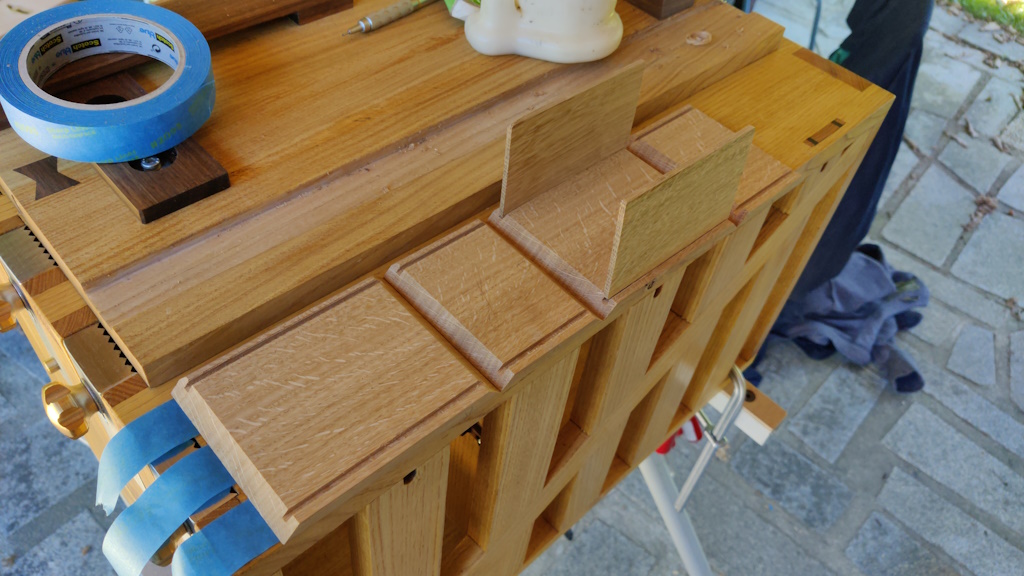
There are a couple of reasons I'm making this box and neither of them has anything to do with the usefulness of the box, which you'll see later is very much in doubt! The first and less significant reason is to use up those bits of red oak, which I've had lying around for years. The main reason is to have an excuse to try out the mitre shooting mode of the chest's shooting board:
The box is going to be a very simple design, with lid and base sitting in grooves and with the joints being splined mitres. If all goes well (and I can plane material that thin), the red oak will be used to line the box.
Since oiling the chest, I'd refitted the mitre shooting fence and support piece, but I hadn't tried to adjust them properly, so when I was cutting the first mitre, I spent a while tweaking the positions of the two walnut pieces to get the cut square to the fence and at 45° to the face. Adjusting the "normal" shooting fence is a very quick job, taking a handful of seconds from start to finish. The mitre set-up is a bit more involved as the angle and position of both of the fences has an effect. Nevertheless, it didn't take long to get the cuts in the right place.
One disadvantage of mitre shooting (compared to shooting square) is that you have to use a different edge against the fence when shooting one end to the other (i.e. one mitre cut puts the reference edge against the fence but the other uses the opposite edge): this is the reason that the two edges have to be as close to parallel as possible.
Before shooting the mitres, I very carefully marked each piece to make sure that I cut the mitres on the side opposite the face side. Along each mitre line, I scribbled a mark to show where the material should be removed. With hindsight, it would have been better to mark where material shouldn't have been removed so that, if cutting the mitre on the wrong side, the marks would be clearly visible. As it was, I got three of the boards right and one of them wrong - spot the "f" on only one of these boards:
The grain is fairly straight and uniform, so I'll hopefully get away with it without too much of a grain mismatch, but I did feel like a bit of an idiot. If I'd done it on one of the longer boards, I could have considered shortening the two long sides a bit to correct the mistake, but there isn't much width left on those shorter pieces.
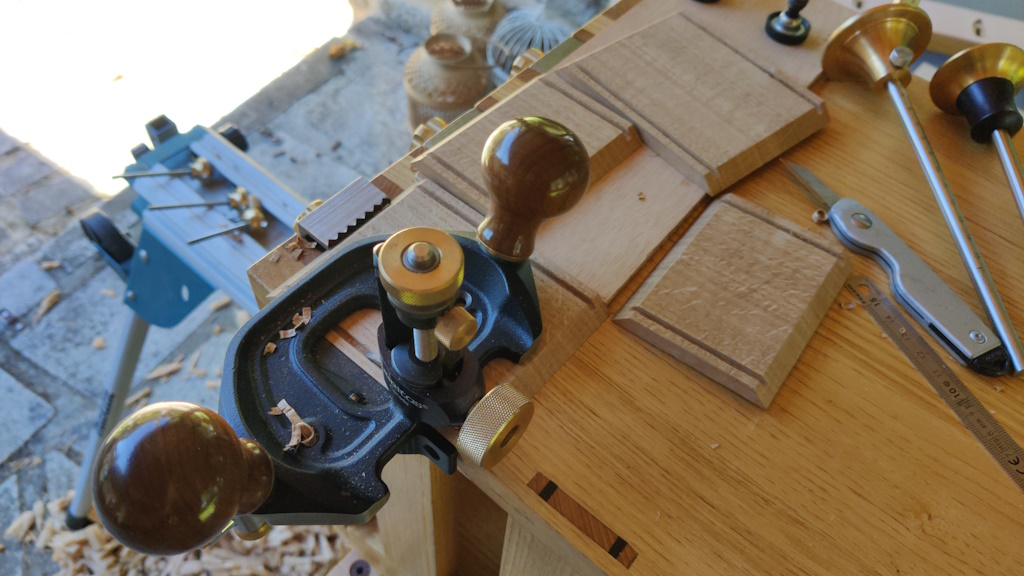
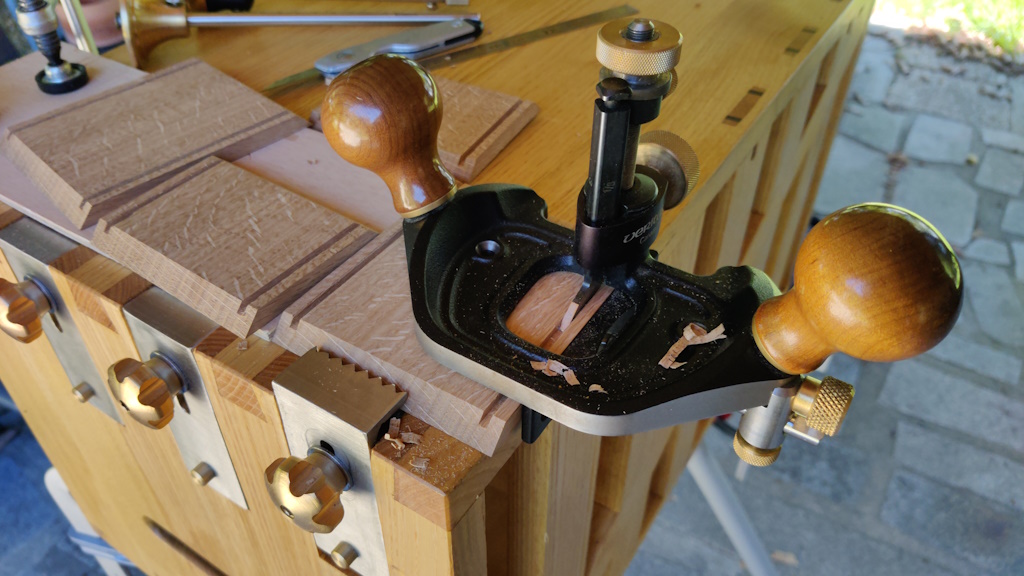
Never mind. The next job was to plough the grooves for the lid and the base, using a 3 mm router blade:
The final job for these bits was to add a small chamfer on the inside top edge. I would normally just do this by eye, but since I was set up for shooting mitres and the longer boards just fit through the gap in the support piece, I decided to use the shooting board for this:
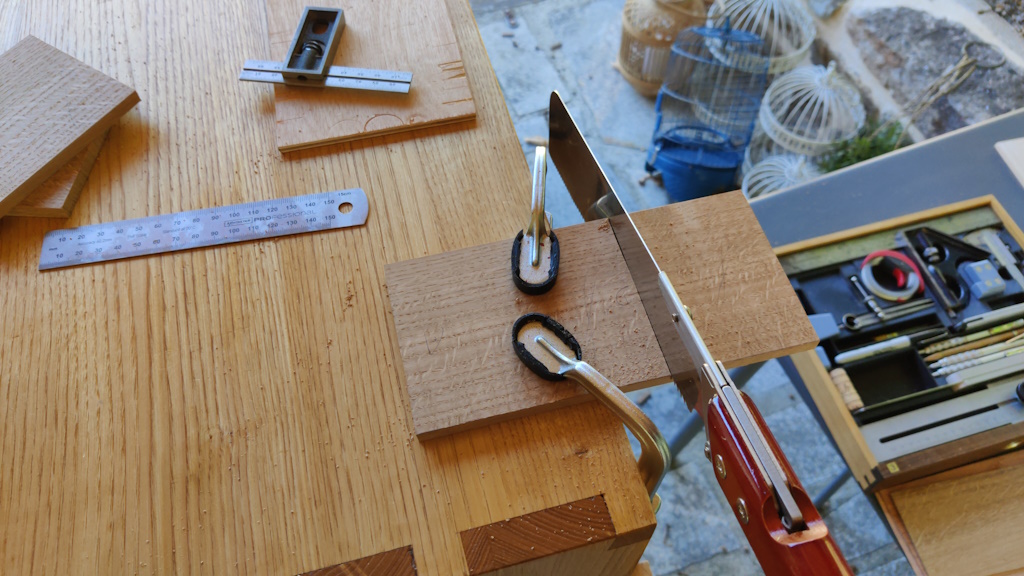
The piece of oak for the lid and base was a fraction over 3 mm thick, so I planed that down to 3 mm using the planing stops and then sawed / shot the pieces to size:
That brought me to the glue-up, which was done with masking tape and some Titebond glue. I went for Titebond this time as it dries quickly and I wanted to get on with the splines after lunch rather than waiting until the next day (which I might have needed to do with fish glue, depending on how much I trusted the masking tape).
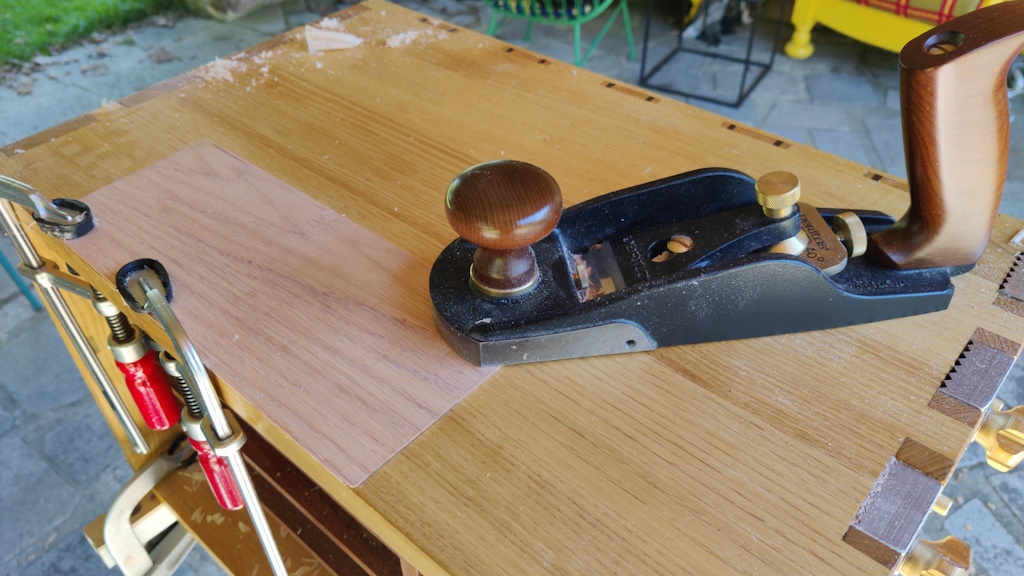
After a break for lunch, I got the red oak pieces out. They're too thin to plane against a stop: any force applied to them just causes them to bend or jump over the planing stop. The best option would probably be two layers of masking tape and superglue, but the red oak pieces are a lot wider than needed, so I decided to just clamp them on one edge and plane as much as possible before flipping round and repeating:
The aim here was just to remove the bandsaw marks. Hopefully there will be enough thickness, width & strength left to make the linings, but there was definitely enough to make some splines to reinforce the mitres. When I've cut spline holes in the past, I've generally cut them with a saw taped to block of wood (to get the cut parallel with the base) and then taped to a slightly thicker block of wood with the gap between the two saw cuts chiselled out. That process is described in the description of the first box I ever made.
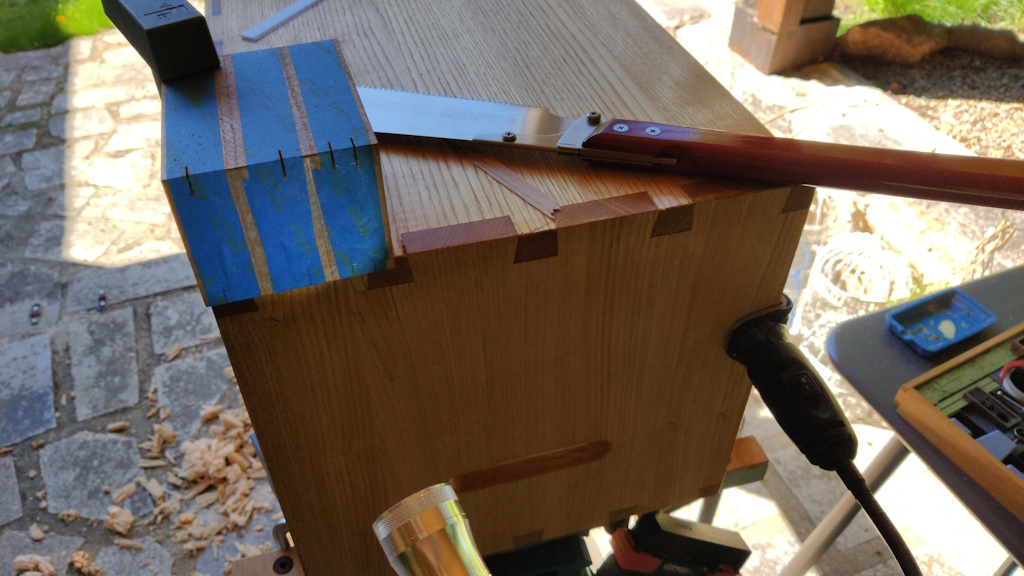
This time I decided to make them much thinner, using a slightly thicker blade (Kataba rather than Dozuki) and making some very thin pieces of red oak to go into the holes. I started by marking up where the lid split line was going to be and then marking the splines on all four corners. I then went in with the Kataba:
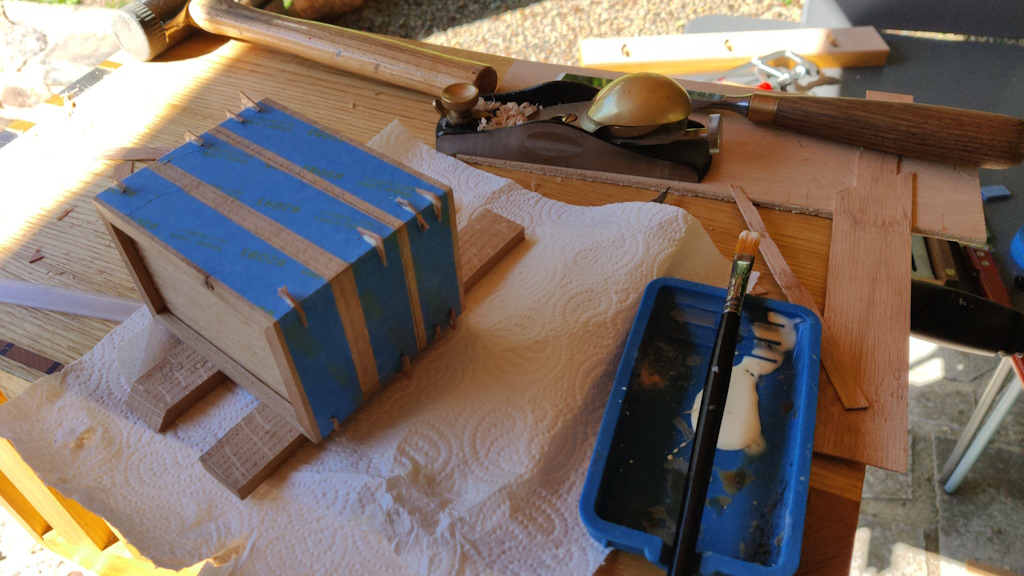
Finally for today, I trimmed some thin bits off the red oak sheets and then, thinning with a block plane until I got a good fit, I made some splines to go in the saw kerfs. The splines got glued in, again using Titebond (this time just because I'd already got it out):
That'll rest overnight now and then I'll plane the outside faces down, split the box and then sort out the lining.
The box has slightly odd proportions: it's a bit tall for it's size. The dimensions as you look down on the lid are about 117 mm × 72 mm and it's about 92 mm tall. It probably would have been better to cut the planks down and make the box a bit shorter (or make the width and depth equal, making it roughly cubic) as I think it looks a little odd being so tall. It doesn't really matter that much though as the main reason for making it was to prove out the mitre shooting mode and that worked really well.
Page 135 of 144
This website is free and ad-free, but costs me money to run. If you'd like to support this site, please consider making a small donation or sending me a message to let me know what you liked or found useful.

 Return to main project page