Travel Tool Chest & Workbench Build Process
Page 136 of 144
Posted 15th September 2024
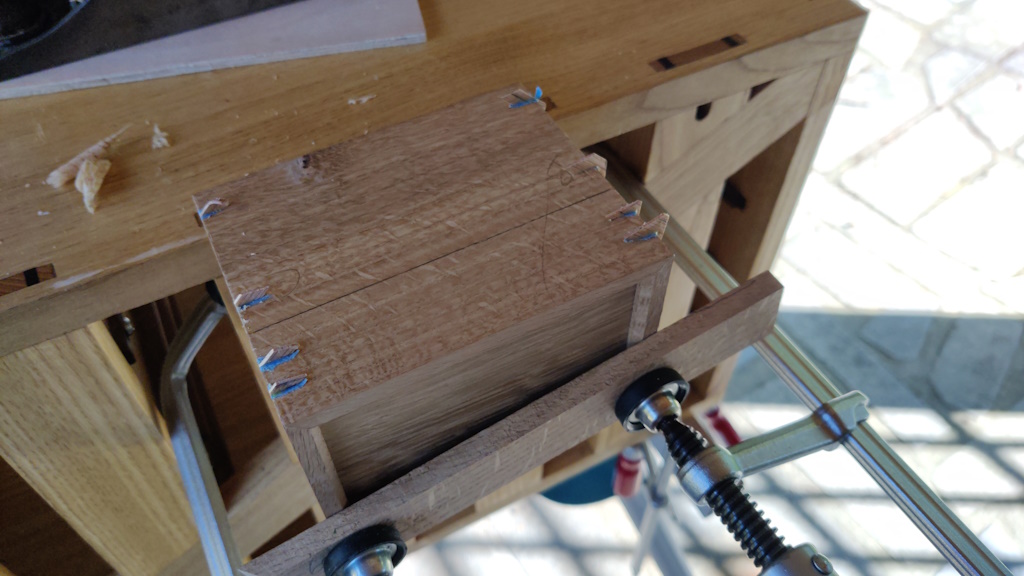
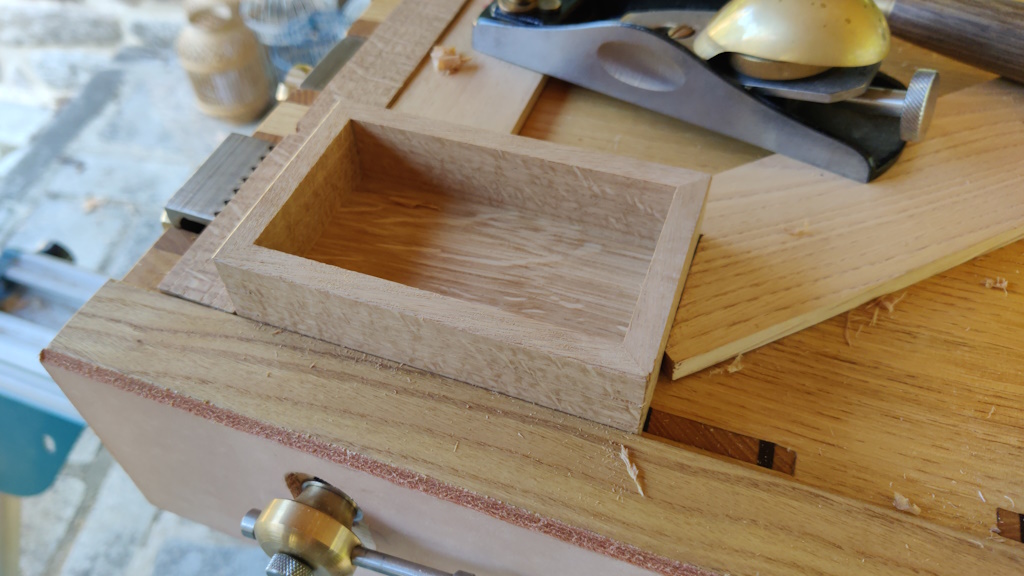
The first job this morning was to peel off as much of the masking tape as I could easily get at and then clamp the box to the back of the chest:
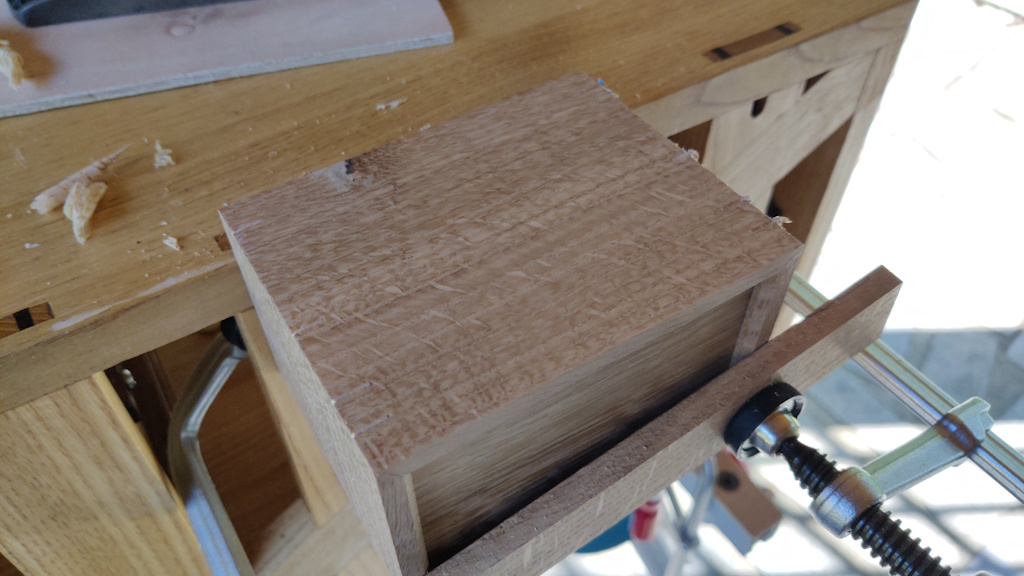
I could then plane the sides with a #4:
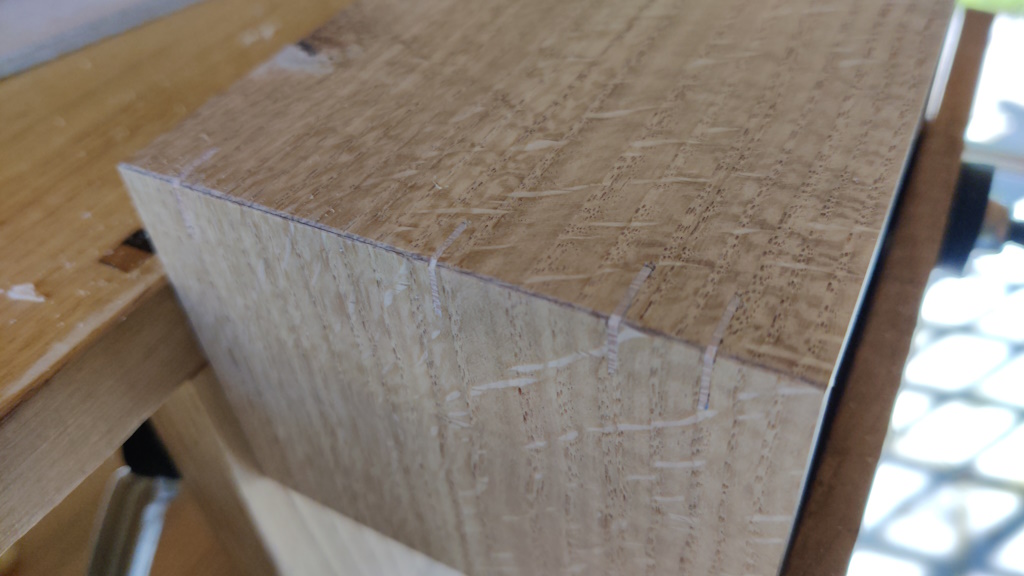
Once all the sides were planed, I gave the corners a light chamber with the Quangsheng block plane:
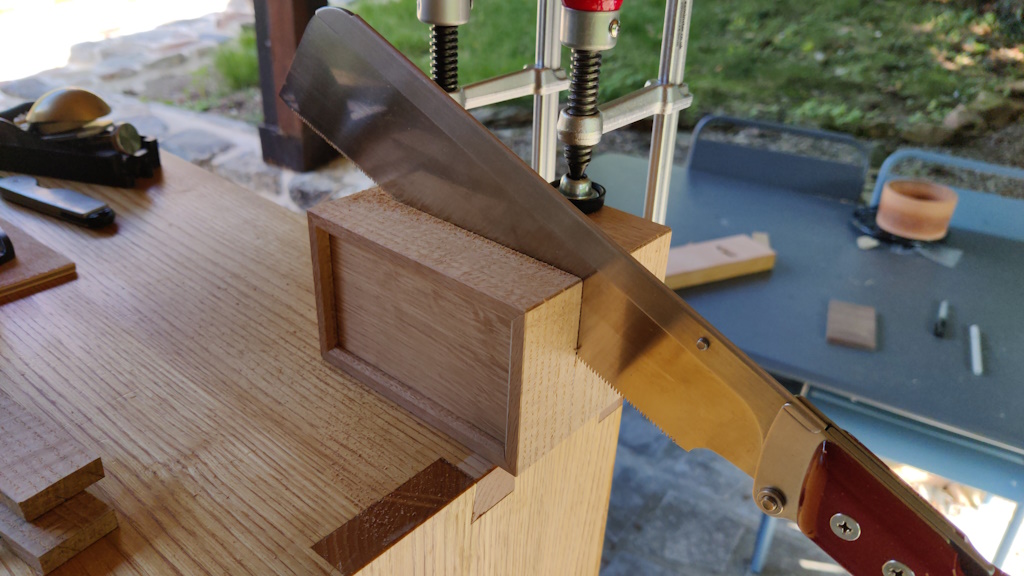
When I've split boxes from their lids in the past, I've generally taped a saw to a block of wood, clamped it down to the bench and then offered the box up to the clamped saw. That method ensures that the cut is perfectly parallel all the way round. This time, I decided to be brave and (after remarking the dividing line with a pencil) just went for it with the Dozuki:
It went satisfyingly well:
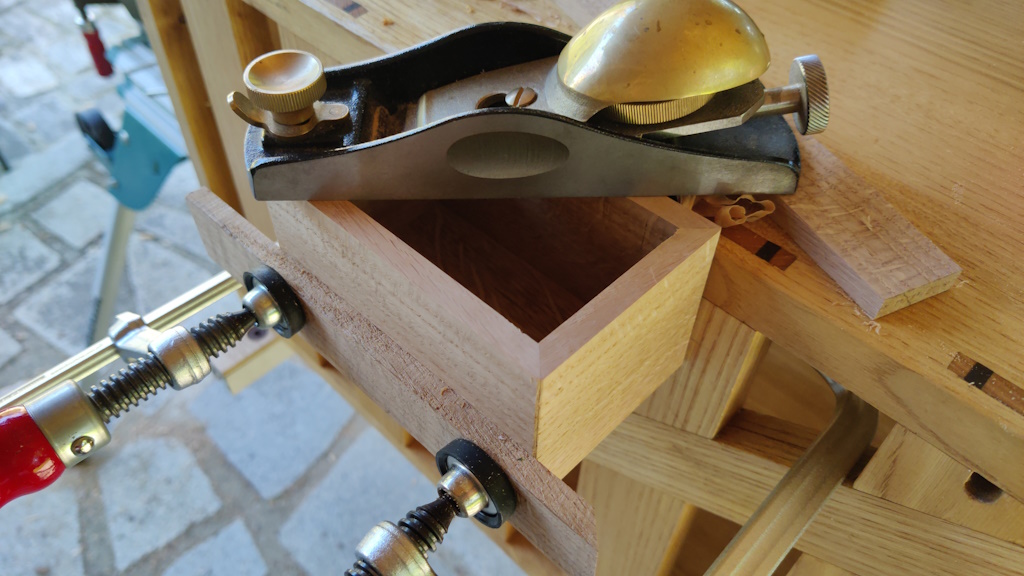
To plane the saw cuts from the base, I clamped it to the back of the chest and used the block plane in a rather un-ergonomic circular motion to work my way repeatedly round the top:
In the past, I've done that by rubbing the box halves on sandpaper mounted on a flat surface, but I don't have any sandpaper with me and I'd rather avoid using it anyway.
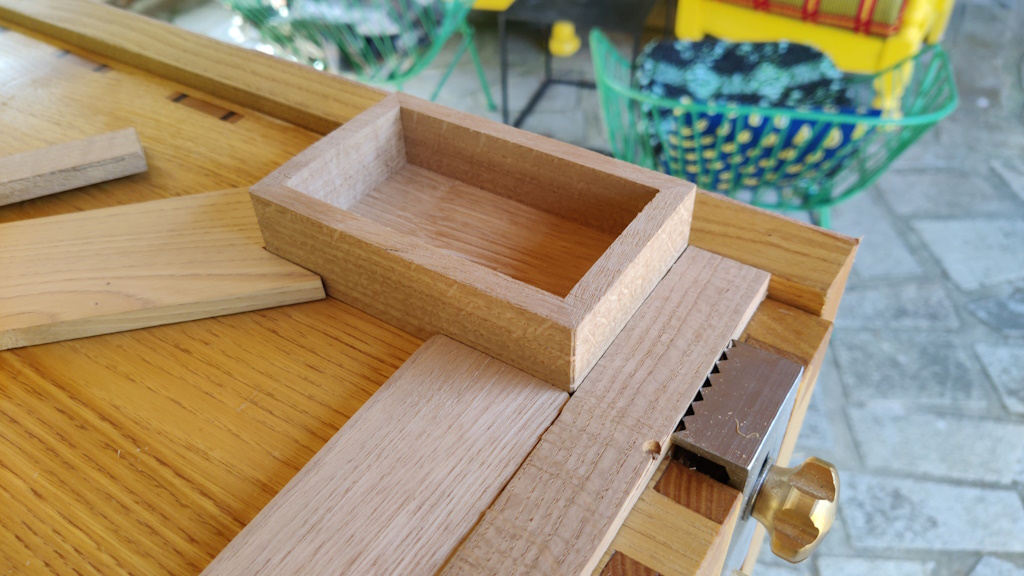
The lid is too thin to clamp in that way: with the to-be-planed surface clear of the top of the chest, there isn't enough left to clamp underneath the 20 mm thick chest top. Instead, I flipped the vice around into its edge stop "mode" and used a few bits of wood to make a nest for the chest top:
With hindsight, this was a better way of holding it and if I'd have thought of it before I would have done the base in the same way. It was also nice to have an excuse to give the edge stop its first try-out.
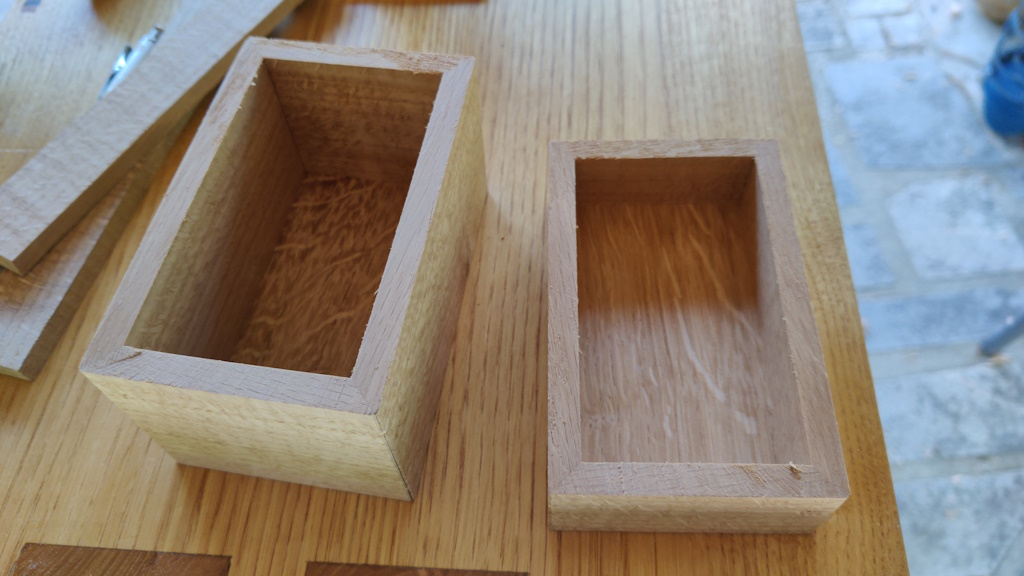
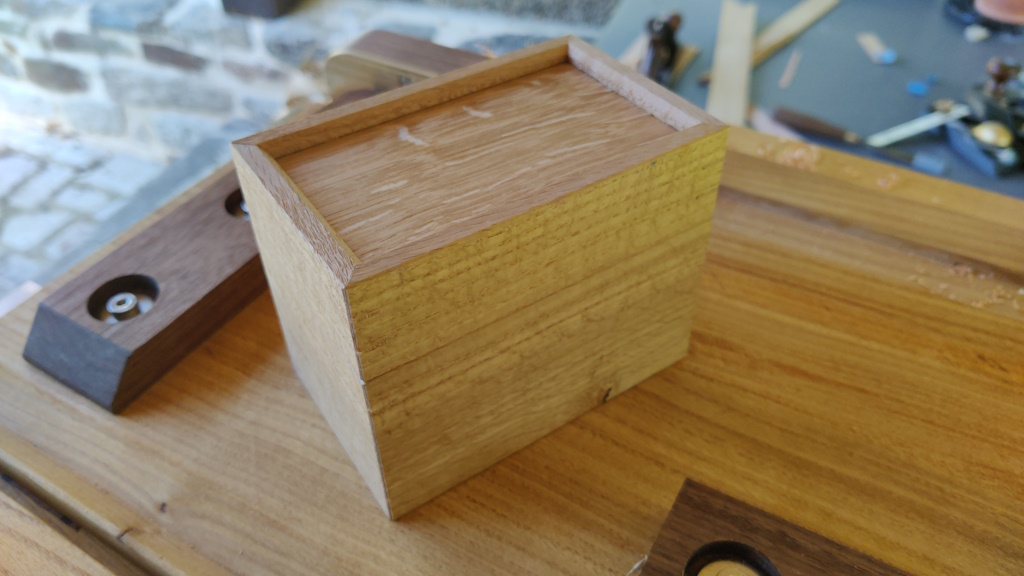
The finished lid:
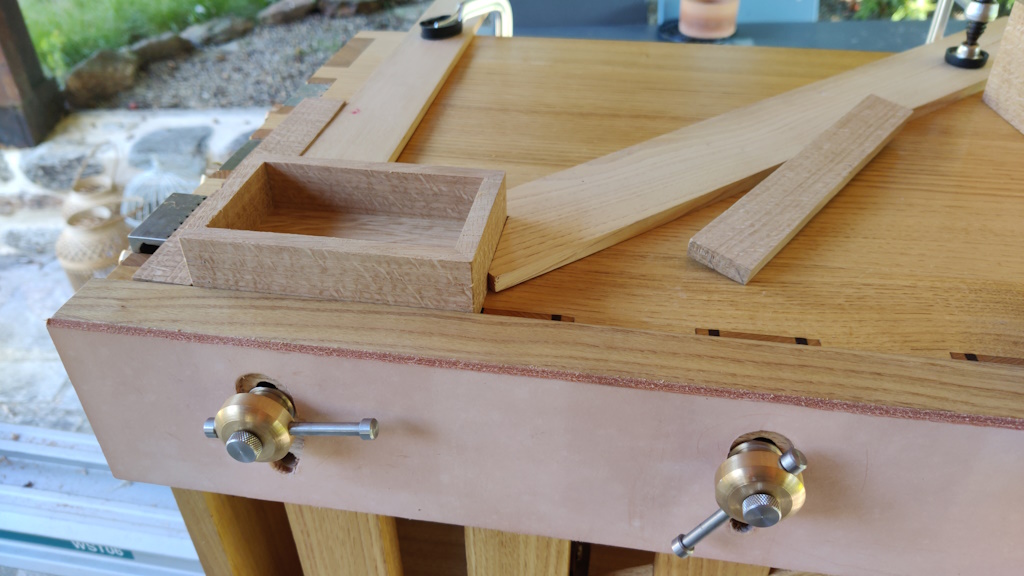
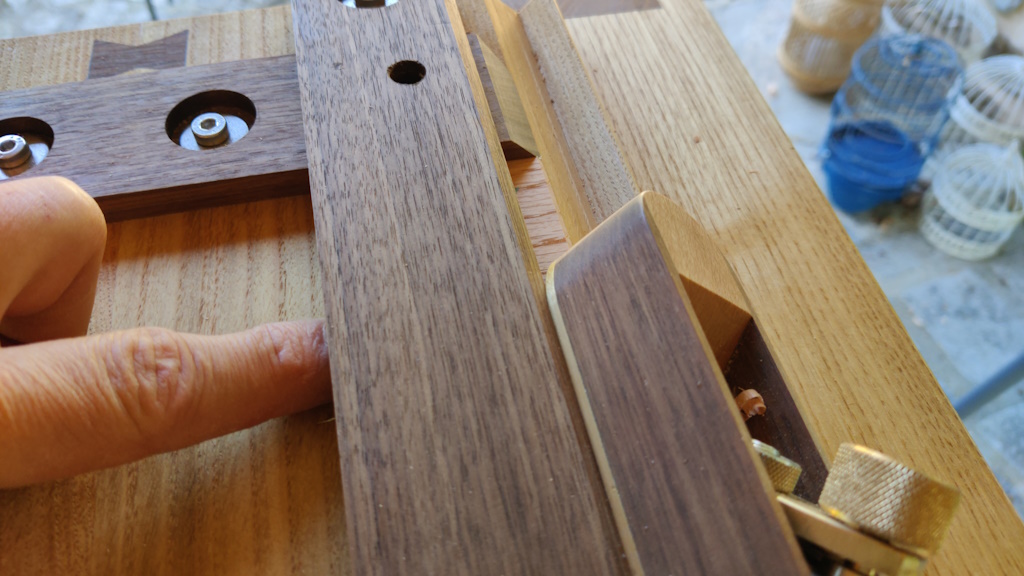
The final job was to sort out those thin bits of red oak, which were to be used as the lining for the box. This was just a case of more sawing (to rough size) and shooting (to fit). The shorter pieces of the lining were quite awkward to hold as they're so short that they don't protrude from under the plane support piece, but I could just get my finger tip onto the corner so it worked okay:
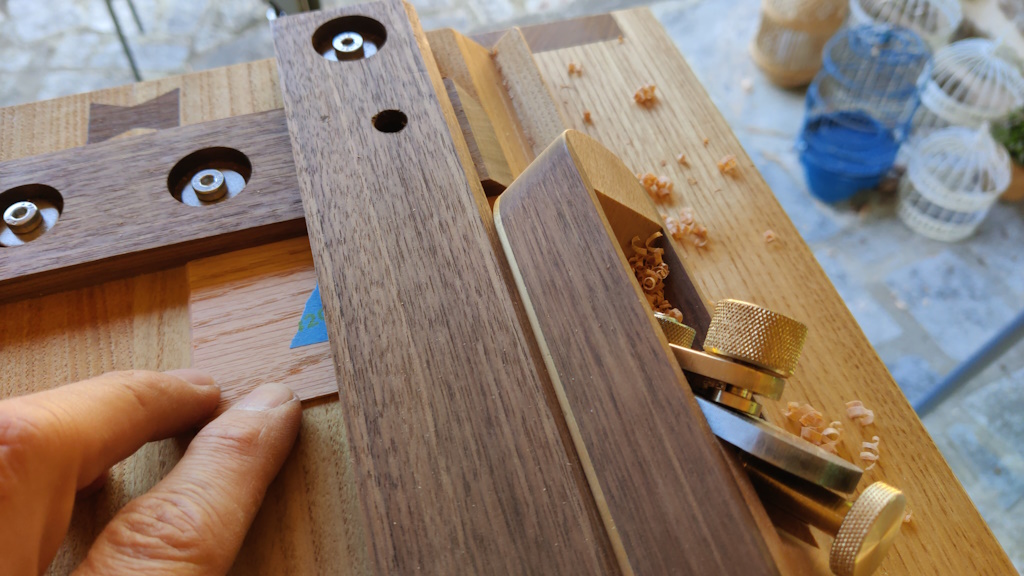
The longer side pieces were much easier:
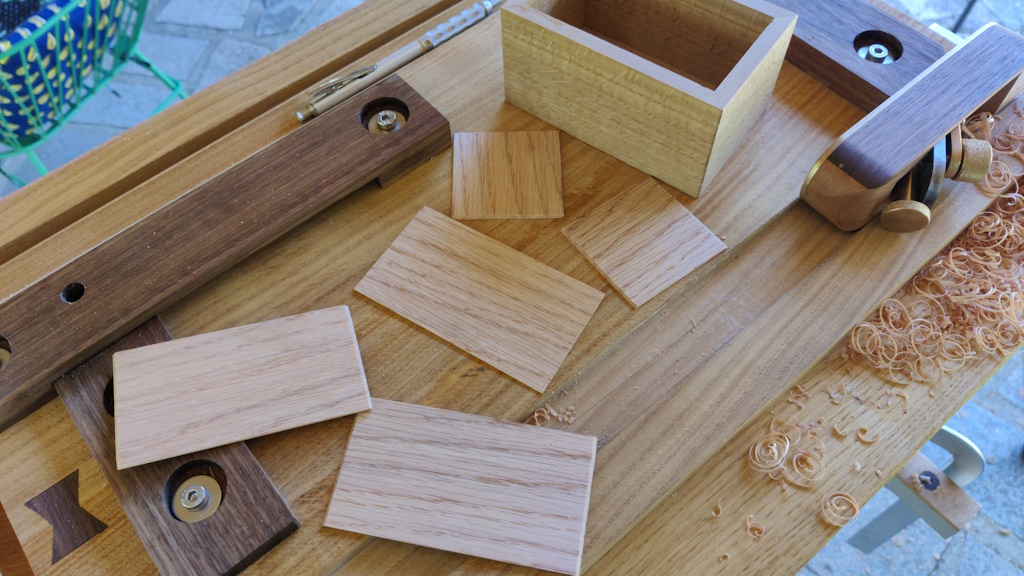
As well as the four mitred lining pieces, I also prepared a rectangular piece of thin red oak to sit underneath them:
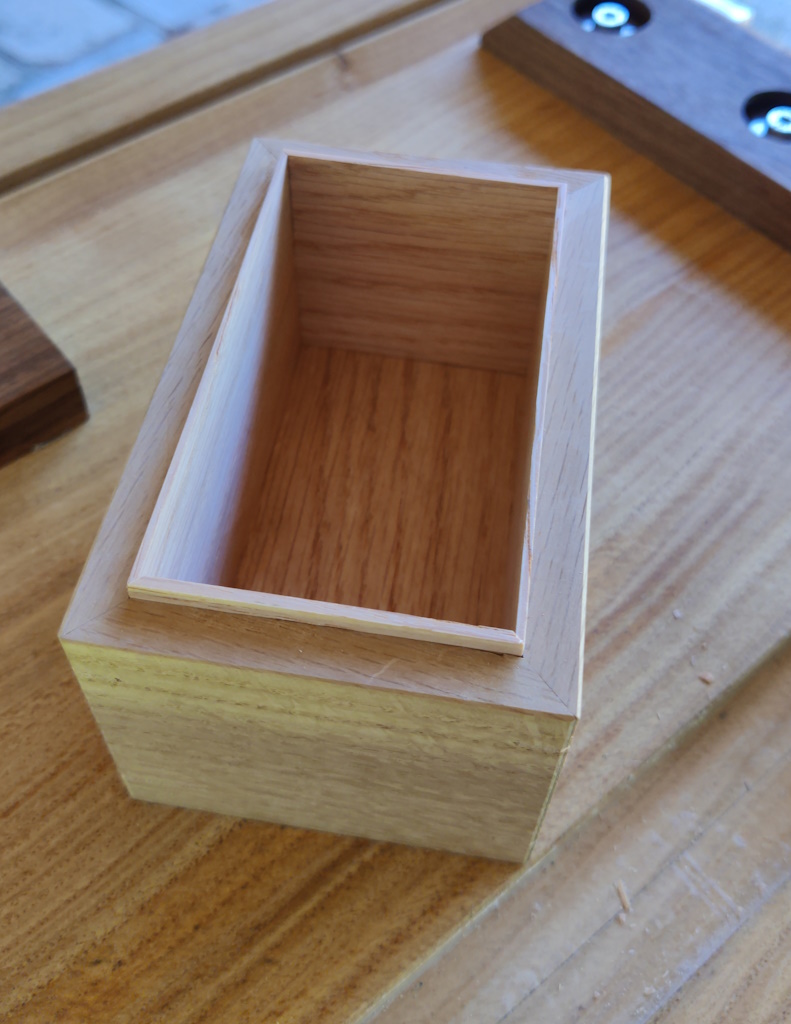
All fitted:
All finished (except for finish, which I'll probably do when I get home):
Page 136 of 144
This website is free and ad-free, but costs me money to run. If you'd like to support this site, please consider making a small donation or sending me a message to let me know what you liked or found useful.

 Return to main project page