Travel Tool Chest & Workbench Build Process
Page 28 of 144
Posted 5th March 2023
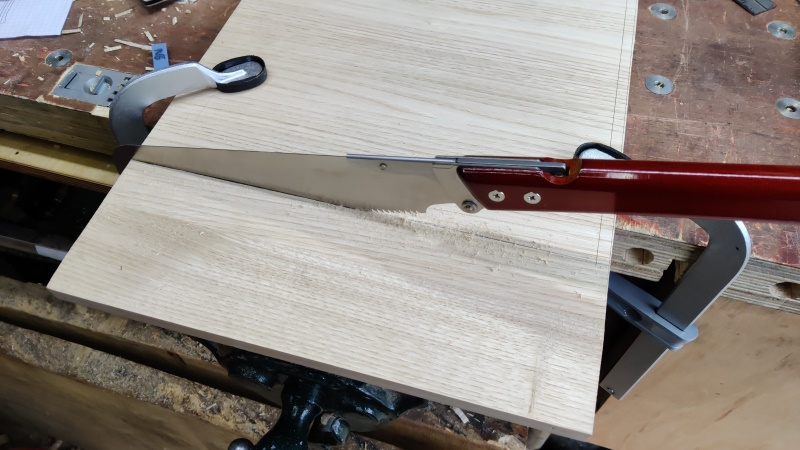
The board was much bigger than it needed to be, so the first job was to chop it down to (rough) width:
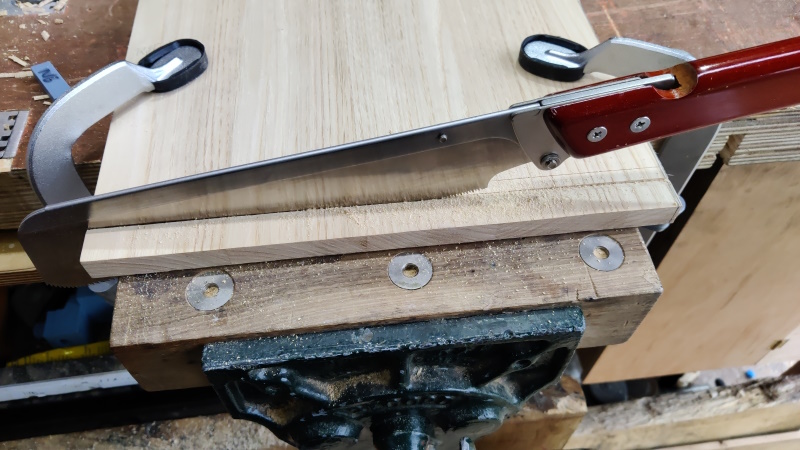
and then sawing it down as close to the line as I could for the length:
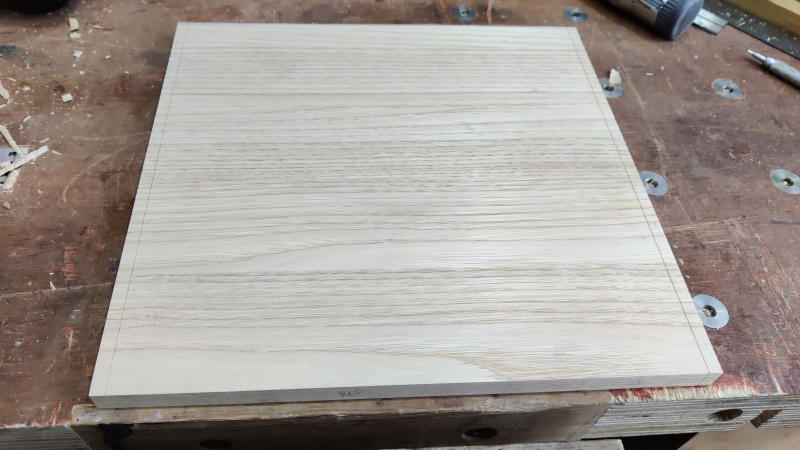
The length isn't (I think) critical as the shoulders will define the spacing of the top and bottom. The outer knife lines I'd marked on the board were 7.5 mm outside the shoulder lines (for the 8 mm depth of housing). The shoulder lines had been marked from the same story stick that I used when making the sides.
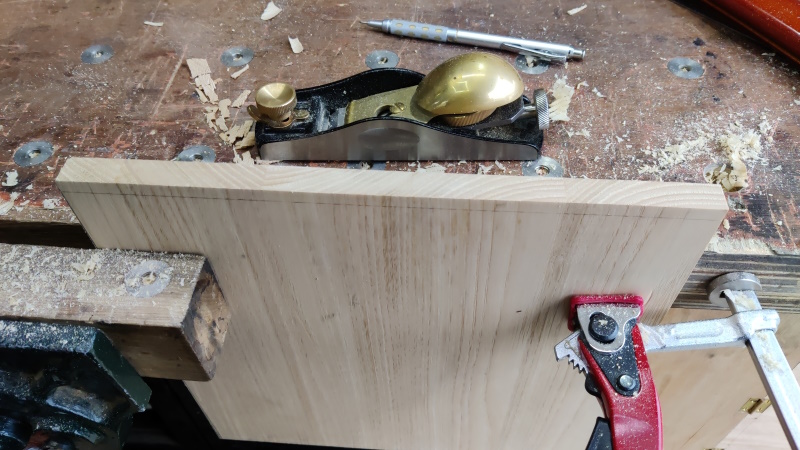
After sawing to the line, the underside still showed a little bit of the knife line towards the end of the cut (which was much better than I expected!), so I trimmed it (and the other end, which wasn't quite square so again had a knife line near the edge) down with a block plane:
With that the board was ready for the shoulders to be cut... take a deep breath...
As I tend to get carried away in junk shops that have tools, I have quite a lot of different options for how I might cut this shoulder. After a bit of a ponder, I decided to use my #78 rebate plane, so I started by sharpening the "nicker" (if that's the right name) to help with the cross-cut.
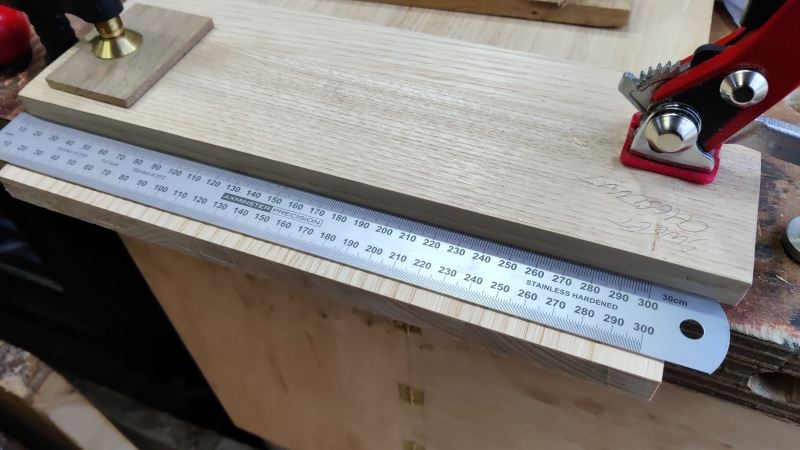
Since I want the shoulder to be accurate and I don't trust my ends to be perfectly square, I wanted to reference off the shoulder line instead of the end, so I got rid of the fence. I then had a bit of a ponder and came up with this:
The ruler is set (with a knife) to be flush with the knife line.
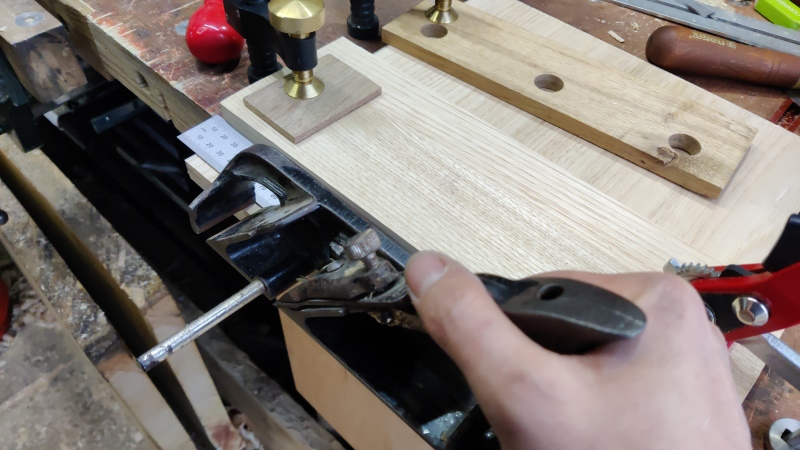
I started the cut with the ruler in place to keep the plane from wandering:
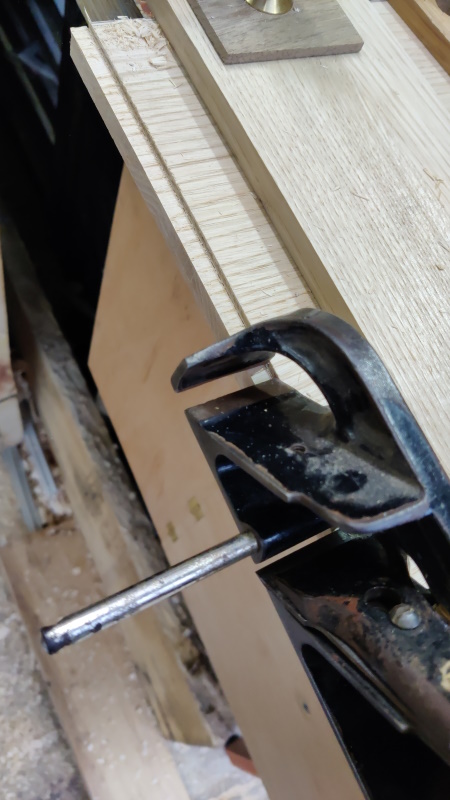
Then, as soon as the edge was defined, I removed the ruler and just worked my way down until the depth stop was touching the board all the way along. I'd deliberately set the depth stop such that the "tenon" would be too thick – this is just a roughing out step:
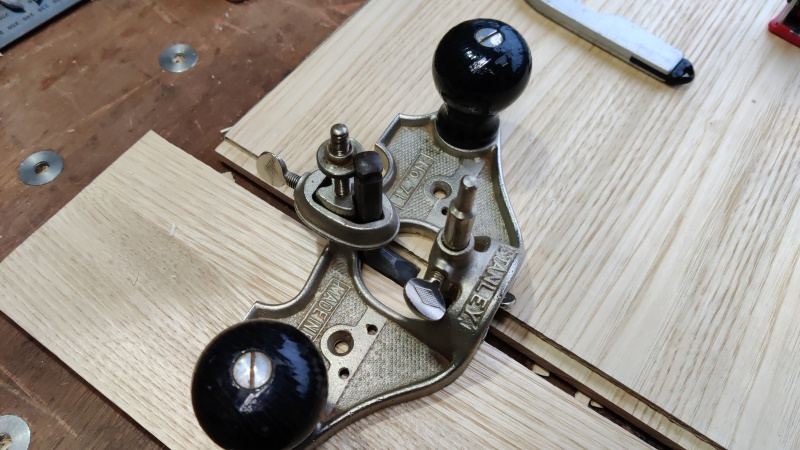
I then used my other router plane (because why not) along with the offcut that got sawed off this board to bring the first side of both tenons down to the same level:
I then flipped the board over and brought each tenon to width individually, checking regularly against the mating part.
That worked really well on the first one (fitting into the bottom board), but somehow I managed to lower the router cutter much more than I intended on the second one (fitting into the top board) and that joint is very loose.
I got a set of feeler gauges out and there seems to be a 0.6 mm gap (so I really messed up with the router plane!). I've marked the side of the board that was last to be adjusted (as I want the other side to remain level with it's opposite end) and I think I'll add some sort of spacer in with the tenon to pad out that 0.6 mm. It might be a good chance to practise planing very thin material, although I might have some thin offcuts left from when I made some veneer bookmarks – I think I thicknessed some of them down to 0.8 mm, so it might not take too much effort to get that down the last 0.2 mm.
I suspect what I did wrong was adjust the cutter with the screw pushing it down. I then probably loosened the locking clamp and it dropped through the backlash of the mechanism. What I should have done is adjust it by lowering the screw and then pushing the cutter down onto the nut thing. I'm sure I've made that mistake before and I thought I'd learnt.
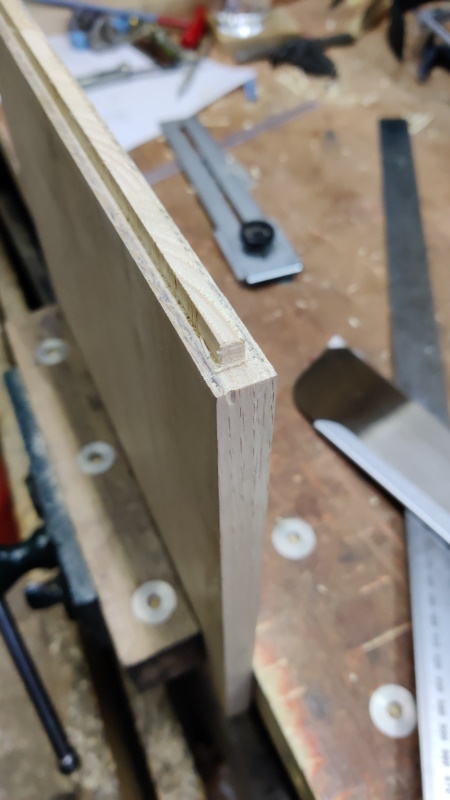
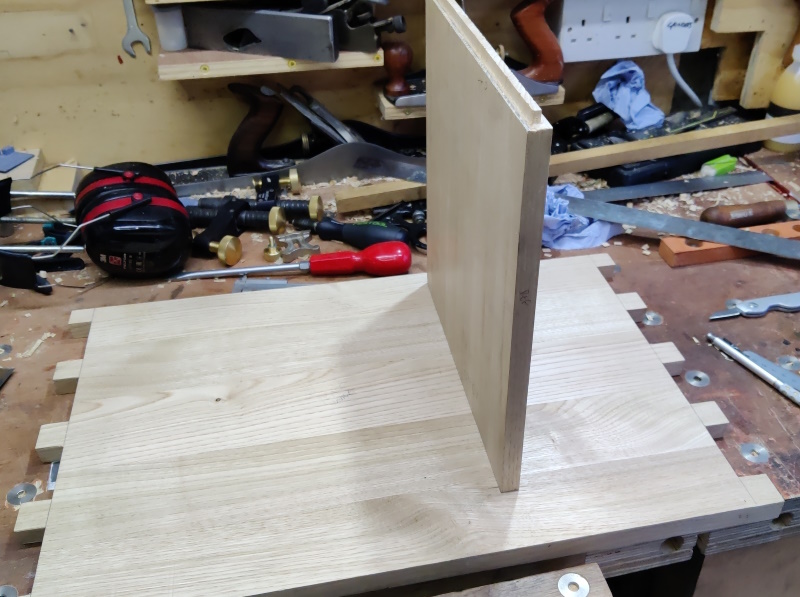
Anyway, with one housing joint fitting beautifully and one fitting extremely loosely, I could trim the tenon things to length with the dozuki (I also tidied it up with a chisel after taking this photo):
and that's it for now...
Page 28 of 144
This website is free and ad-free, but costs me money to run. If you'd like to support this site, please consider making a small donation or sending me a message to let me know what you liked or found useful.

 Return to main project page