Travel Tool Chest & Workbench Build Process
Page 30 of 144
Posted 10th March 2023
The next job was to cut the mortice. It seemed sensible to start on the base board as these M&T joints will be out of sight when the chest is finished. Hopefully I'll have mastered the art by the time I get onto the top piece mortices!
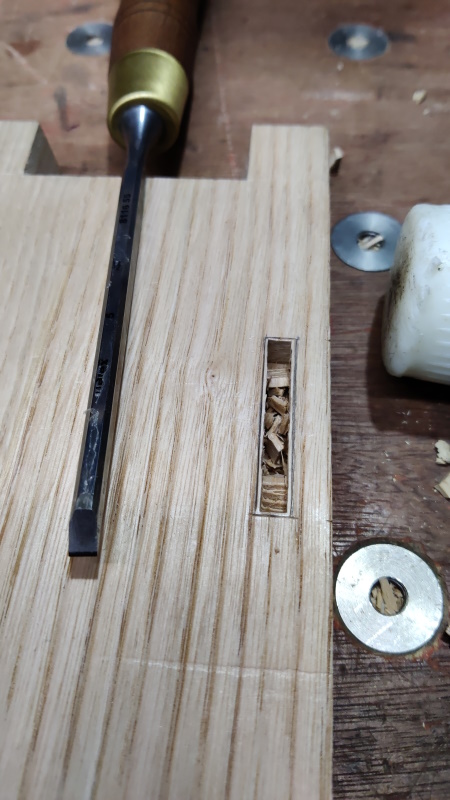
I started on the inside face and, using my 6 mm chisel (for the 7 mm mortice), I roughed it out down to a depth of about 15 mm (on the 20 mm base board):
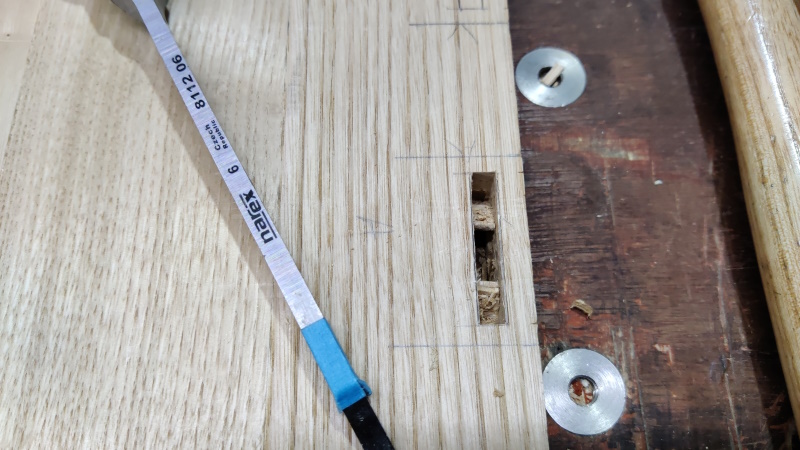
I then flipped the board over and used a 5 mm bevel-edge chisel to pop that last 5 mm depth out, leaving about 1 mm all the way around the mortice.
I then flipped the board over again and took out the last bit at the ends of the mortice, again down to 15 mm depth.
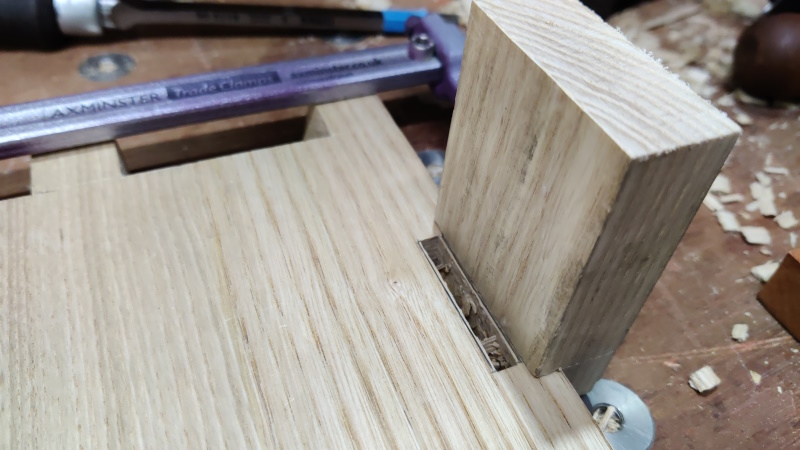
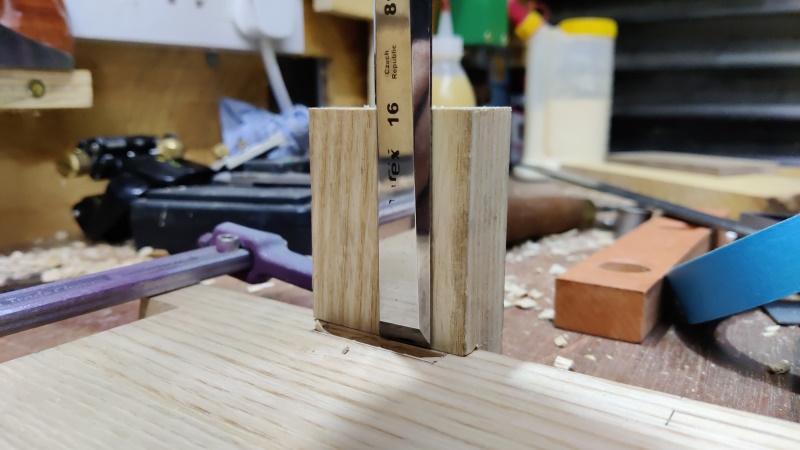
I then flipped it over again and clamped that offcut that I'd cut onto the board for use as a paring guide:
My faithful 16 mm chisel then trimmed the last little bit off:
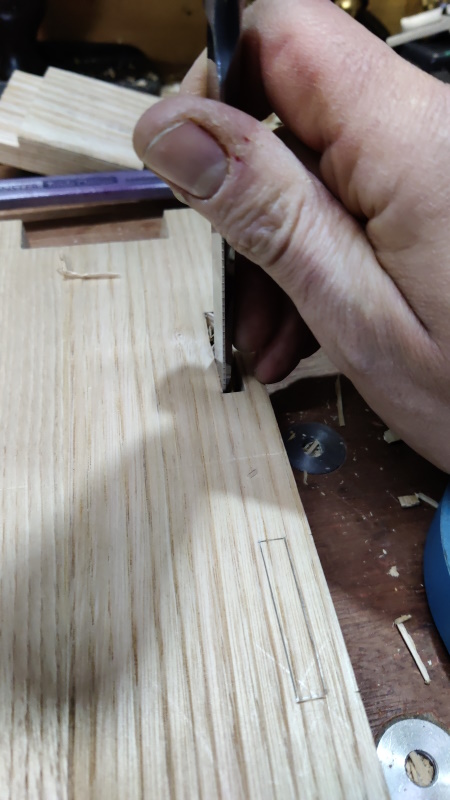
For the other side of the mortice, I just used the marking gauge line and pared it by eye:
I also pared in from the other side (using the knife lines for both edges) so that the paring cuts from the outside face didn't blow out the inside face and into my bench (not that my bench is short of chisel marks)
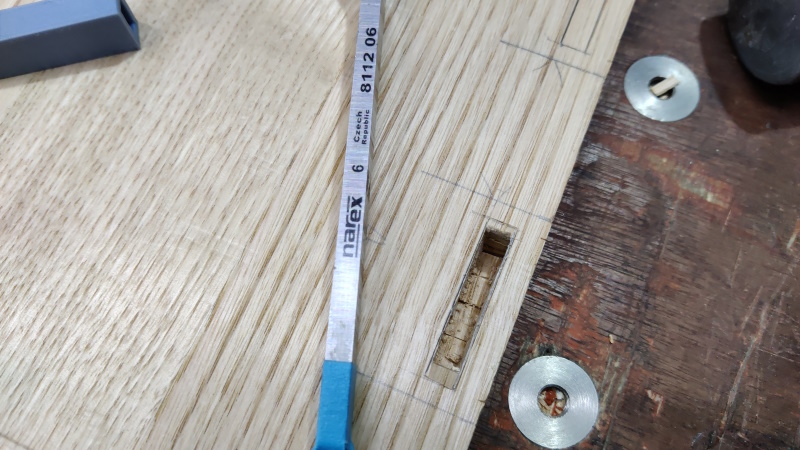
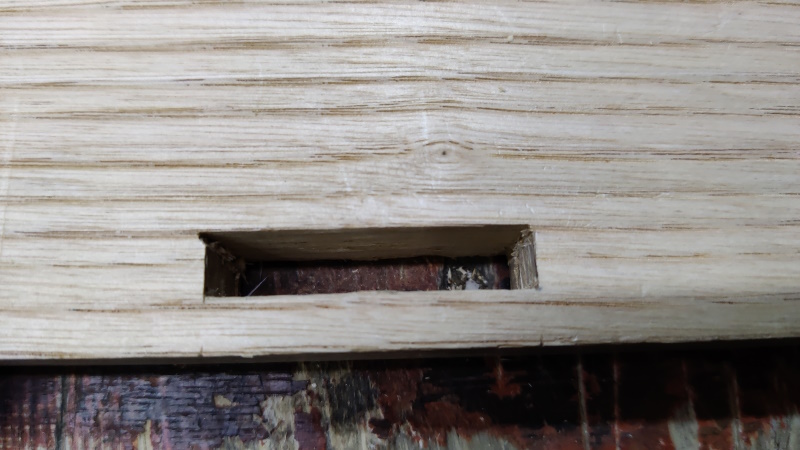
That went well, except that I made one mistake when paring one side of the outside face of the mortice: I moved my chisel too far along the edge and the bevel dug into the end mark:
That's a bit annoying, but I'm planning to wedge these tenons, so I'll probably open the outer side of the mortices a little for the wedges to push into. That will involve removing the bit of wood where that mistake sits, so the error will (hopefully) be rectified (and hopefully I won't introduce any new errors in the process!)
Page 30 of 144
This website is free and ad-free, but costs me money to run. If you'd like to support this site, please consider making a small donation or sending me a message to let me know what you liked or found useful.

 Return to main project page