Travel Tool Chest & Workbench Build Process
Page 42 of 144
Posted 18th March 2023
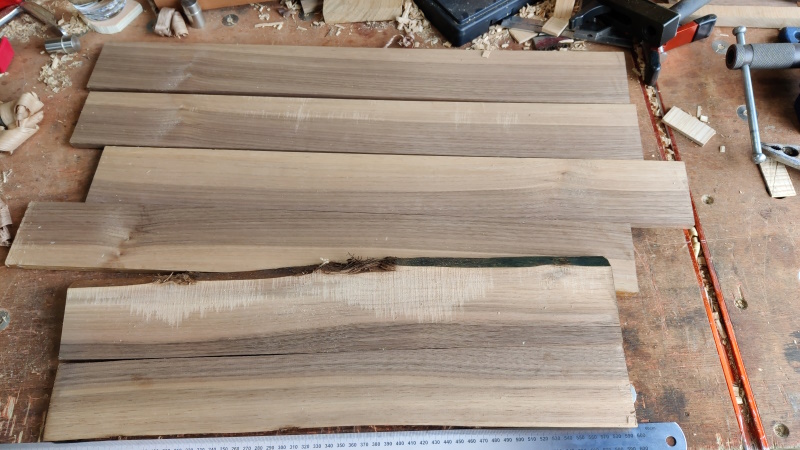
I started the weekend by resawing (with the bandsaw) a lump of walnut that was 50% sap-wood. I sliced it up into circa 10 mm pieces and then planed each piece just enough to get rid of the saw marks on the dark bits of wood. I think there's enough heart wood here to cut up into strips to form the drawer runners.
While I was at it, I also hand sawed up and planed a length of sweet chestnut to act as the anti-racking piece on the back. I didn't bother to take any photos of this as they would have looked identical to all the dimensioning sweet chestnut photos I took earlier.
At this point it started raining, which makes it much less pleasant to stand outside the workshop while sighting along the winding sticks and having the garage door shut to keep the rain out gives me much less space to comfortably plane, so I thought I'd get on with something else.
A few posts ago I made a planing stop. The design as it is at the moment calls for three of these to better support different widths of wood (and also to support the shooting board when its mounted on top). As the first planing stop looked okay to me (and I'd tried it out by clamping it in the vice of my portable workbench), I thought I'd get on and make the other two.
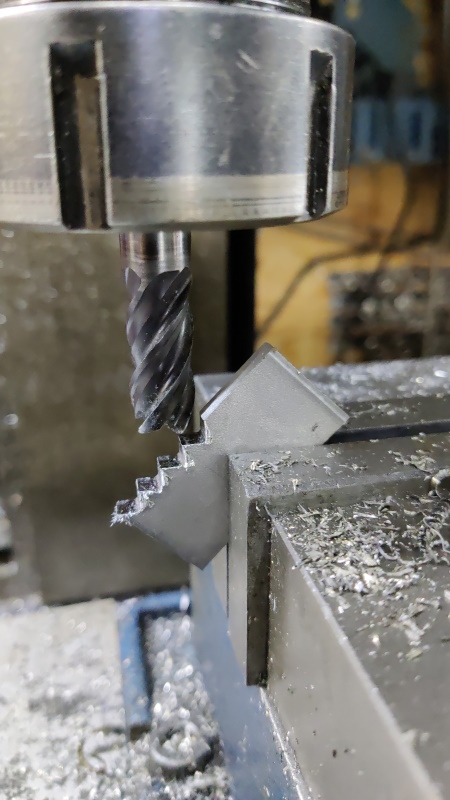
I started by using a digital angle meter thing to mount a 20 mm long bit of 5 mm thick stainless steel in the milling vice. The steel is 40 mm wide, so some simple trigonometry told me that the other two sides of the triangle formed with it an angle in the vice were each just over 28 mm long. That divides nicely by 4, so I moved the mill axes in 4 mm steps to make the teeth:
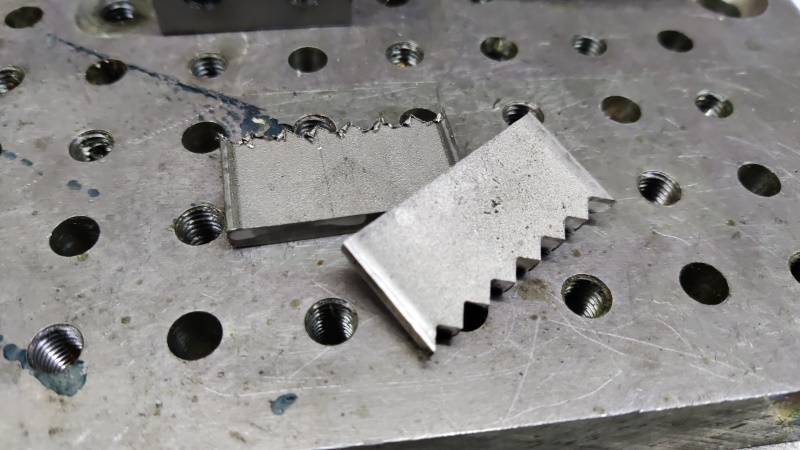
The two pieces done, each with a rough side where the end mill entered and a scruffy side where it left:
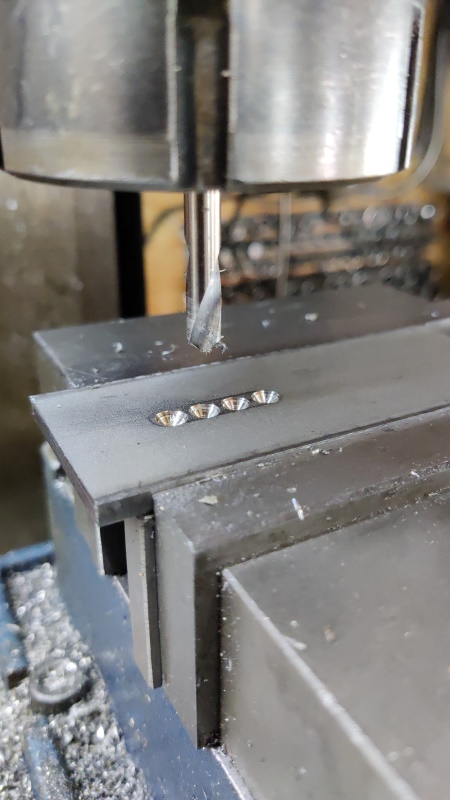
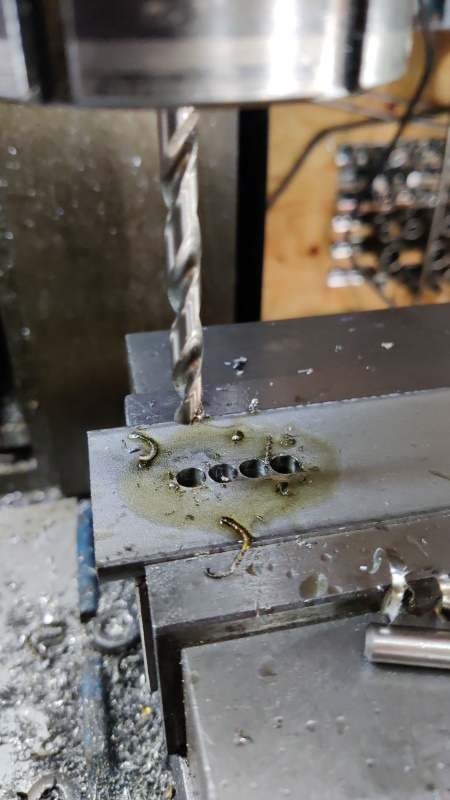
I then got a longer length of the same steel and squared up the end with the same 12 mm carbide end mill I'd used for cutting the teeth. I then swapped to a 6 mm spot drill and laid out some holes:
Then a 6 mm drill went all the way through:
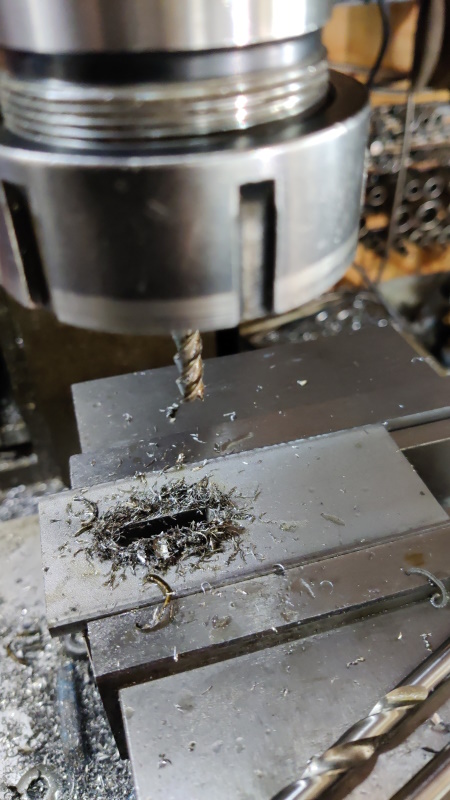
and a 6 mm end mill got rid of the bit in the middle and then opened the slot up to about 6.8 mm to give a bit of clearance and tidy up the sides of the slot:
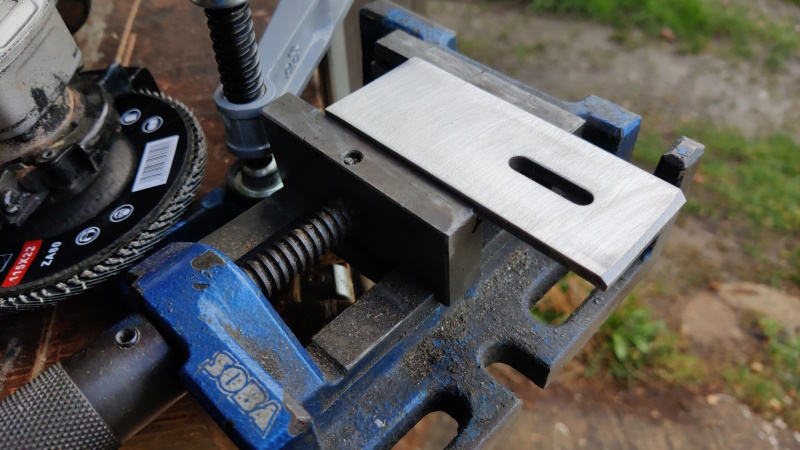
The sun had come out again by then, so I could take the parts out to the garage door and clean then up with an 80 grit flap wheel in the angle grinder. While doing this, I also added a chamfer to the squared-edge:
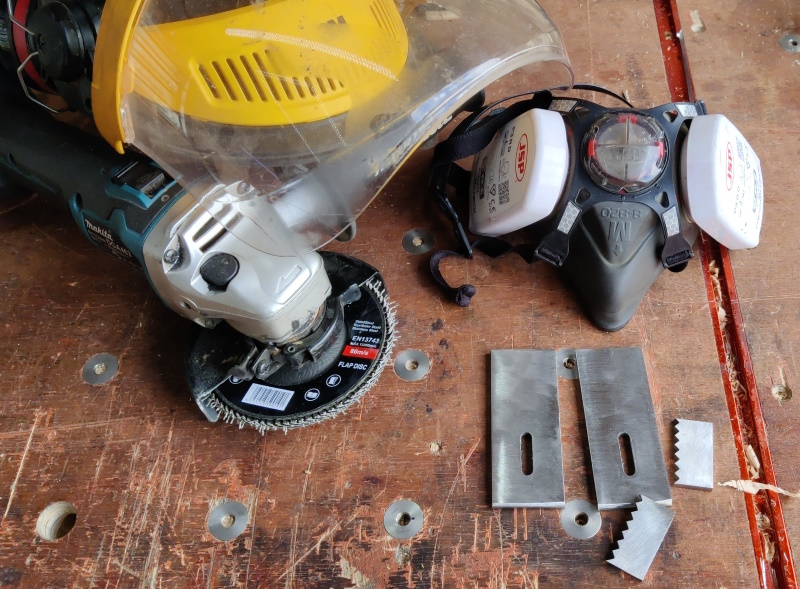
With that, all the parts were ready for welding:
Page 42 of 144
This website is free and ad-free, but costs me money to run. If you'd like to support this site, please consider making a small donation or sending me a message to let me know what you liked or found useful.

 Return to main project page