Travel Tool Chest & Workbench Build Process
Page 43 of 144
Posted 18th March 2023
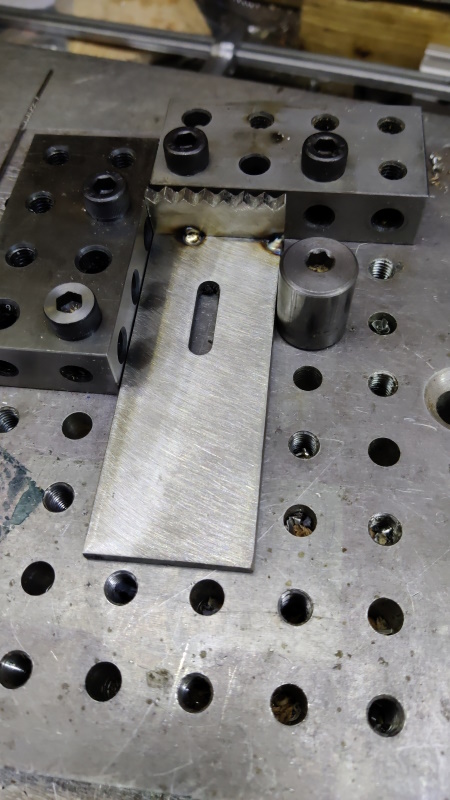
To weld the bits together, I started by holding them on a little fixture plate I made a few years ago and tacking the inside corner in a couple of places:
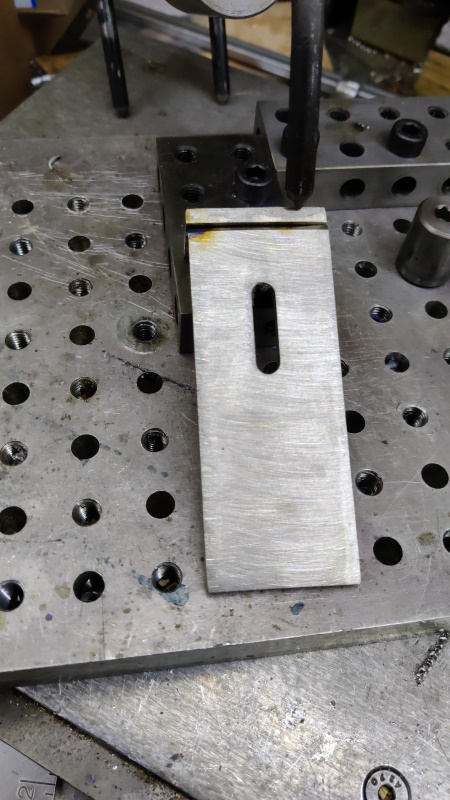
I then flipped it over and supported it with my "welder's third hand". The chamfer is visible here: that helps get a decent level of penetration when welding:
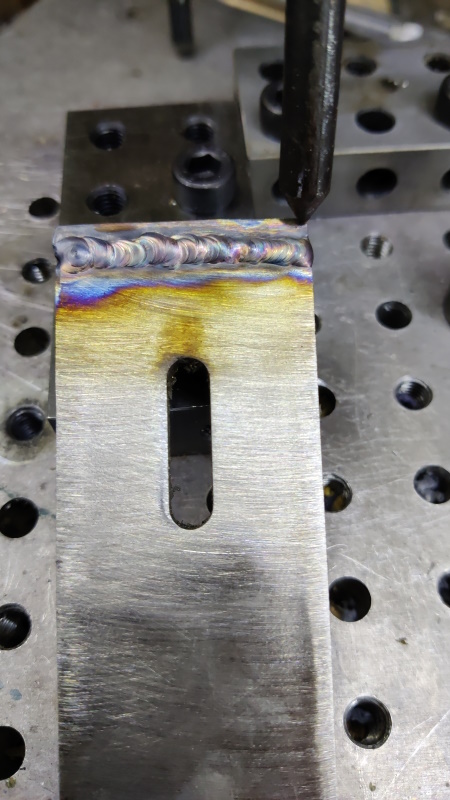
I then welded along the outside. My welding isn't going to win any awards any time soon, but I think it'll do the job:
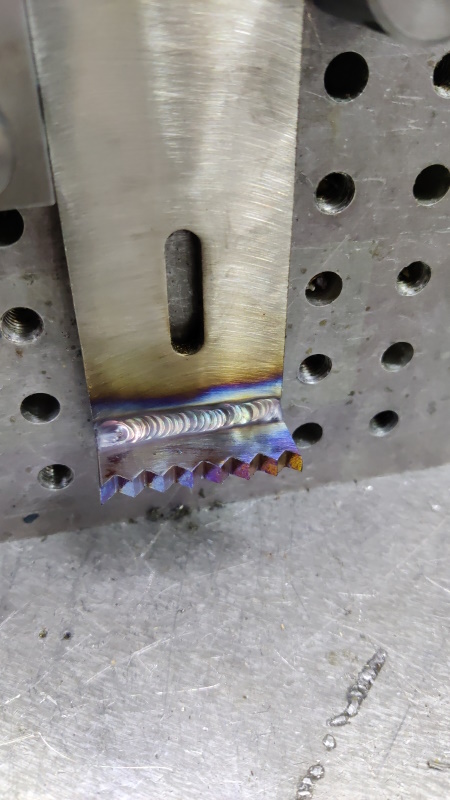
For the sake of belt-and-braces, I also welded along the inside corner:
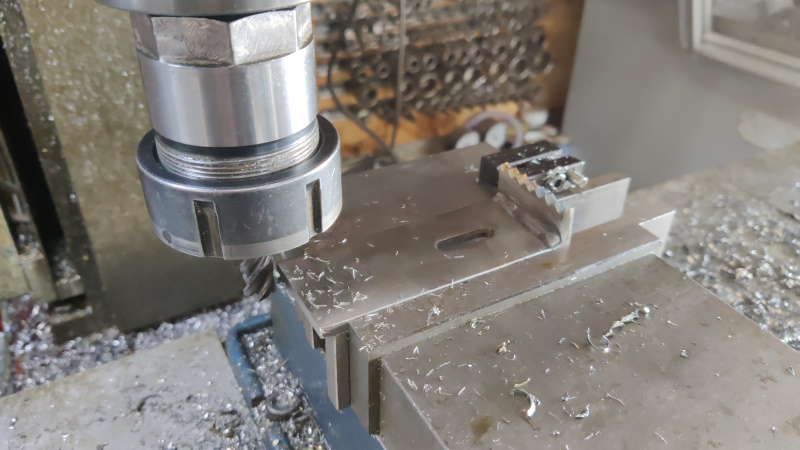
After a quick clean up with the angry grinder & flap disc, I put a stop on the milling machine vice and milled all three to the same length. This was completely unnecessary, but didn't take long, so what the heck:
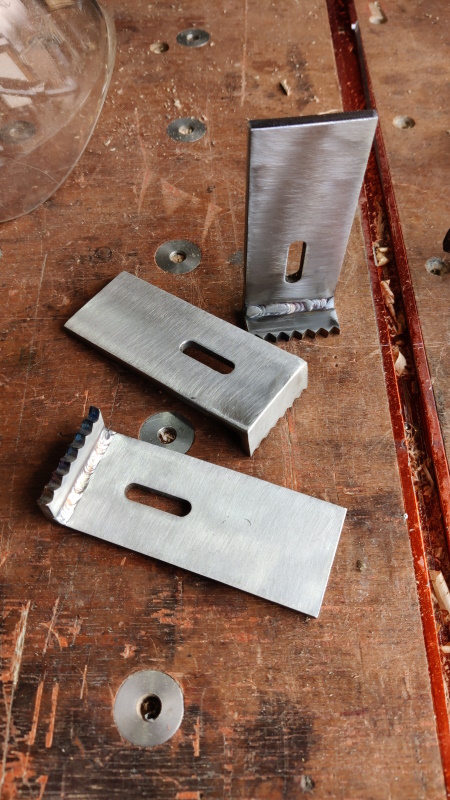
With that, I had three stops all ready to go:
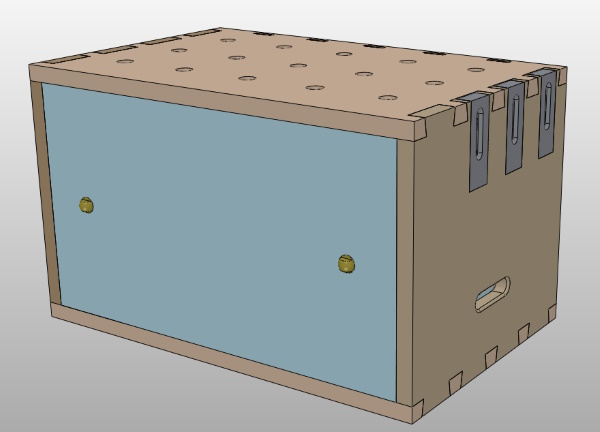
These stops will be fitted in such a way that they can be pushed down and left flush with the top and, less importantly, the side, as you can see in this out-of-date CAD model image:
In practice, they won't be flush with the side as there'll be thumb-screws holding them in place and those will stick out. I'd originally intended to make them with countersunk slots, but stainless steel is really unpleasant to mill and the idea of milling a deep countersunk slot didn't fill me with much joy, so I went with the simple slot & will have a protruding screw.
It felt like making the cut out in the end of the side panel would be a lot easier before the box is assembled. As the tails are over length, this isn't quite as trivial as you might think, so I started by marking the length that the tails were likely to end up:
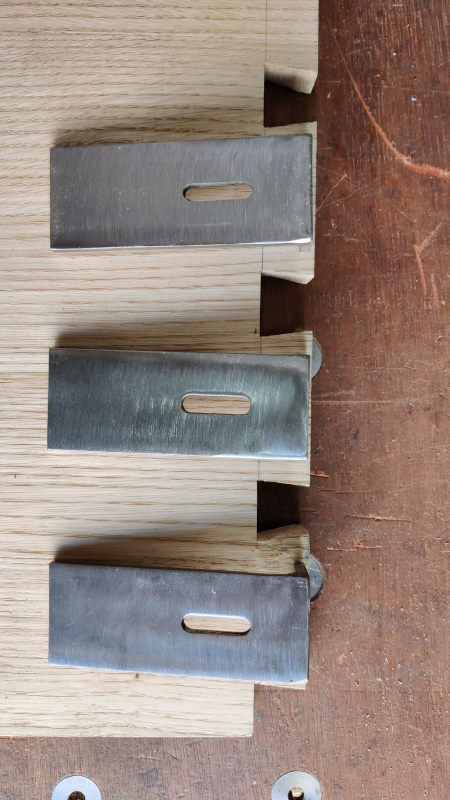
I then used the stops as a reference for marking the inside face of the side panel:
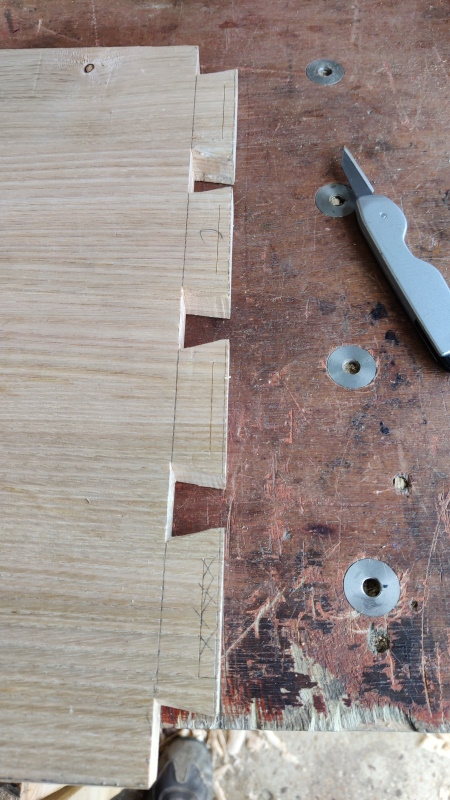
I could then mark out the bit that would be cut out of the end grain (note the loss of concentration where I marked the tail nearest to the front of the box, which won't get a planing stop):
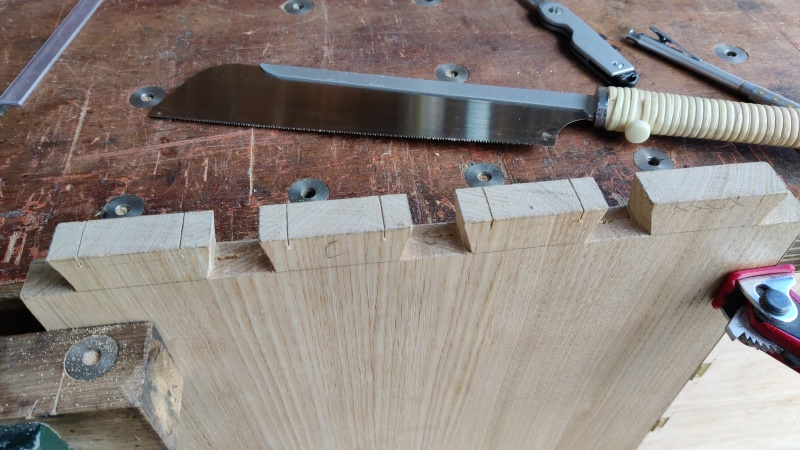
I could then put the side in the vice and saw 5 mm down:
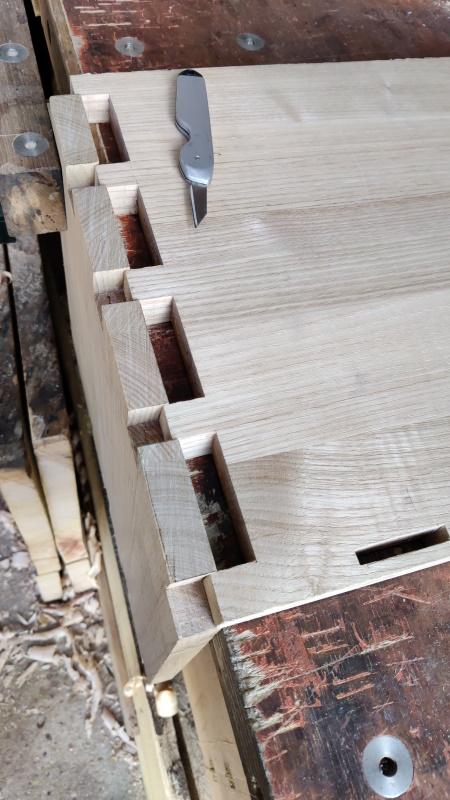
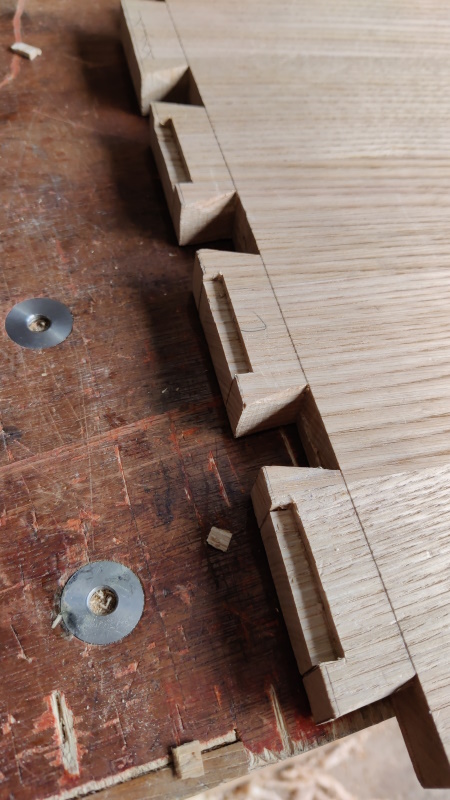
For now, I've just chiselled out a bit on the inside face:
I'll probably do the rest of the chiselling after the box is assembled as that'll make it easy to see exactly which bits need to be removed, but the sawing and the bit I've chiselled out will make it easier (I think) to make it all look tidy when I do that.
Page 43 of 144
This website is free and ad-free, but costs me money to run. If you'd like to support this site, please consider making a small donation or sending me a message to let me know what you liked or found useful.

 Return to main project page