Travel Tool Chest & Workbench Build Process
Page 75 of 144
Posted 14th May 2023
Well, I did what AndyT from the woodworking forum suggested and changed to using plain slips with the plywood sitting on top. I figured that if it turns out that I can't cut plywood accurately enough, I can always put a "decorative strip" along the sides to hide the evidence.
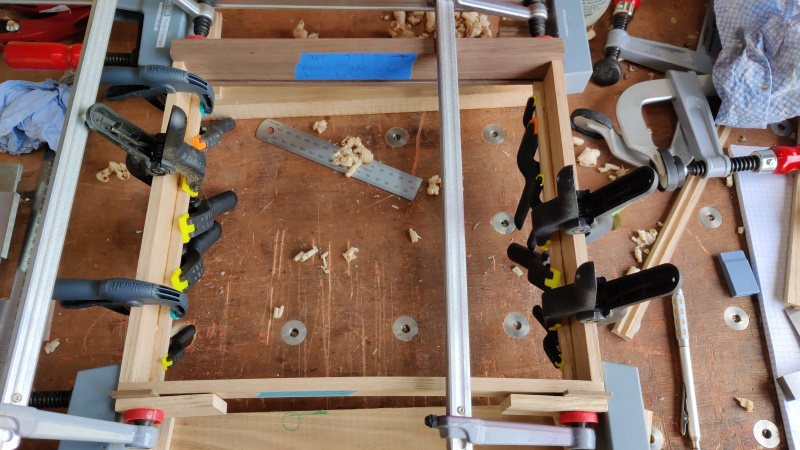
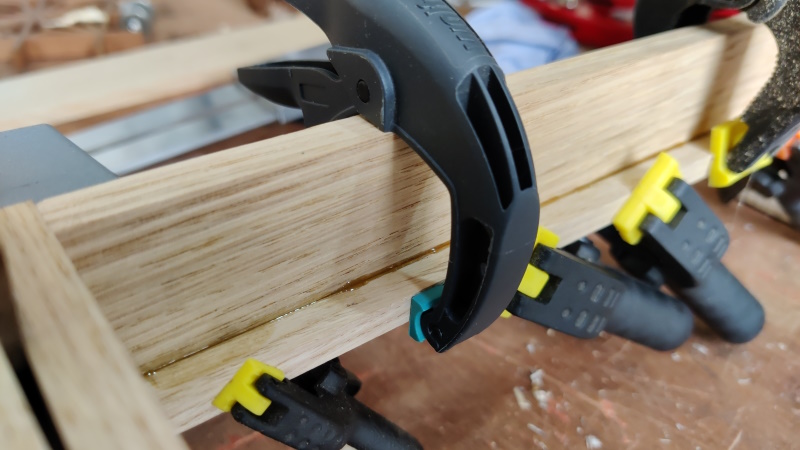
Two more little strips cut to (slightly over) size and glued on with hide glue. I set the distance to the top to be consistent using my edge distance gauge thing and clamped the strips in place with some spring clamps:
I decided not to worry too much about squeeze-out here. The joint should be hidden by my super-precisely-cut plywood and given that there's only 5 mm of contact, I wanted to be sure a decent amount of glue got everywhere it was needed.
After that, I had some mowing and strimming chores to get on with, so that's it for today.
I've got 5 more drawers to make (as well as the base for this one), plus planing them to fit the chest. Then I've got to make something to hold the planes in place in the bottom right corner, followed by the shooting board that forms the front of the chest.
Due to some other commitments, I've got only five completely free days left before we go to Brittany and not much in the way of free evenings, so I don't think I'm going to be close to managing all of that, but I'll do my best. I can always tape the drawers shut and take my big shooting board for this trip if the shooting board isn't ready in time.
Page 75 of 144
This website is free and ad-free, but costs me money to run. If you'd like to support this site, please consider making a small donation or sending me a message to let me know what you liked or found useful.

 Return to main project page
