Travel Tool Chest & Workbench Build Process
Page 97 of 144
Posted 24th September 2023
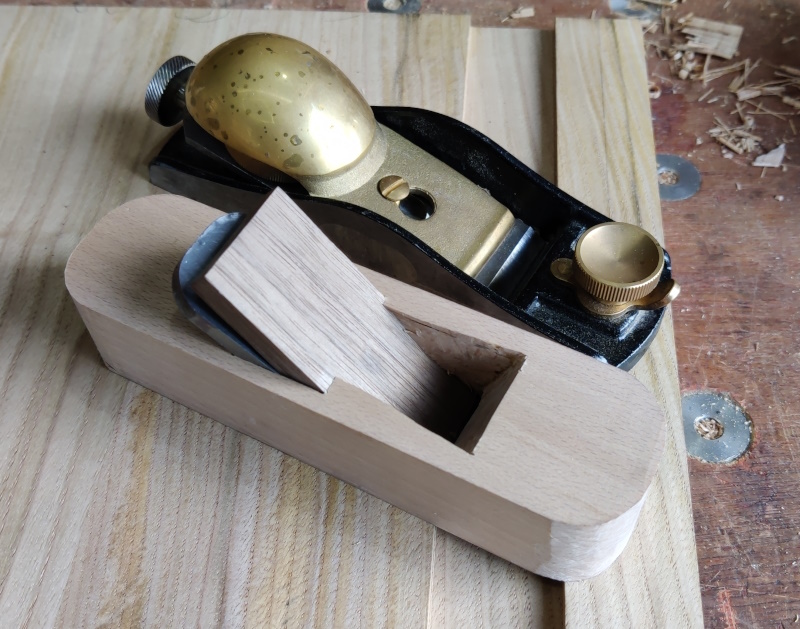
I'm going to call this one a "proof of concept". It definitely needs a lot of work in the execution, but I had to start somewhere.
The John Whelan book is excellent and very easy to read. It offers some excellent advice on how to get started with wooden plane making. In particular, he advises...
- Start with a plane you already own and copy the size and shape and general design. That way you can refer to the existing plane for angles and shapes and also be confident in getting a working design at the end.
- Start your design by picking the blade and make the plane around that blade.
- It's best by far to start with a three-part design and then try a two-part design (basically sliced in half along the length of the plane so a lot of the chiselling becomes sawing) and only when those approaches have been mastered should one try making a one-piece plane.
All sound advice, which I stupidly ignored.
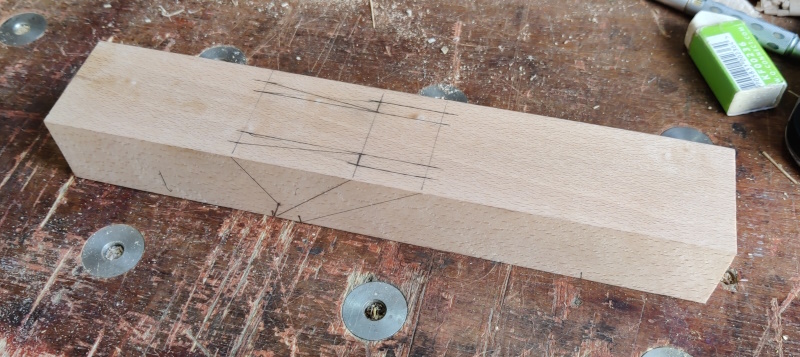
I started with a block of beech, on which I sketched out some rough dimensions and shapes for the hole (with a 35° bed angle as this is going to be used for cutting end grain).
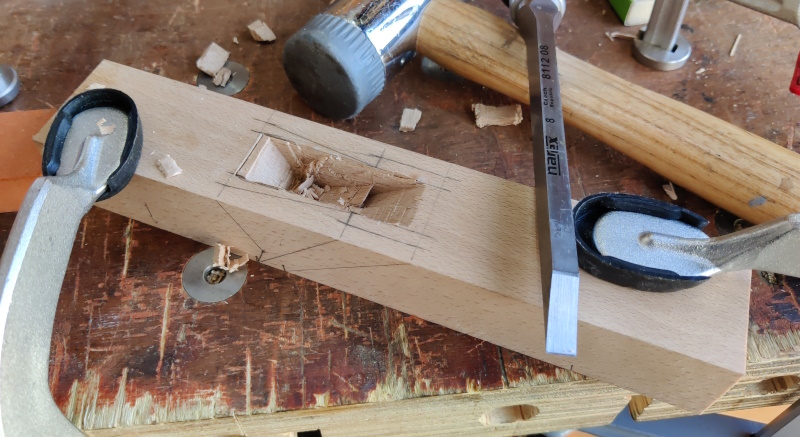
I then attacked it with an 8 mm mortice chisel, taking most of the stock away in the middle (square-sided) bit of the pocket.
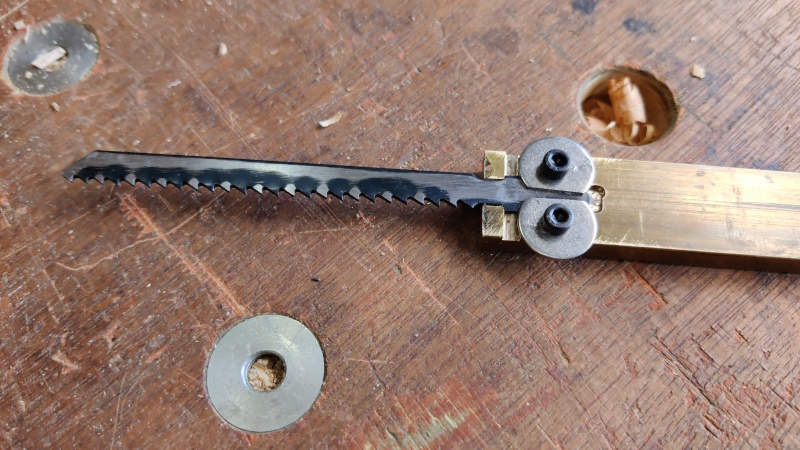
To cut the pocket for the wedge to live, I grabbed a jigsaw blade. My first thought was to try to hammer the set out of the teeth, but they were being stubborn and kept bouncing back, so I gave up and just rubbed it on a diamond stone for a bit until the set was gone:
A crude handle was made out of a bit of brass, some filed-down M3 penny washers and a couple of screws:
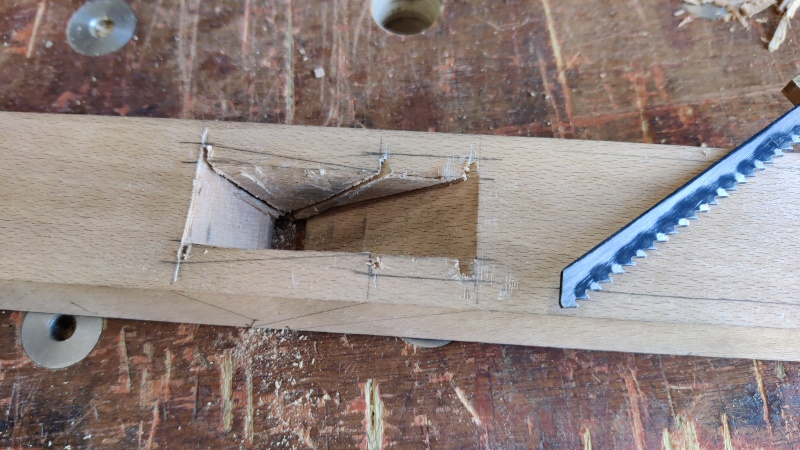
I could then use the jigsaw blade to cut across the grain:
I then forgot to take any more photos of the work on the body, but it didn't go superbly well. Part of the left-hand side sticky-out bit (abutment?) tore off, so there's not as much wedge support as I would have liked, but I think I'll write that down to experience and consider this a prototype as I implied above.
At some point I decided I really couldn't do much more without a blade to stick in it, so I rummaged in my gauge plate drawer for some 5 mm thick stock. I was somewhat surprised to learn that I don't have any 5 mm stock, so I went with 6 mm thick stuff instead. Possibly a bit daft, but daft is what I'm good at!
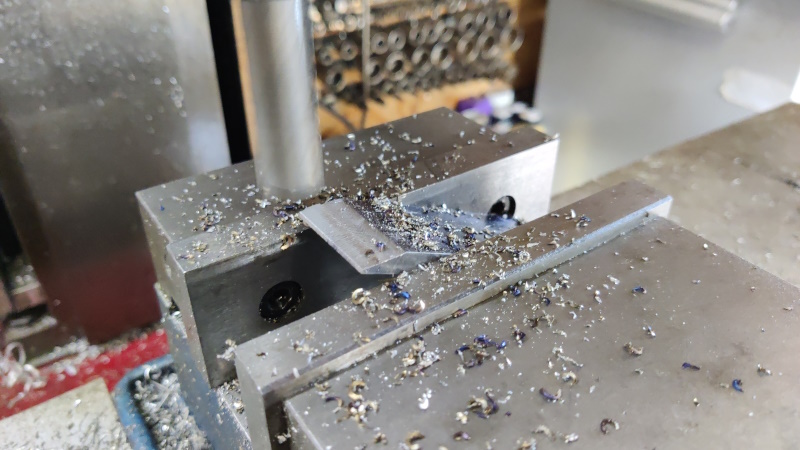
With the 6 mm thick gauge plate roughly bandsawn to size, I milled it to 30 mm thick and then milled a bevel on the end:
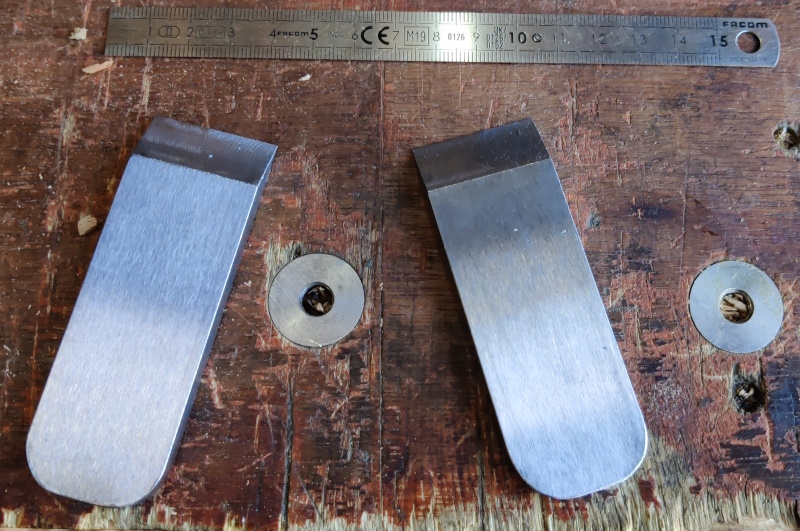
I then hacksawed off the back corners and ground them into a rough curve. While I was at it, I made two blades: I can either keep two sharp and ready to use or one can be a spare for when I do something stupid and break one of them.
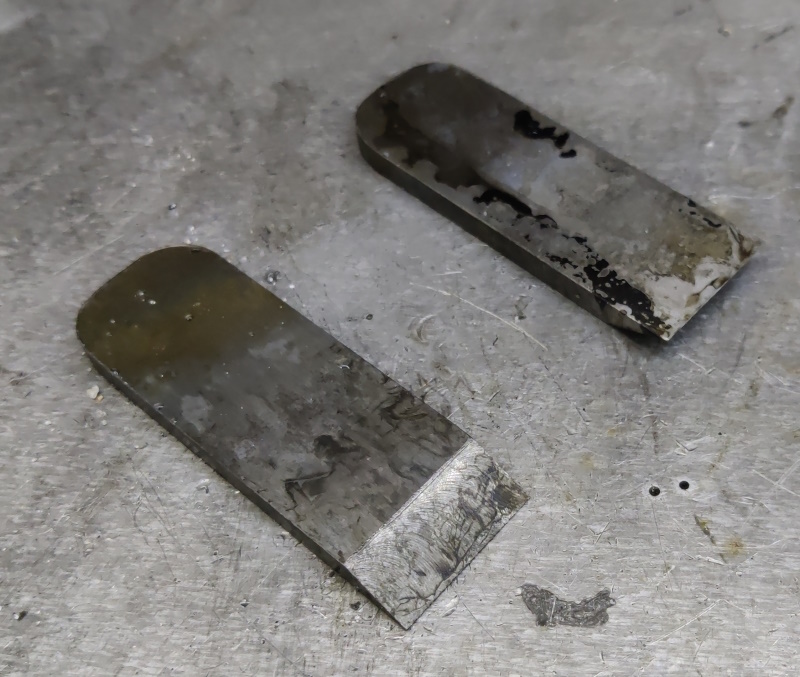
The two blades ready for heat treatment:
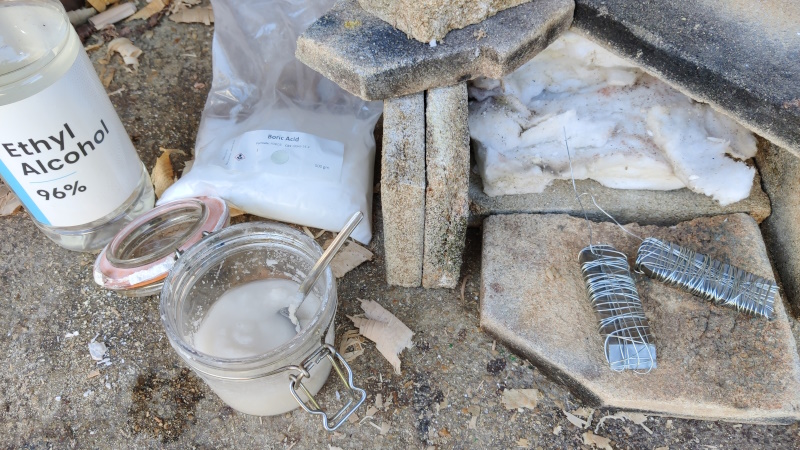
I usually just heat treat steel without much preparation and then deal with all the scale later, but with the blades being quite big, I thought I'd save myself some effort later and coat them in a boric acid/meths mix:
The steel wire is there to help keep the boric acid in place.
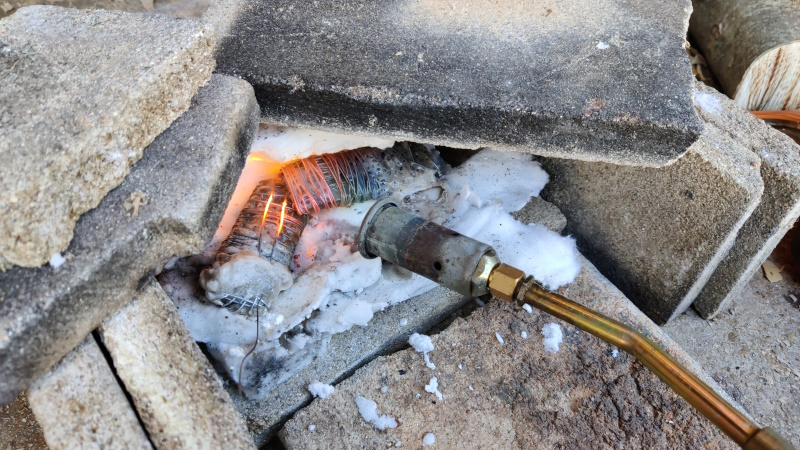
The blades were then heated until a magnet wouldn't stick to them and then they were dunked in some vegetable oil.
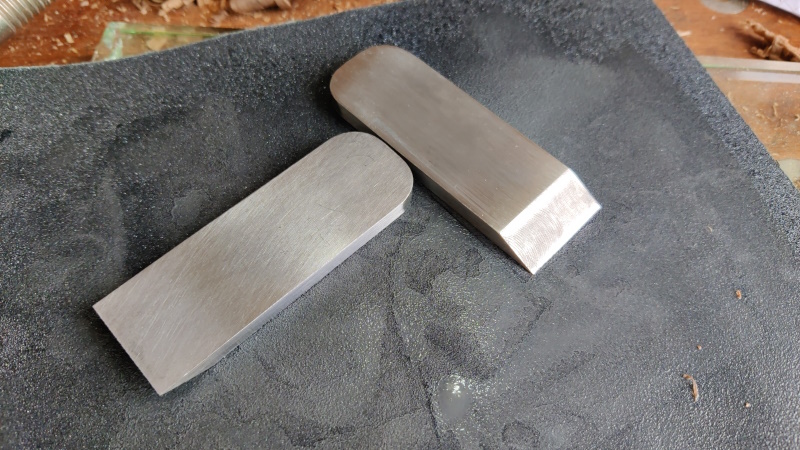
Post-heat treating, they look a lot better than they would have done without the boric acid.
A minute or so with some wet-and-dry sorted out what was left.
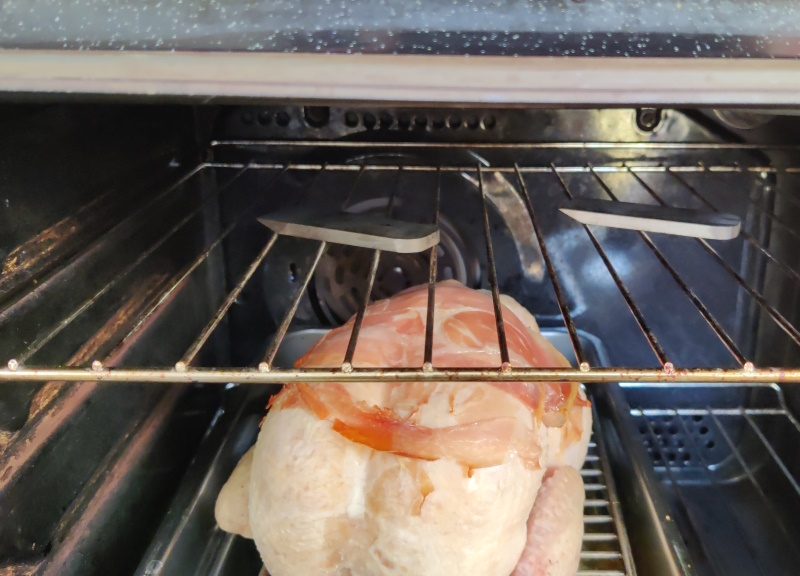
The plan for dinner last night was roast chicken so that seemed a good time to bung them in the oven (with some extra time at a higher temperature after the chicken came out)
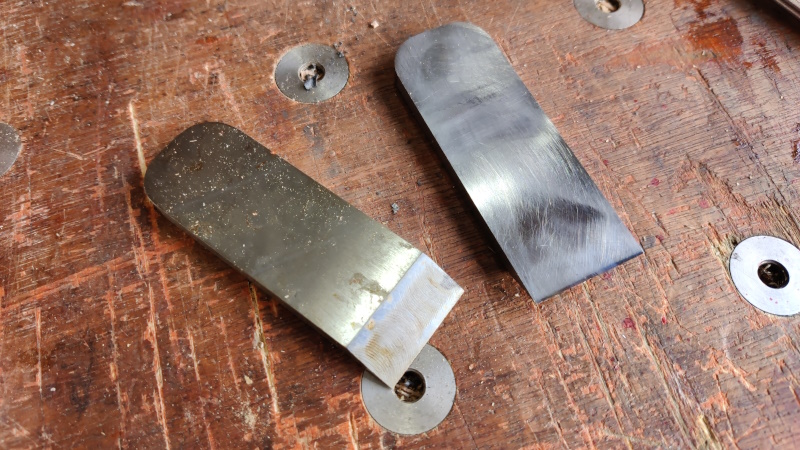
Then it was "just" a case of reflattening (things tend to move when heat treating) and then grinding & sharpening the blade. I've only done one so far in case the tempering didn't work well enough – I can always retemper the other blade with a blow torch if necessary.
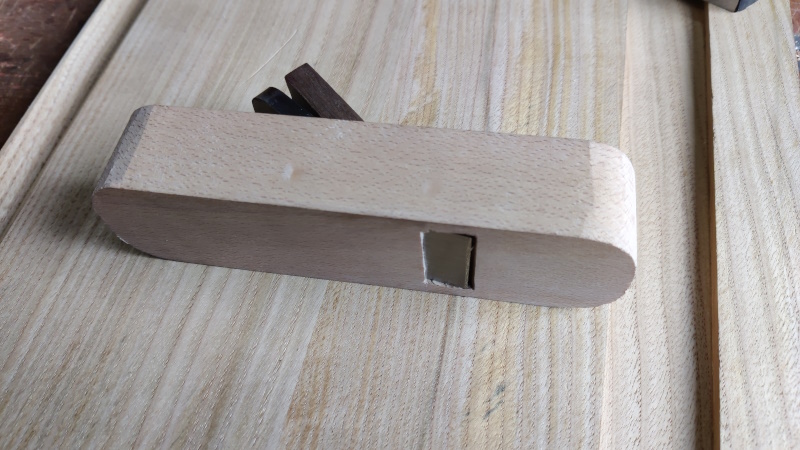
With the blade ready, I could continue hacking away at the beech block until I had something looking vaguely like a plane. If you look closely, you can see where the "abutment" is a lot thinner on one side than t'other. That wasn't deliberate!
It's amazing how big a pocket you need for a 6 mm bevel-down blade & a 35° bed angle:
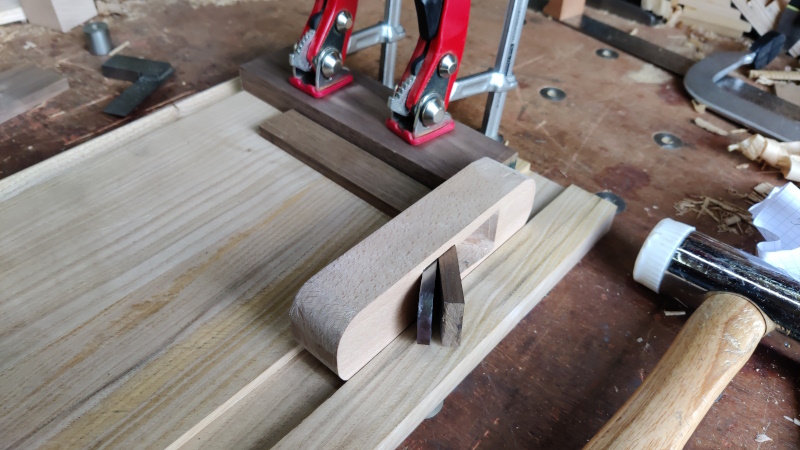
I couldn't resist a quick try with a temporary fence held in place with a couple of clamps. It cuts well, but the throat clogs really quickly. That should be easy enough to sort out by shortening the wedge and/or opening the front of the mouth a bit. However, by this point my stomach was asking why I hadn't stopped for lunch yet so I decided to do what I was told.
I'm pretty sure I'm going to start from scratch on the plane body, but I've definitely learnt a few things in the process. The new body should be able to use the same blade, so at least I don't have to do all the milling / heat treatment and grinding again. I bought a big lump of beech from William's British Hardwoods on Friday, so I've got enough for quite a lot more attempts.
Page 97 of 144
This website is free and ad-free, but costs me money to run. If you'd like to support this site, please consider making a small donation or sending me a message to let me know what you liked or found useful.

 Return to main project page