Travel Tool Chest & Workbench Build Process
Page 98 of 144
Posted 8th October 2023
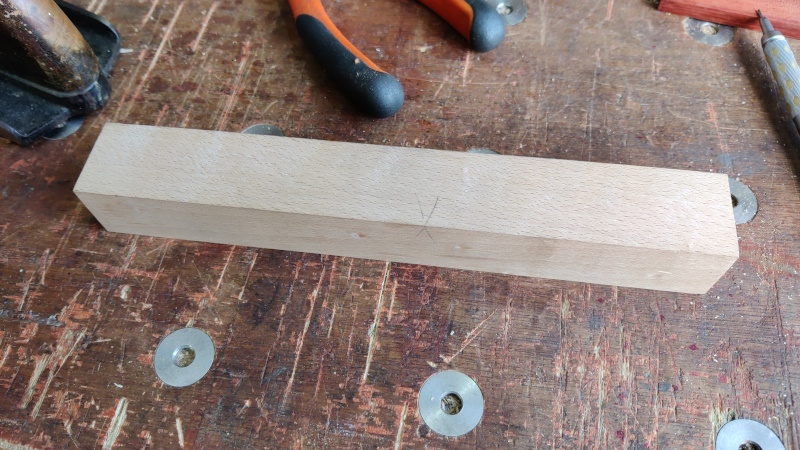
I haven't had much time in the workshop lately, but I had some today so I thought I'd go and have another go at plane making. I decided to re-use the blade and the wedge, but start from scratch with everything else, so I began by getting a bit of beech, squaring the faces up and getting it down to just above the target 30 mm in one direction and slightly wider than the blade in the other direction.
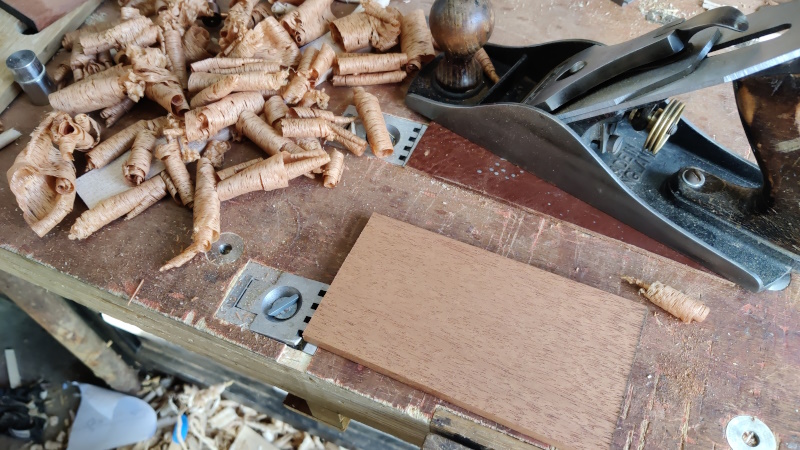
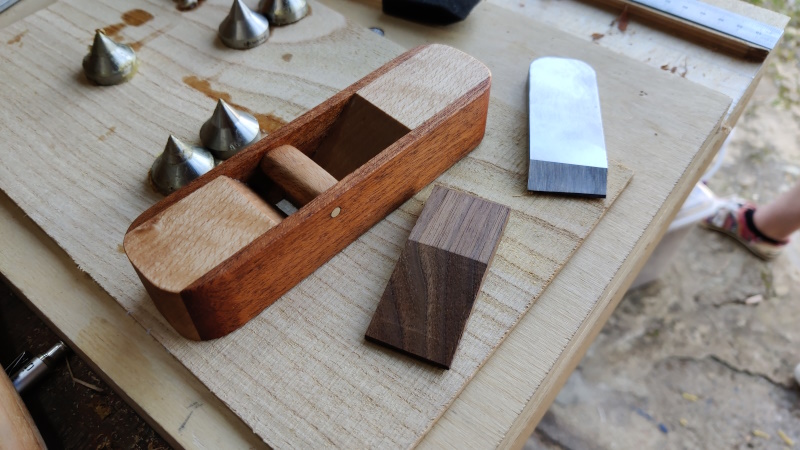
I then got a bit of what might or might not be teak (we've had lots of discussions about this wood on various threads on the woodworking forum, so I'm just going to call it maybe-teak and leave it at that for this one!). I planed it down to about 7 mm thick...
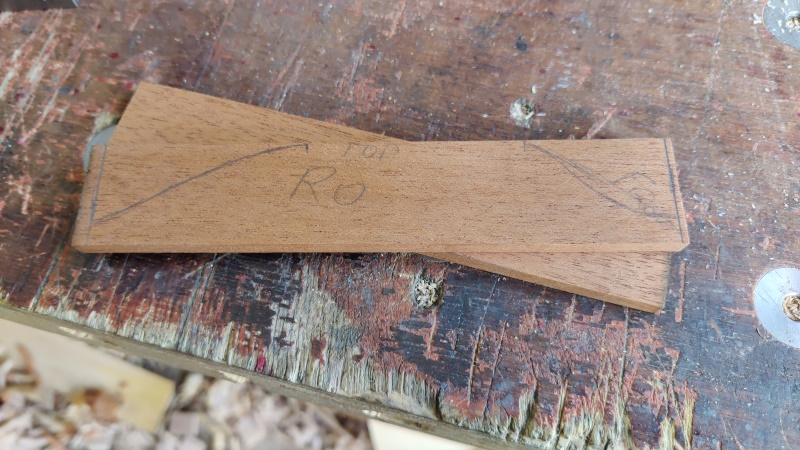
... and then cut a couple of slices off. The marks on this one were from some thoughts about a shape for the plane, but, as you'll see later, I abandoned that plan and went with a simple shape.
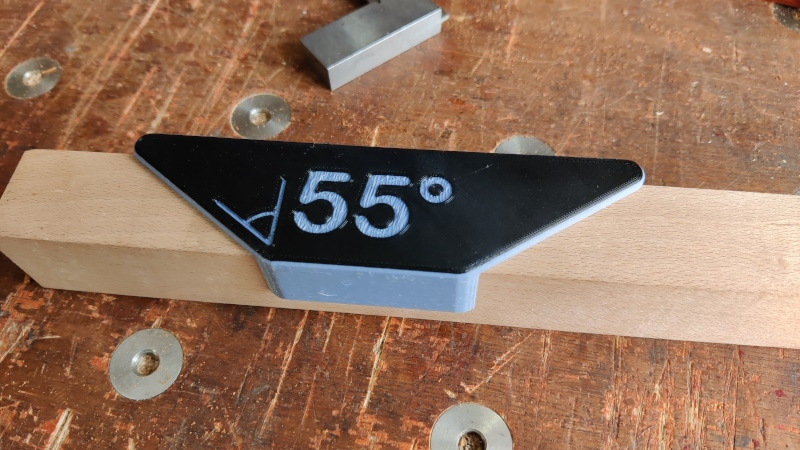
As I'm going with the simpler approach of a three-part assembly, I needed to cut the beech lump into two pieces. I 3D printed a simple marking gauge to help with transferring the angle around the corner:
Note that this gauge gives me a 35° bed angle – I labelled it as 55° as I've printed other similar gauges that give a particular angle away from perpendicular so I thought it was more sensible to keep the numbering scheme consistent.
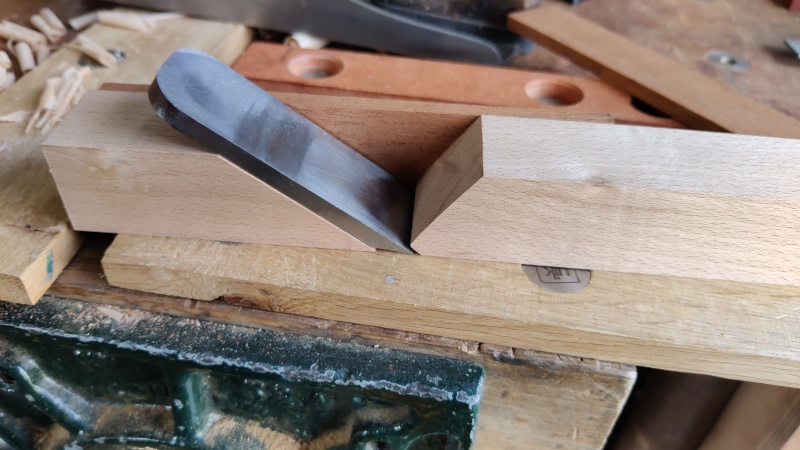
With the lines marked with a knife I could chop it up with my Ryoba and then gradually work down to the lines with a smoothing plane. I also chopped the left-over piece up but at a somewhat more arbitrary angle (probably about 90° from the bed angle). That meant I could have a little play with the layout:
That layout results in not a lot of clearance above the cutting edge (for shavings to escape), but I figured it was easier to open it up later than try to close it up.
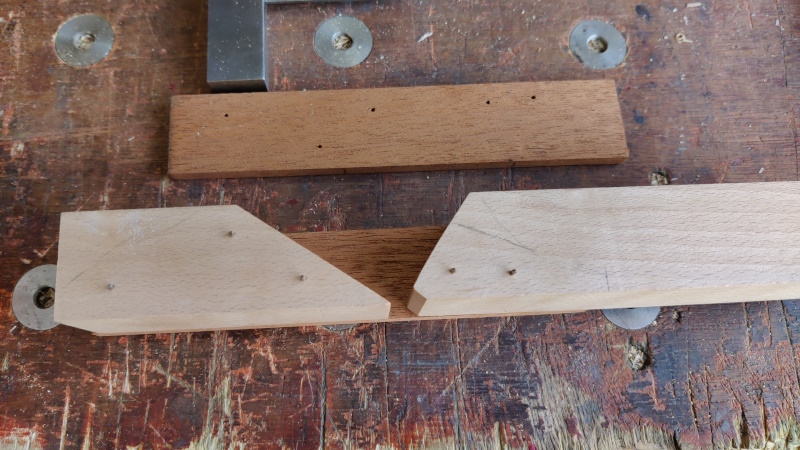
Once I was happy with the layout, I banged a few 1/2" panel pins into the beech and cut them off with some side cutters.
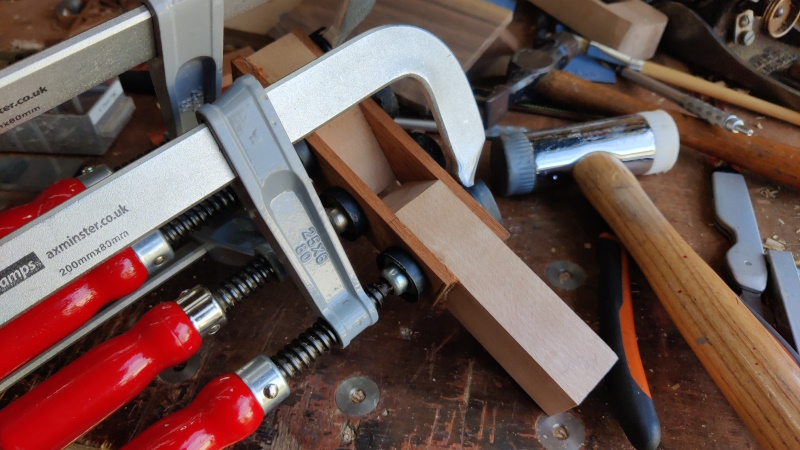
After double-checking I was still happy with the layout, I could then glue it all together.
Once the glue had dried for a couple of hours, I took it out of the clamps and planed the underside and then the two maybe-teak sides.
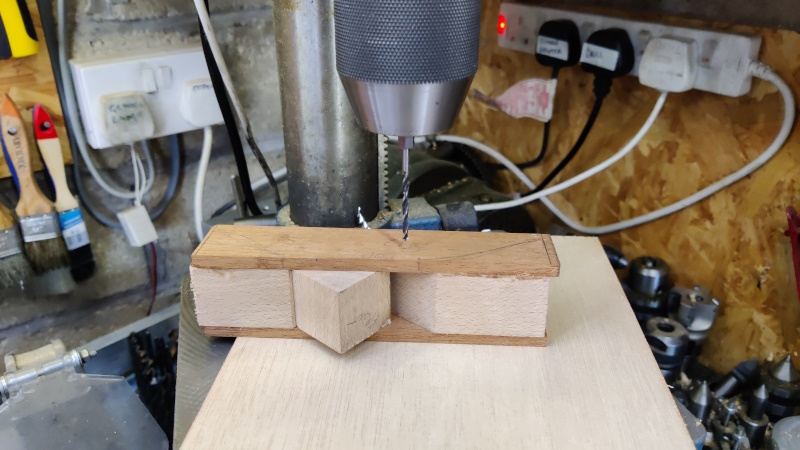
I'm trying to do this toolchest project as a just-hand-tools project, but this plane isn't strictly part of the toolchest, so I decided to cheat and drill the cross hole with the pillar drill.
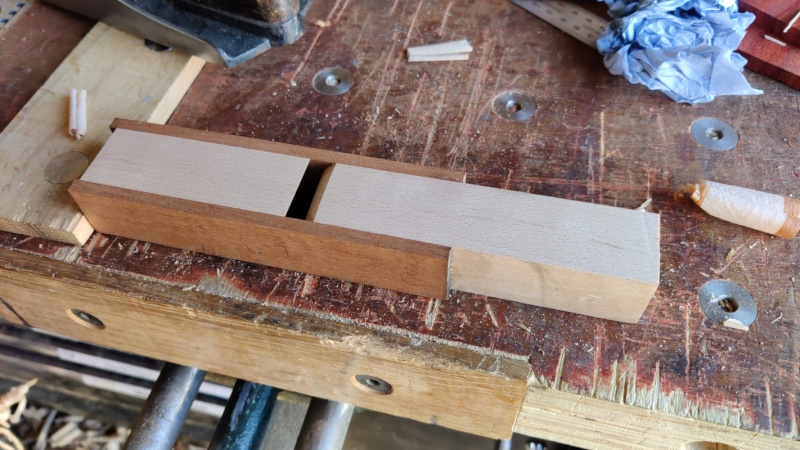
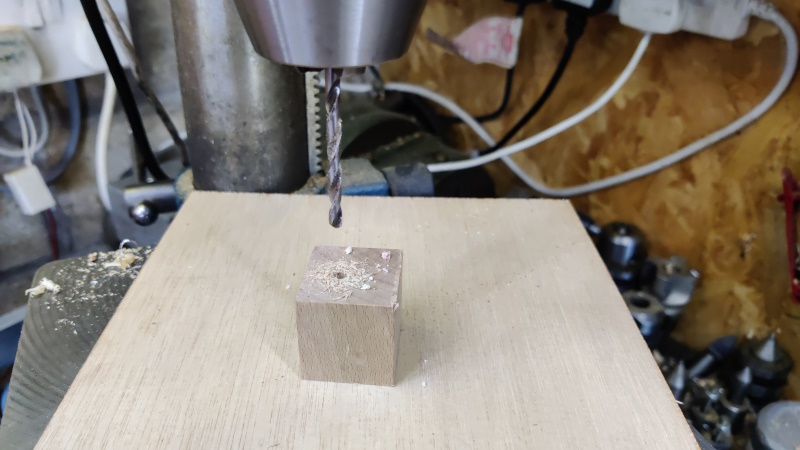
Note that the photo was taken before lining the drill bit up with the hole location. The bit of beech shoved into the opening was the offcut from the end of the central section. I used my shooting board to bring the length down to be a snug fit in the hole. Having it shoved into the central section served two purposes: firstly it prevented any tear-out when exiting the top maybe-teak piece. Secondly it provided the stock to use as the bit the wedge bears against.
I drilled the hole 3 mm, then opened it out to 3.9 mm. I then took the beech filler piece out and opened the hole out to 4 mm. I'm using a bit of 4 mm brass, which seems to be a very tight fit in a 3.9 mm hole and a somewhat looser fit in the 4 mm hole. Therefore the beech bit should rotate, but the brass should be tight in the maybe-teak.
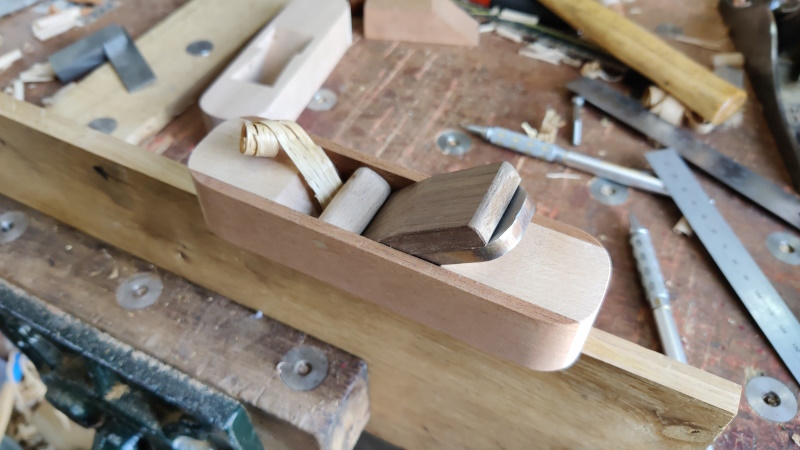
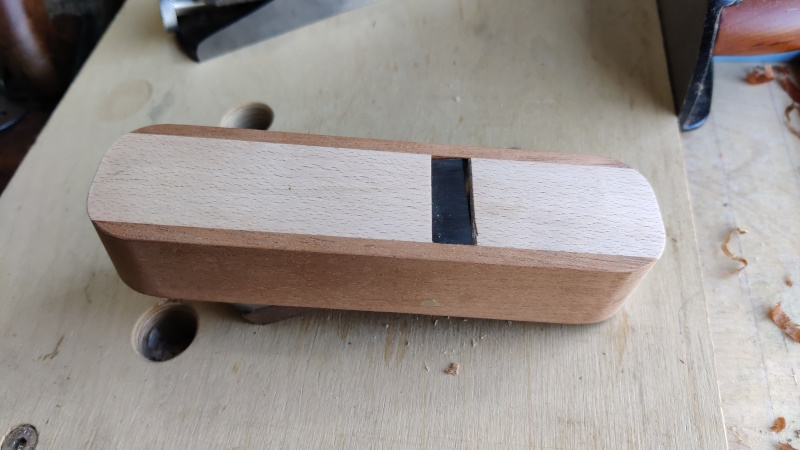
With that done, I could rather dramatically reduce the size of that beech piece (with #4 plane for the flat side and rasps / files / sandpaper for the curved side). I also shaped the corners of the plane in much the same way as before and finally took a few skim cuts with the #4½ on the top surface. Once that was done I couldn't resist a quick test:
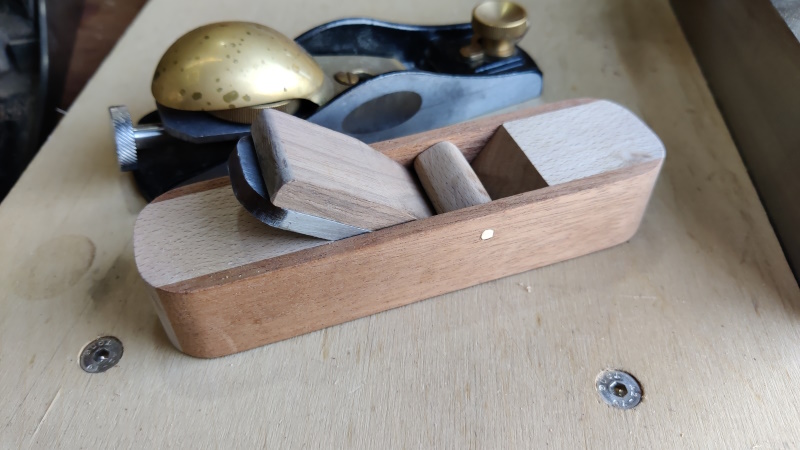
Here it is next to my LA block plane
Another view
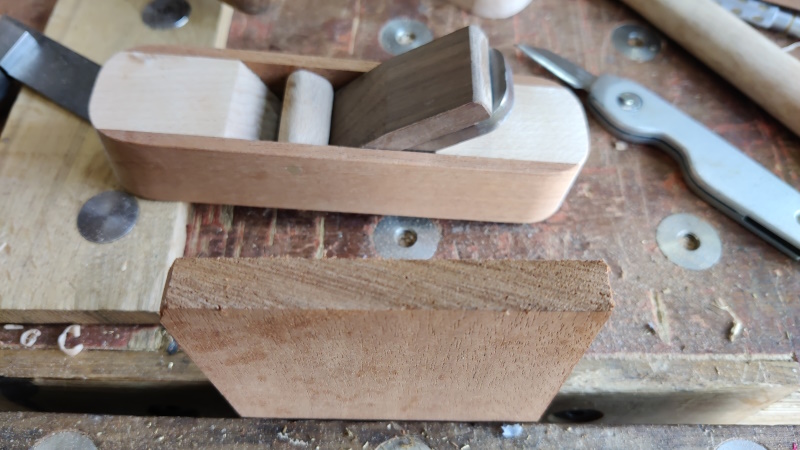
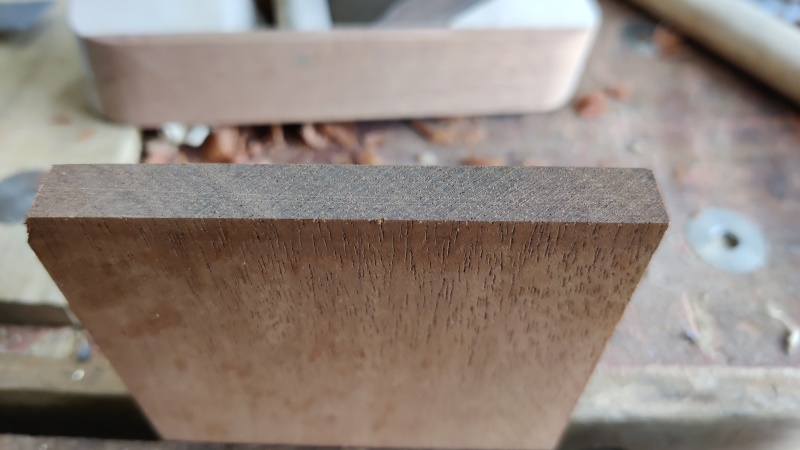
I also tried it out on some end-grain maybe-teak. Before:
After:
The shavings were clogging a bit in the mouth, so I opened it up a little bit (I might open it up a bit more later), currently keeping the actual mouth opening the same size & making the wall angle a bit steeper so the shavings can eject more easily.
I then gave it a first coat of the usual stuff.
It's probably worth noting that the brass bar isn't currently glued in place. It's such a tight fit that it doesn't seem to want to go anywhere without a punch and hammer and I'm inclined to leave it removable for now: it has the advantage of giving me the option of remaking the little beech piece that the wedge bears against if I want to.
I'm sure there's still a lot of room for improvement, but mark 2 seems far superior to mark 1 in my opinion. John Whelan's advice to start with a three-piece construction plane was very good!
Page 98 of 144
This website is free and ad-free, but costs me money to run. If you'd like to support this site, please consider making a small donation or sending me a message to let me know what you liked or found useful.

 Return to main project page