Travel Tool Chest & Workbench Build Process
Page 99 of 144
Posted 21st October 2023
Welcome to the next instalment in this ridiculously convoluted toolbox build.
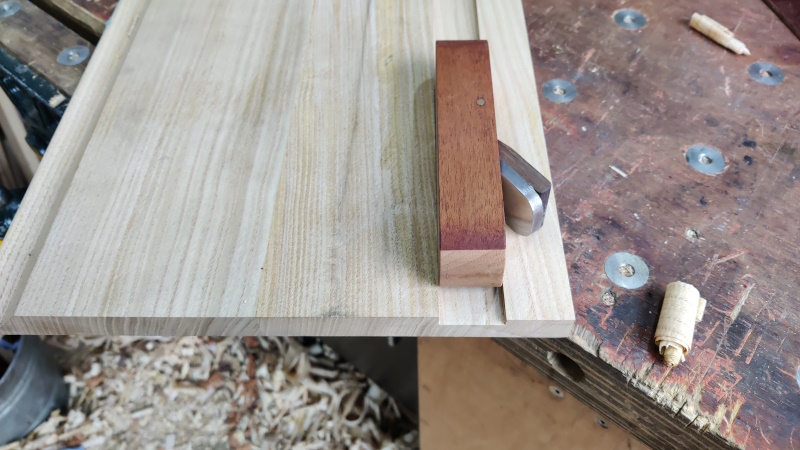
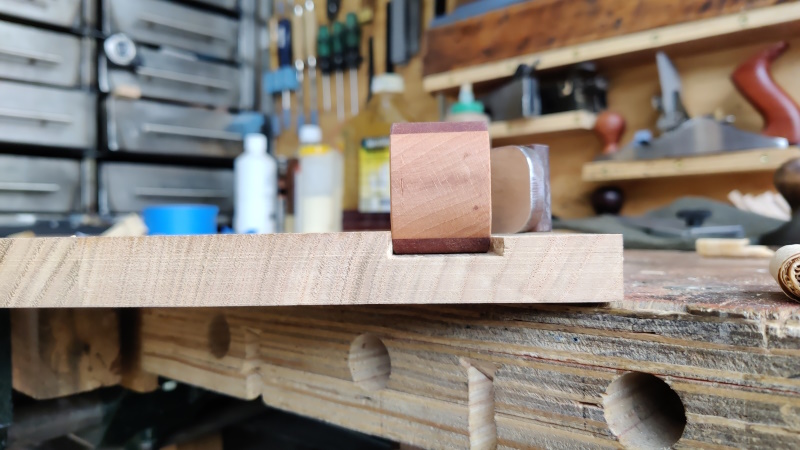
With a viable plane available, I could finish the groove. The main job was just to bring the depth of the groove down low enough that the plane blade is slightly below the surface of the shooting board (so that the whole end of the piece being shot is cut). After that was done, I could plane a bit more off the edge piece to give some clearance for the blade.
The finished groove:
End view showing the reduced height of the right-hand bit:
Now that the groove was finished, I thought I'd get on with lining it with this stuff:
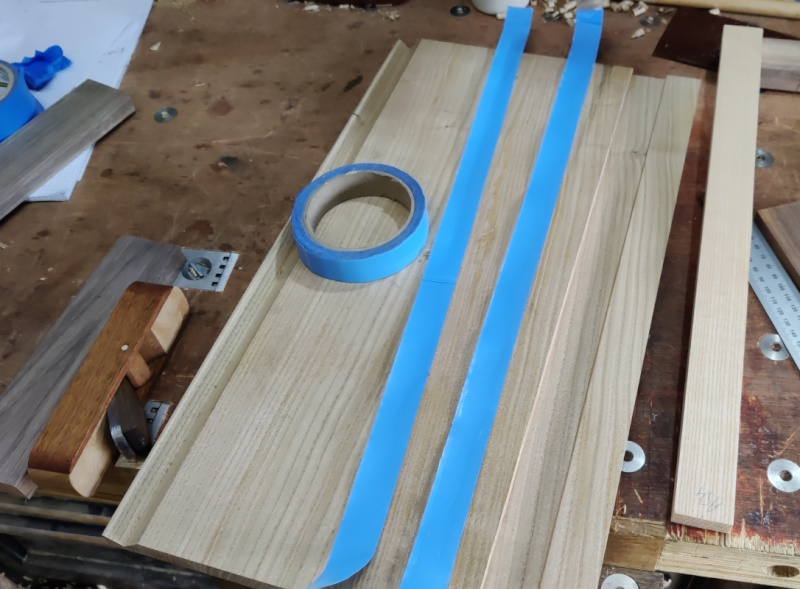
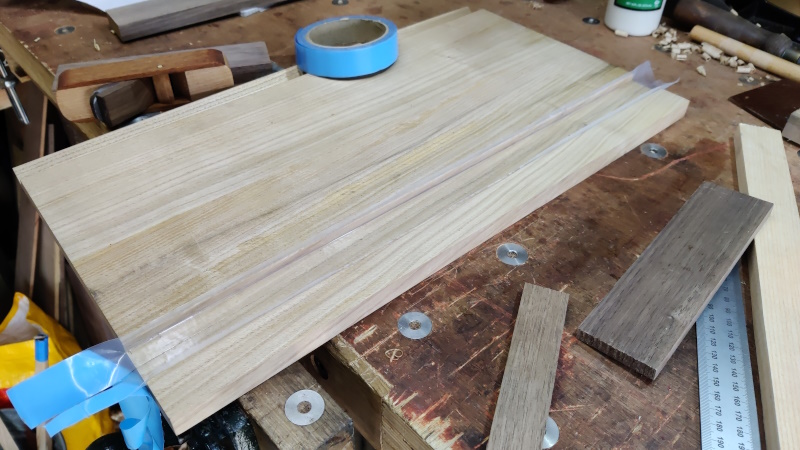
That's UHMW-PE tape, which is extremely slippery stuff (the same stuff I used on the equivalent groove on my big shooting board). The stuff I've got isn't wide enough to cover the whole groove, so I put two pieces in:
After pushing it into the corners I could trim it with a knife & test the block plane it its groove:
Next up were the various fences etc that fit onto the shooting board. I started off with some lumps of American black walnut, which were Ryoba-sawn and #5 planed until they were square and about the right thickness.
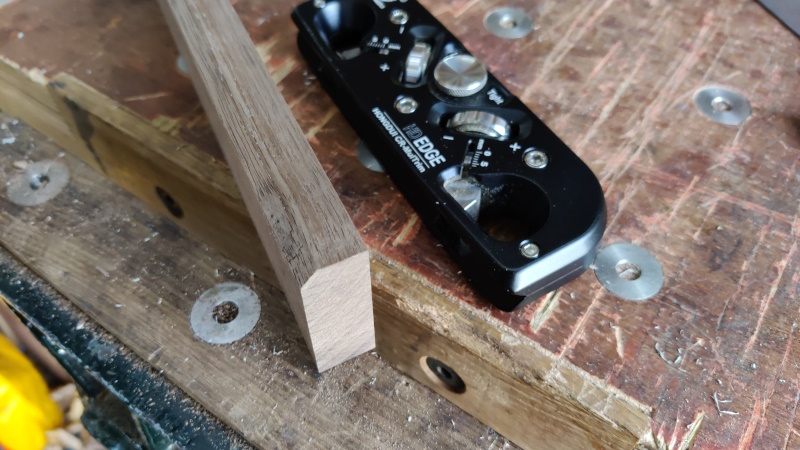
One piece then got a long chamfer along the edge. I wanted this to be pretty close to 45°, so I used a dedicated chamfering plane:
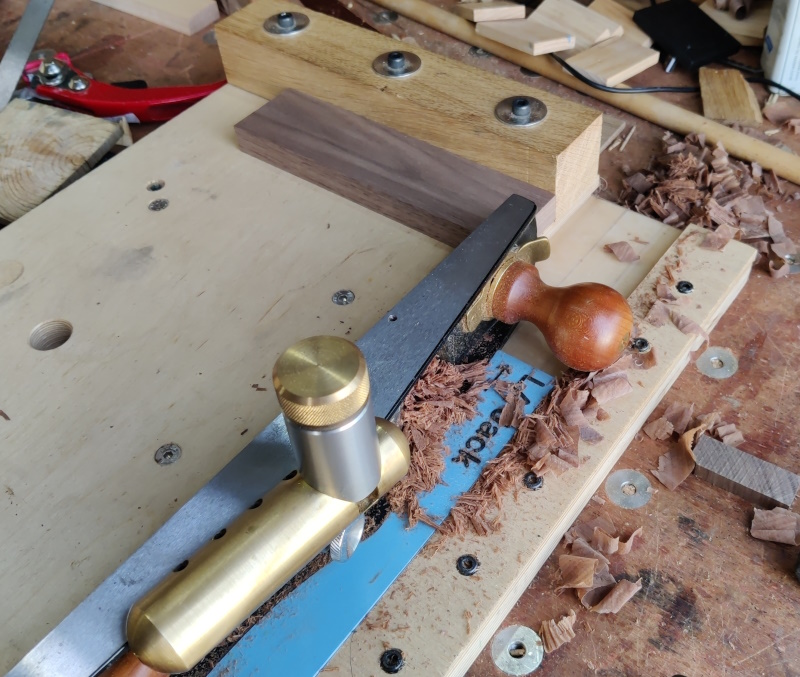
There was then a whole lot of shooting ends square:
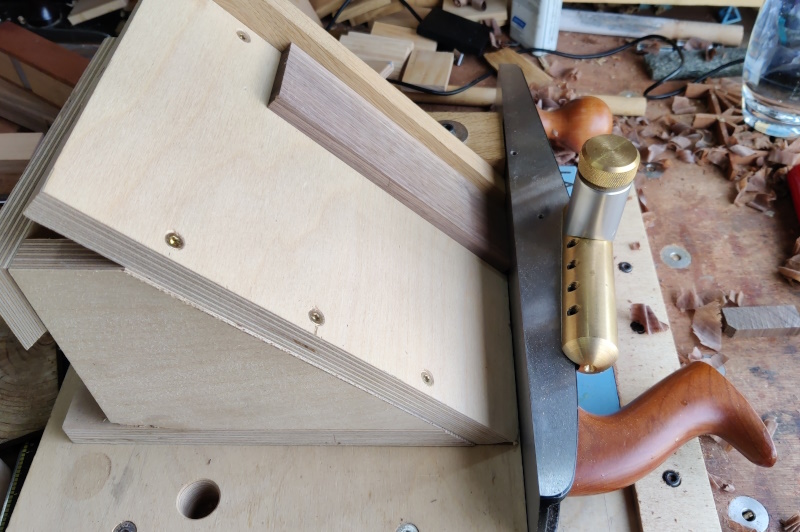
Shooting mitred ends:
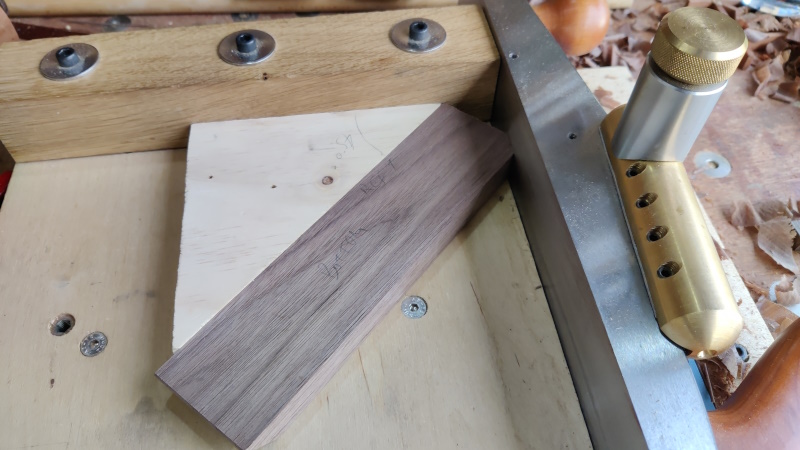
and shooting the other sort of mitres (for relief at the back edge of the fences):
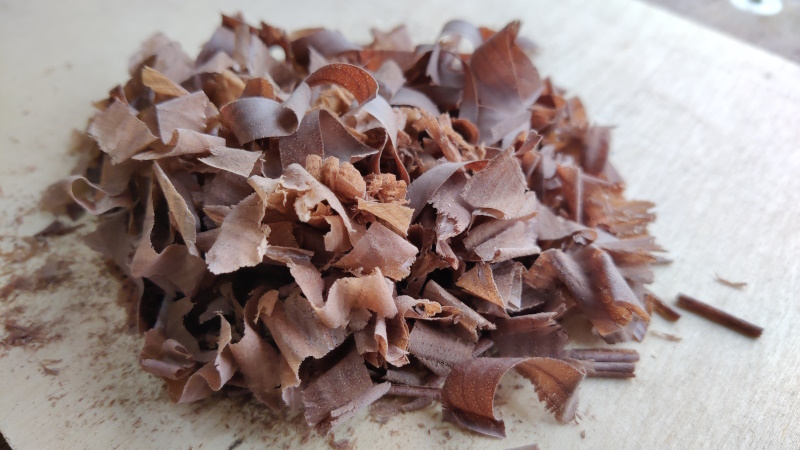
I really like the look of end-grain walnut shavings:
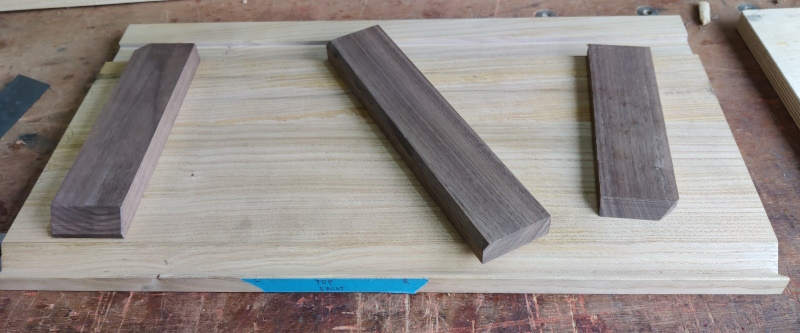
With all the sawing, planing & shooting done, I had these three blocks of ABW:
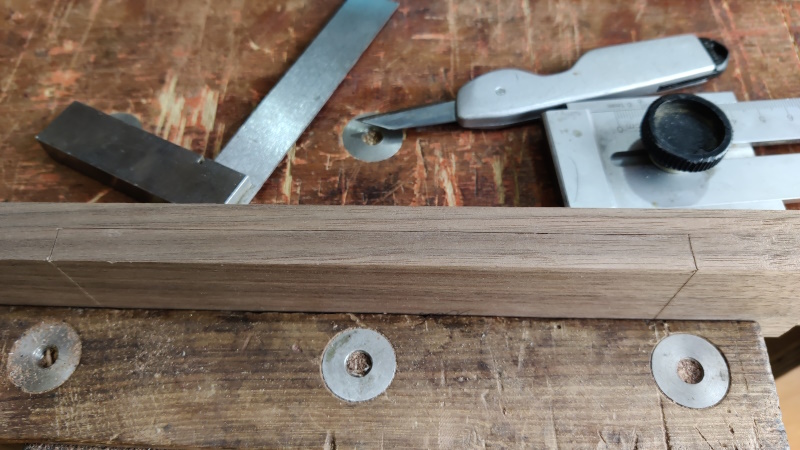
The next job was to mark out what I think would be called a housing; this is for the mitre fence (and the to-be-mitred workpiece) to slide under:
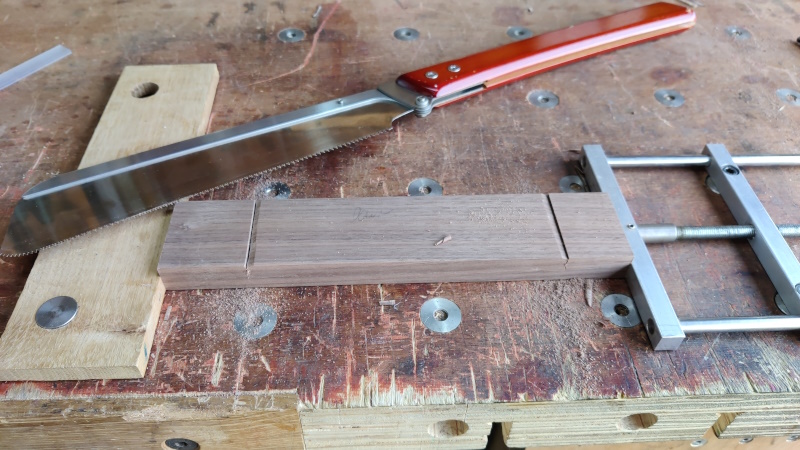
I then made a knife-wall thing with a chisel and then used a dozuki to cut the ends of the housing:
I then did a few more cuts along the length to make it easier to hollow out.
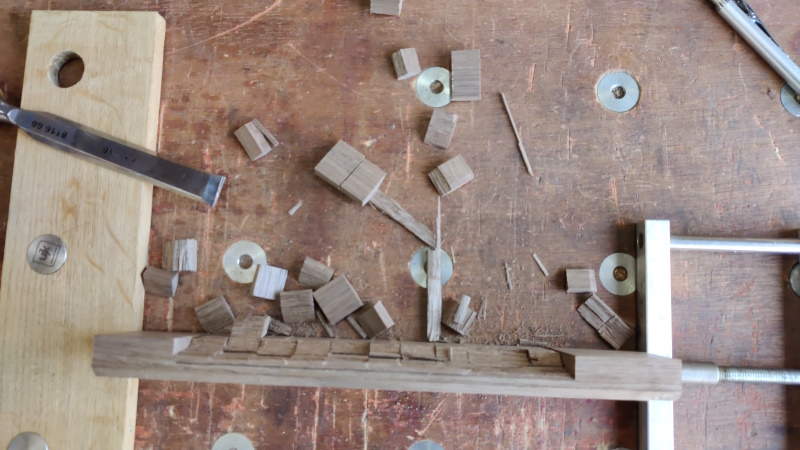
A chisel was used to get rid of the bulk of the waste (apologies for the blurry photo):
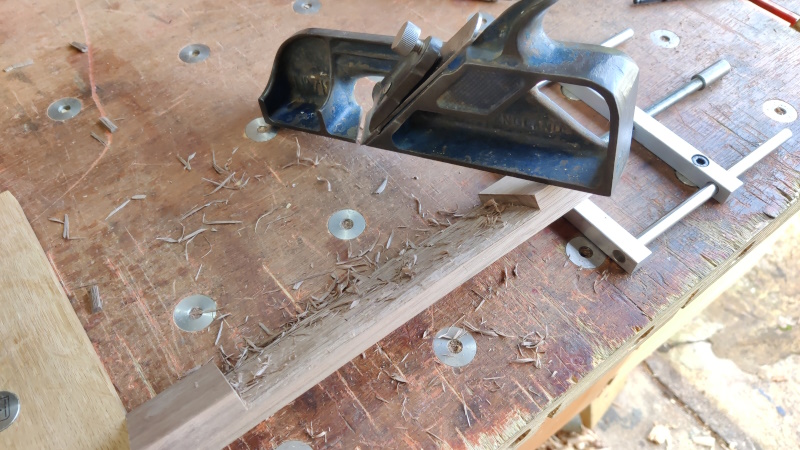
I wasn't really sure how to do a housing like this (I've never cut anything quite like this before). I started by using a recently acquired Record #712 to chamfer one edge of the housing down to the line.
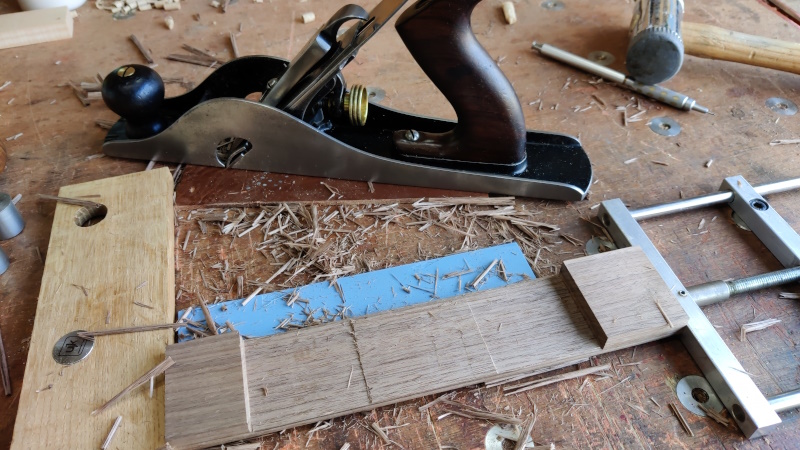
I then turned the piece round so the chamfer was at the back and attacked it with an even more recently acquired #10:
I kept working it down until the mitre fence fitted all the way along the housing thing:
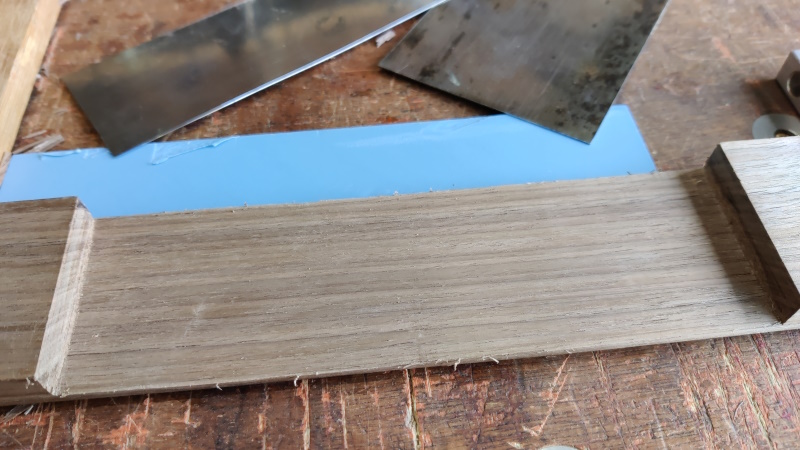
Then cleaned up the surface with some card scrapers (as I couldn't think of a better way):
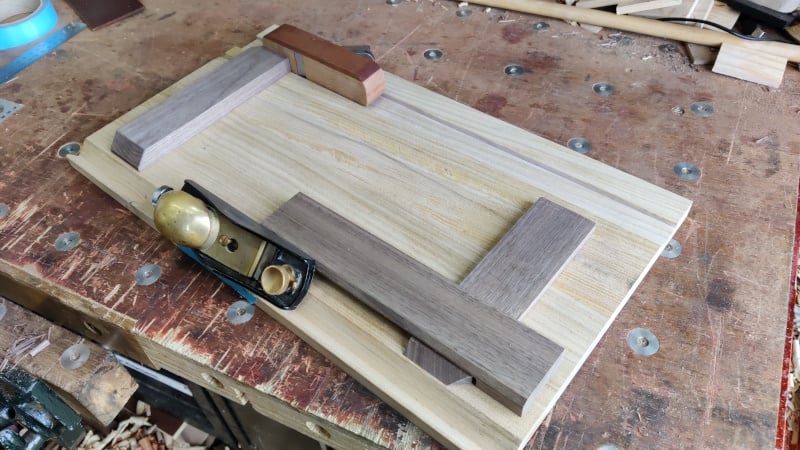
A quick mock up, taking advantage of having two block planes to show the two types of shooting I'll be able to do with this board:
With the fence pieces mostly made, I needed to cut some holes in them for the threaded fasteners that will hold them down and allow a bit of adjustment. The plan is to use low-head cap screws (M6 or possibly M8), with 20 mm diameter penny washers (to spread the load a bit). They need to be sub-flush (as there isn't a lot of space in the front of the tool chest) and the holes for both washer and screw need to be oversize to allow movement when adjusting for squareness.
With all that in mind, the first job was to lug the hand-powered pillar drill out of the dining room, down the garden path and onto the bench in the garage.
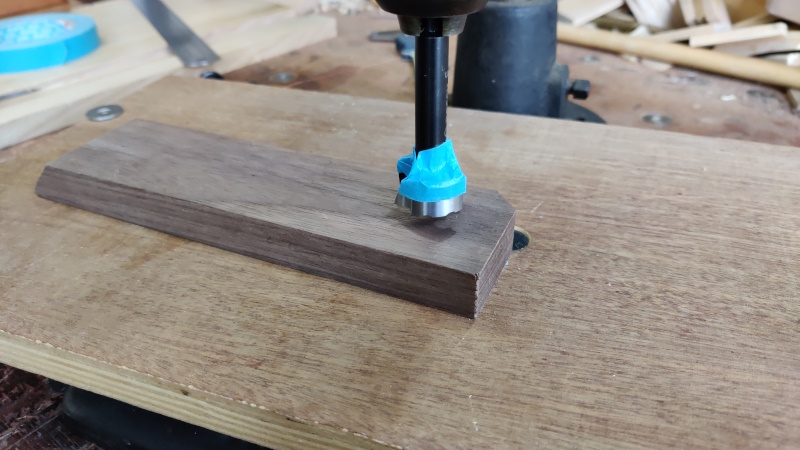
These parts are all quite thin (especially the mitre fence), so I need to be fairly accurate (although not to metalworking precision levels) when drilling the hole in which the washer and low-head cap-screw head will sit. I figured a bit of masking tape on the side of a 25 mm Forstner bit would probably be accurate enough for the purpose:
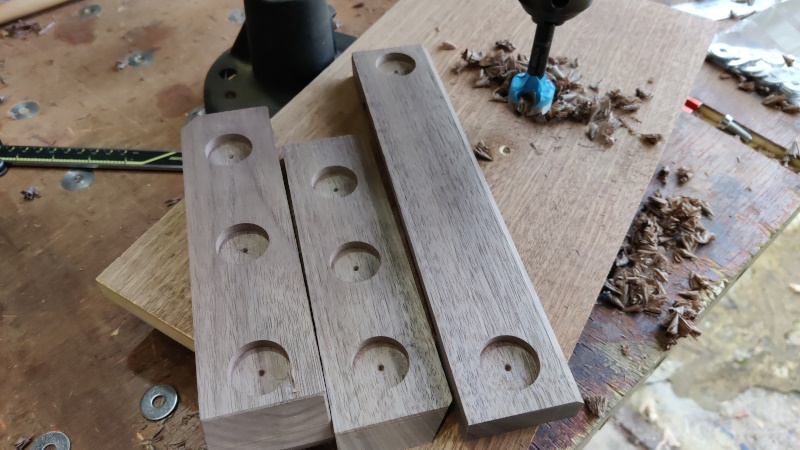
It didn't take long to drill all the holes:
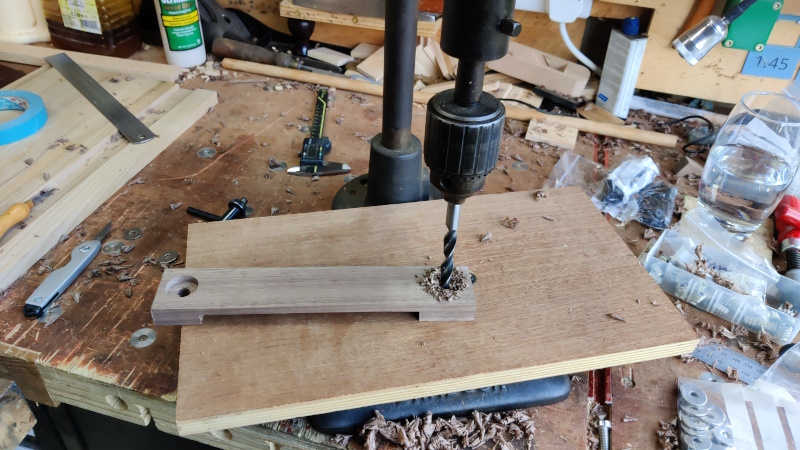
I could then use a 10 mm drill bit (which should give plenty of adjustability for an M6 cap screw, and probably even enough for an M8 one) to drill the rest of the way through:
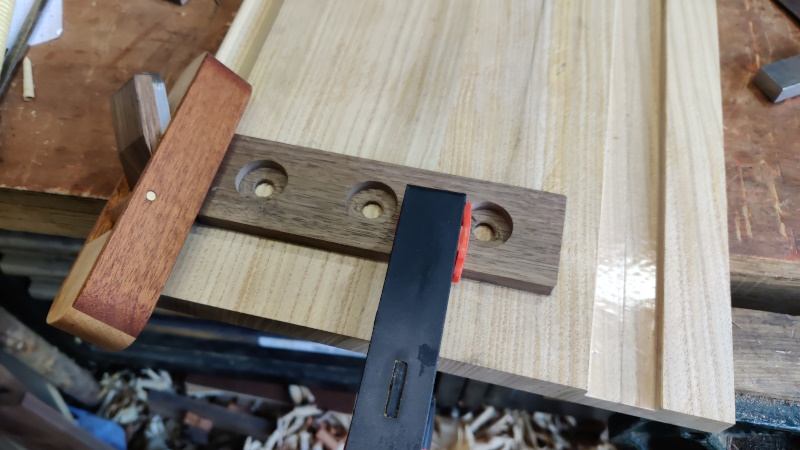
With all the holes drilled, I could then work out where to drill the holes for the threaded inserts in the shooting board itself. To line up the mitre fence, I took advantage of the fact that I'd shot the end of the fence quite accurately using my big shooting board with the mitre attachment. By pushing the fence firmly up against the block plane and making sure there was contact all the way along and across the mitred end, I'm reasonably confident that it'll be in the right place (especially considering there's plenty of adjustability built in):
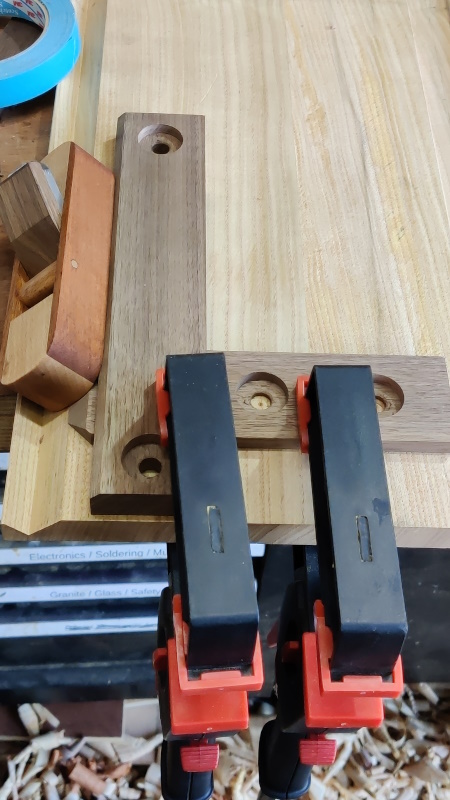
Once that was in place and the hole locations transferred, I could do the same thing to position the mitre support piece:
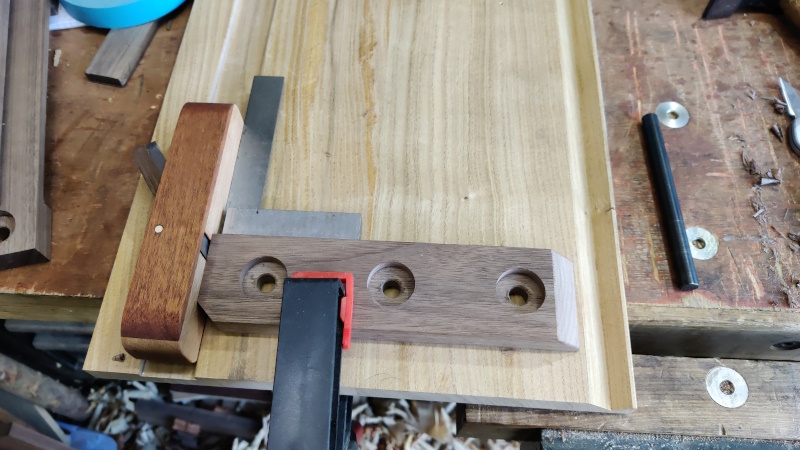
The main fence was quite simple to position, simply using a square to get the nominal hole centres in the right place:
There are only two things left to do on the shooting board fences:
- Drill a hold in the mitre support in the right place to allow Allen-key access to the hidden mitre fence screw.
- Drill the blind holes in the shooting board base for the threaded inserts.
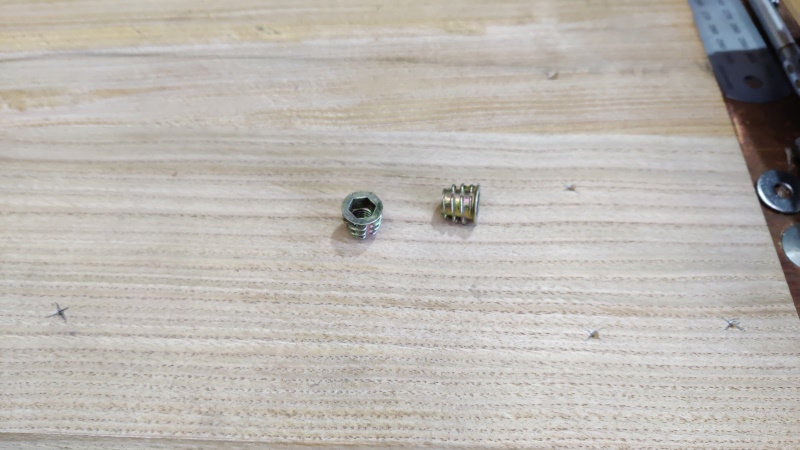
These are the only threaded inserts I've got (and they're the ones I used on my big shooting board):
I'm wondering whether they're really the best option. The hex-socket at the top (which is used to screw them in place) is relatively deep and hence there isn't that much thread in these (13 mm long) inserts. I'm tempted to look around and see if there are any inserts you can get that are fully (or at least mostly) threaded so that the fences are held more securely in place. I'm also wondering whether I ought to glue the inserts in rather than just relying on the outer thread.
Does anyone have any experience of other types of threaded insert? Any recommendations?
Page 99 of 144
This website is free and ad-free, but costs me money to run. If you'd like to support this site, please consider making a small donation or sending me a message to let me know what you liked or found useful.

 Return to main project page