Woodturning Lathe Build Process
Page 21 of 65
Posted 2nd March 2024
I've been carrying on working on the lathe and taking lots of photos, but I haven't been keeping up with writing it all up. I'll spread this weekend's work over a few posts rather than trying to cover it all in one go.
Another little job that I needed to do was make a T-nut for the tailstock. This will engage with the bottom of the bed and will be used to lock the tailstock in place. I possibly could have used a T-nut from the clamping kit from my milling machine, but I decided to make one a bit bigger and with a deeper upright section. If I decide in time to replace the bed (currently 40 mm × 40 mm × 2 mm box section) with something a bit stronger (e.g. 40 mm × 40 mm × 4 mm box section), it's likely that there will be a bigger fillet radius (box section outside fillet radius is typically 2×thickness) and hence the T-nut needs to extend beyond that fillet.
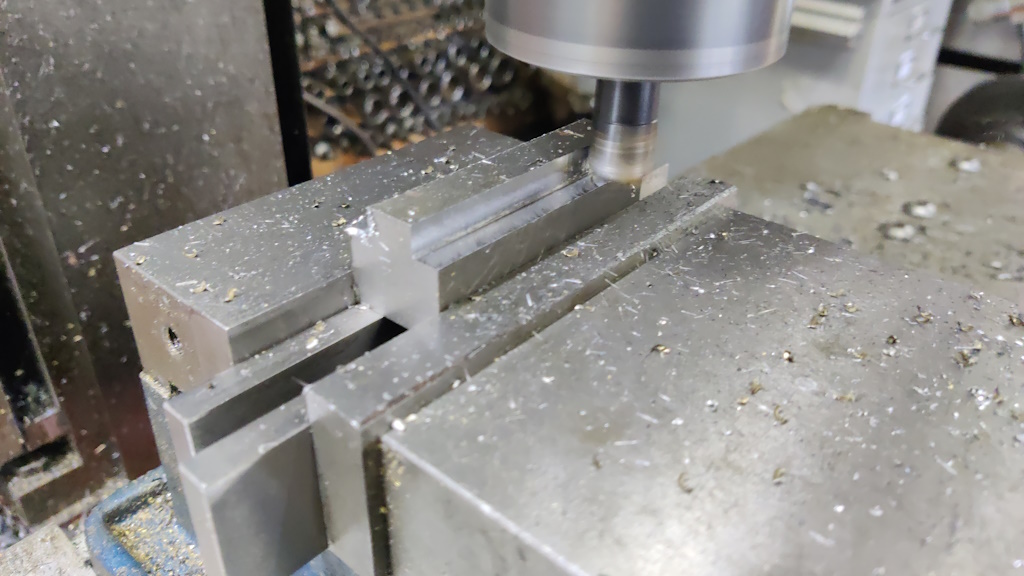
While I was at it, I decided to use the same "form factor" to make what is essentially a pair of washers for holding the headstock in place. I started with an offcut of 25 mm square EN1A and I used a little 16 mm carbide insert end mill (that I picked up at the Bristol Model Engineering Exhibition a few years ago) to mill the T shape:
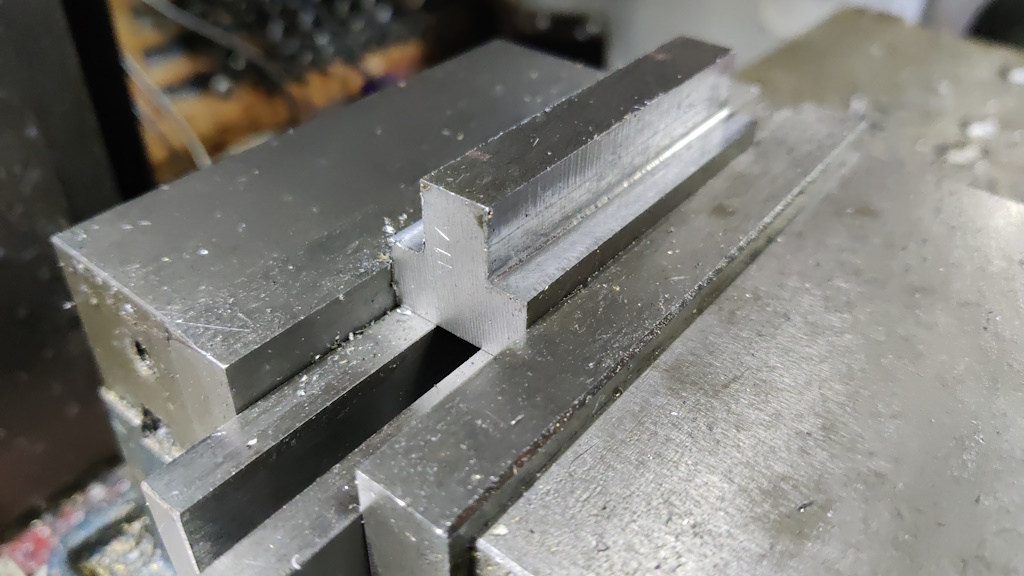
The upright bit is 12 mm tall, so should easily pass any fillet on a box section corner:
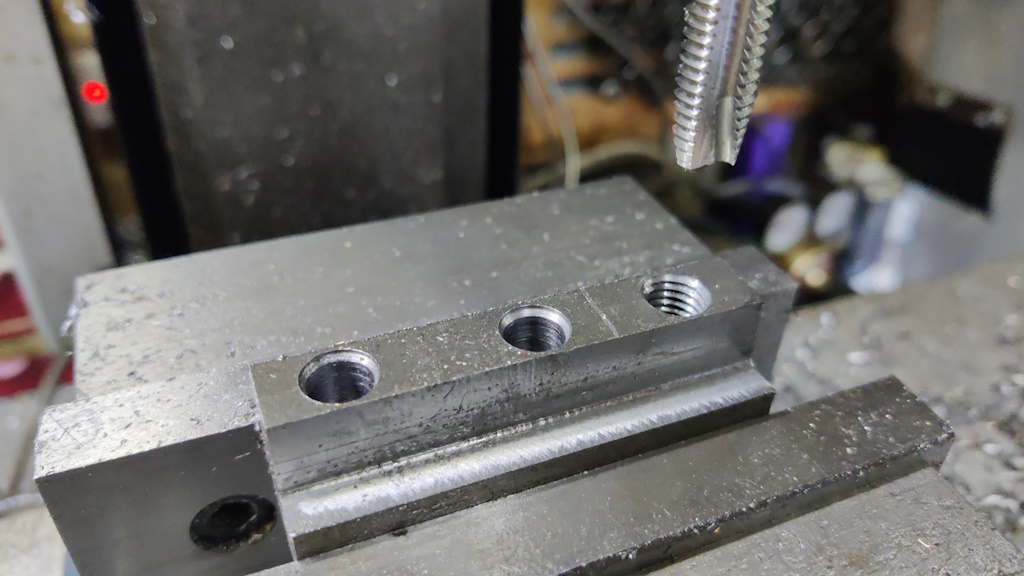
I then drilled three holes and tapped one of them:
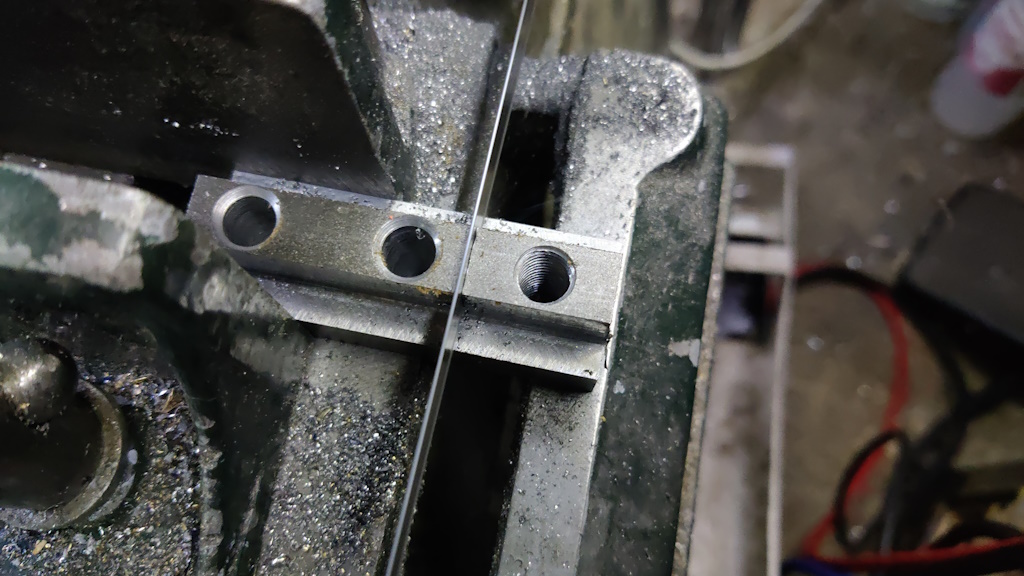
Finally, the t-nuts were split into two pieces:
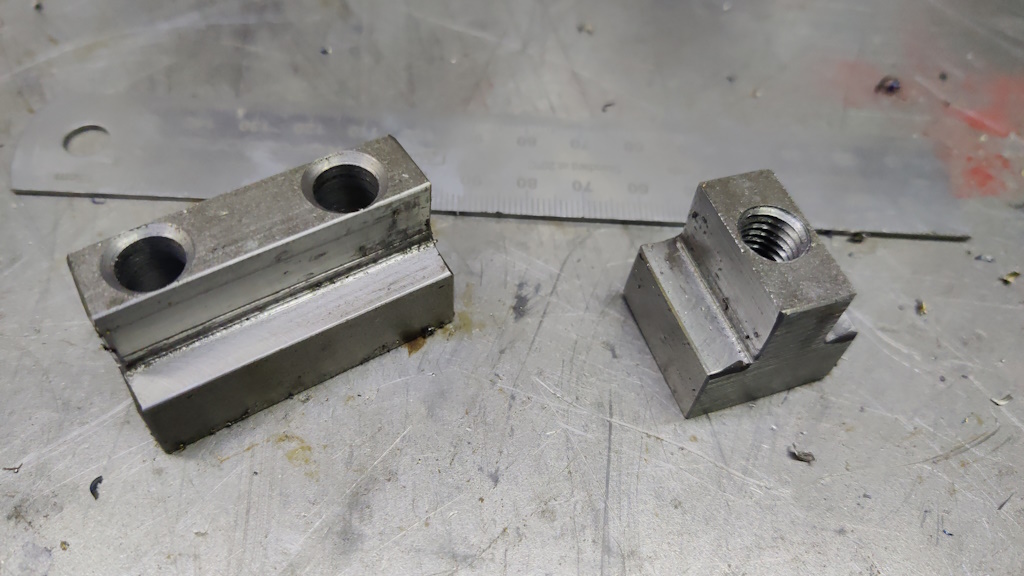
After a quick tidy up of the sharp corners, they're done:
The spacing of the two holes on the "washer" for the headstock matches the spacing of the M8 holes in the bottom of the headstock. If I'd made them as individual washers, they would have had to be rectangular (or have one side cut off) to stop them interfering with each other, but making a single washer sorts that problem out.
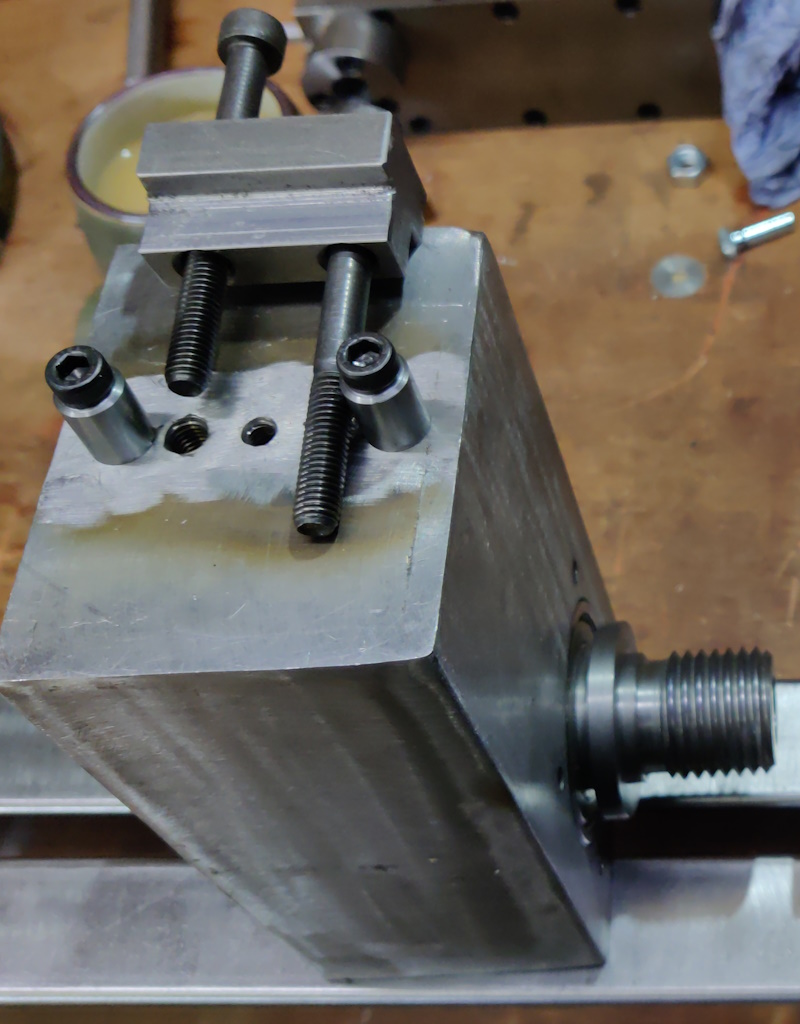
My original plan for aligning headstock and tailstock was to use some eccentric pins. After pondering for a bit, I decided to do this just for the tailstock: the headstock is likely to be pretty much permanent attached to the bed, so it doesn't really need to be as easy to adjust. To get it in roughly the right placed, I made a couple of 12 mm pins with 6 mm holes through the middle. These attach to two of the threaded holes in the base of the headstock and are a fairly tight fit in the bed slot:
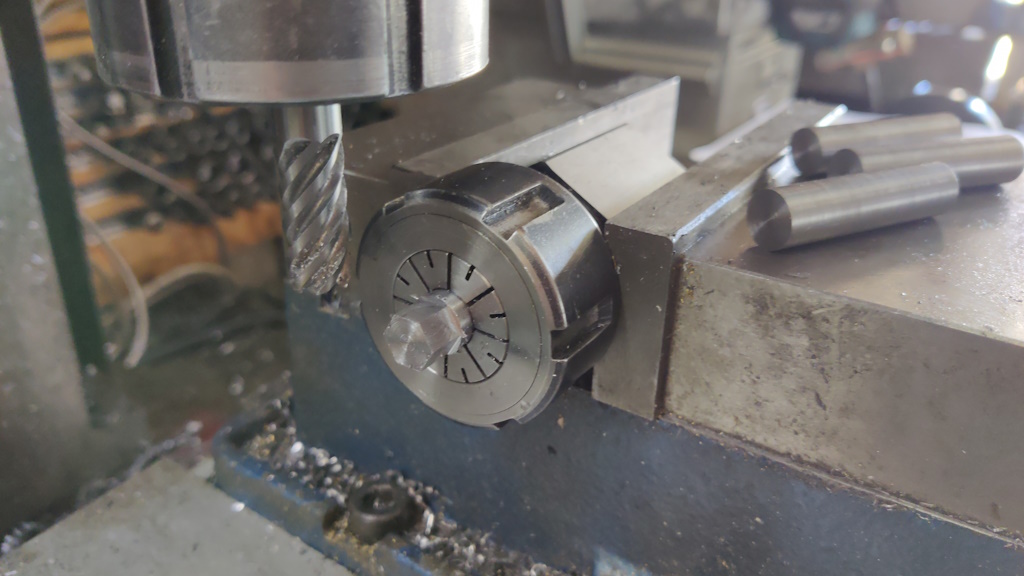
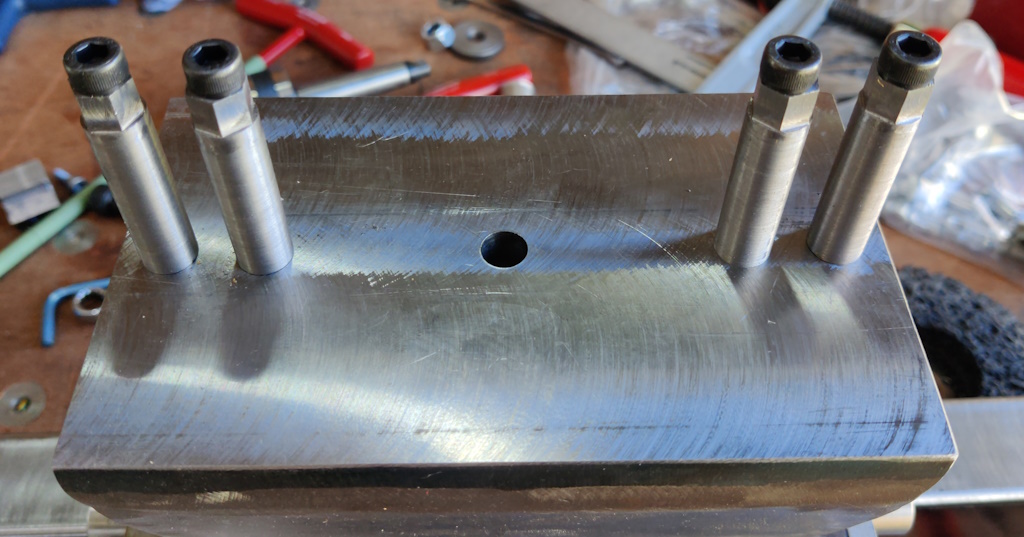
For the tailstock, I made four pins, each slightly under 12 mm. I used a collet block to mill a 10 mm AF hexagon on the end of each block:
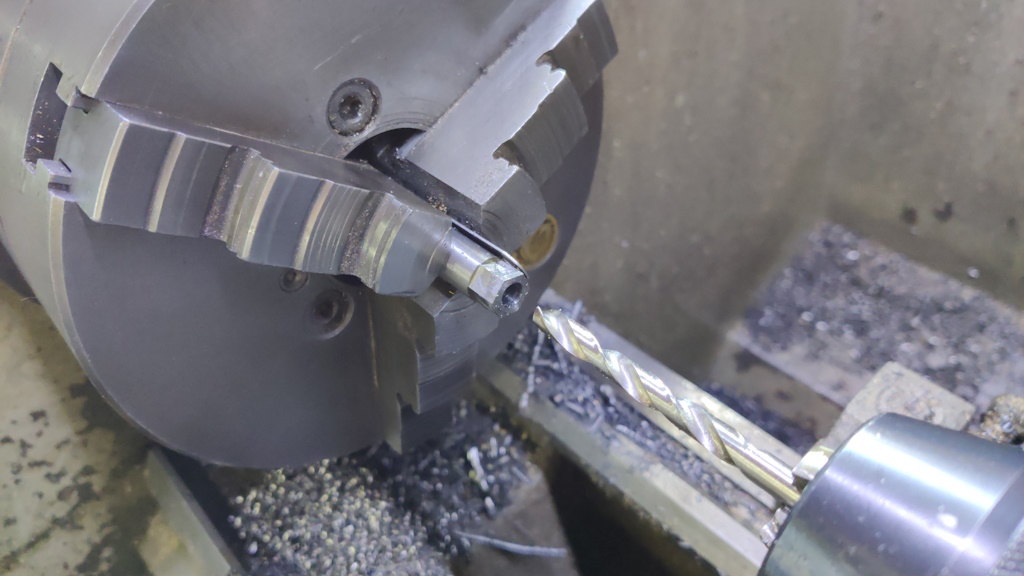
I then used a bit of feeler gauge stock against one of the chuck jaws to hold the pin off centre. I could then drill a 6 mm hole all the way through:
This shows the pins fitted to the base of the tailstock:
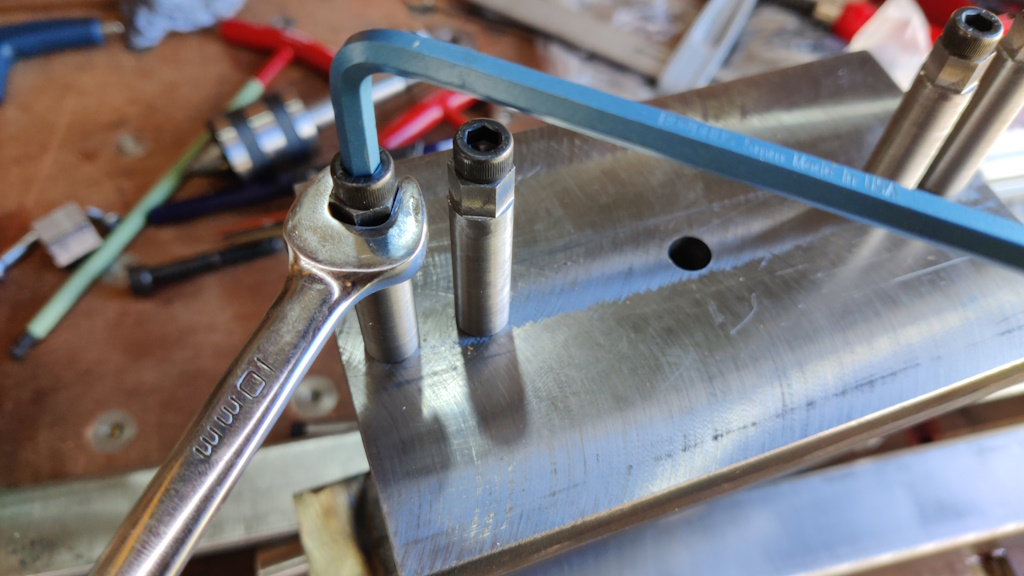
They can be adjusted with a 5 mm Allen key and a 10 mm spanner:
The length of the pins was chosen such that the hexagonal section sticks out beneath the base of the bed and hence they can be adjusted in situ.
Page 21 of 65
This website is free and ad-free, but costs me money to run. If you'd like to support this site, please consider making a small donation or sending me a message to let me know what you liked or found useful.

 Return to main project page