Woodturning Lathe Build Process
Page 34 of 57
Posted 28th March 2024
It felt about time to do another update on my progress. I feel like I'm getting the hang of the spindle gouge and the skew chisel. I've also used a parting tool a couple of times and that was very straightforward. The bowl gouge, however, is proving to be a lot more challenging!
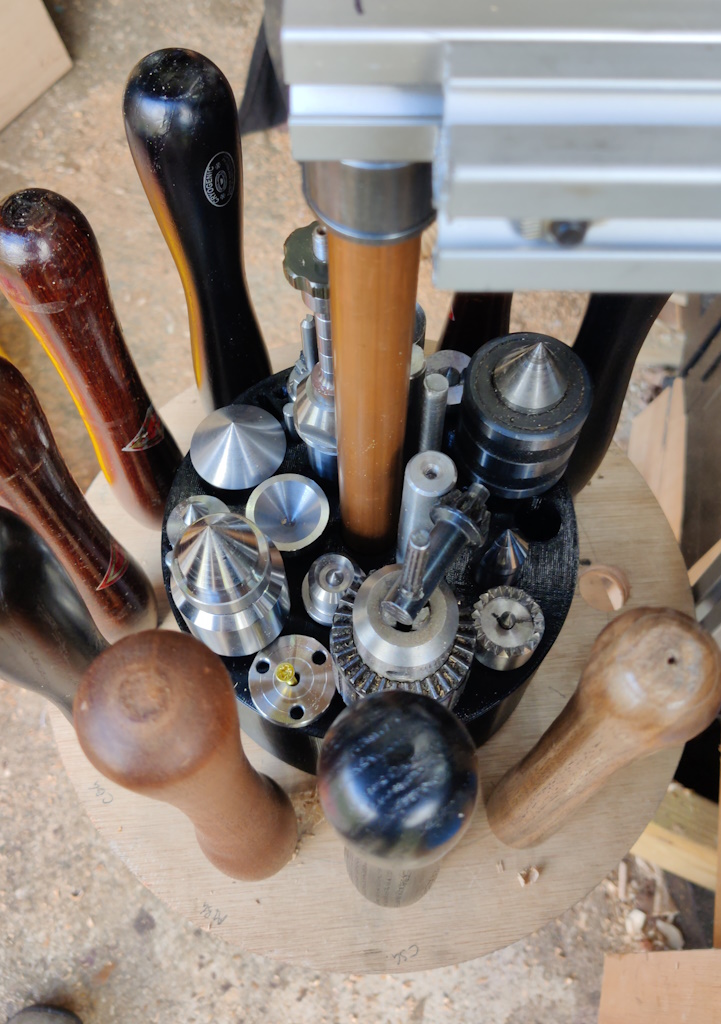
Anyway, a few things that I've done. First of all, the 3D-printer has been rather busy. It has made cylindrical thingy that sits on the Lazy Susan tool holder and holds various Morse Taper widgets and such-like:
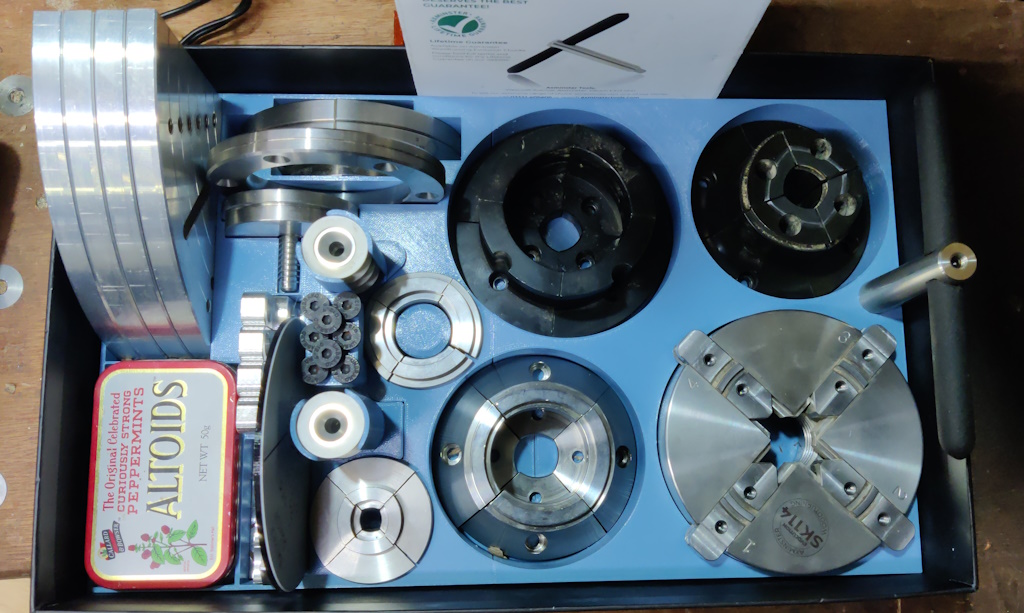
Similarly, I made a liner for the box that the chuck came in. The liner holds all of the jaws I bought from Dolphin antiques as well as the bits and bobs that came with the chuck. There isn't much room for growth, but I can't imagine me needing any other chuck bits for a long time (and there isn't really any more room in that box anyway). I can't close the lid with the box as-is, but I can always replace the cardboard box with a wooden one if/when the inclination arises:
The Altoids tin is full of the M5×12 screws that hold the jaws to the chuck (and which came with every set of jaws, so I have loads of them in there).
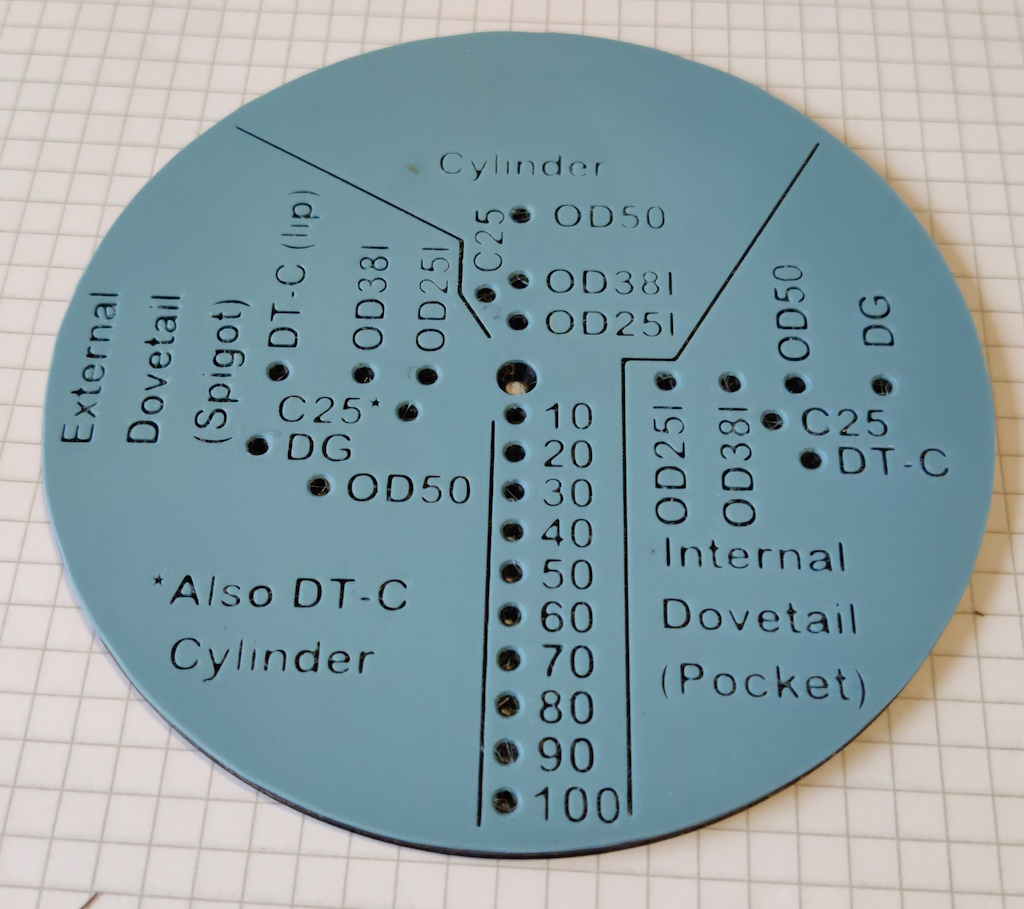
With all the chuck jaws laid out, I also thought it would be useful to make a custom version of Axminster's "Speed Sizer", with holes for all the jaws that I have. I've used it a couple of times so far and it seems to work very well:
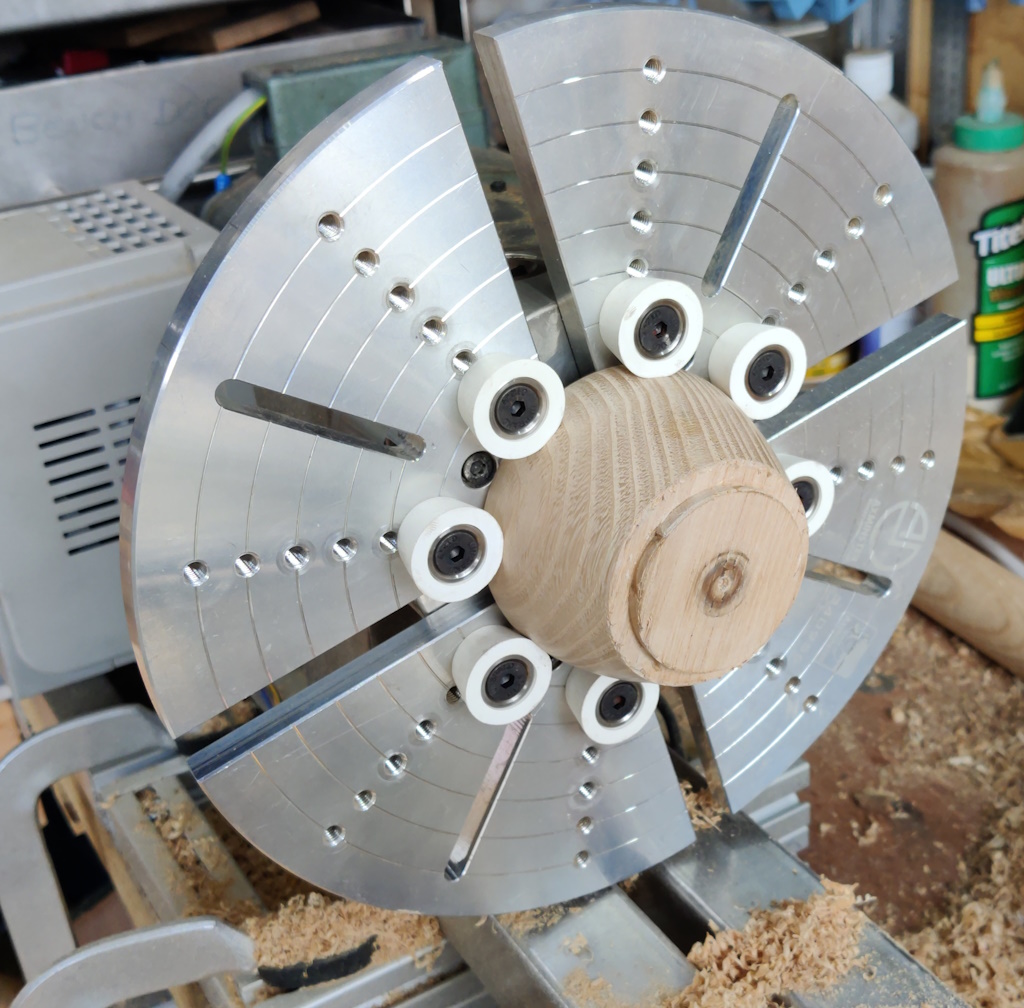
One of the things I used it for was making a couple of bowls (more on that later). This was a work-in-progress shot of the first one (made out of Sweet Chestnut) - as you can see, those button jaws only just fit on my little lathe!
To say that making that bowl was fraught would be a bit of an understatement. I don't think I've quite got the hang of the bowl gouge. On the second bowl attempt (photo coming later), I was okay using it to shape the outside of the bowl and also to roughly shape the bottom of the inside. However, I'm really struggling to figure out how to hold it to cut the inside near the rim. I can do what I think is a scraping cut (with the open mouth of the flute roughly parallel with the inside of the bowl), but when I try to ride the bevel and do a more conventional cut, it all goes wrong. I think I'm probably working on an unsupported bit of the bevel, but I can't quite figure out what to do with my hands to make that not be the case.
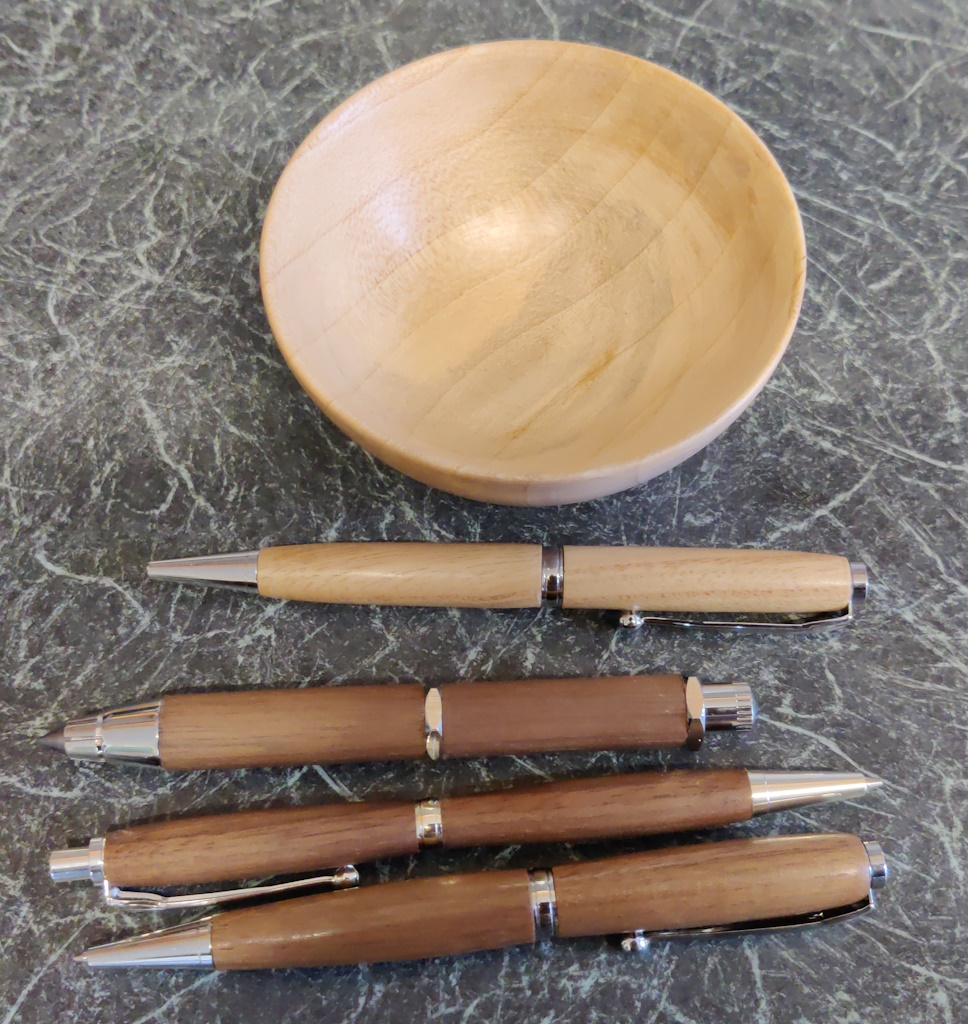
The next photo shows the marginally more successful second bowl attempt (made out of Sycamore). A lot of scraping was used to sort out the mess I made with the bowl gouge! I also had a go at making a couple of pens (Sweet Chestnut and American Black Walnut, both with sanding sealer followed by wax) and a couple of pencils (both American Black Walnut and both finished with Mike's Magic Mix) - while I'm not that interested in turning pens and pencils, they were quite useful as spindle gouge practice without worrying too much about wasting lots of wood!
With all those various practice pieces done, I couldn't really put the chisel handles off much longer. A rough guide to the process I went through follows.
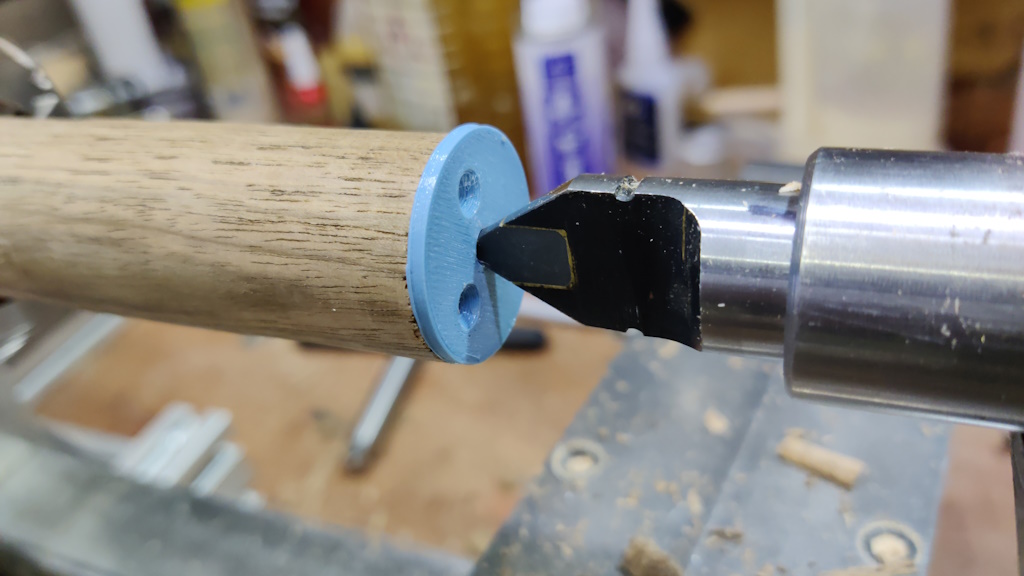
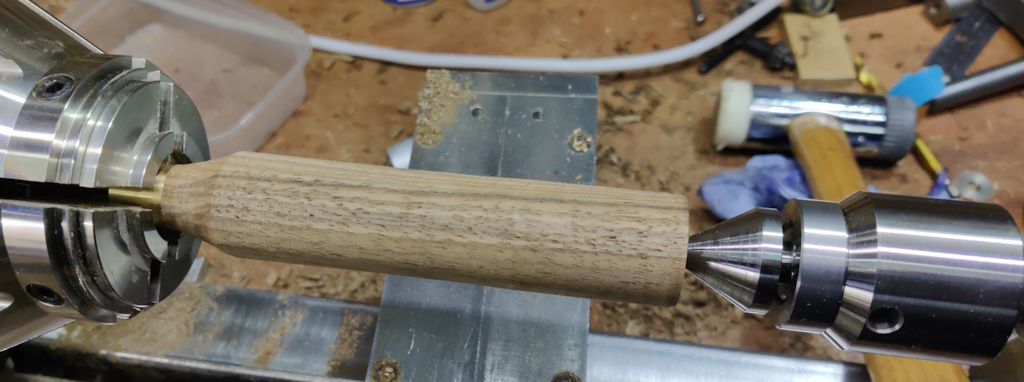
The first thing I did was use a roughing gouge to make a load of cylindrical bits of English Walnut. I then cut each length into three pieces, resulting in a big pile of cylinders, all about the same diameter and length. Each one was then held in the chuck and a little 3D-printed gauge thing (basically a miniature version of the "Speed Sizer" thing) was used to mark the size of the ferrule spigot:
A skew chisel was then used to shape the spigot. I started with a peeling cut to get it roughly down to size, then used the pointy end to cut the shoulder. I then crept up on the final size using planing cuts and checking against the ferrule often. Most of the ferrules went on with a bit of mallet-based persuasion; a couple slid fairly smoothly so I added a few drops of superglue to hold them more firmly in place (although I imagine they'll be pretty rigid once the chisel blade is shoved in).
Once the ferrule was fitted, I used the skew chisel again to skim the end down flush and then a spindle gouge to rough out the approach to the ferrule.
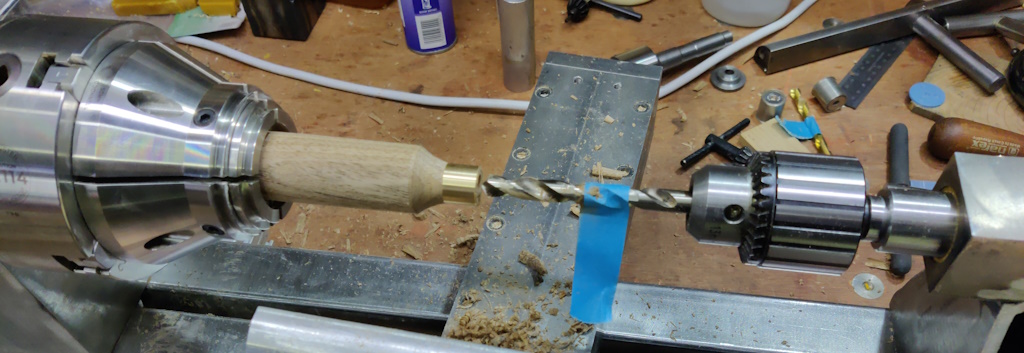
Finally (for the first setting), I drilled a 9.4 mm hole in the end.
Rinse and repeat...
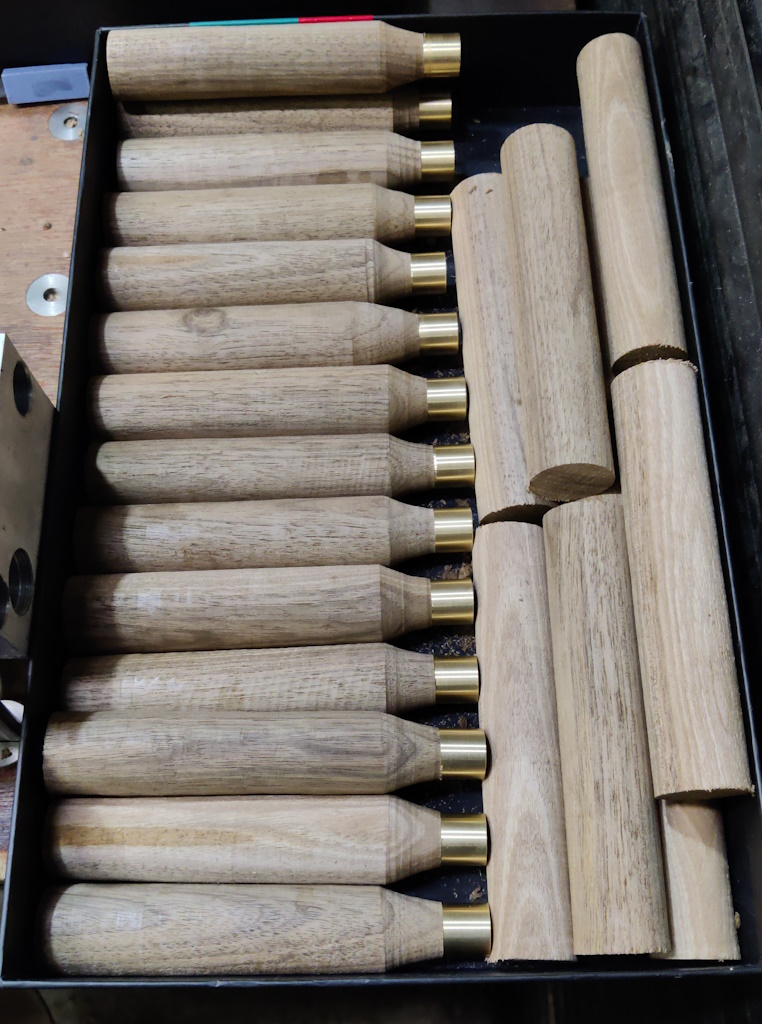
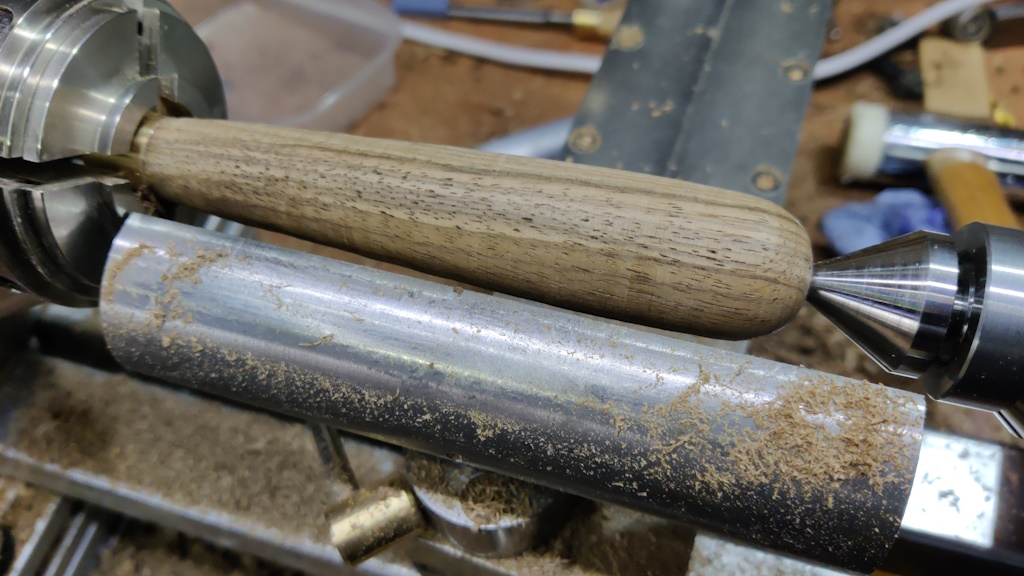
With lots of them done (more than I need, but I wanted some spares in case of problems), I held the ferrule in the chuck for shaping:
The spindle gouge did the bulk of the work, then I took a light planing cut with the skew chisel. I'm happy to say that (so far) I haven't had a single "catch" from either the spindle gouge or the skew chisel when making these chisel handles (unlike my bowl-making endeavours!)
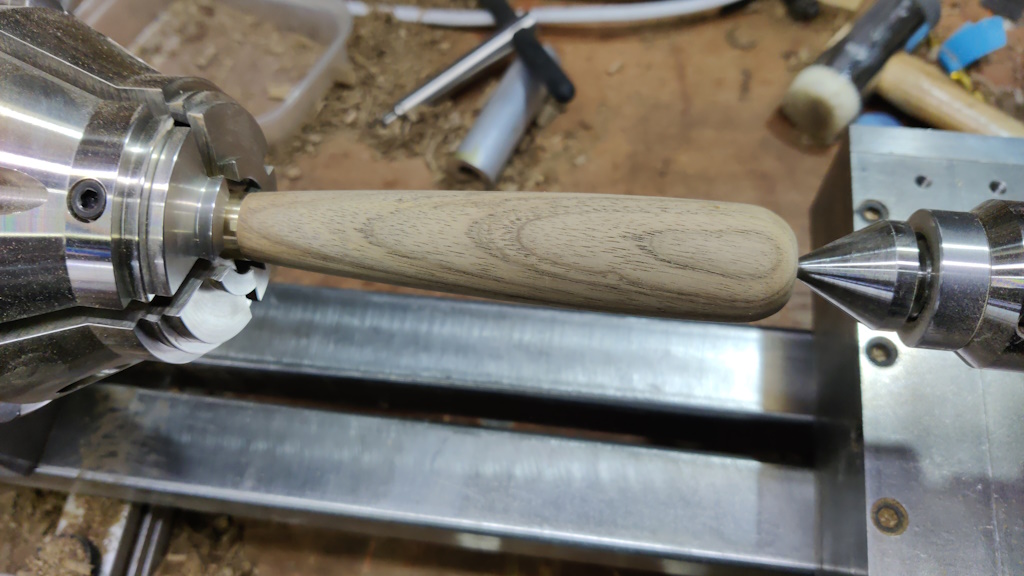
The last thing to do before removing the handle from the lathe was a bit of sanding (150 grit and then 240 grit):
Despite being in batch production mode, I couldn't resist fitting a handle to check everything looked okay...
... and applying a quick coat of Mike's Magic Mix for good measure:
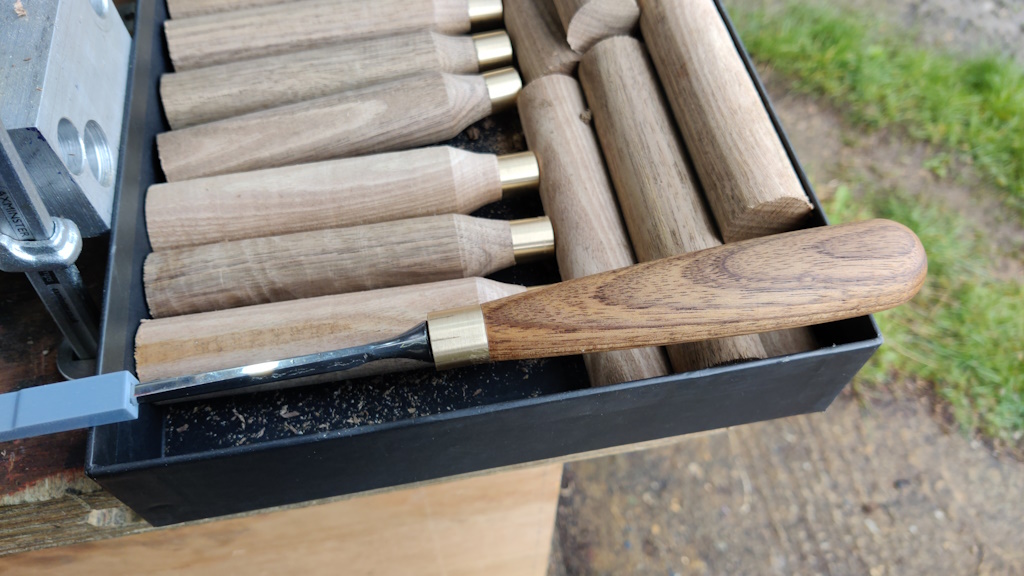
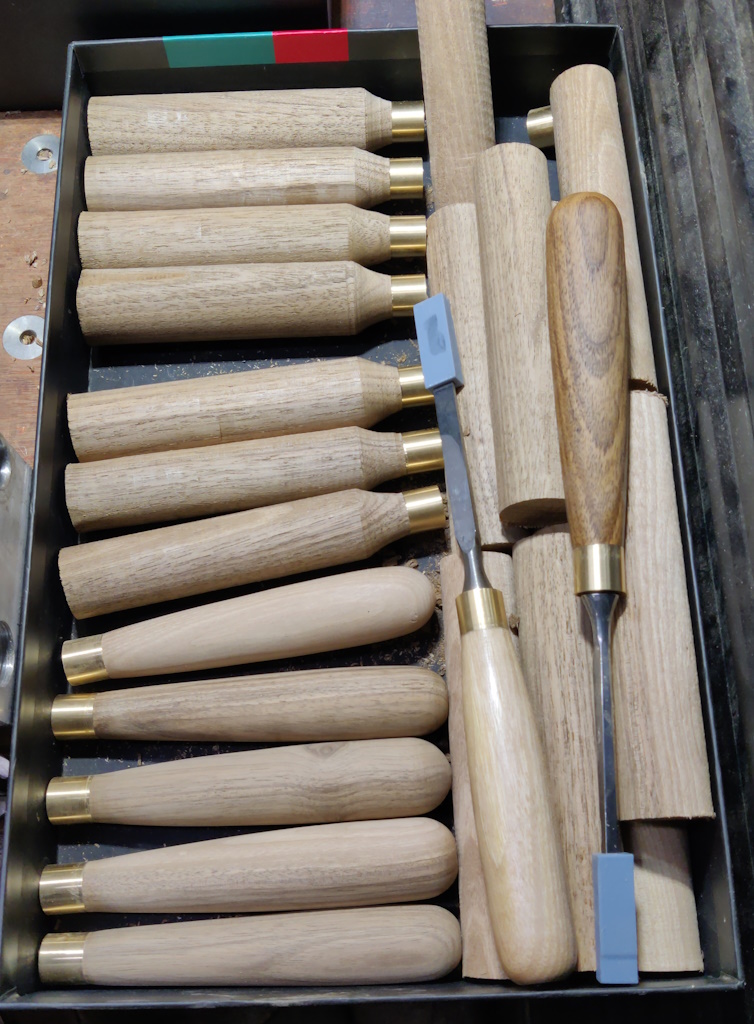
The progress so far:
The pale coloured handle fitted to a chisel was my trial run to check the process. The wood is still English Walnut, but it's mostly sap wood (it's not obvious from the photo, but it has been oiled and yet is lighter than the other un-oiled handles). I'll almost certainly remove the blade from that handle and replace it with one of the newer ones once I've made them all.
Page 34 of 57
This website is free and ad-free, but costs me money to run. If you'd like to support this site, please consider making a small donation or sending me a message to let me know what you liked or found useful.

 Return to main project page