Woodturning Lathe Build Process
Page 41 of 43
Posted 26th August 2024
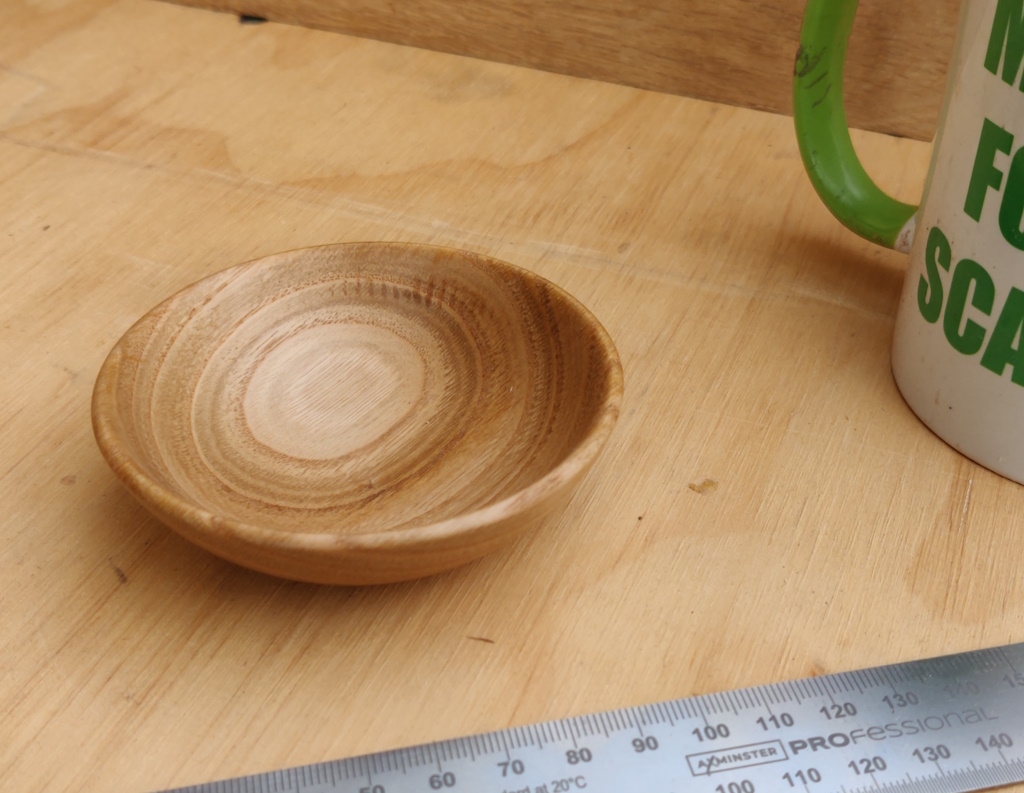
Since getting back from the woodturning course, I was keen to have a few more goes at all the techniques as soon as possible in order to fix them better in my mind. I started off by slicing off a tiny little bit of sweet chestnut from one of the offcuts from my garden table project. The offcut was about 70 mm square and about 35 mm thick and it was soon turned into this diminutive little bowl (again finished with Mike's Magic Mix):
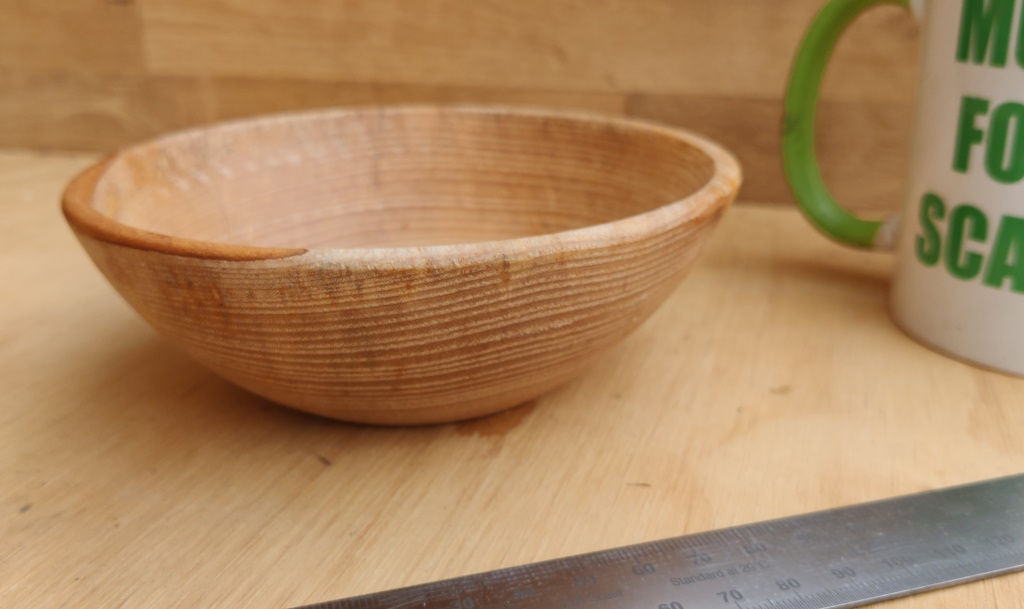
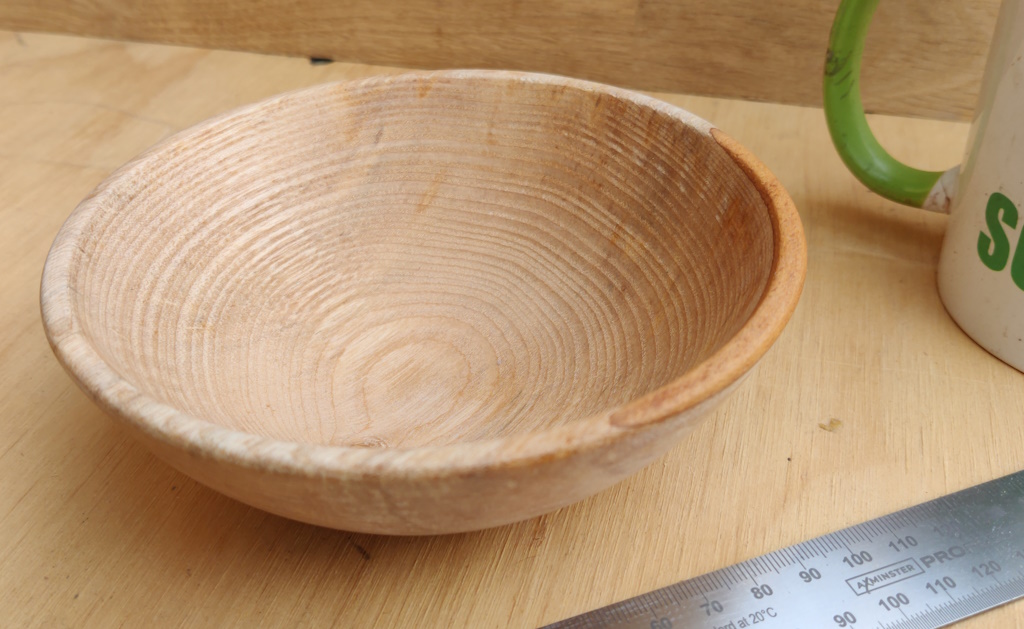
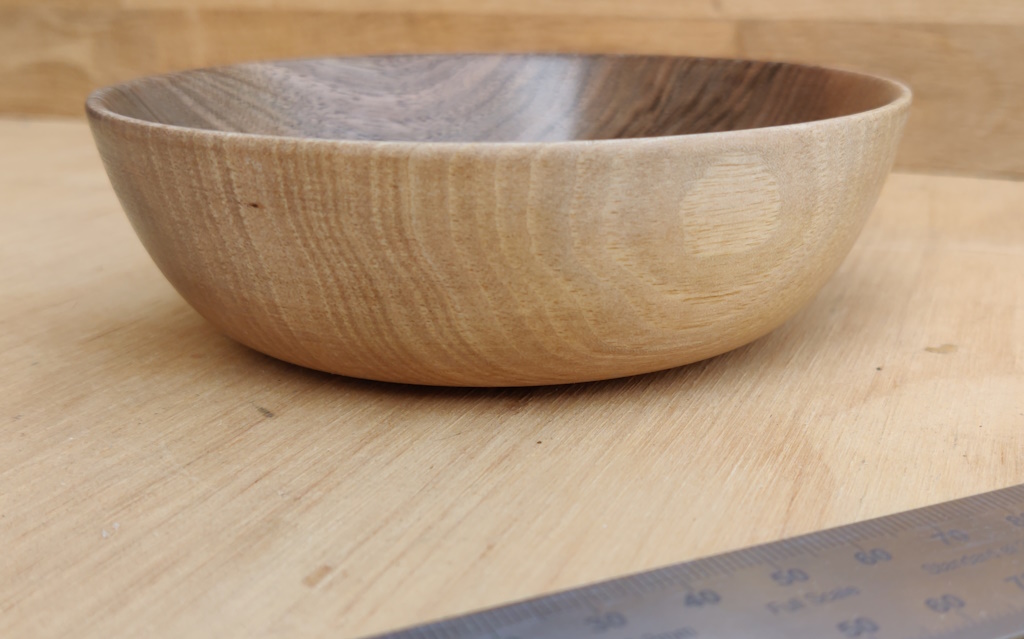
Feeling buoyed by the lack of any dig-ins when turning that, I then got a slightly bigger blank (ash this time) and turned this simple bowl:
That one was finished with Mike's Magic Mix as per the previous bowls.
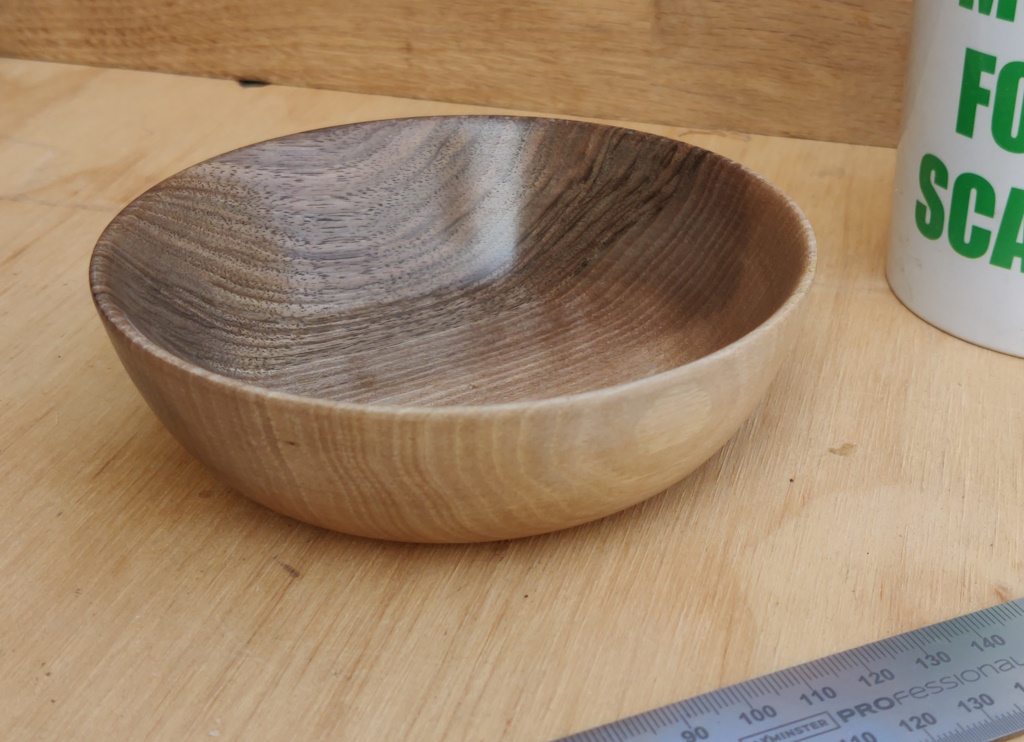
Finally for now, I got a pretty looking bit of English walnut and made yet another bowl, this time finishing with sanding sealer and beeswax.
I'm feeling a lot more confident with bowl work now. All the ones I've made at home have needed a fair amount of sanding on the inside surface to get rid of small ripples, but I think there was less and less as I made each one. The bowl gouge shear scraping cut that Paul taught me definitely helped with getting a good finish on the outside, as did the use of a hot-melt glue stick as a test to see whether the outside shape of the bowl was "fair" (bending the glue stick over the rim of the bowl and then sighting along the rim to look for light under the glue stick).
The next thing I think I'll do is a bit of practice with the skew chisel on that oak spindle to try to cement those techniques into my muscle-memory.
Page 41 of 43
This website is free and ad-free, but costs me money to run. If you'd like to support this site, please consider making a small donation or sending me a message to let me know what you liked or found useful.

 Return to main project page