Woodturning Lathe Build Process
Page 46 of 65
Posted 22nd December 2025
In between a few errands I had to run today, I've made a bit more progress with the spindle. If you're not interested in lots of very similar pictures of a spindle mounted on a metalworking lathe, look away now!
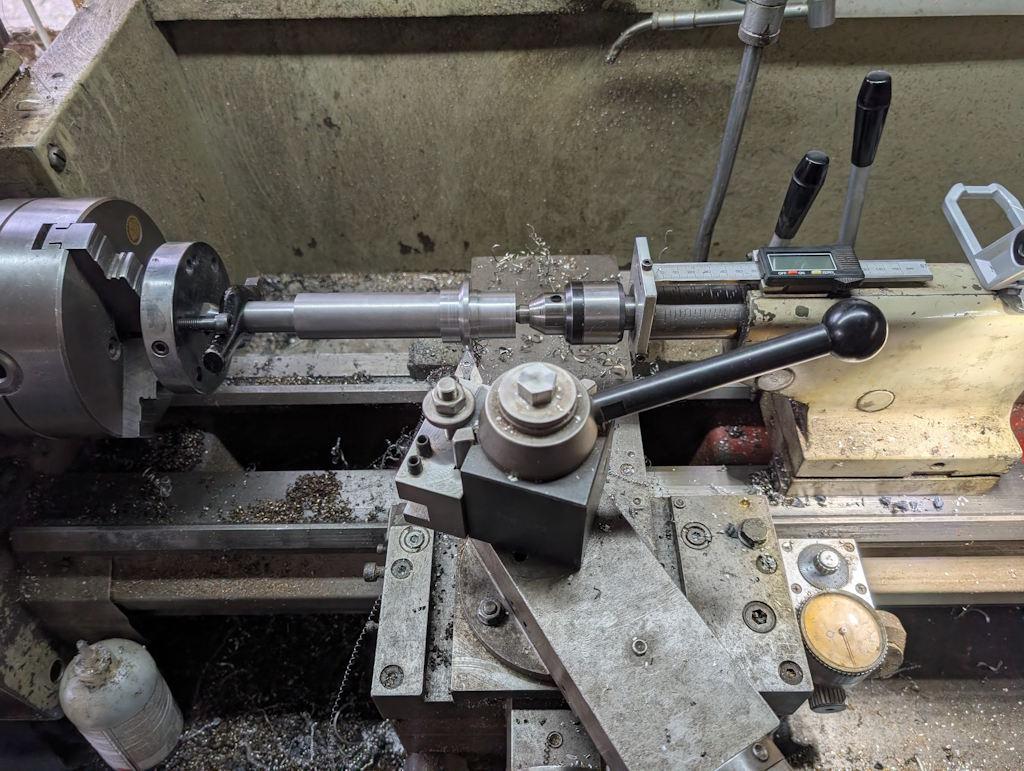
I started by moving the top slide round to be 30° from the cross-slide and then using a pointy tool to shape the rear of the ASR flange:
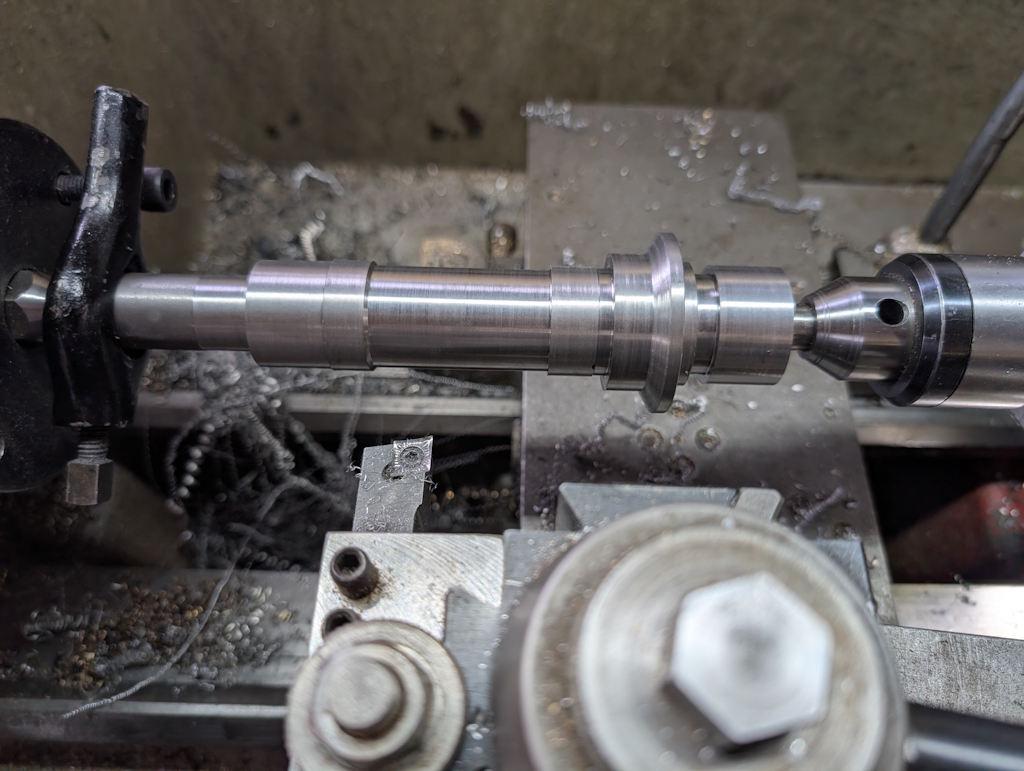
I then used that pointy tool along with a left-hand conventional tool to refine the other details, bringing everything to size except the bearing surfaces and the chuck register:
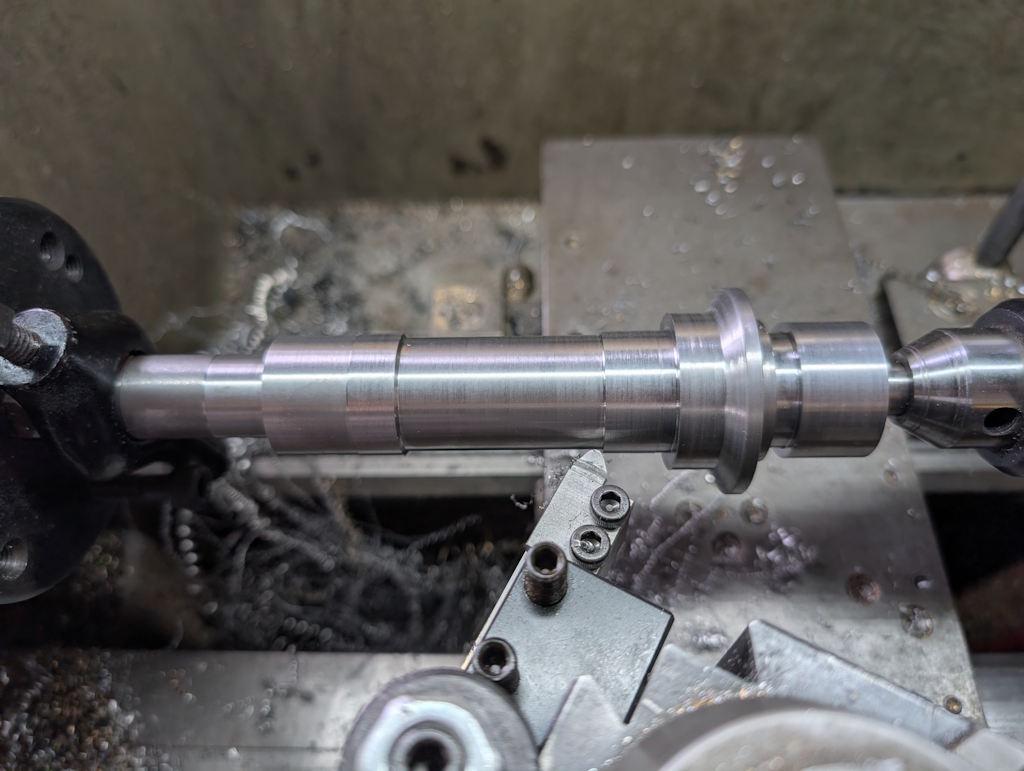
A high-speed steel tool with a rounded nose was used to bring the bearing surfaces down to size, taking lots and lots of very light passes (with the top-slide set at a little under 6° to give a 10:1 in-feed ratio). I used a micrometer after each and every pass to check the diameter as I crept up on the target (30.002 to 30.011 mm)
I did a similar thing for the chuck register but using a more pointy tool due to the need to go up to the flange. The tolerance on that was a bit looser (29.975 to 30.000 mm) so I didn't have to be quite so cautious with that one!
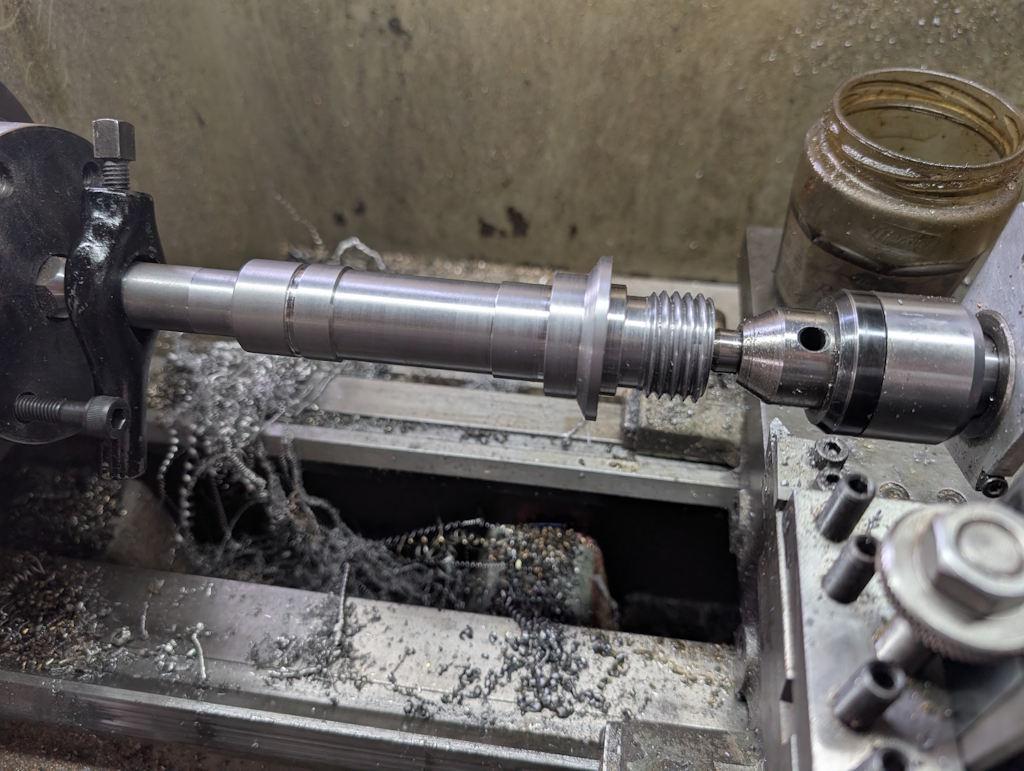
With the critical surfaces done, I could get on with cutting the chuck thread:
On the original spindle, I checked the thread using measuring wires. I now have a couple of chucks and an M33×3.5 mm face-plate, so this time I just used those to check the fit.
Once the spindle nose was complete, I did a similar job on the short adaptor thing, again turning the 30 mm bit that'll go in the collet in the same setting as the chuck register:
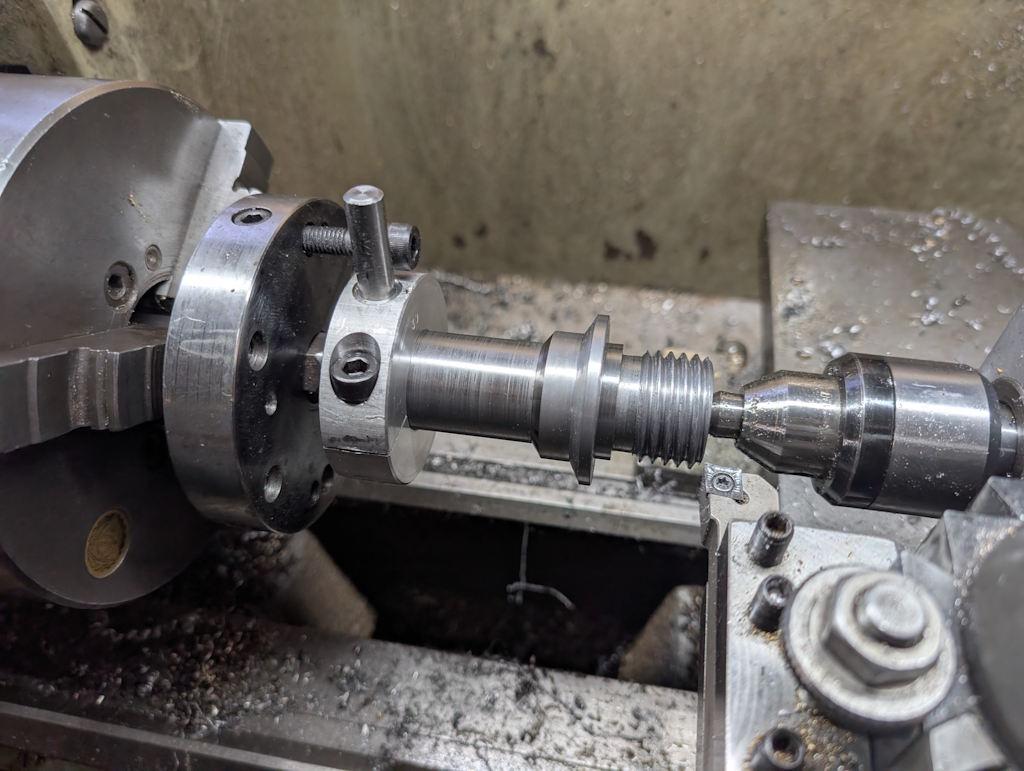
When I made the original spindle, I held the nose in the soft jaws in order to work on the threads at the rear of the spindle. This time, I fitted a face-plate to the newly-cut nose thread and put an M5 screw through one of the face-plate holes to act as a driving dog and with that done I could hold it between centres:
The tail threads, being 1.5 mm pitch, were quite quick and easy to cut:
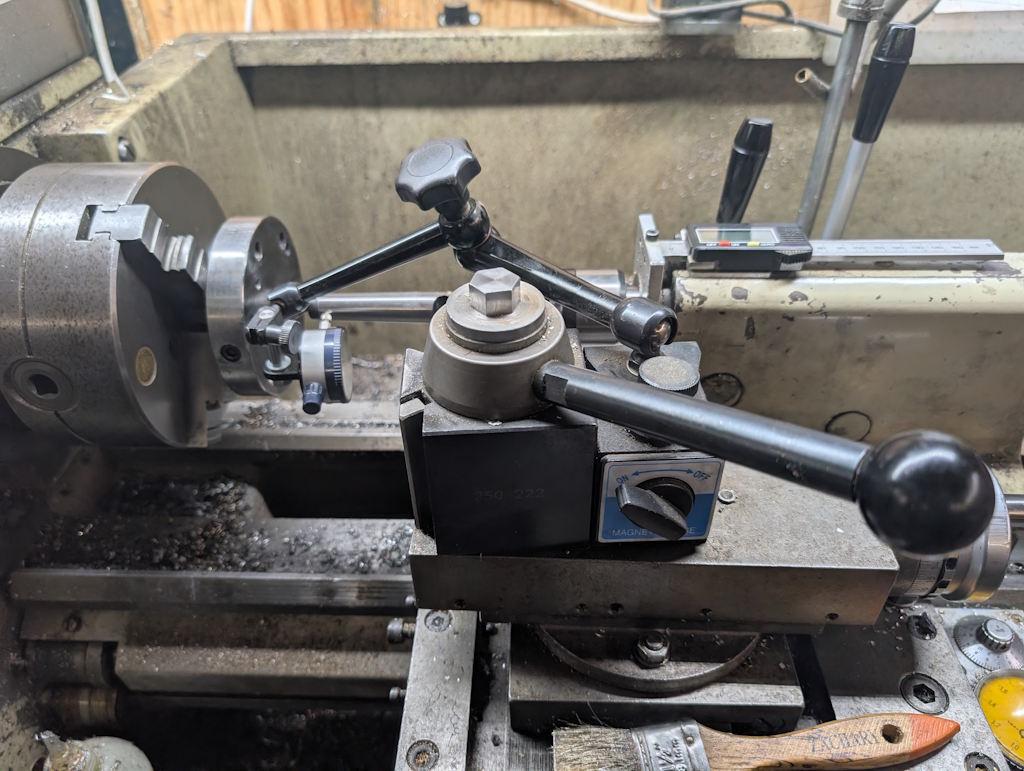
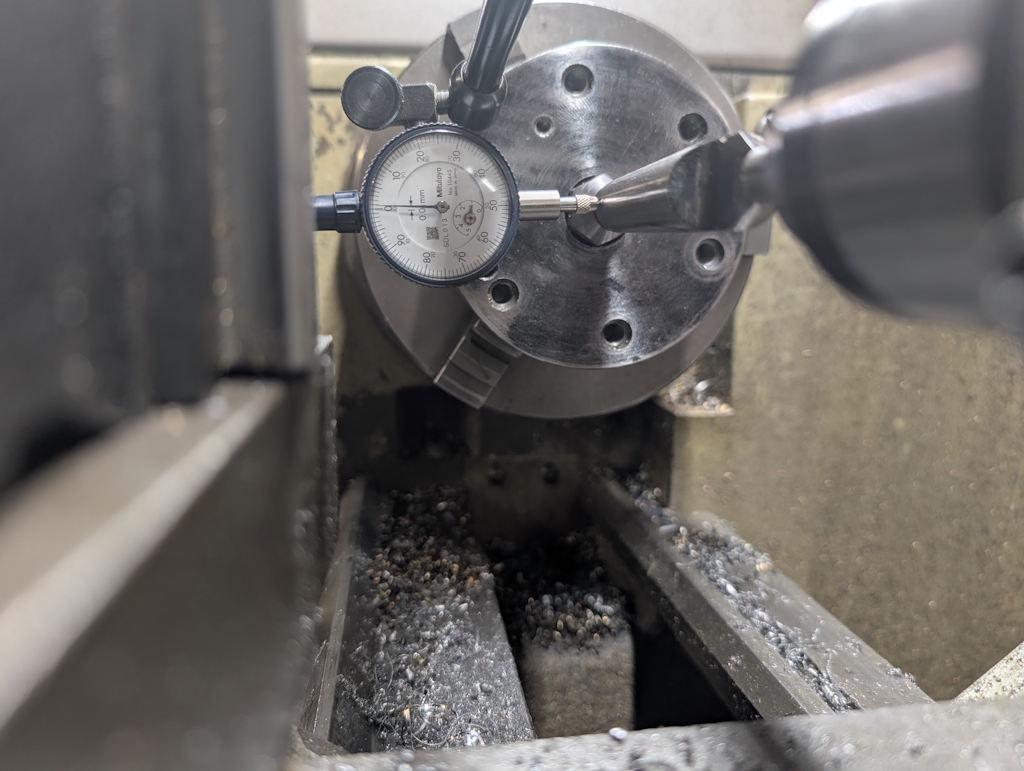
That was all the between centres turning done, but before removing the centre from the chuck, I fitted an MT2 centre between centres and used it to adjust the angle of the top-slide:
Another view:
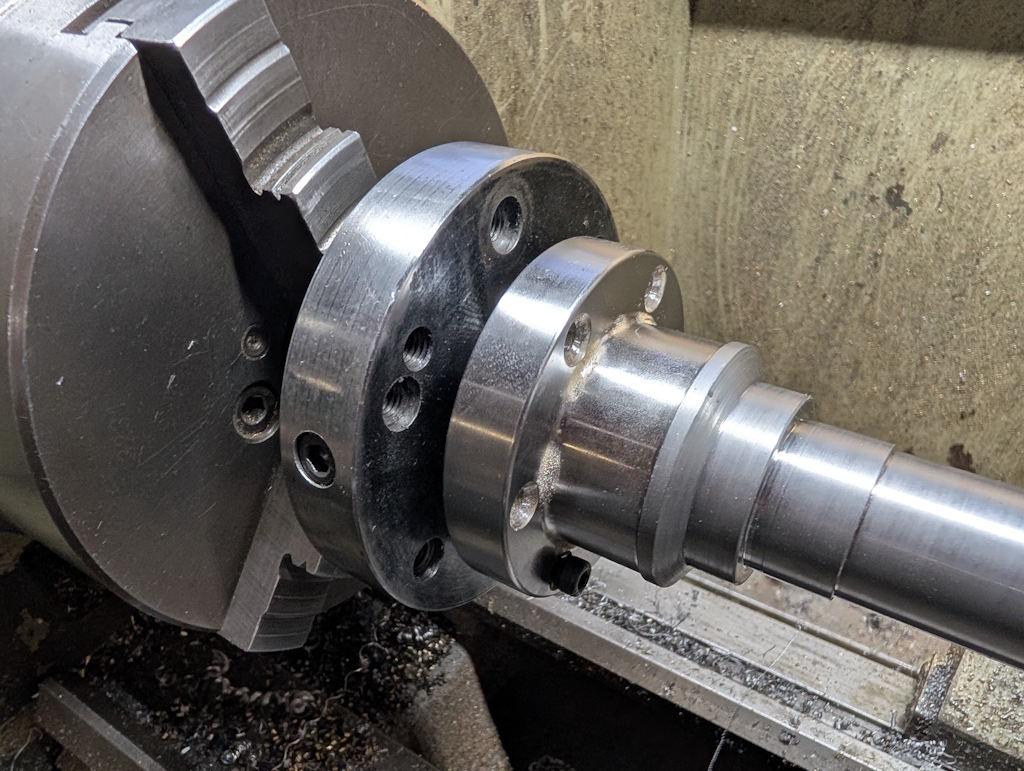
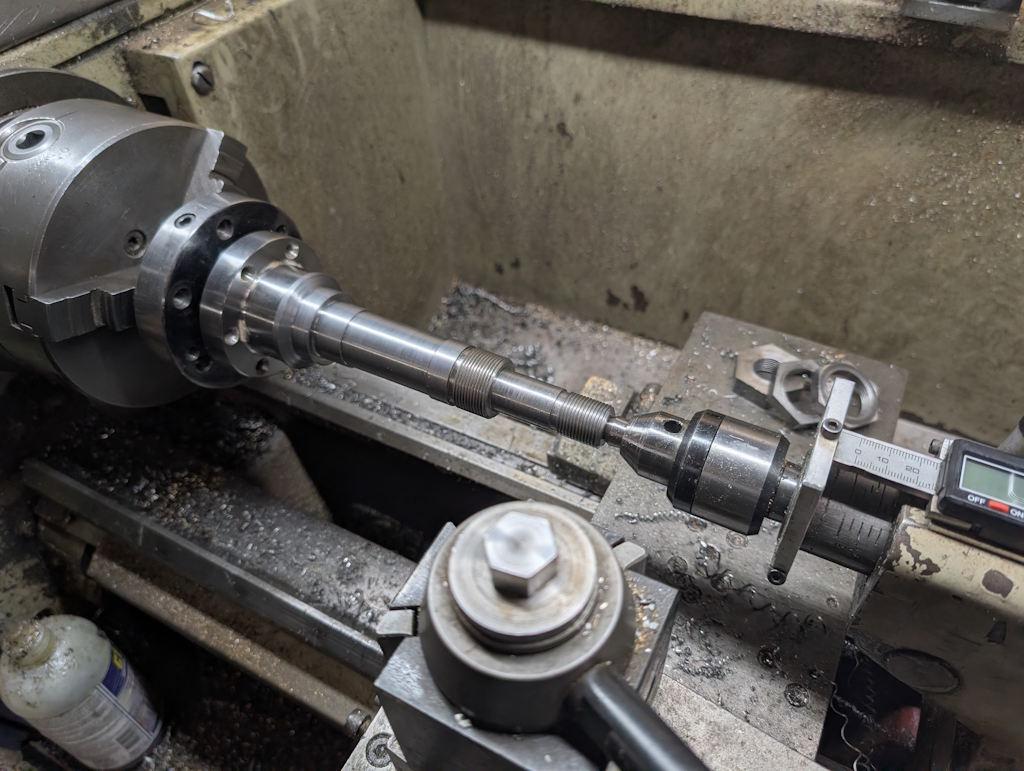
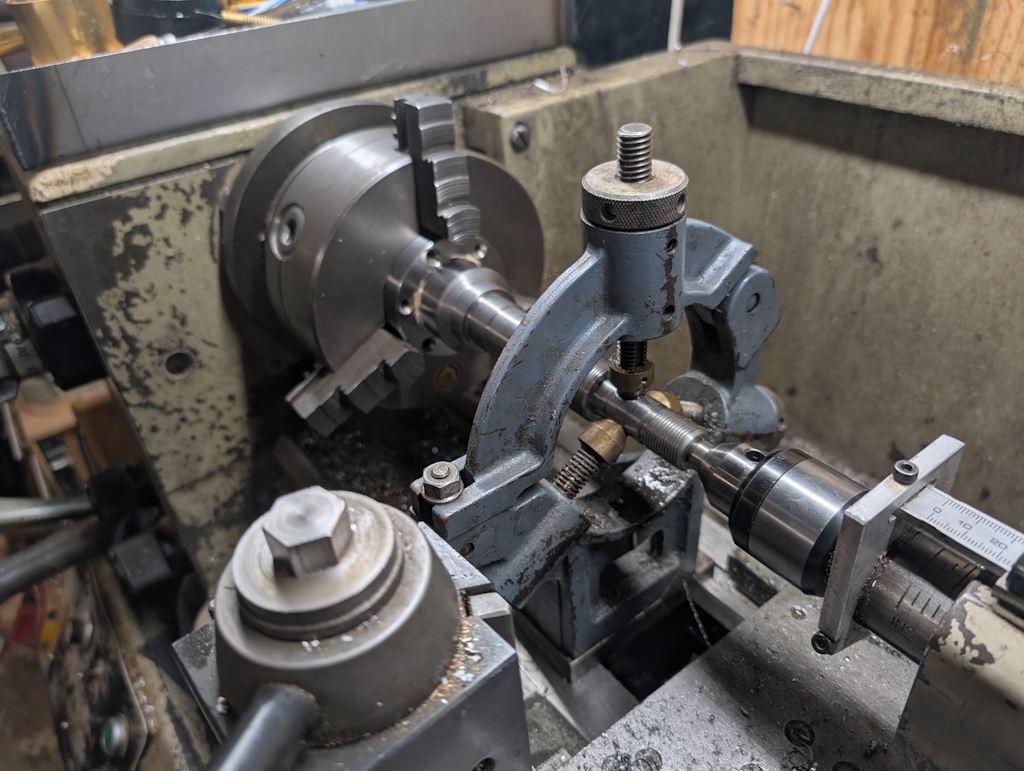
The top-slide will stay in that setting until I come to cut the Morse taper socket in the nose of the spindle, but before I do that, I need to drill all the way through. I started by mounting the face-plate in the chuck, supporting the tail end with a centre and setting up the fixed steady to support the part on the pulley surface:
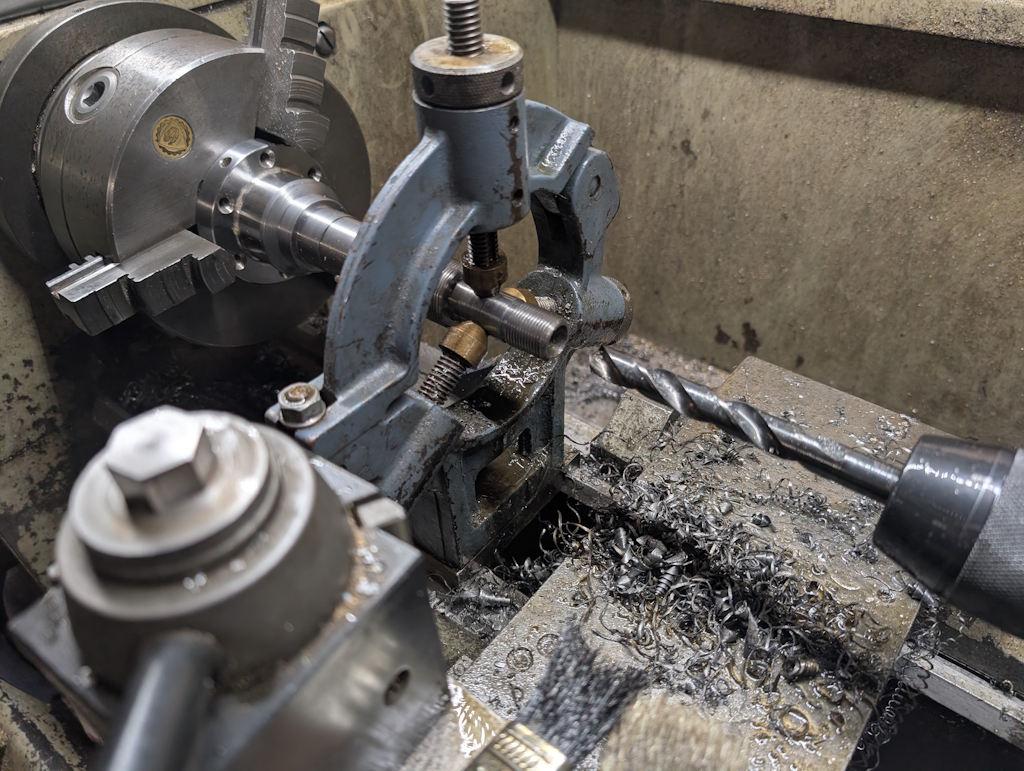
I then drilled as deep as I could with a 10 mm drill bit and then as deep as I could with a 13 mm drill bit:
That should have taken me a bit over half way. When I did the previous spindle, I bored it out to 14.6 mm (the small diameter size of a Morse Taper 2). I don't think this is necessary as I imagine the number of times I want to put a part through the spindle that's more than 13 mm but less than 14.6 mm won't be very high. This bore size is big enough for the 12.7 mm (1/2") bar I use to eject Morse tooling from the spindle so it should be fine (and the spindle will be stronger for having a slightly smaller bore).
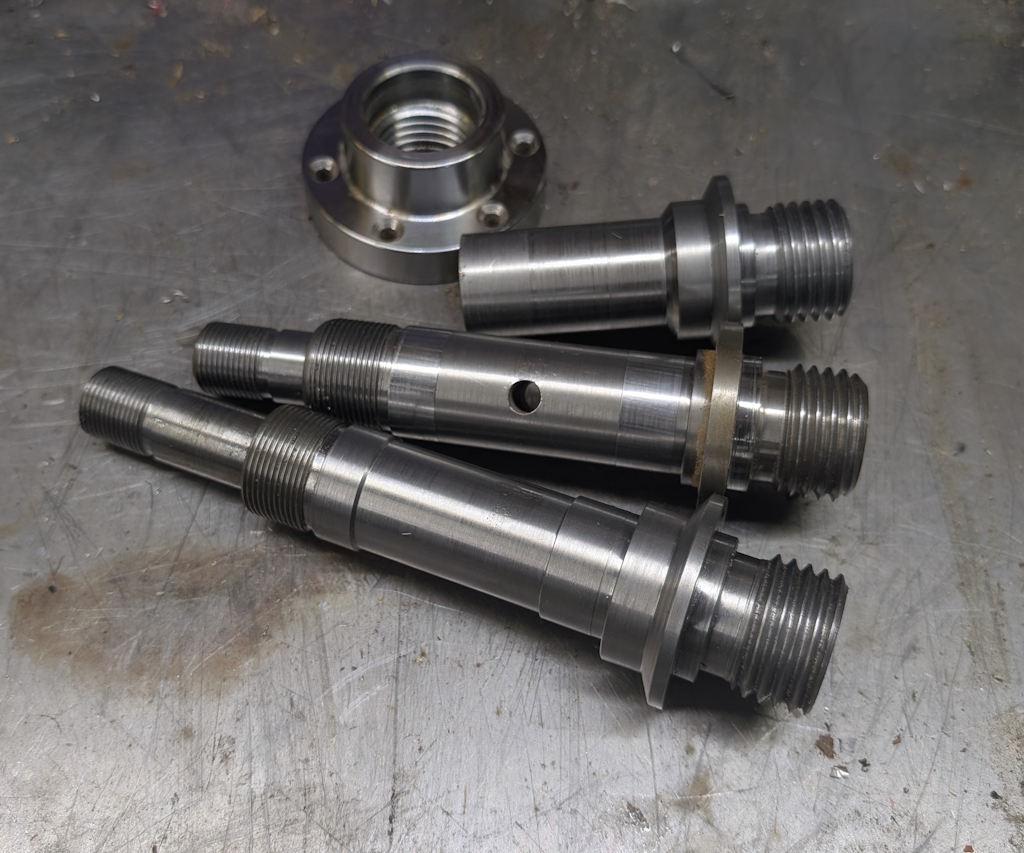
My back was starting to ache at this point (the perils of being tall) so I decided to call it a day at that point. This is where I've got to so far:
All being well, tomorrow I'll drill through from the nose end to meet the previous hole and then I'll bore the Morse taper. The final job will (I think) be to mount the spindle in the milling machine in order to sort out the cross-drilled hole.
Page 46 of 65
This website is free and ad-free, but costs me money to run. If you'd like to support this site, please consider making a small donation or sending me a message to let me know what you liked or found useful.

 Return to main project page