Heat Treatment Oven Build Process
Page 23 of 35
Posted 19th January 2025
A big landmark was achieved today, although I'm not sure I'd say it went well exactly. Nevertheless, we are where we are...
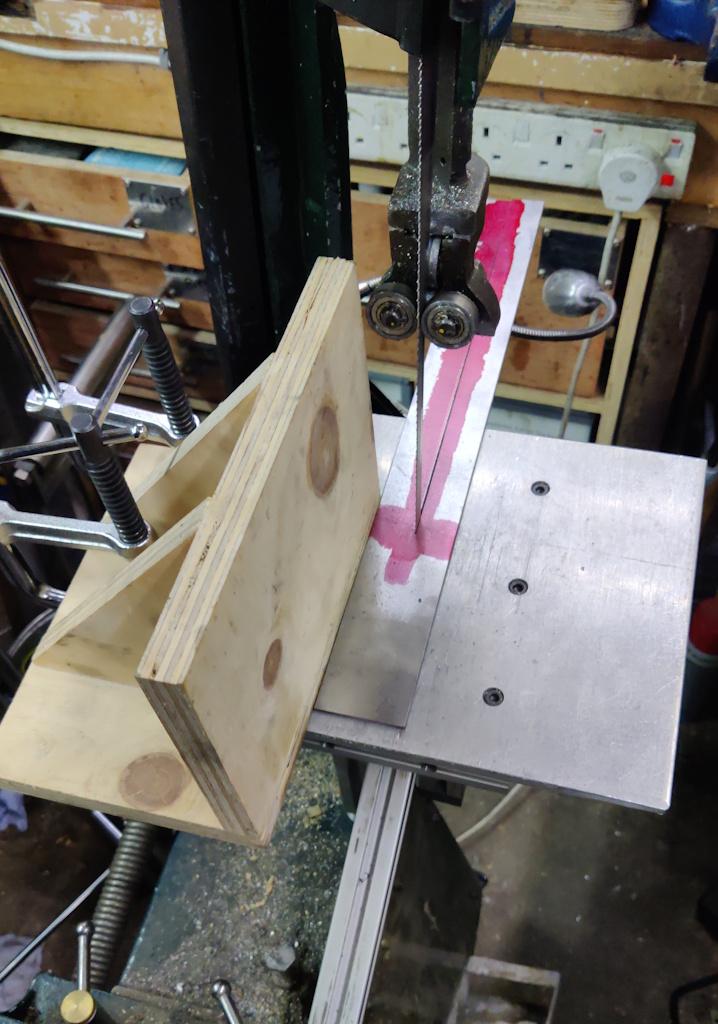
I started by cutting and tack-welding in the side sheets. I didn't take any photos of that process as it's much the same as how I did the sheets on the top and bottom. I decided I wanted to have a frame around the back to give me something to attach the back sheet to, but I didn't have any more of the 25 mm wide flat bar (or at least, I didn't have any with the mill scale removed). I had some spare 50 mm bar though, so I used the home-made vertical saw table for the bandsaw to cut the 50 mm bar in half:
The two halves then got welded in place with the frame assembled as that seemed the easiest way to make sure everything stayed in the right place:
I'd decided (before thinking about having bars top and bottom) to have a diagonal bar to mount thermocouples on. With hindsight this could have been done in a much more sensible way with a horizontal bar across the middle (it didn't need to be diagonal with the strength from the top and bottom bar and a middle bar wouldn't have got in the way later...)
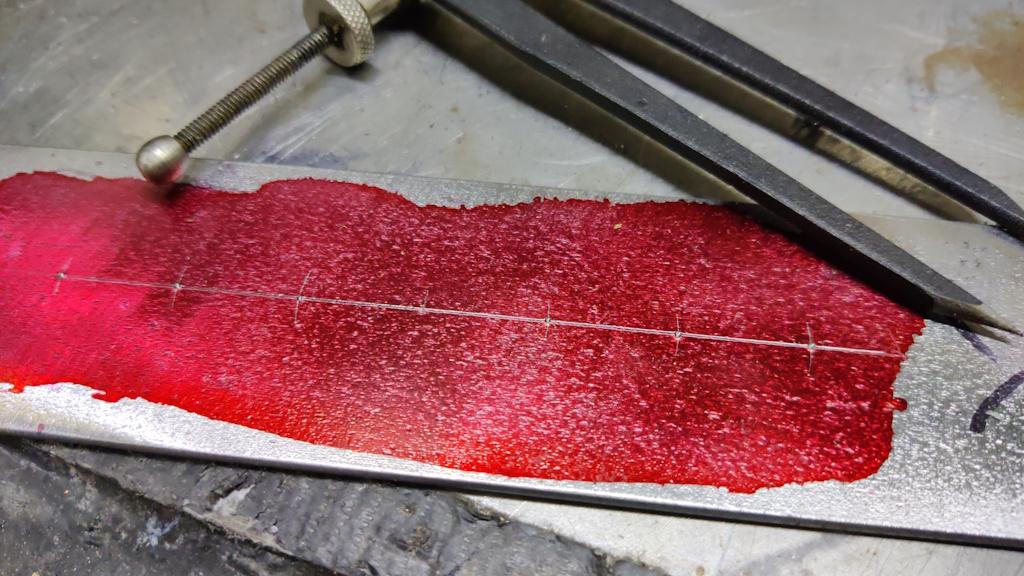
Anyway, with the bar cut to fit the gap, I used some dividers to mark out some points on an 18.5 mm pitch. The central point got ignored, the outer six got centre punched:
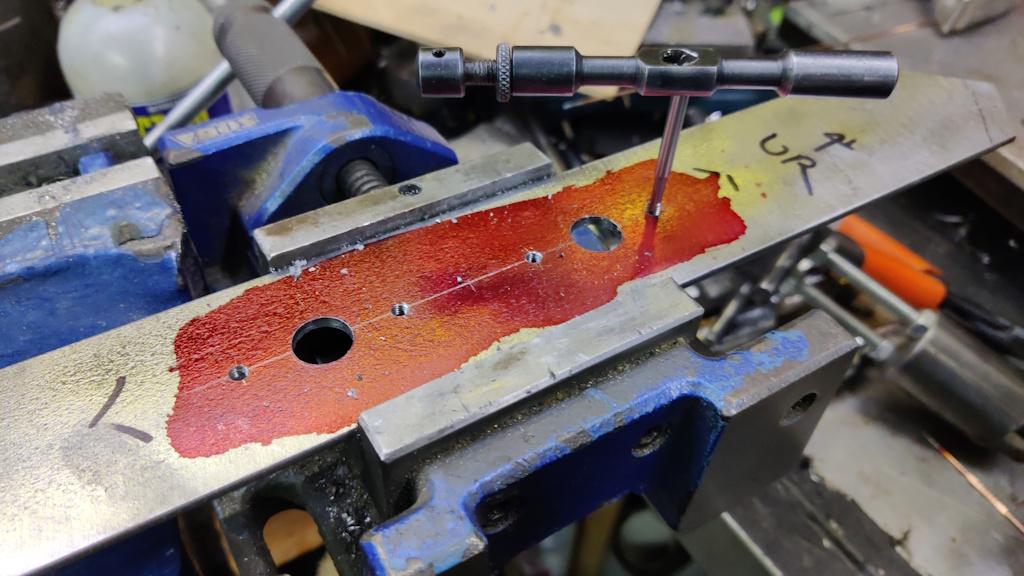
All the holes were spot drilled and drilled 3.2 mm, then two were enlarged in two stages to 13 mm and the rest were tapped M4:
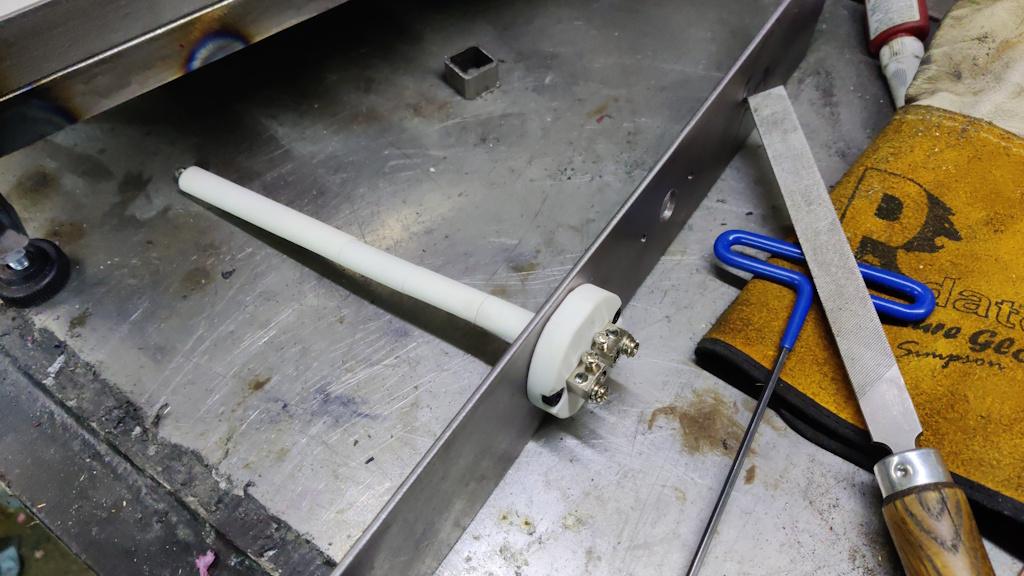
That allowed me to do a test fit of one of the thermocouples:
I'm assuming that I can shorten those thermocouples by undoing the screws, removing some of the ceramic insulators, chopping the wire and then reassembling. I'd welcome any comments from anyone who's done that before I bite the bullet!
The diagonal piece got welded in situ as well:
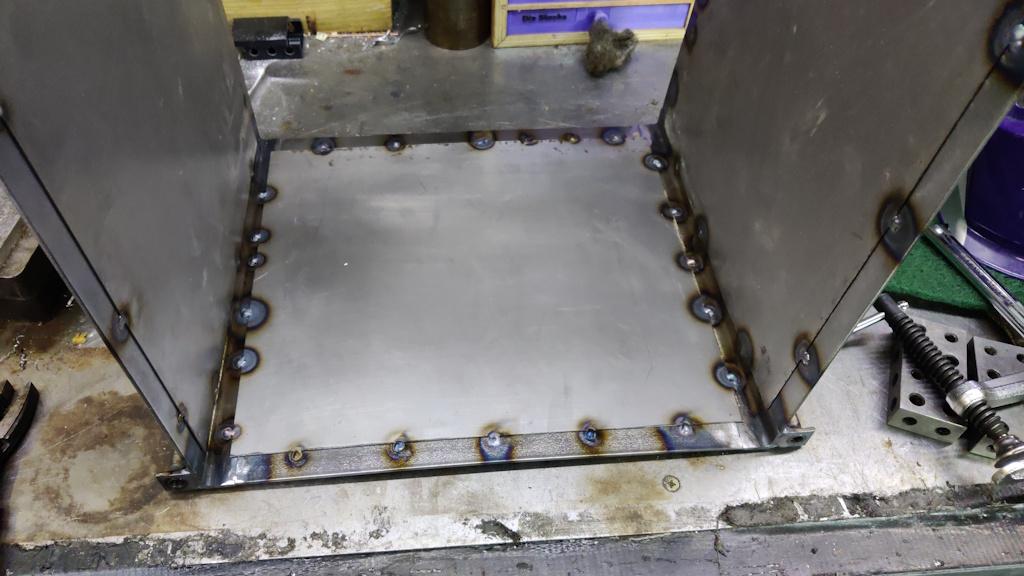
I plasma cut another bit of 0.8 mm steel sheet and tack welded that in place.
That's the last bit of sheet welding I'll need to do on the chamber itself (there's still the door to come later when I figure that out) and I'm really happy with the way the welds went. I won't bother with any filler on the chamber (which is almost certainly a good thing as I don't know how it will cope with the temperature!)
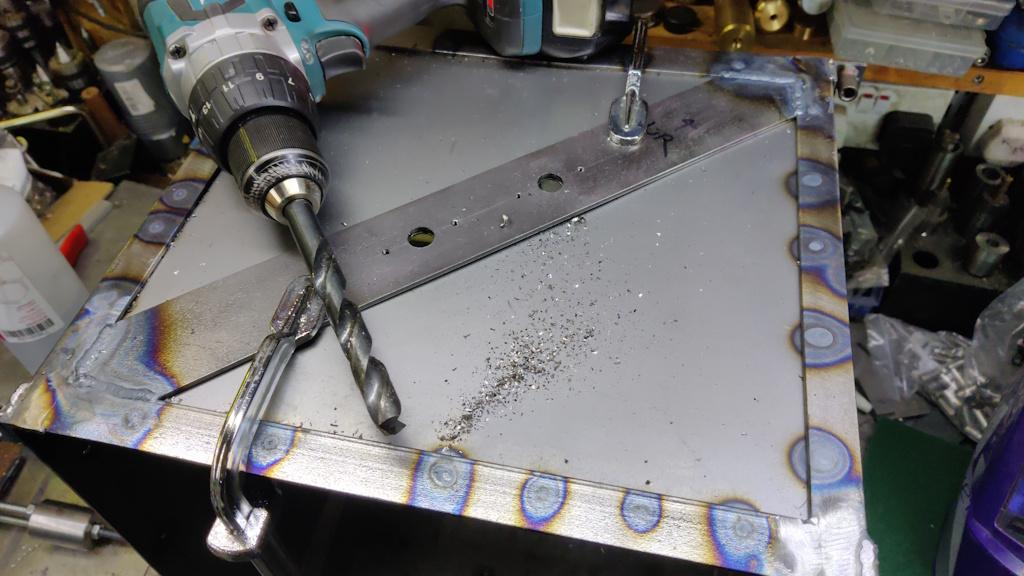
The sheet had obviously covered up the thermocouple holes, so I just used the cordless drill to sort that out, with some clamps to hold the sheet to the diagonal as the sheet is only welded around the edge:
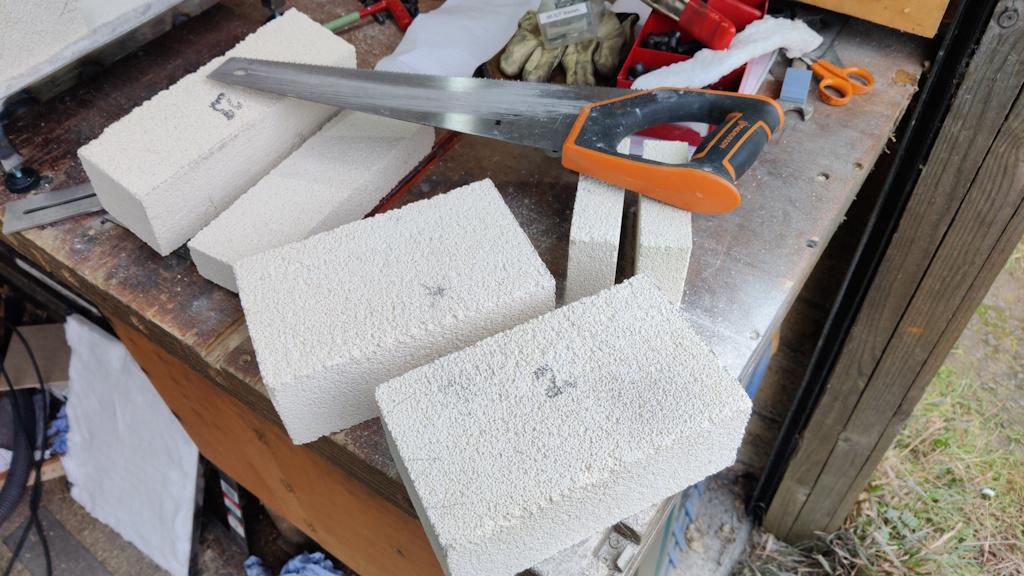
It was then time to start thinking about assembling stuff, but first I had to saw the back bricks to size...
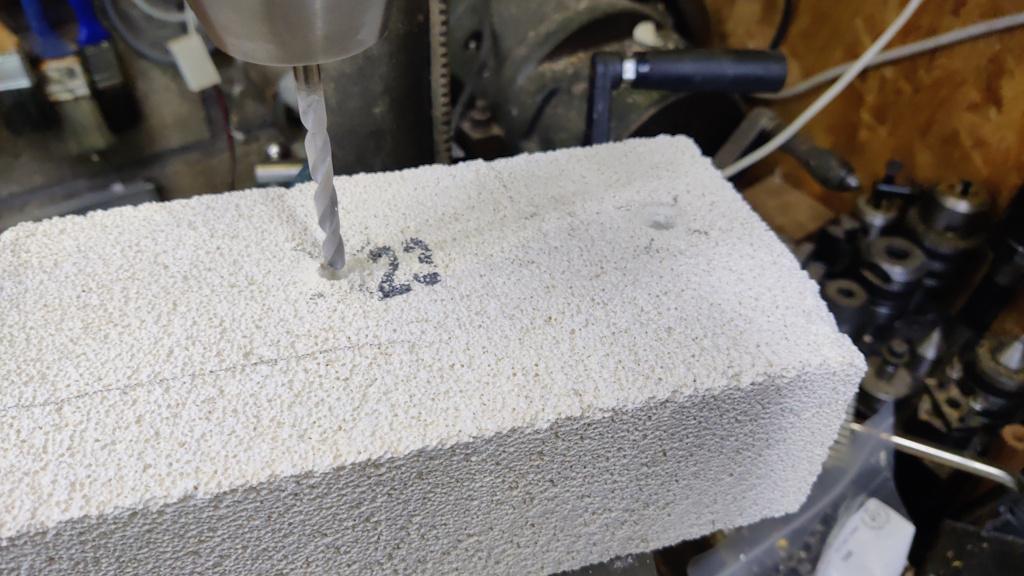
... and then drill some holes for the heating element to come through (I also drilled some shallow larger holes in the other side to house a shroud that you'll see later):
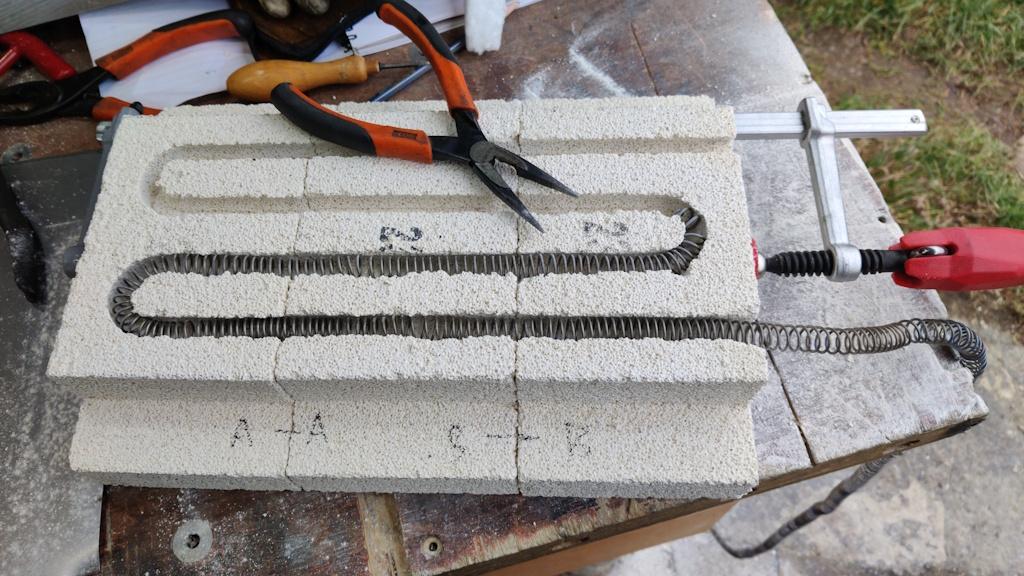
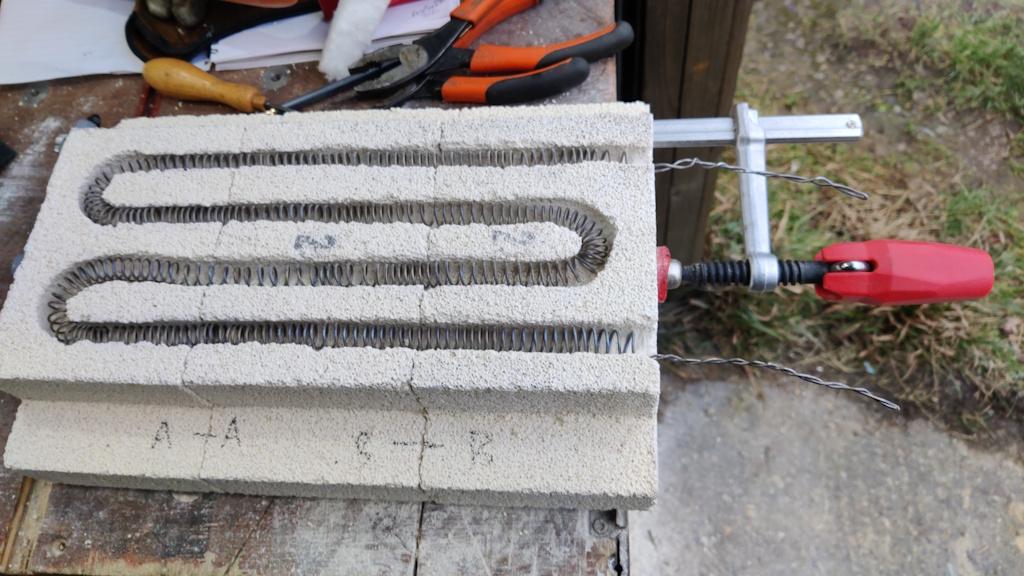
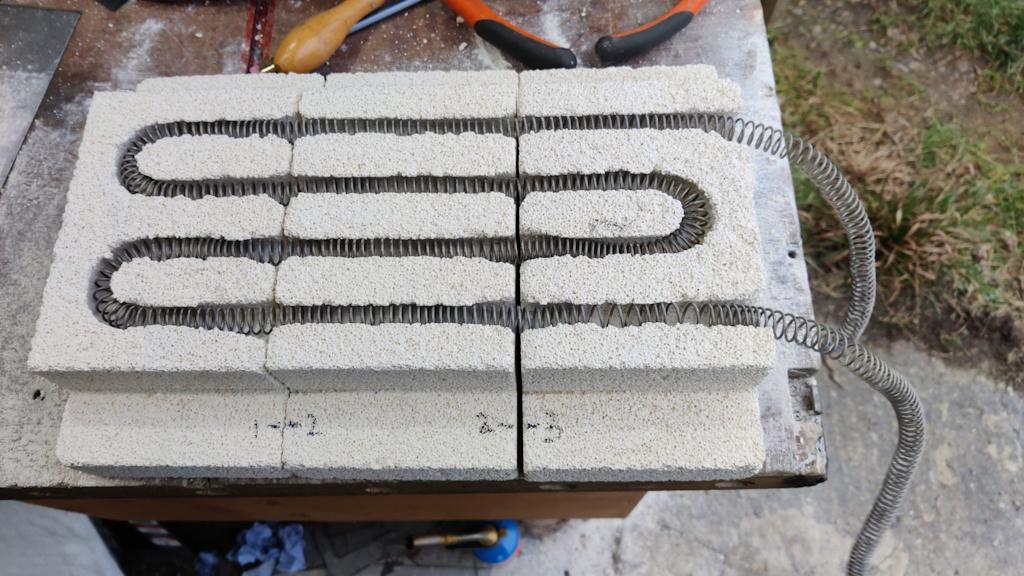
The next part was (predictably enough) a bit of a chore that didn't go especially well. I needed to feed the element through the slot in the bricks. For the first side, I clamped the three bricks together and used a pair of needle-nose pliers to feed it gradually through:
That worked, but (unsurprisingly) there was a lot of break-out on the flimsy bits of brick that are supposed to hold the element in place. With hindsight I suspect it would have been better to just have it as an open slot (rather than trying to keep the element in place with brick shaping) and find an alternative method of fixing it. I may still need to find an alternative method of fixing it, but we'll see what happens when I first bring it up to temperature.
After umming and ah-ing about various options for crimping / otherwise-joining a copper or similar sleeve onto the ends of the wire and concluding that (a) it would be an awkward job and (b) the copper might well just melt once the chamber got up to temperature, I decided to just double the ends of the wires up for the route through the bricks. I heated the ends up (and while I was at it, the rest of the coil) to anneal them, then straightened the ends, annealed them again, doubled them over, annealed them again, cleaned all the oxidation off with some scotchbrite, then twisted them together and squeezed them tight (with a pair of high force pliers) wherever there was contact. Hopefully the fact that they're tight together on the contact points will help keep those areas free of oxidisation and they'll maintain a good electrical contact.
I could then fit the first set of coils and the rear bricks, using some TIG shrouds to insulate the wire from the metalwork.
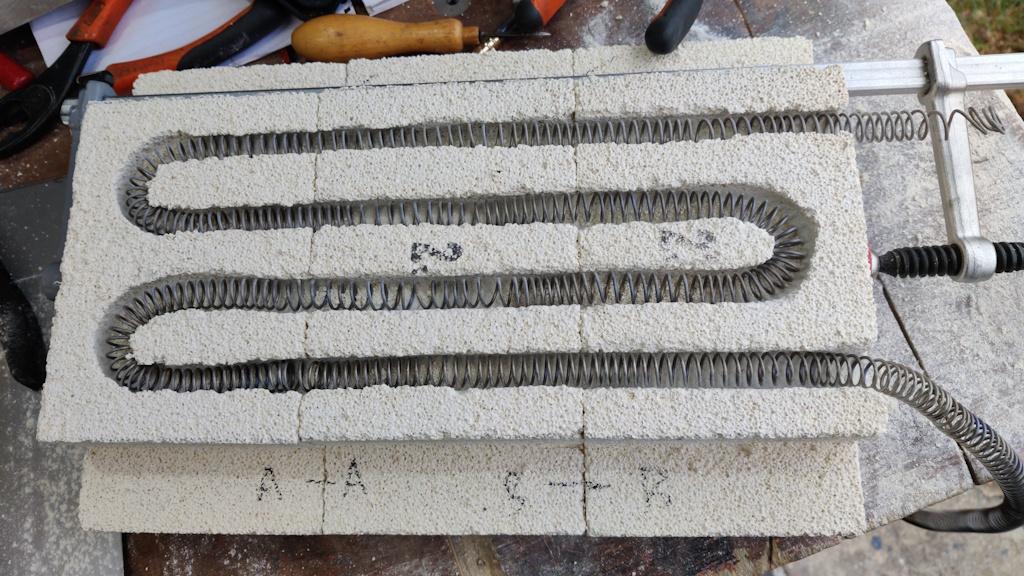
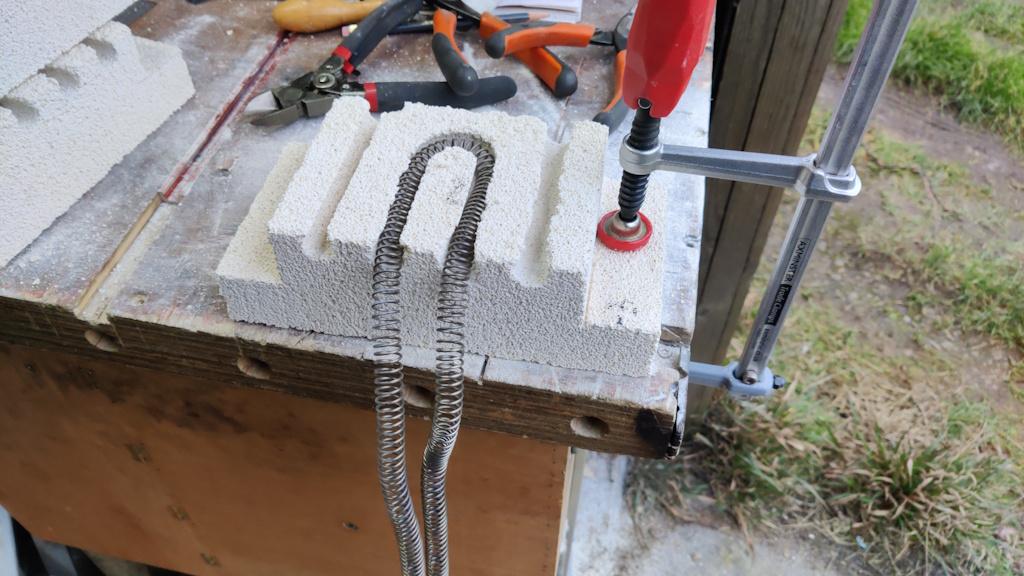
For the second element, I decided to start in the middle rather than at one end. I fed the coil into the central section until it stuck out the same amount at both ends:
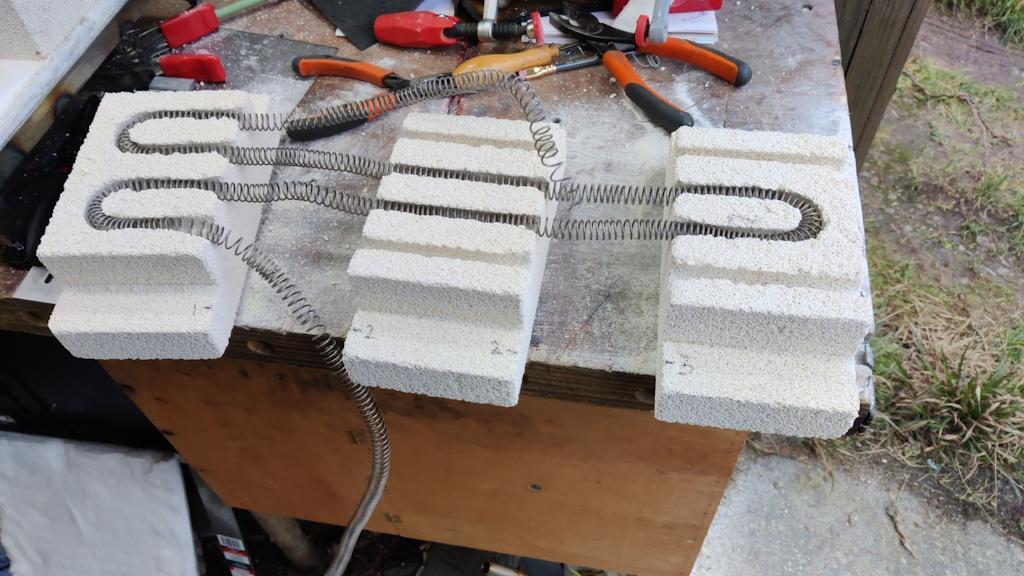
Then fed it into the other bricks, this time keeping the bricks separate so that I could grab the element with two hands (one feeding in, one pulling out):
That went together much, much quicker than the first one and there was much less break-out (although there are still a few places where the coil is unsupported, so I'm still considering an alternative fixing method.
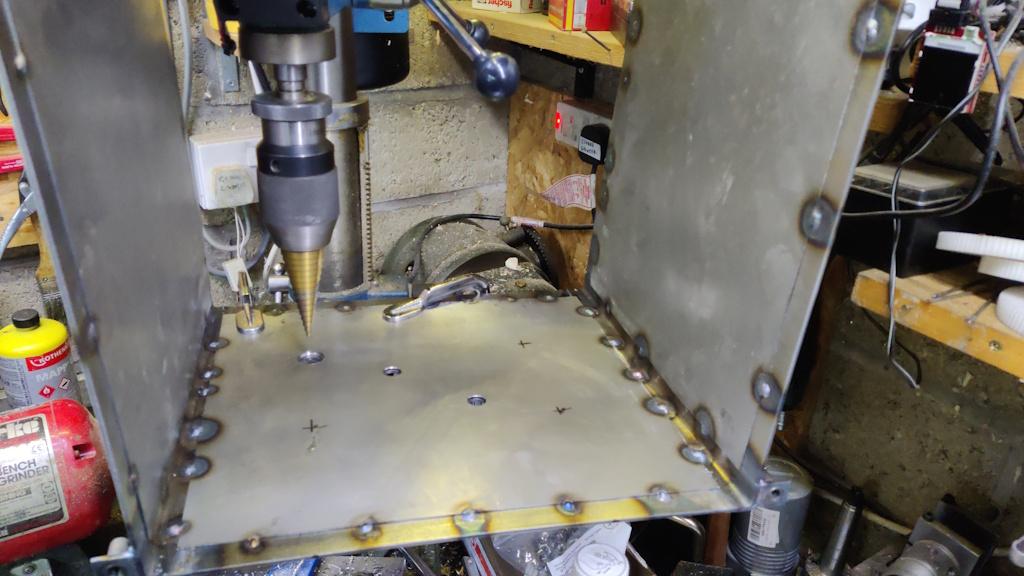
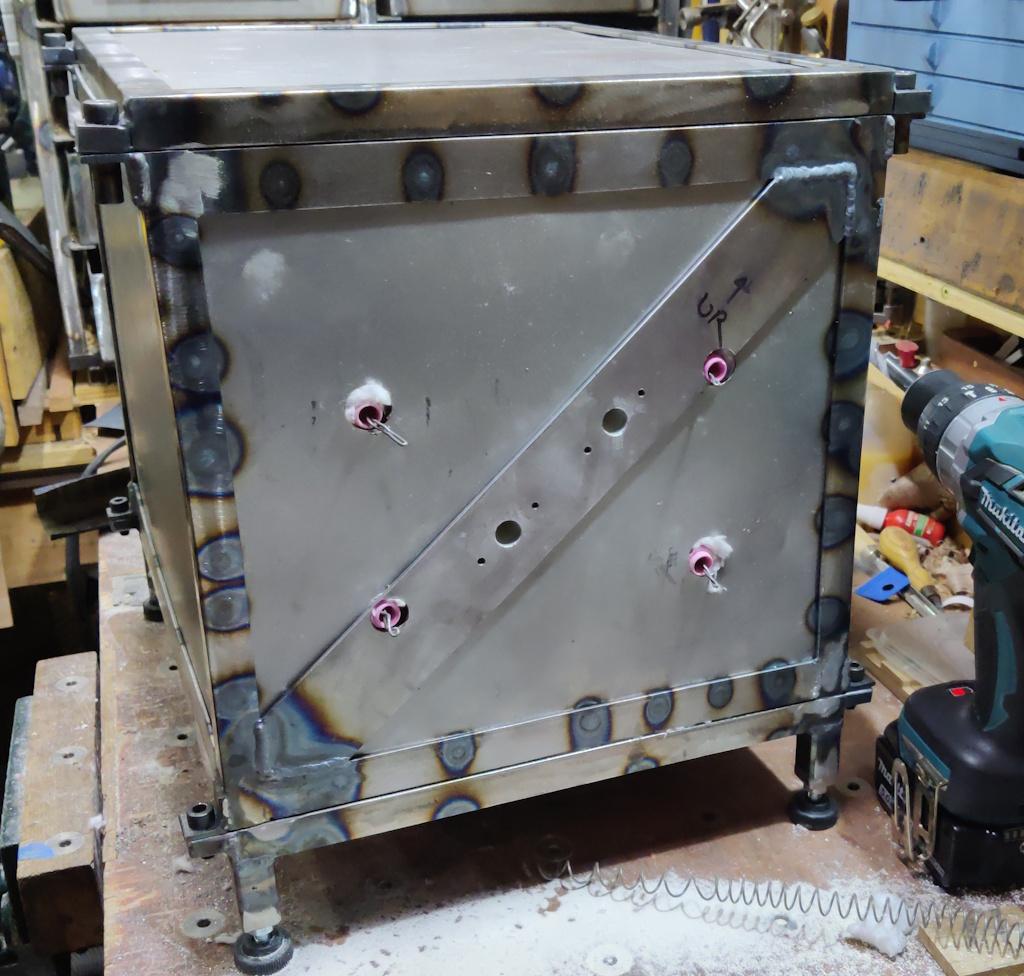
It was then time to make some holes in the side/back frame for the element wires to come out. This is where it would have been much, much better to have a horizontal bar for the thermocouples to mount in as the element wires would just have had to come through sheet metal. As it is, one had to come through sheet metal and the diagonal and one had to come through sheet metal and partially the diagonal. That made for some interesting drilling! I used a step drill in the pillar drill for the two holes that were on the diagonal. I was very lucky that the diagonal was the way round it was as I could just get the pillar drill lined up on those holes, with the handles in the gap to the right. If it had been on the other diagonal I wouldn't have been able to use the pillar drill.
The other two holes (just in sheet metal) were drilled with the same step drill, but using a cordless drill.
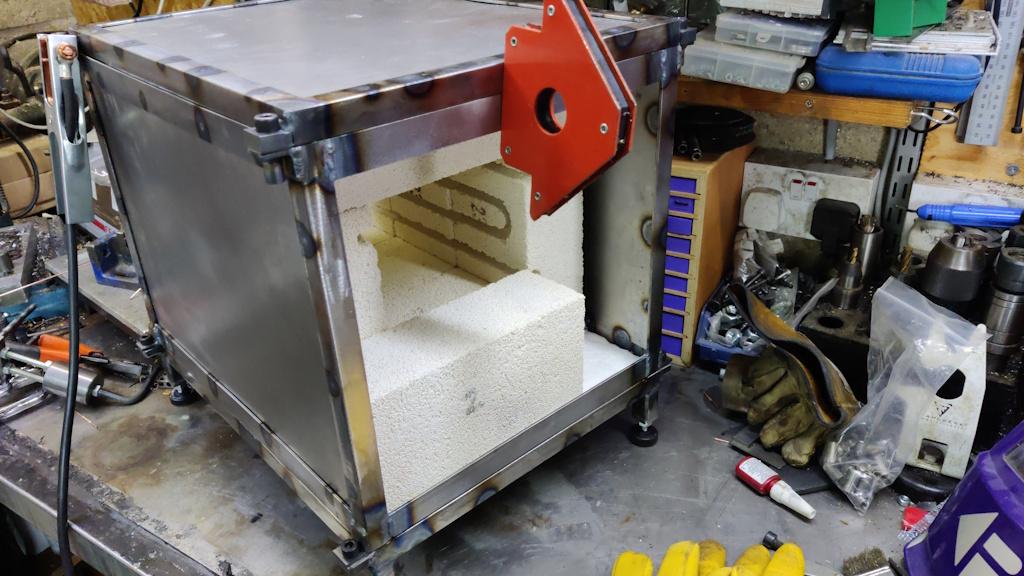
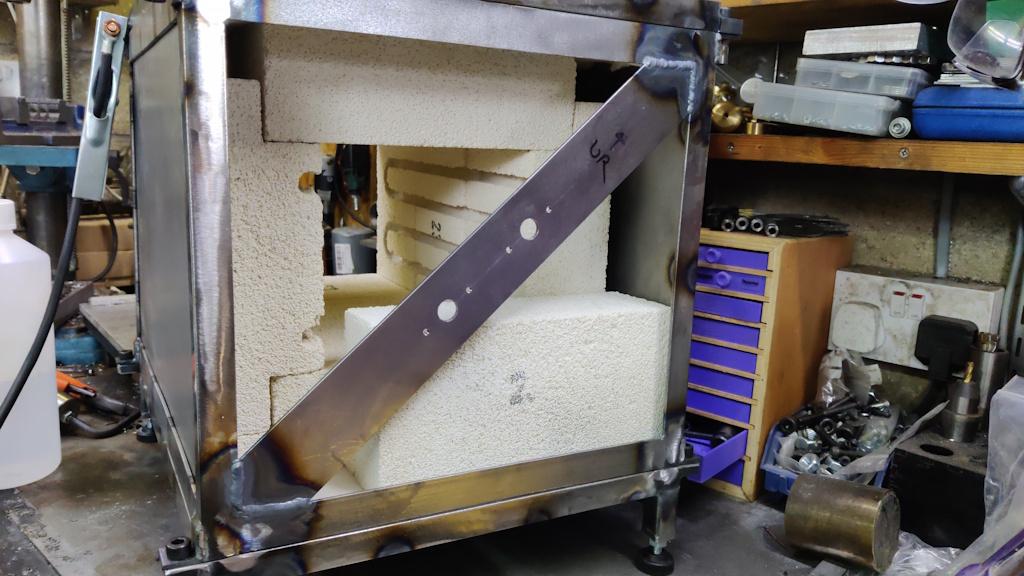
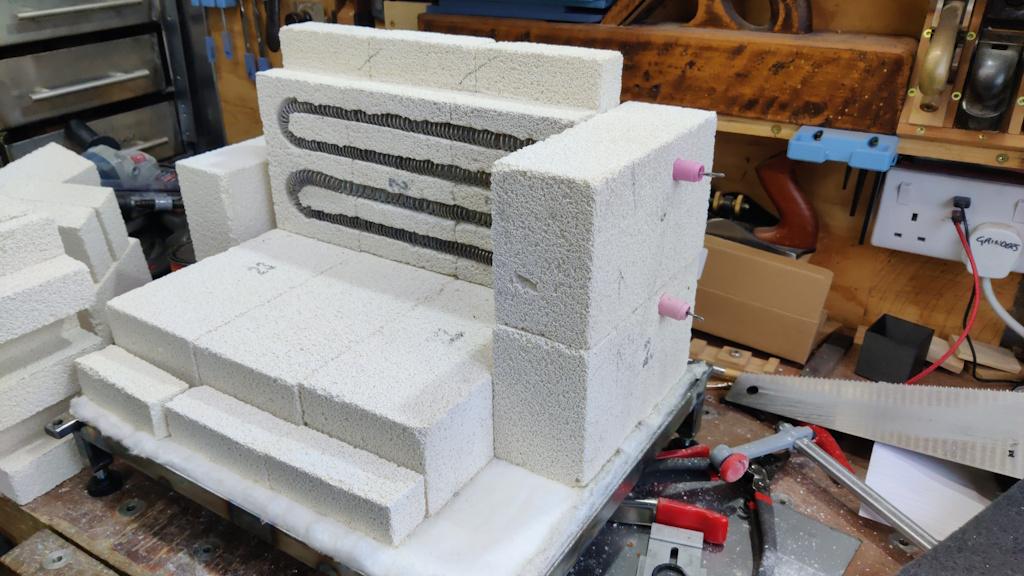
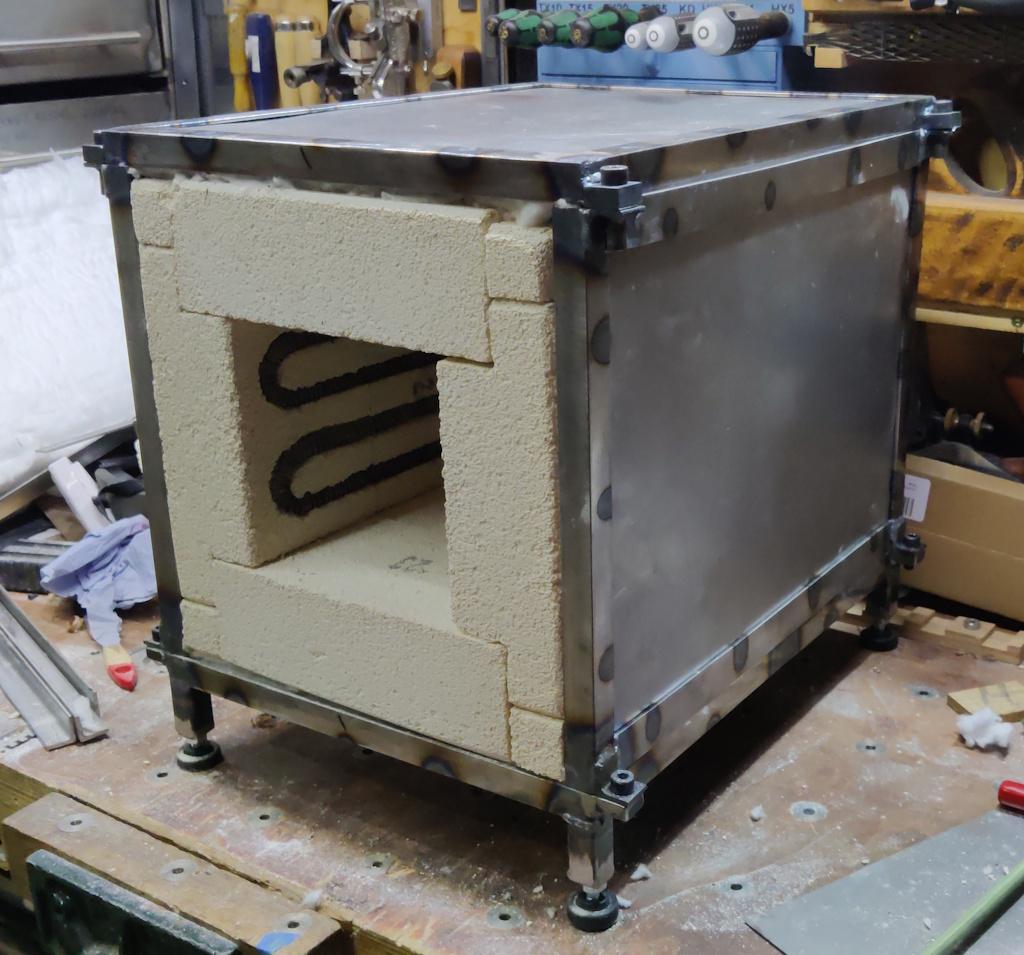
There was then a long period in which I didn't take any photos, but in which much manoeuvring, much adjusting with clamps and a little bit of swearing happened. At the end of that period, the bricks were all assembled, wrapped on five sides with ceramic blanket and the main body of the chamber is mostly complete:
In this photo you can see where the element coil ends come out. If you look closely you'll see that the bottom-left hole is just within the diagonal bar whereas the top-right one was about half-and-half so it's quite amazing how well the pillar drill and step drill coped with that really.
Hopefully that won't need taking apart again. I may even decide to paint it as-is rather than dismantling it and painting the parts. Painting the parts would be better I'm sure, but it was quite tough to get together!
It still needs a hinge and latch fitting (for the door), along with a decent earth stud, the interlock switch for the door and I need to finish off those connections on the back, but it's definitely a big landmark.
I'm not sure exactly what I'd do differently if I decided to do it again, but I'd definitely do it differently! Assembling the frame was not a straightforward process.
I might start having a go at wiring up the control cabinet during the week. Hopefully next weekend I'll figure out what I'm doing with the door.
Page 23 of 35
This website is free and ad-free, but costs me money to run. If you'd like to support this site, please consider making a small donation or sending me a message to let me know what you liked or found useful.

 Return to main project page