Minimal Tool Challenge Box Build
Page 3 of 9
Posted 17th December 2023
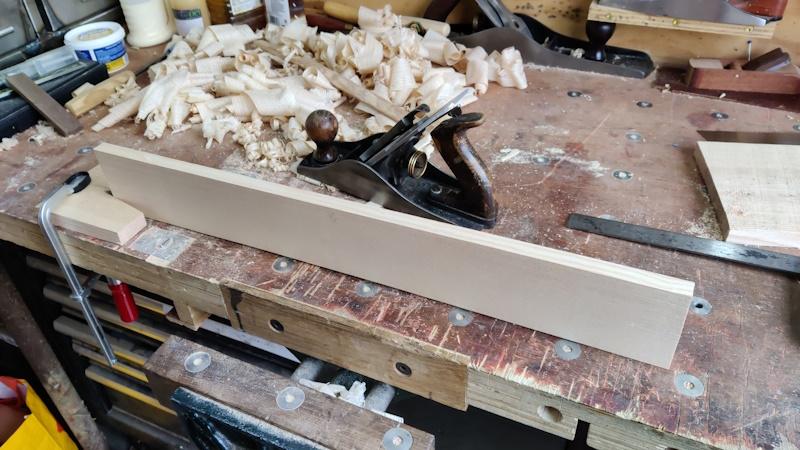
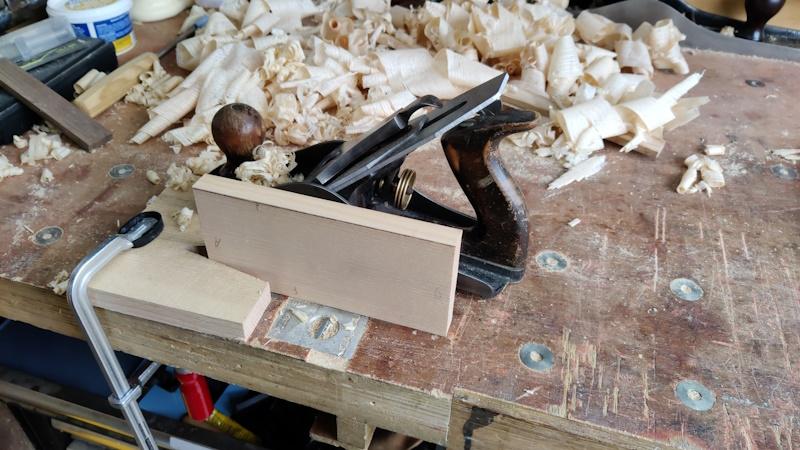
I left the board yesterday with one face planed and not much else done. The first job this morning was to plane the edges. I started by cutting a notch into the end of the off-cut:
... and then chopping it off the end of the board and clamping it to the bench. It could then be used to hold the board while getting the edge square and straight:
I've never used that method of work holding for edge planing (I usually just hold it in the vice); it worked really well and I'll probably use it a lot more in future - I might even make something that drops into the dog holes for ease of use, but that's for another day and another project.
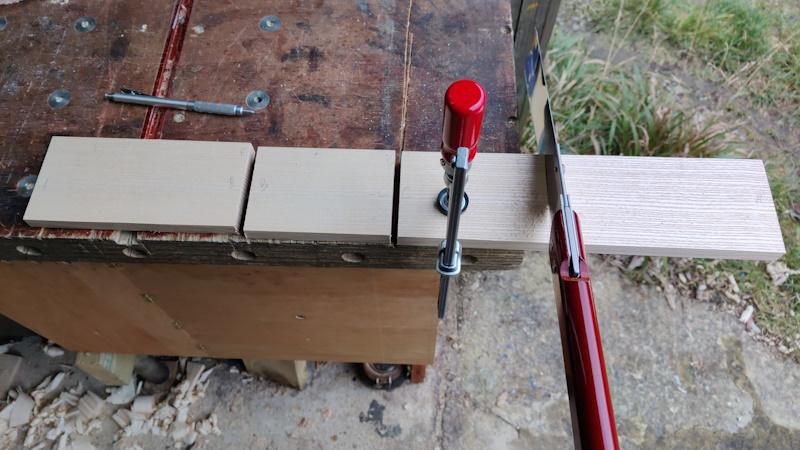
At this point, I decided to chop the board up into four pieces and work on them separately. I slightly regretted this later, but it wasn't a big deal.
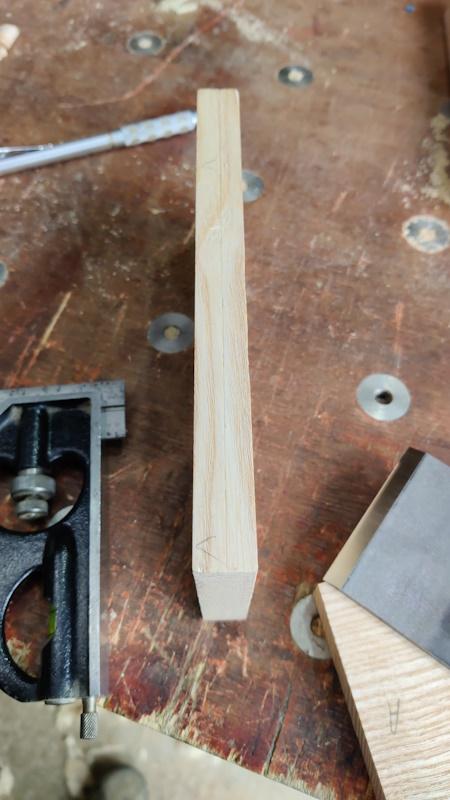
The width of the boards was marked up (purely based on the widest I could get out of all four pieces):
I then planed them down to the line, checking for square and comparing the board widths to each other periodically. This was the stage where I regretted chopping them up so small as the notched stop thing didn't work as well as a vice with such a short length of board.
Next up was dismantling the plane so that I could use the blade as a marking knife. I took the opportunity to strop it a few times on the leather piece; I still haven't needed to use the diamond plate yet; I thought I may get away without the diamond plate if I get in the habit of stropping very regularly.
I used the combination square and the plane iron to mark thickness of about 8 mm, which seemed reasonable for a box this size. The plane iron worked well; the lines aren't that visible in this photo, but they're clear enough in reality (I went over them later with a pencil anyway for clarity):
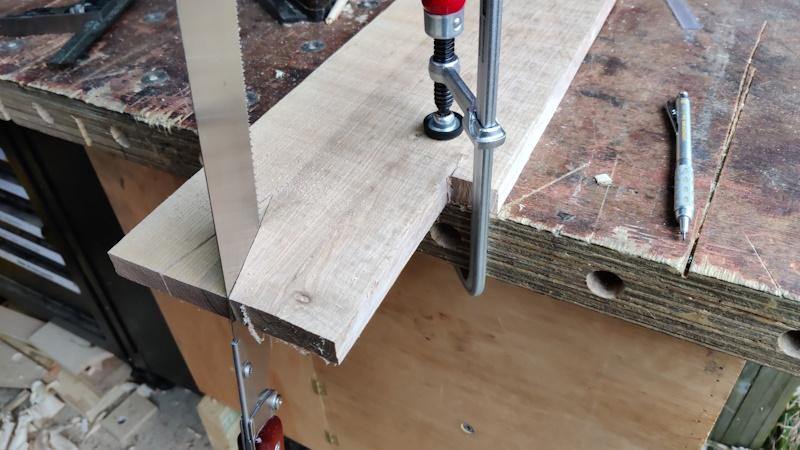
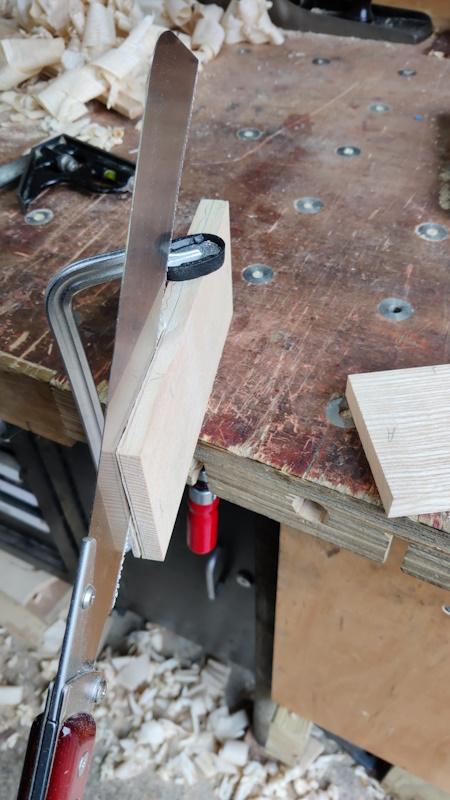
The next job was to remind myself why I bought a bandsaw: resawing. The process was straightforward enough: clamp the piece upright to the bench (this was why I made sure both edges were square before starting resawing) and attack it with the saw:
I dislike resawing enough when using my big 300 mm Ryoba (with progressive 7 to 4.5 TPI rip teeth). It's even worse using a Kataba with teeth that look to be designed for cross-cutting!
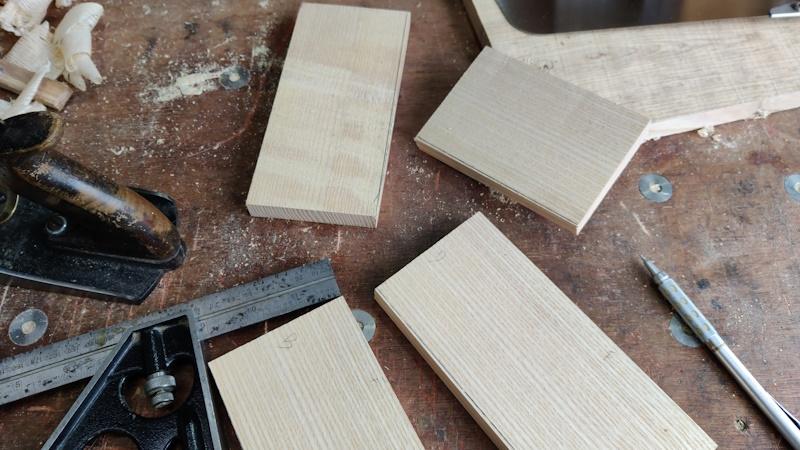
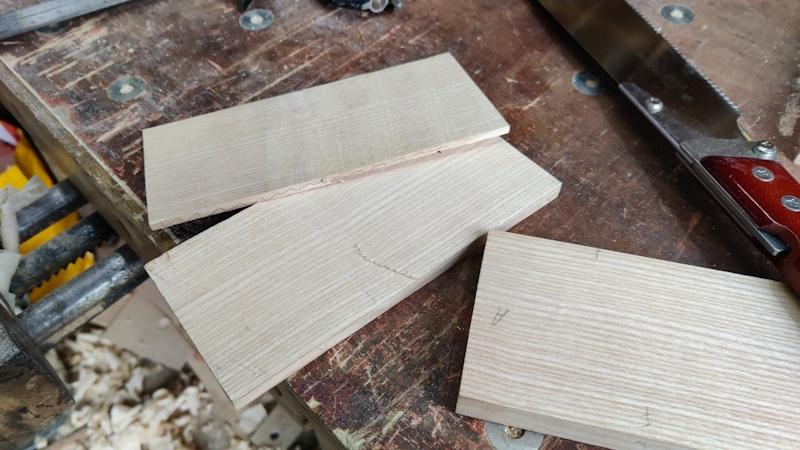
Anyway, one plank done ready for planing; three more to go (plus the pieces for the top and bottom if I can't use the offcuts from this resawing operation):
Page 3 of 9
This website is free and ad-free, but costs me money to run. If you'd like to support this site, please consider making a small donation or sending me a message to let me know what you liked or found useful.

 Return to main project page