Minimal Tool Challenge Box Build
Page 2 of 9
Posted 16th December 2023
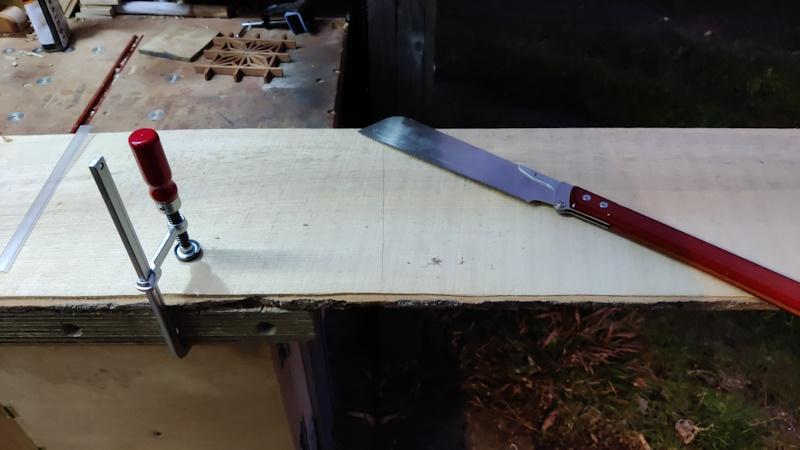
I started by shortening the board to a more sensible (and rather arbitrary) length so I had something a bit more manageable to work with:
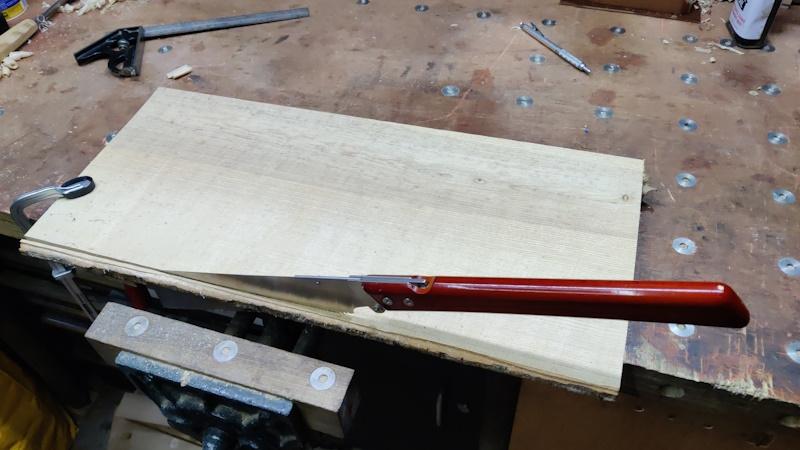
Then I drew a straight-ish line (my combination square isn't that long, so I just accepted straight-ish) and sawed off the bark:
It was a bit wobbly with only one clamp holding it down, but it worked.
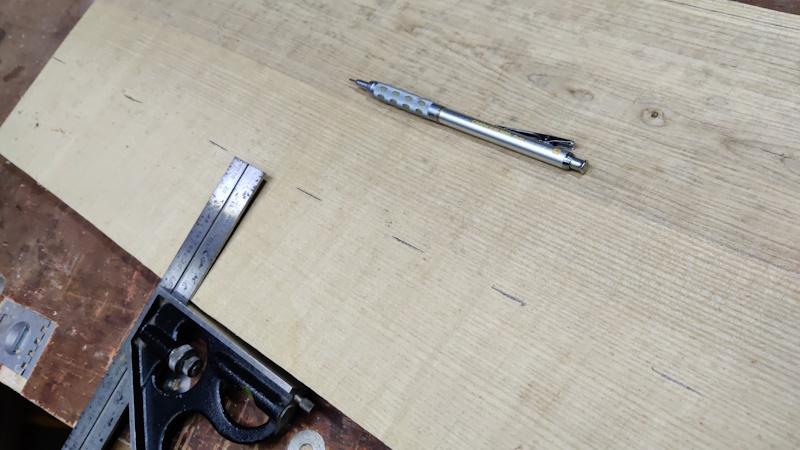
I then used the combination square to mark a fixed distance (about 85 mm I think) away from the sawn edge:
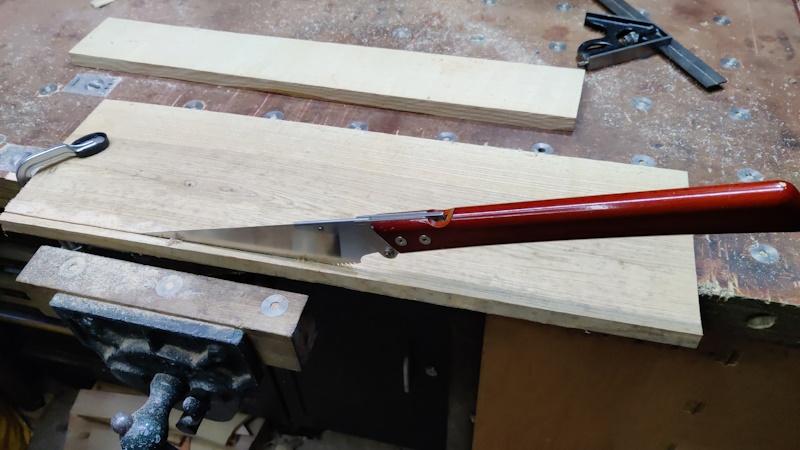
I'm not worrying too much about actual sizes at the moment, that'll come after planing. I sawed that bit off and also sawed a thin bit (about 8 mm wide) off the other side:
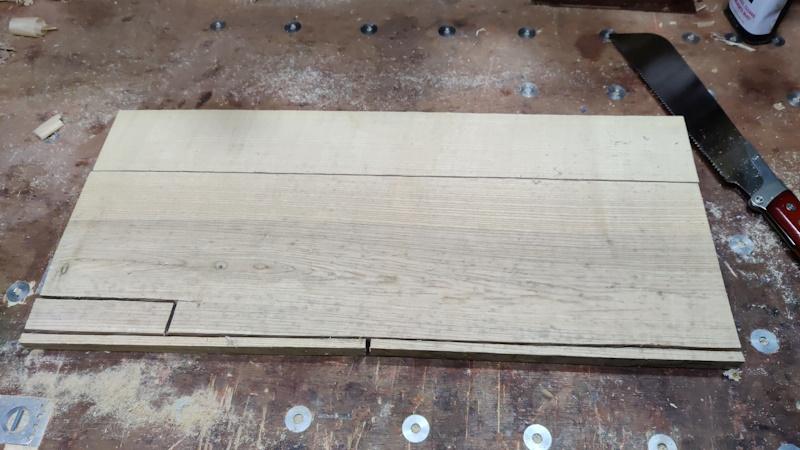
All the bits cut up for now (including a random little block that I had an idea to use but didn't in the end):
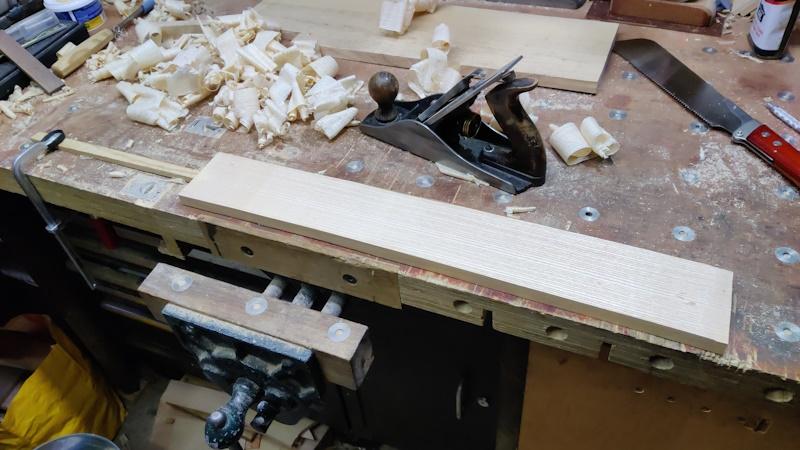
The thin bit acts as a planing stop: it's quite long so the plane doesn't crash into the clamp at the end of the stroke (this will be more important once I get the thickness of the plank down to something more sensible):
I haven't finished flattening one face yet (and haven't decided whether to chop it up into bits before doing so). Once a face is flattened it needs to come down in thickness by quite a lot. I haven't decided whether to try resawing (which I'll almost certainly have to do for the box lid and base), or just to keep attacking it at with the plane. I'm already wishing I'd included some wax (for the plane base) on the list, but I'm trying to resist adding it for now.
Page 2 of 9
This website is free and ad-free, but costs me money to run. If you'd like to support this site, please consider making a small donation or sending me a message to let me know what you liked or found useful.

 Return to main project page