Minimal Tool Challenge Box Build
Page 7 of 9
Posted 19th December 2023
After struggling with the marking up method shown in the last post, I decided to try something different for the last two:
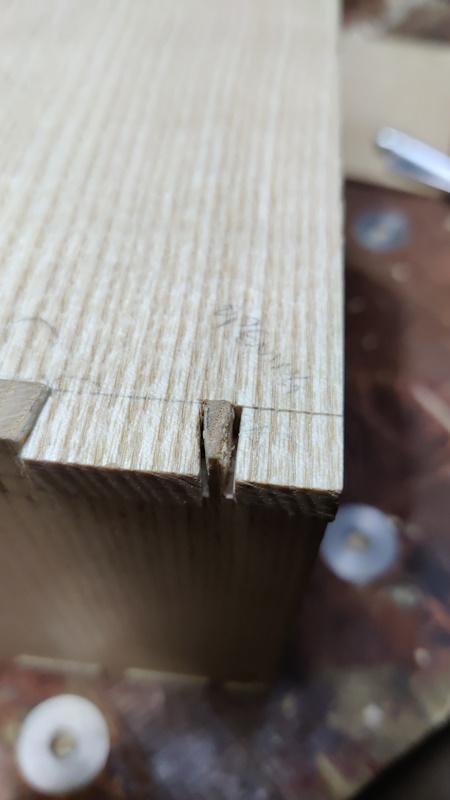
That worked much better and gave me a crisper line to work to. Unfortunately, on one of the joints I then proceeded to saw very carefully on the wrong side of the line on both sides of one of the pins, so I've created some gaps that will need filling later. C'est la vie: I'm certainly not going to remake the part now!
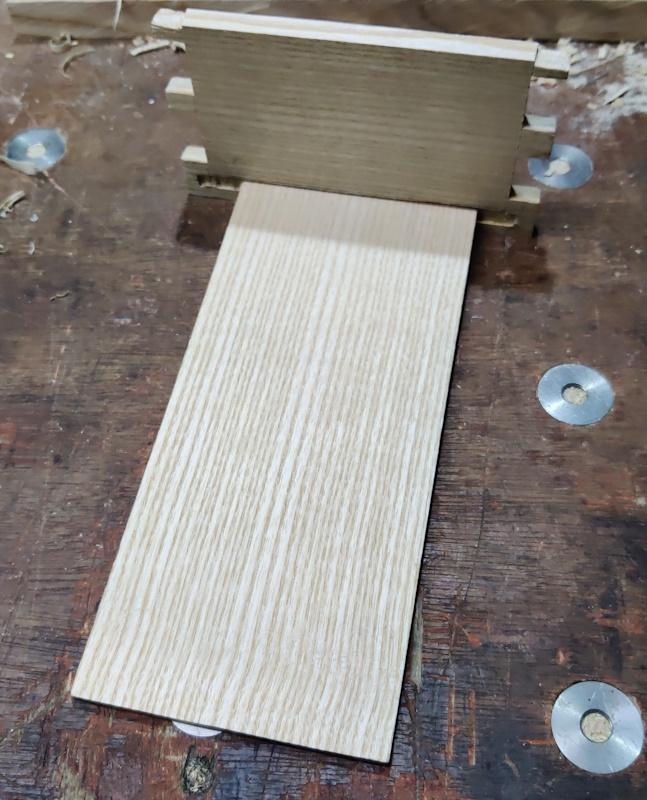
With all the joints made, I could do a test fit and transfer the groove locations across onto the end pieces:
This was the pin where I sawed on the wrong side of the line:
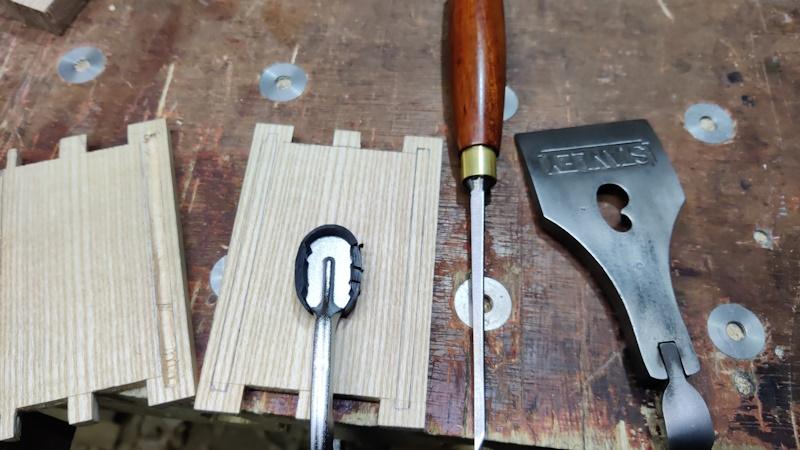
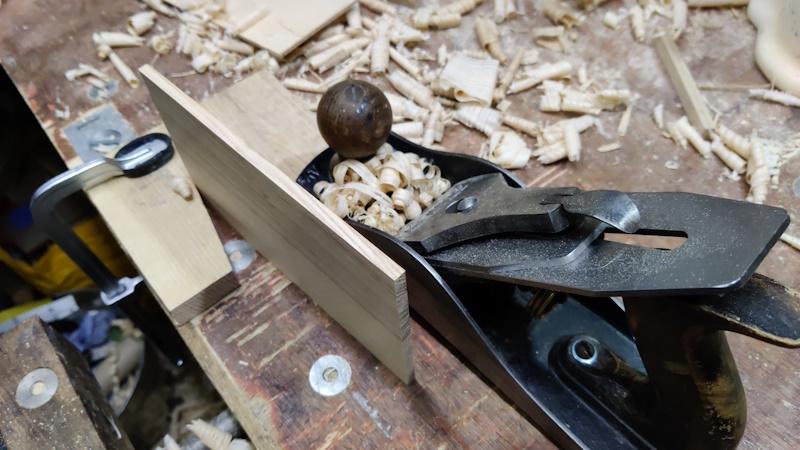
Chopping out the blind grooves was done in a similar way to the previous grooves. The only difference was I chopped down at the end to start the grooves off. This was getting quite hard on the last one; I suspect that's because, despite regular strops on the leather, the chisel is probably in need of a proper sharpen now after all those dovetails. To eke a little bit more life out of it, I used the lever cap from the plane as a hammer for the last few chops:
With all the grooves chiselled, I could get the piece I'd carefully planed to thickness to be the base of the box. Now if only I'd chosen a piece that was actually wide enough before I'd done all that planing. D'Oh!
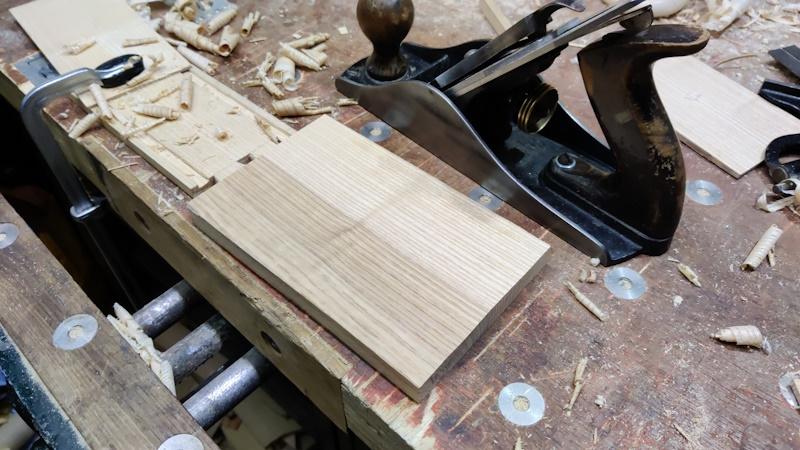
A new piece was sawed from the plank and I planed both faces:
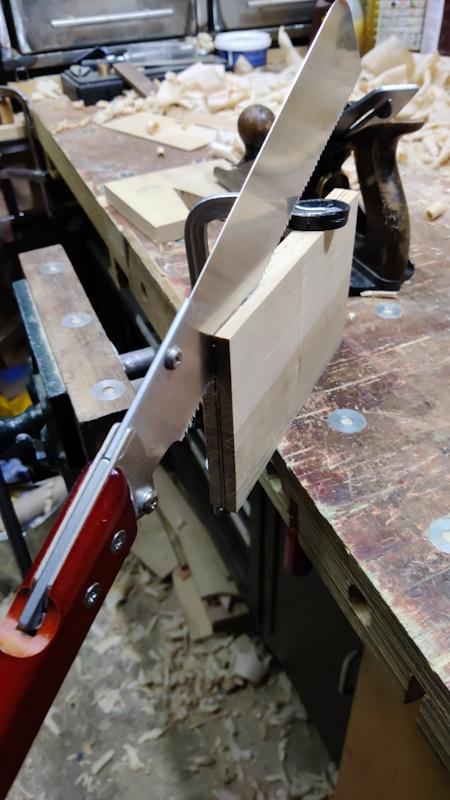
I then tortured myself a bit more by resawing it in half with the cross-cut Kataba (why oh why didn't I choose a rip saw!)
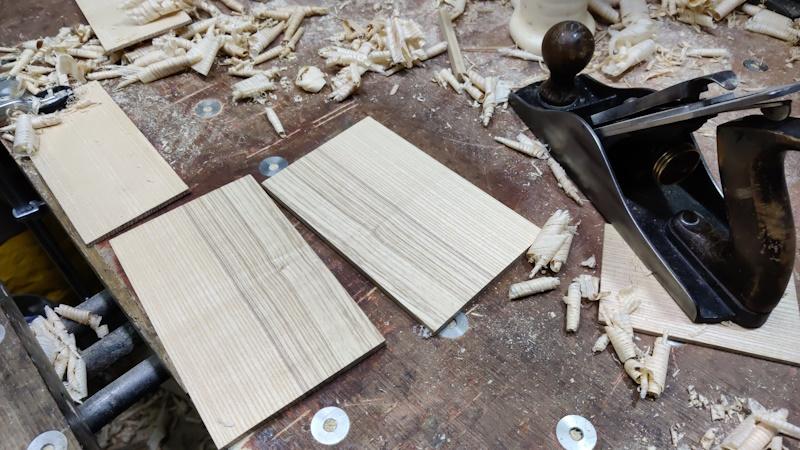
The resulting two pieces could then be planed down further.
Looking at the plane blade, it's clear that it needs sharpening, but stropping it on the leather seems to be letting it keep cutting okay, so I'm still managing without a sharpening stone thus far.
The edges were planed to size in the same way as before:
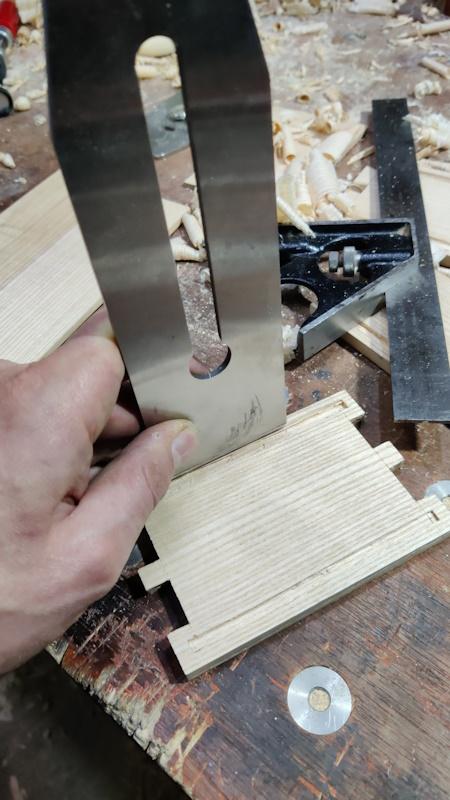
A chamfer was added on the bottom edges of the base. The pockets were also tweaked slightly in size by using the plane blade as a wide chisel:
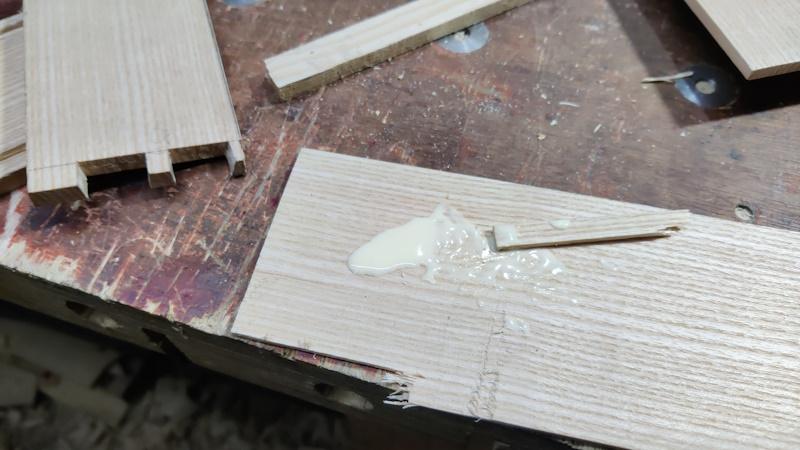
Finally, with everything looking okay, I chopped a bit off one of the offcuts to use as a glue spreader:
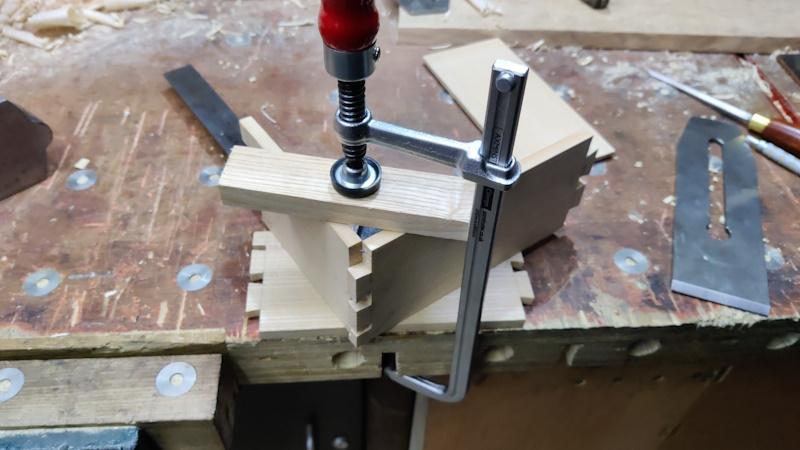
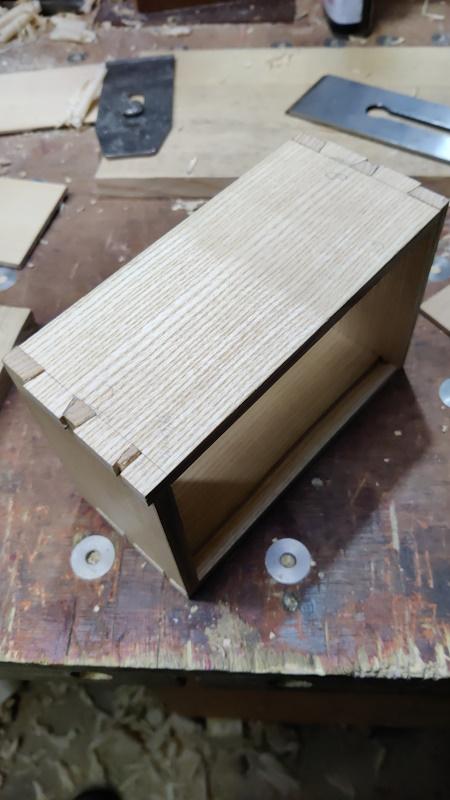
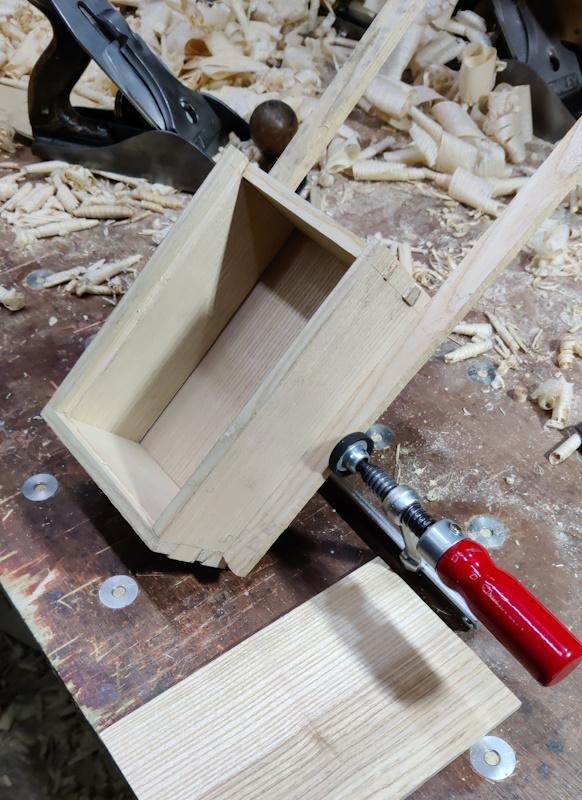
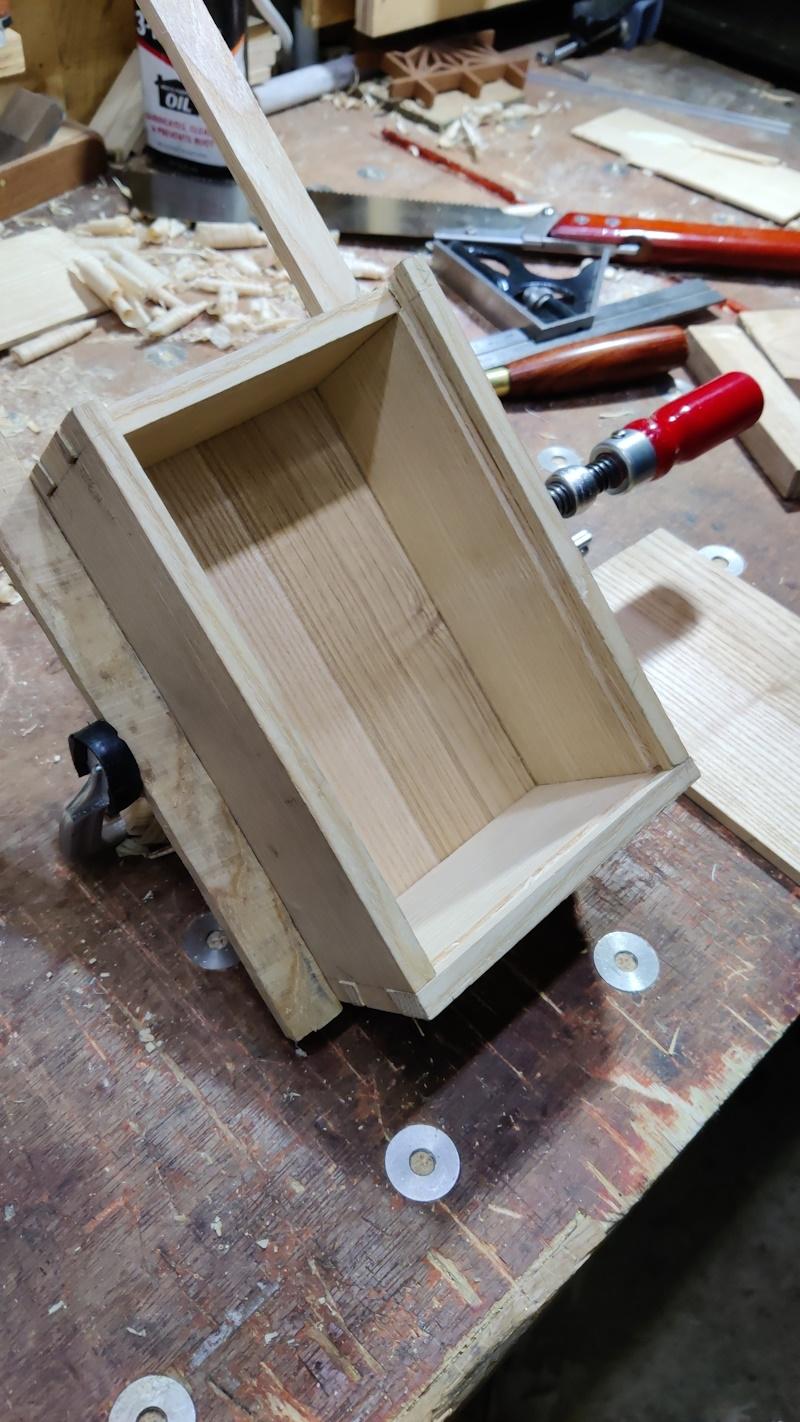
Then glued the box together. With only one clamp in the arsenal, I had to be a bit creative with holding it together, but the joints are very tight, so it probably would have been fine without the clamp in all honesty.
Once the glue has had the night to cure, I'll plane the outside faces and fit the lid. I'll also do something about that gappy dovetail joint.
Page 7 of 9
This website is free and ad-free, but costs me money to run. If you'd like to support this site, please consider making a small donation or sending me a message to let me know what you liked or found useful.

 Return to main project page