
Sycamore Drawer Box Build Process
 Return to main project page
Page 14 of 14
Posted 20th December 2025
During the evenings of the week I applied a few coats of Mike's Magic Mix to the box and drawers (inside and out) and also a coat of paste wax to the sides of the drawers (as I figured it might help with them sliding smoothly in and out). After letting the finish have a couple of days to dry, it was time to get on with the leather feet.
Carolyn lent me one of her punches (a 3/4" / 19 mm diameter one) and some off-cuts of some brown leather:
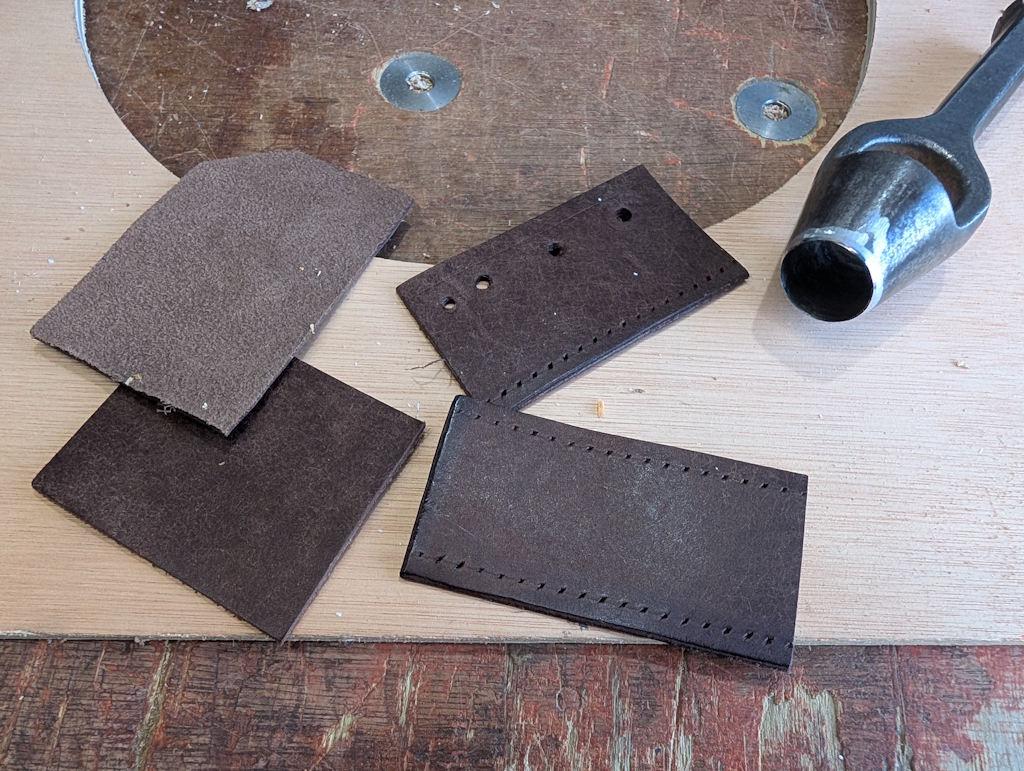
I'm going to use the "furry" side of the leather as the outside surface. Part of the aim of the feet is to stop the box moving around when you pull the drawers out. I took the leather scraps into work (this box will eventually end up on my desk) and the furry side had a lot more friction on the desk surface than the shiny side.
I used the punch to make the feet (along with quite a few spares in case of later errors or just losing the little circles!)
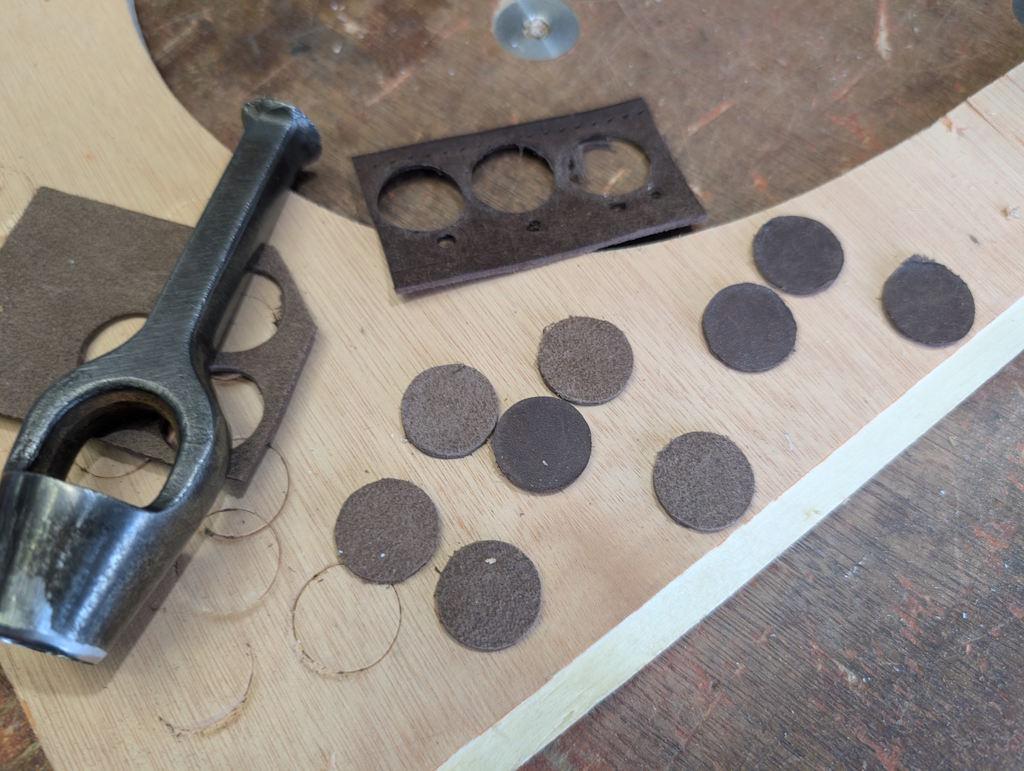
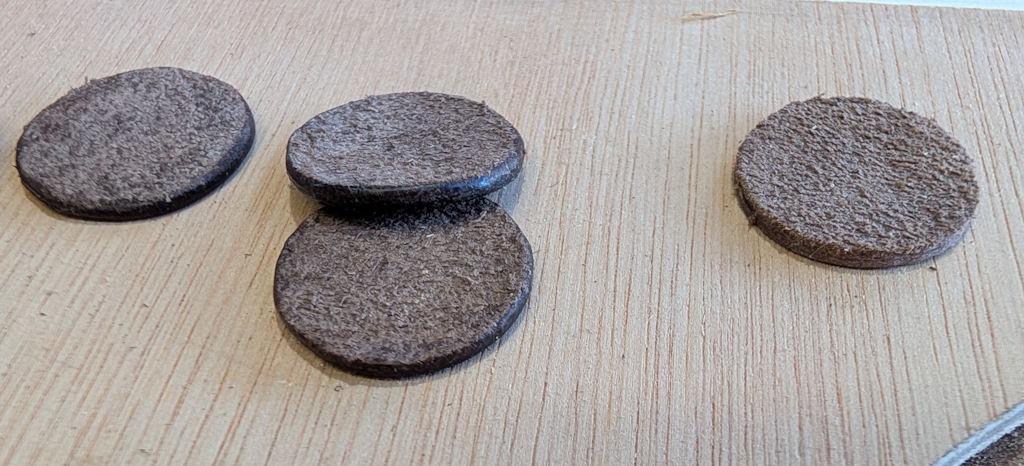
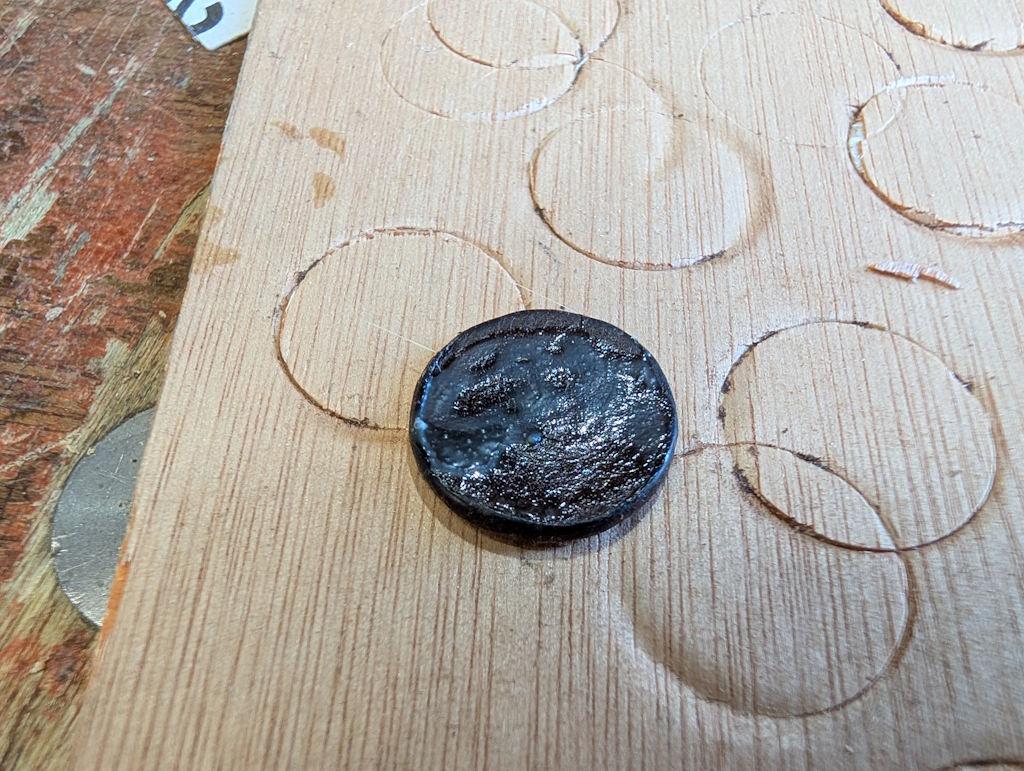
I then gave them to Carolyn who (and I quote) "burnished the edges with Tokonole (a Japanese edge-finishing and burnishing agent) along with a wooden burnisher and some canvas". The one on the right in the following photo hasn't had its edges treated and I hope you can see the difference:
I didn't trust myself to do a neat job of fitting the feet so I decided to give myself as much assistance as I could. I started by peeling off a length of double-sided tape, throwing the tape away (but keeping the backing) and sticking some masking tape to the backing:
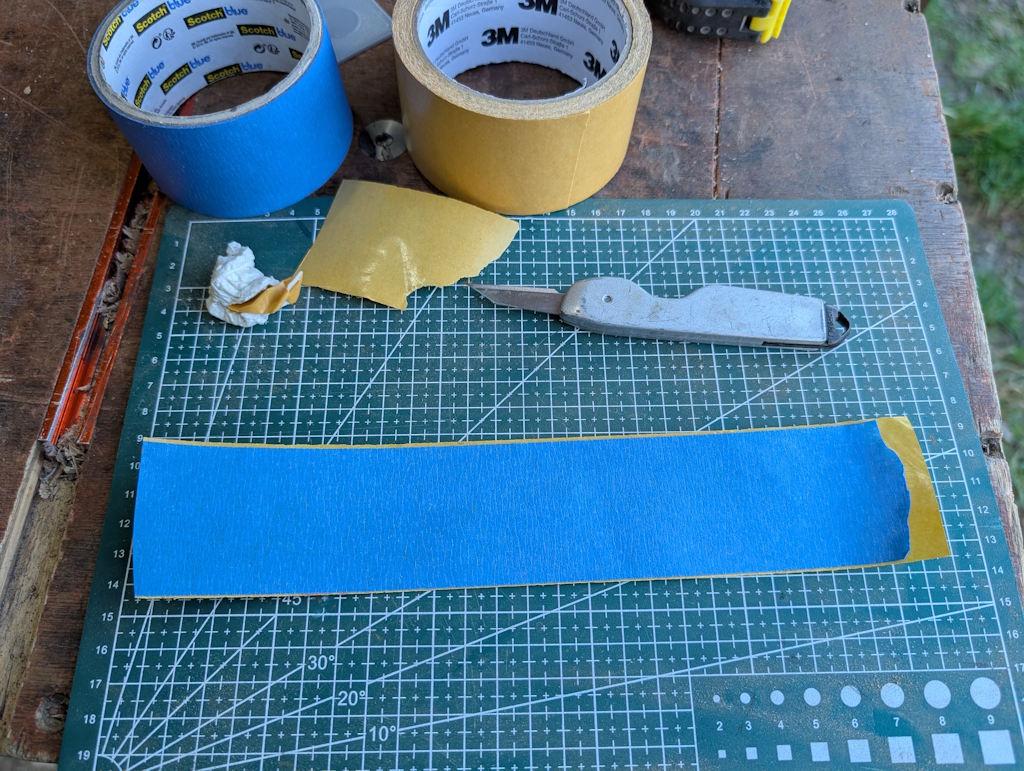
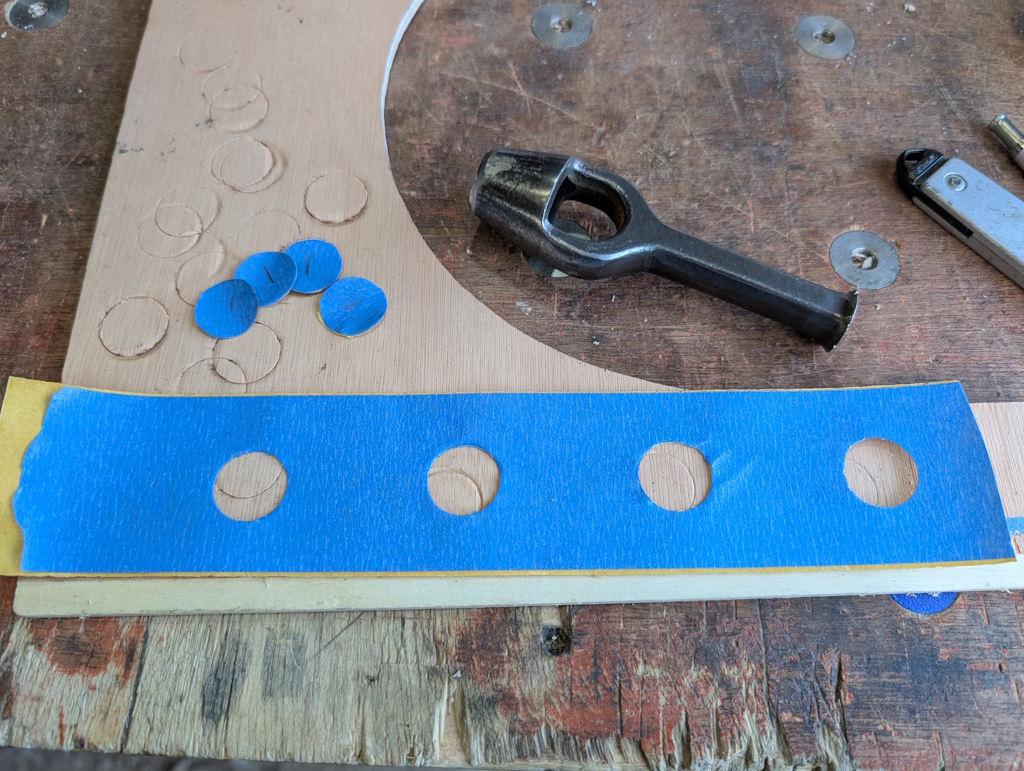
The same punch as before was then used to make a series of holes in the masking tape and backing:
In preparation for this job, the 3D-printer had made this little cutting guide, which has a shallow raised section of the same diameter as the feet:
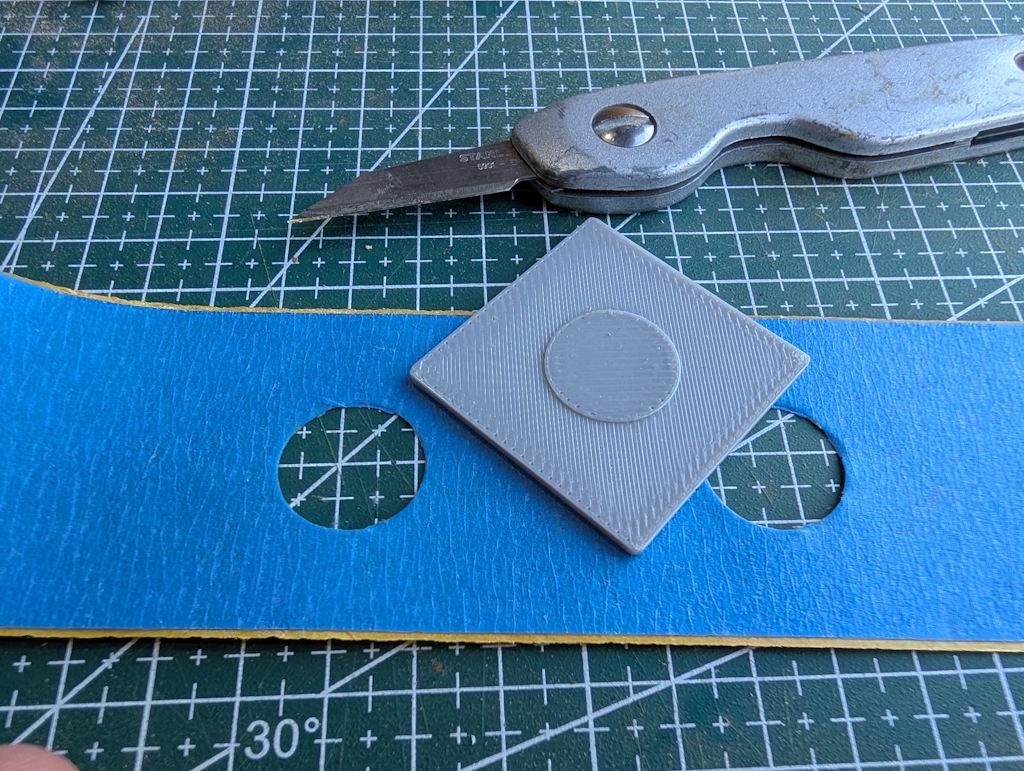
That got held down onto the masking tape and the edges used as a reference for a knife cut all the way round:
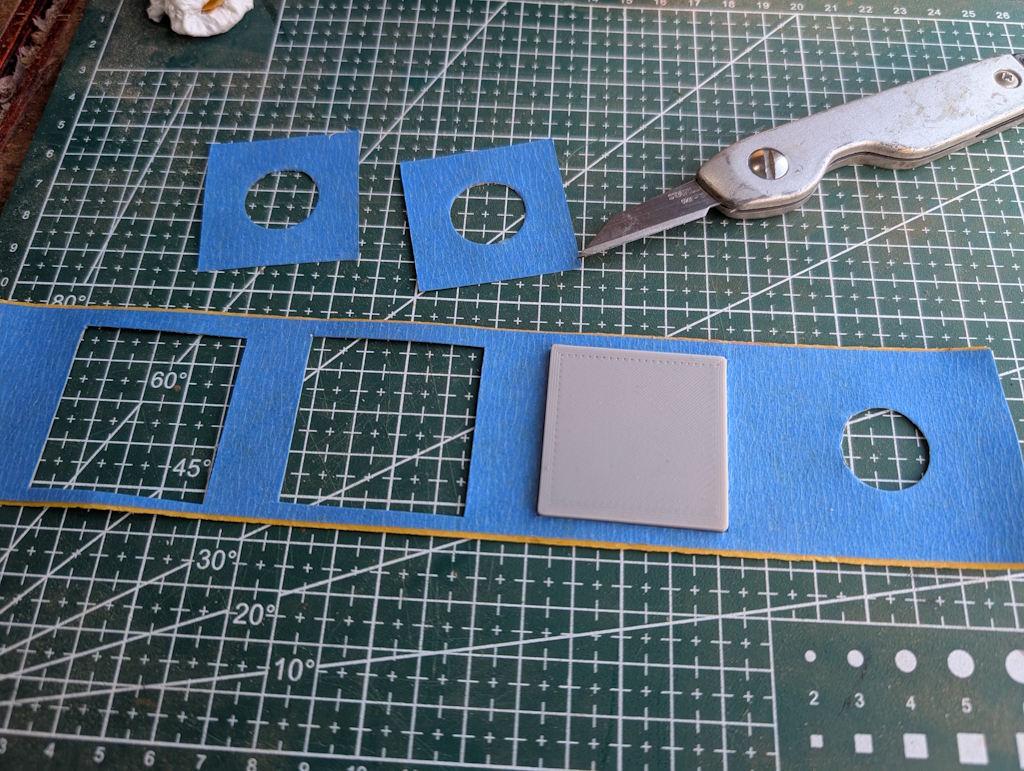
The little masking tape pieces could then be peeled off the backing and applied to the bottom of the box with the edges lined up with the edges of the box. To help the glue stick I used my thinnest card scraper to roughen up the surface slightly (taking some of the finish off) within the circle and then I applied some contact adhesive:
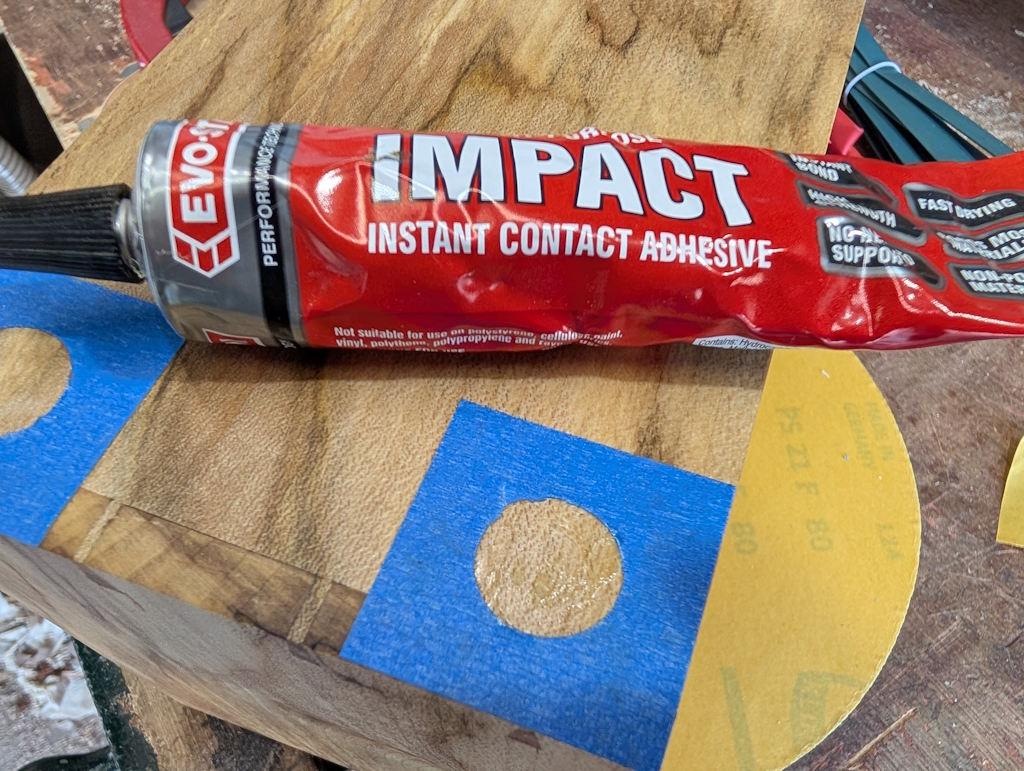
I also applied some contact adhesive to the shiny side of the leather feet:
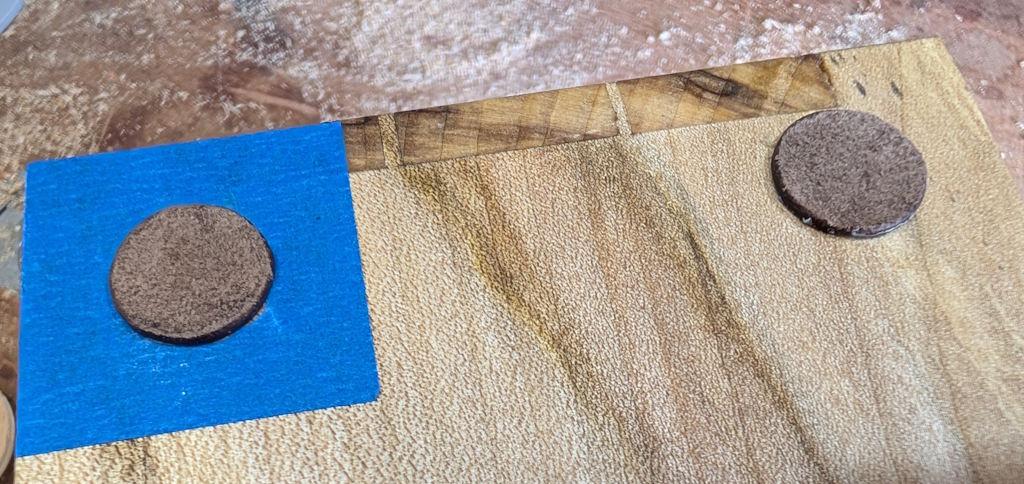
The feet could then be pressed firmly into place and then the masking tape peeled away:
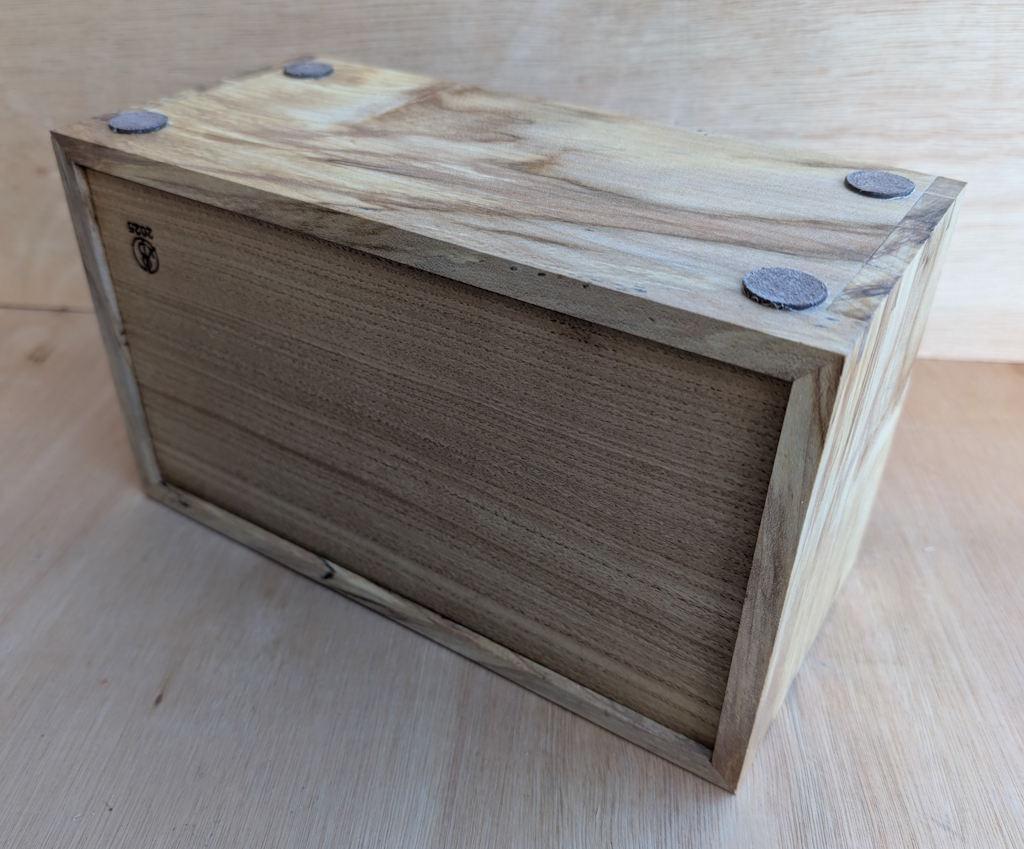
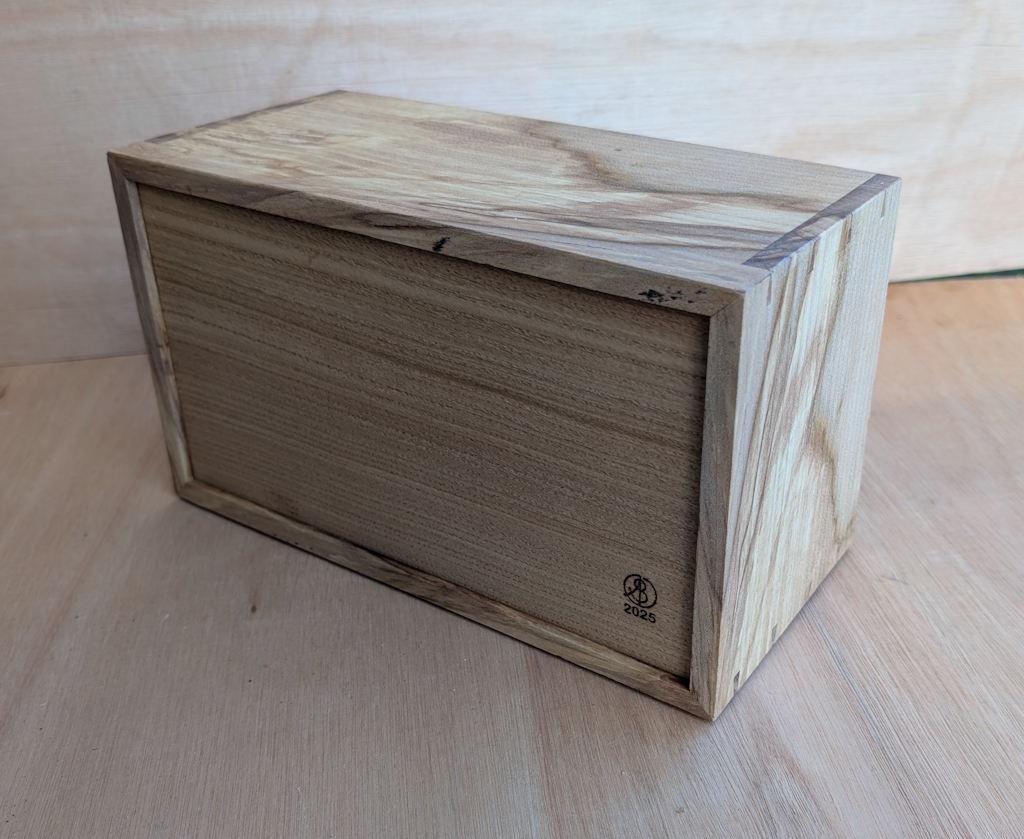
The finished underside and back of the box:
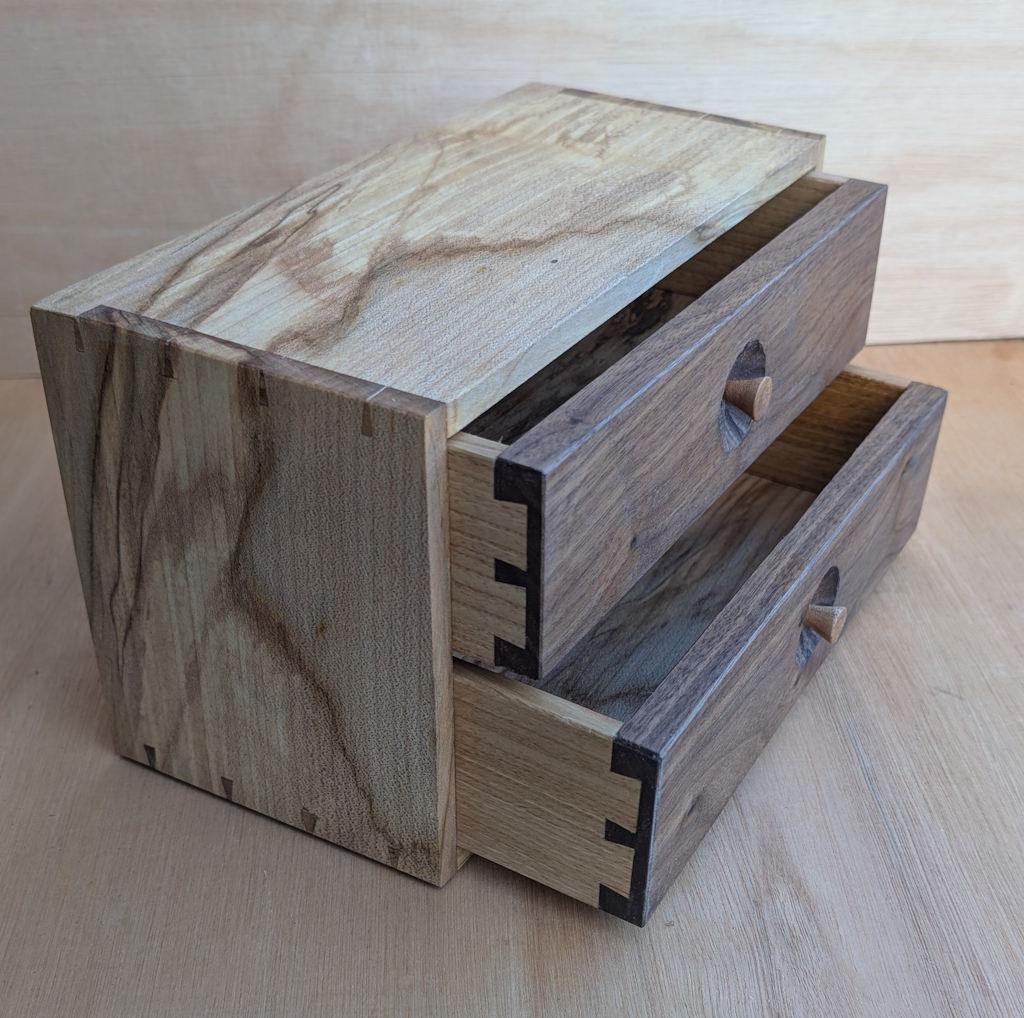
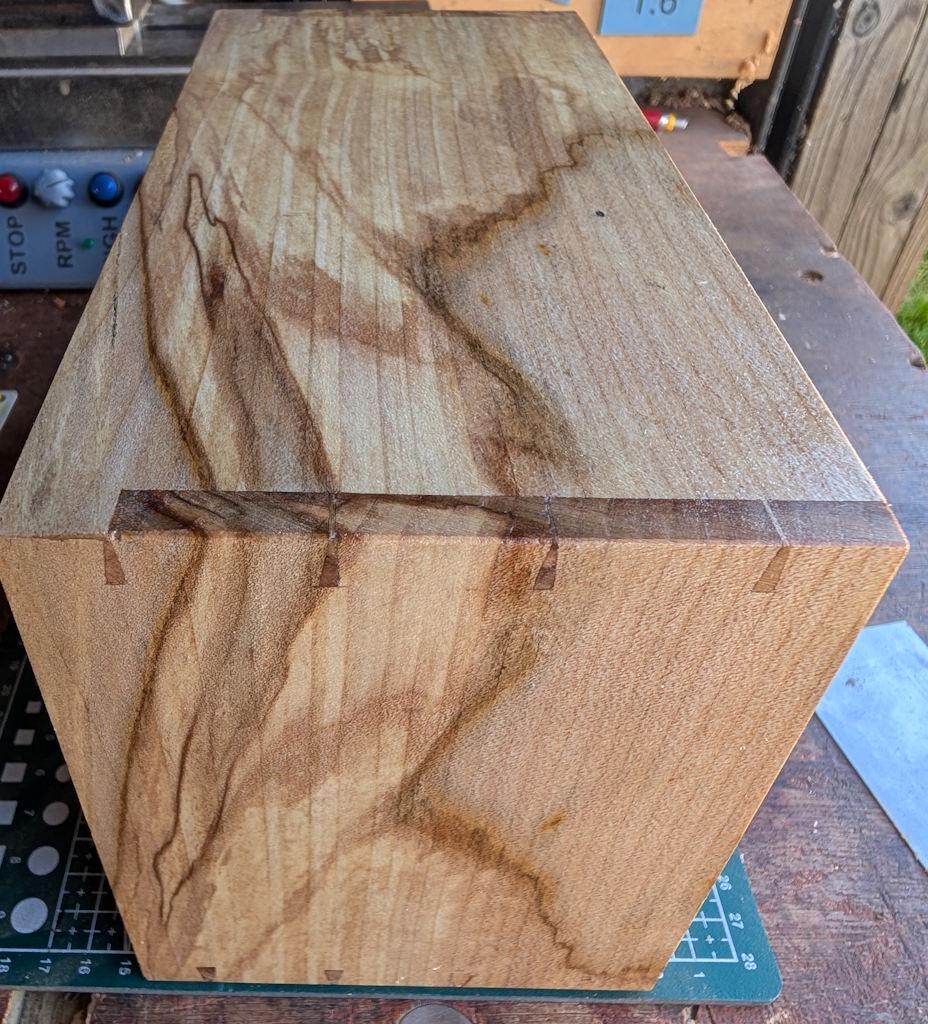
This photo shows the drawer joinery and that fabulous looking (in my opinion) grain "pouring" over the rim:
Rear view:
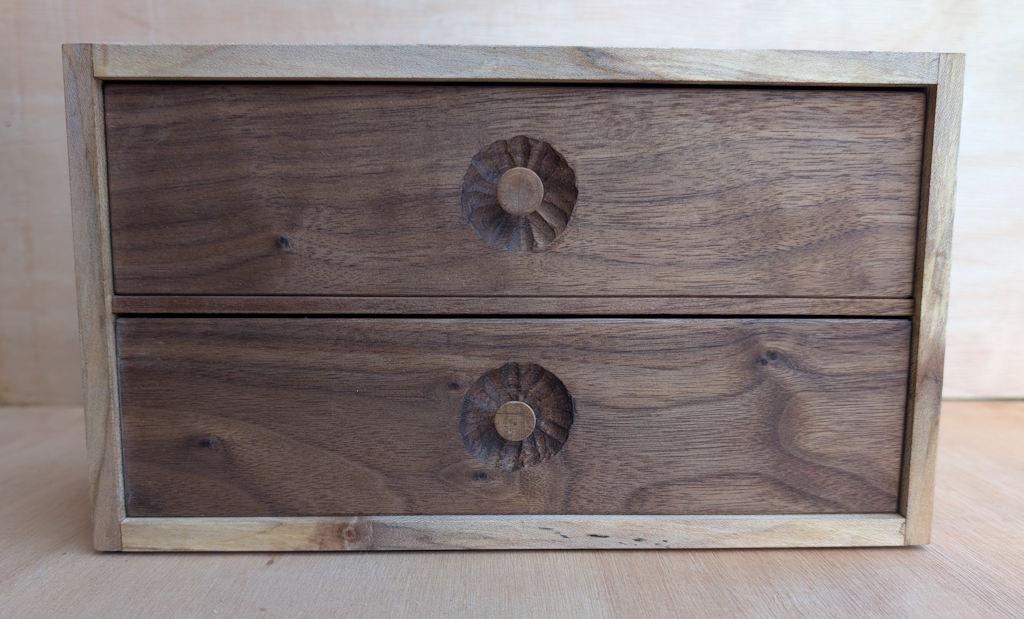
Straight on at the front:
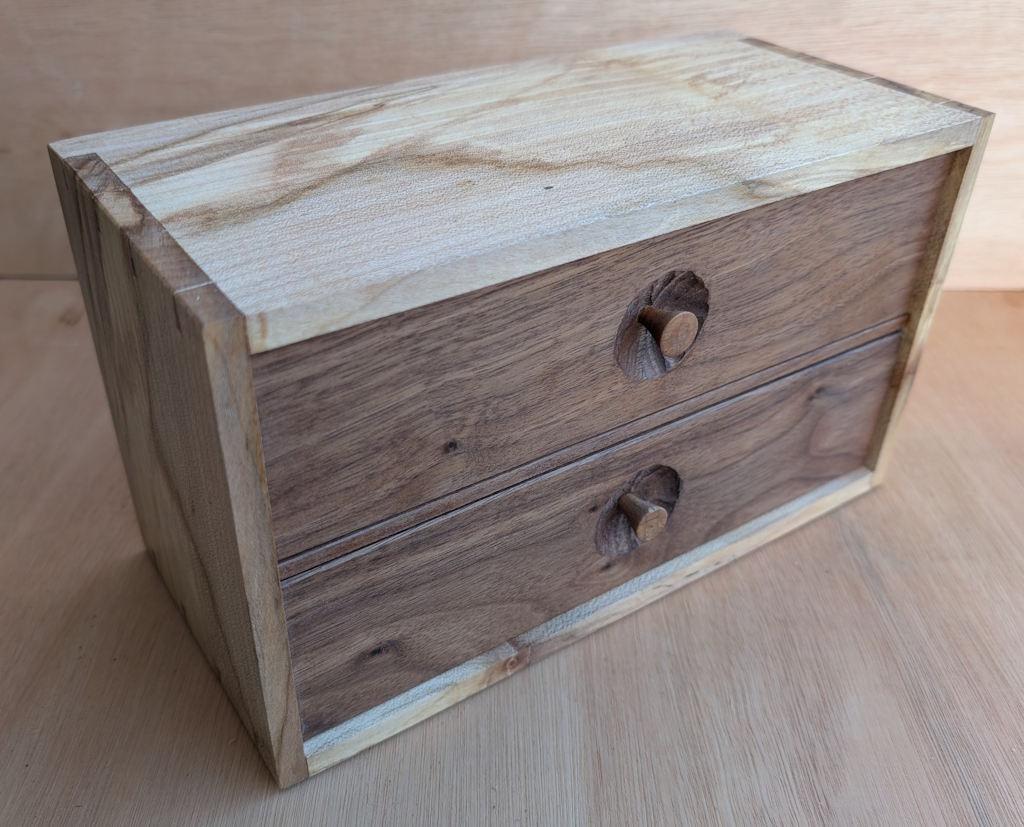
Some more:
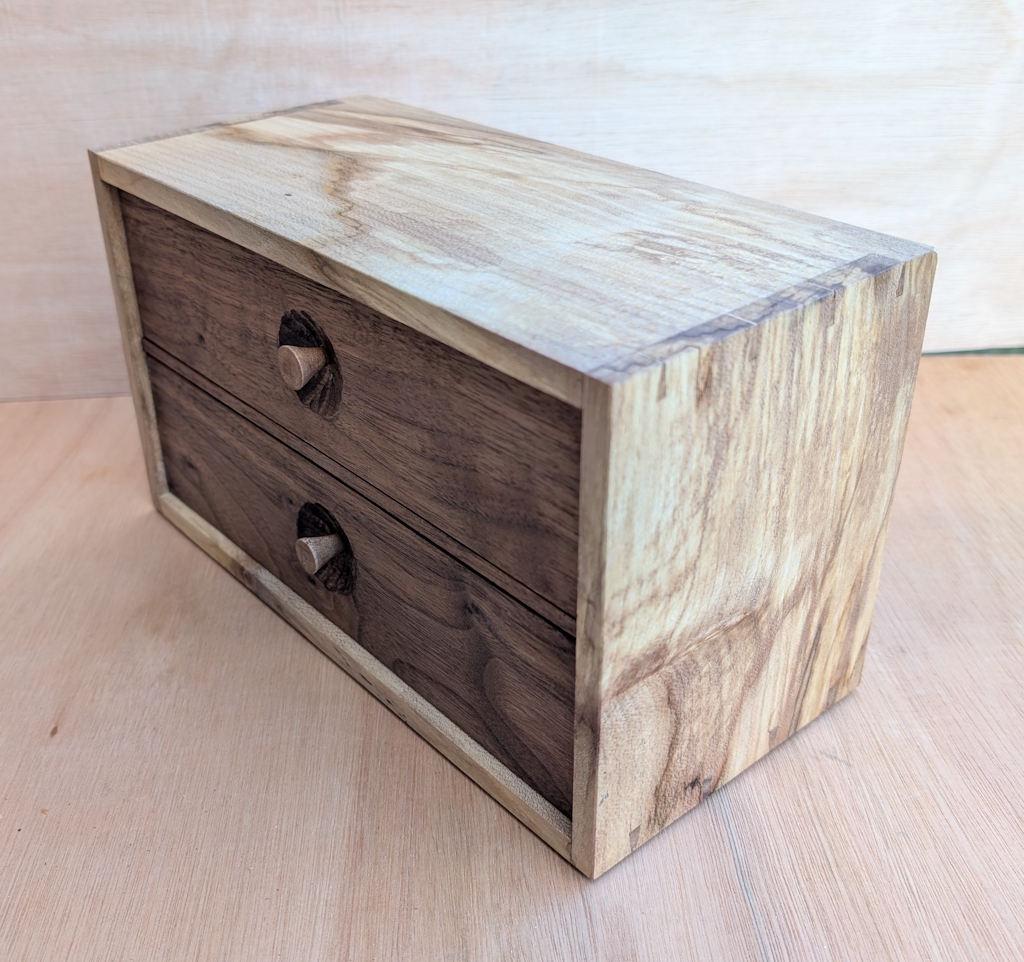
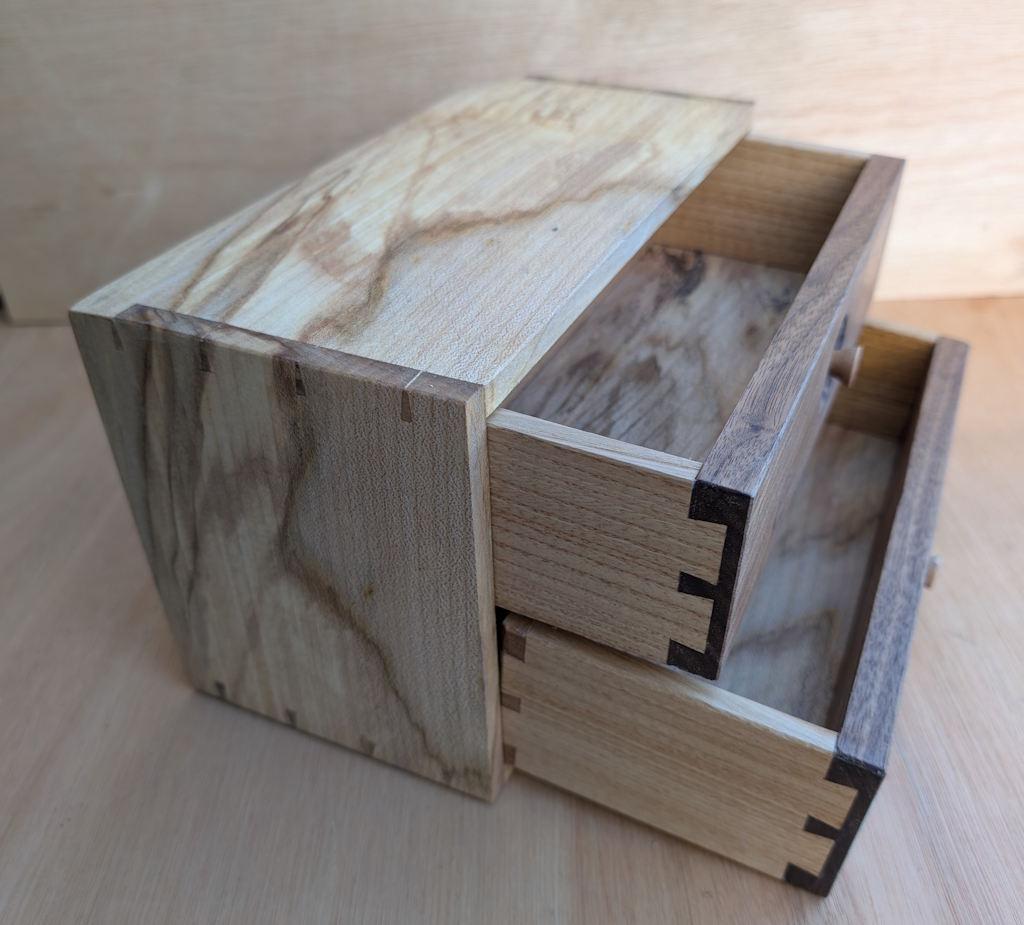
A close-up view of the flowing grain:
Page 14 of 14
This website is free and ad-free, but costs me money to run. If you'd like to support this site, please consider making a small donation or sending me a message to let me know what you liked or found useful.