Woodturning Lathe Build Process
Page 19 of 65
Posted 1st March 2024
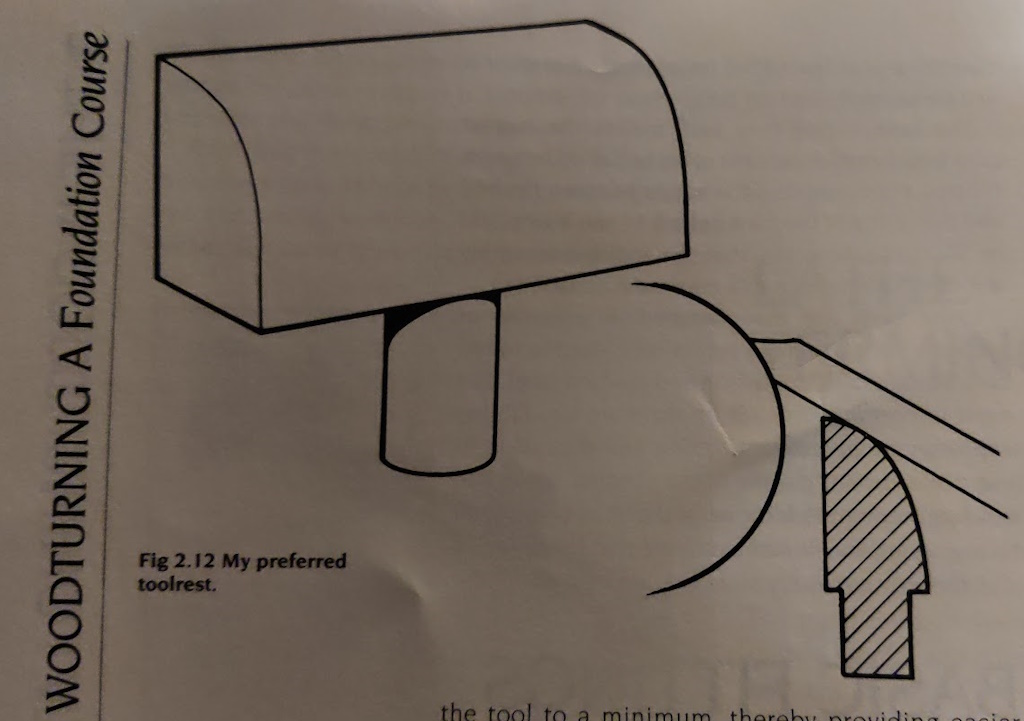
The next job, which I've been somewhat nervous about, is making the tool rest itself. In the excellent (from what I can tell, never having used a lathe!) book, Woodturning: A Foundation Course by Keith Rowley, he comments that most lathes have a less-than-ideal tool rest shape. This is the shape he recommends:
Making that shape seemed a bit too difficult to me, but I thought I'd try to make something that approximates it. After spending quite a long time thinking about ways to make something neat (as opposed to just roughing it out with an angle grinder and ending up with something shabby but workable), this is what I came up with.
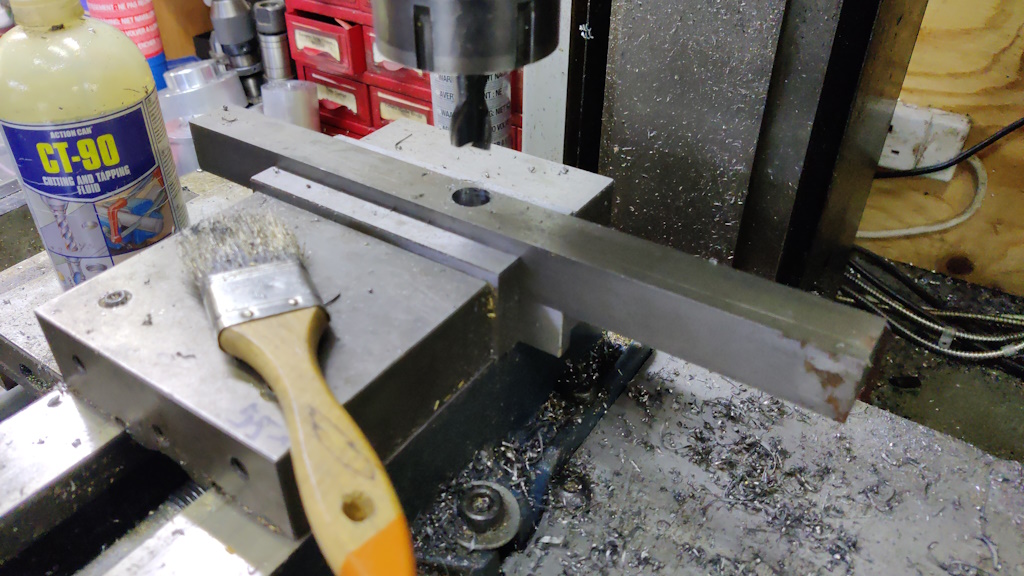
I started by mounting a 300 mm long bit of 25 mm square bar in the mill vice and squaring the ends up. I suspect I'll eventually decide that 300 mm is a bit long (if it interferes with the tailstock and headstock too much), but I figured it would be a lot easier to shorten it later than try to lengthen it!
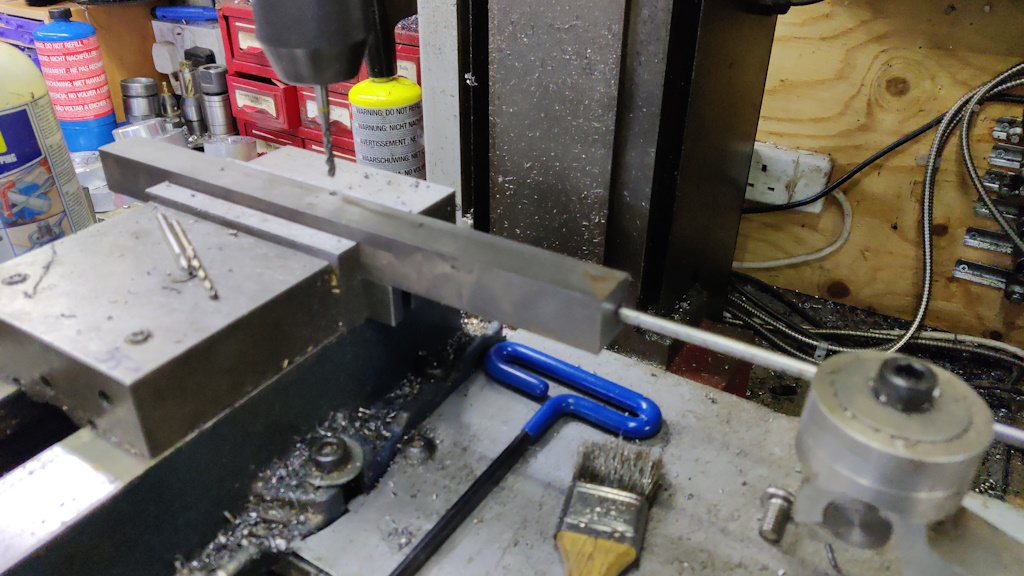
Once the ends were squared up, I drilled and end milled a flat-bottomed 16 mm hole, about 16 mm deep. Sorry for the blurriness of the next two photos...
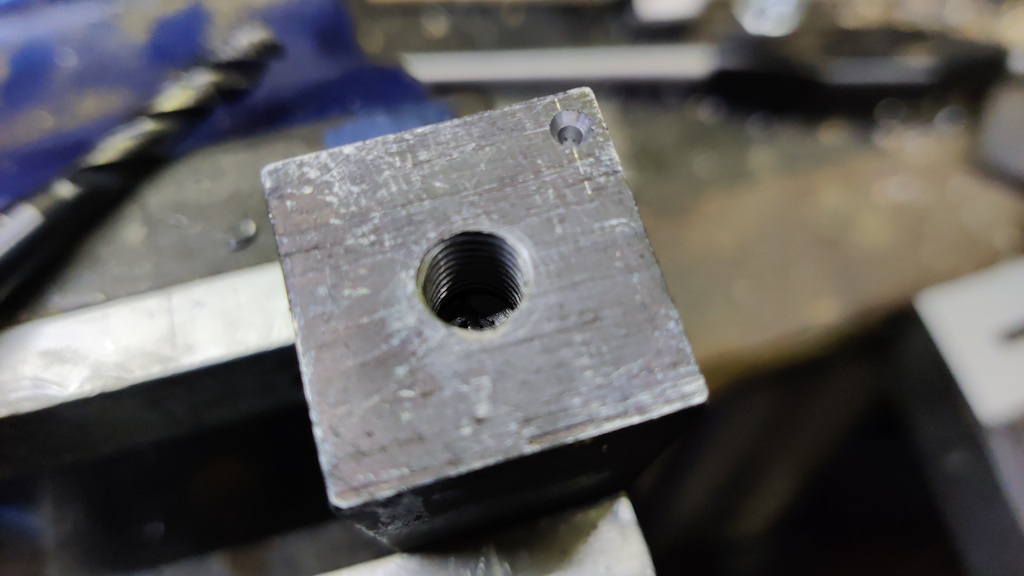
I then fitted an end stop to the mill table, rotated the part through 90° and then drilled and tapped an M5 hole (and then took another blurry photo):
The end stop was used as the hole position wasn't that critical and it's a lot quicker to use that than to use an edge finder to find the middle of the bar after moving it.
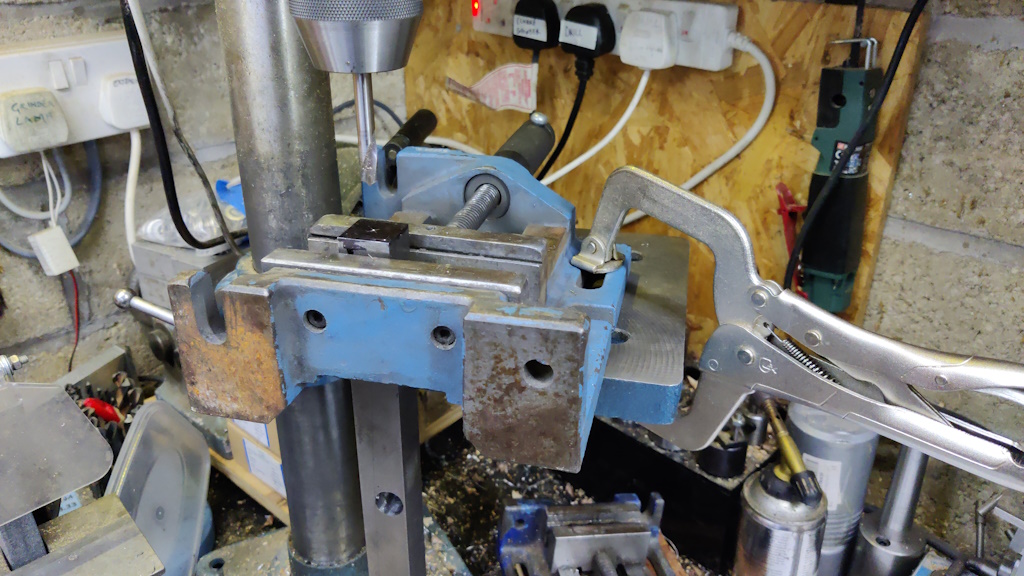
I had hoped to drill some holes in each end using the milling machine, with the bar stood upright clamped to an angle plate. Unfortunately, the milling machine wasn't tall enough, so I had to just mark the holes out as carefully as I could and then do my best to drill them in the right place using the pillar drill, with a vice overhanging the table and clamped in place with a C-clamp:
The holes (matched on both ends) consist of a very small centre hole near the corner and an M8 tapped hole in the middle:
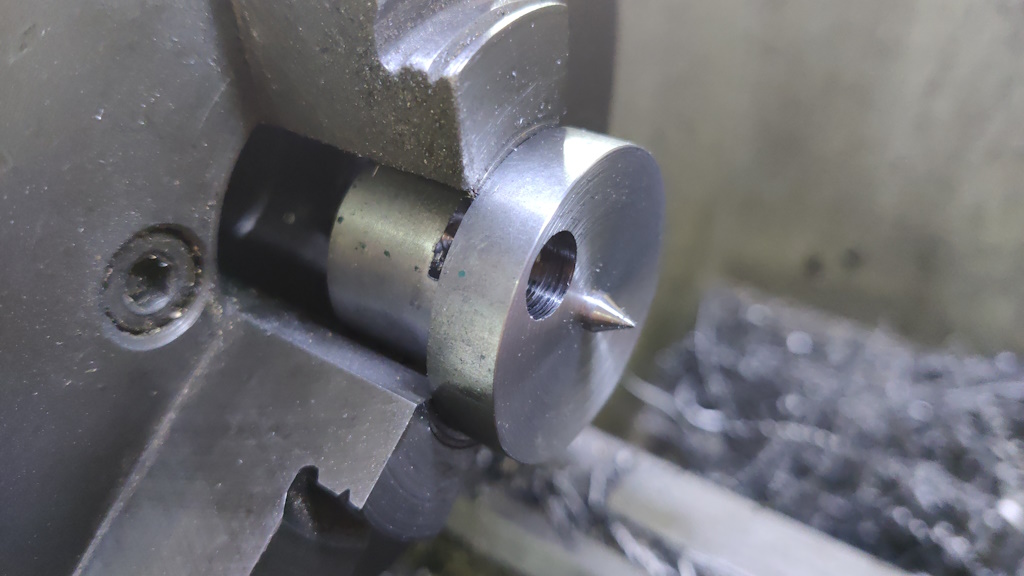
I used an offcut of steel to make a special live centre. This has a 10 mm hole drilled about 14 mm from the centre and then a 60° point was cut on a reduced diameter section to make the centre:
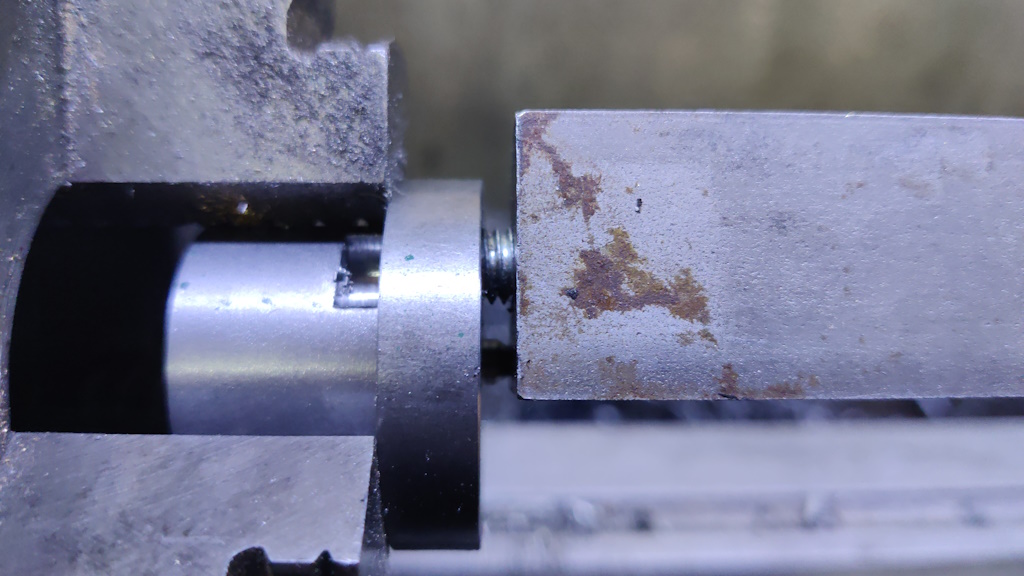
The tool rest blank got a small piece of M8 threaded rod screwed into the centre hole and that goes through the 10 mm hole of the live centre and acts as a drive dog, while giving access to the entirety of the outside of the piece.
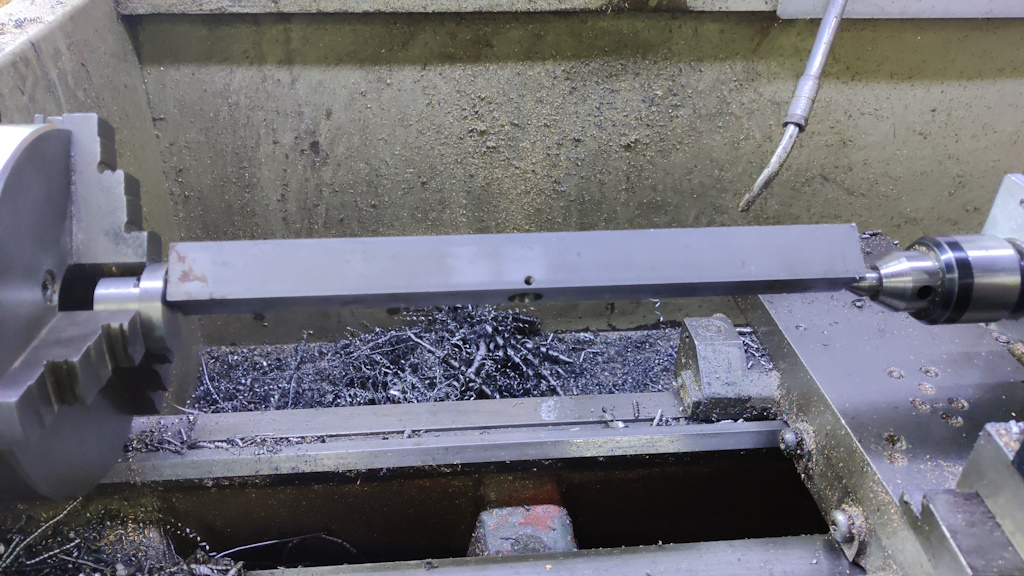
This shows the whole tool rest blank in place:
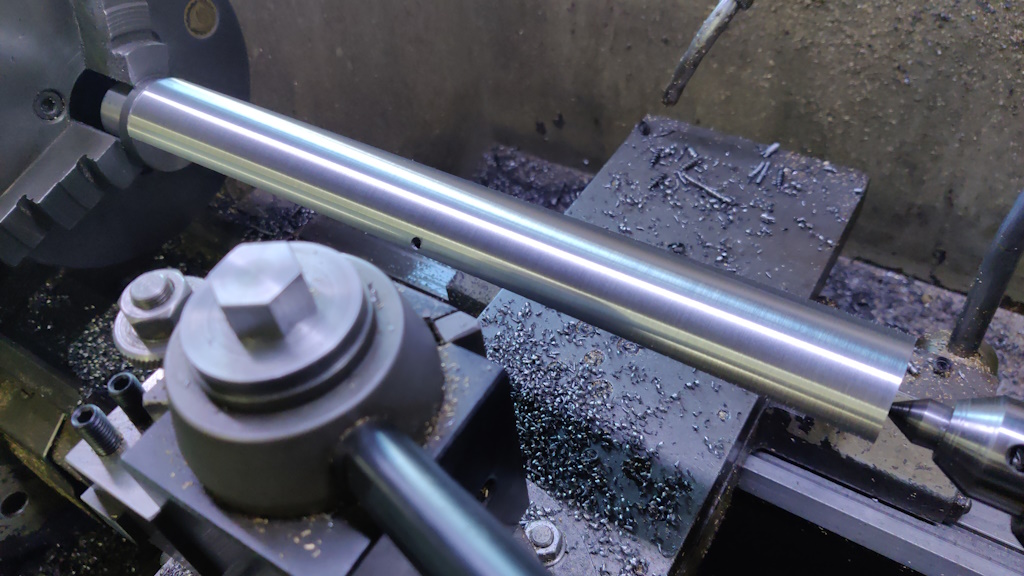
I was very nervous about this as the centre holes are tiny (as they're only 3 mm from the each side, I could only really use a 4 mm centre drill), but it went okay. This was the first pass:
It took about 10 minutes to do each pass and there were rather a lot of passes, so it took a couple of hours to bring the tool rest to its final shape. About half-way through, the live centre (at the chuck end) snapped off in the part, so I had to redrill the centre hole (again using the pillar drill) and cut a new 60° point on the live centre before I could carry on. The second point lasted until the end.
After getting it to something that looked like the right shape, the fairly heavy-duty carbide cutter I was using (which I thought stood the best chance of surviving the interrupted cuts) had left a rather rough finish, so I swapped to a sharp rounded-tip high-speed steel tool and took a final light pass. In this video, you can just about make out the improvement in finish as the high-speed steel cutter works its way along the rest:
The finish after that pass looked a lot better:
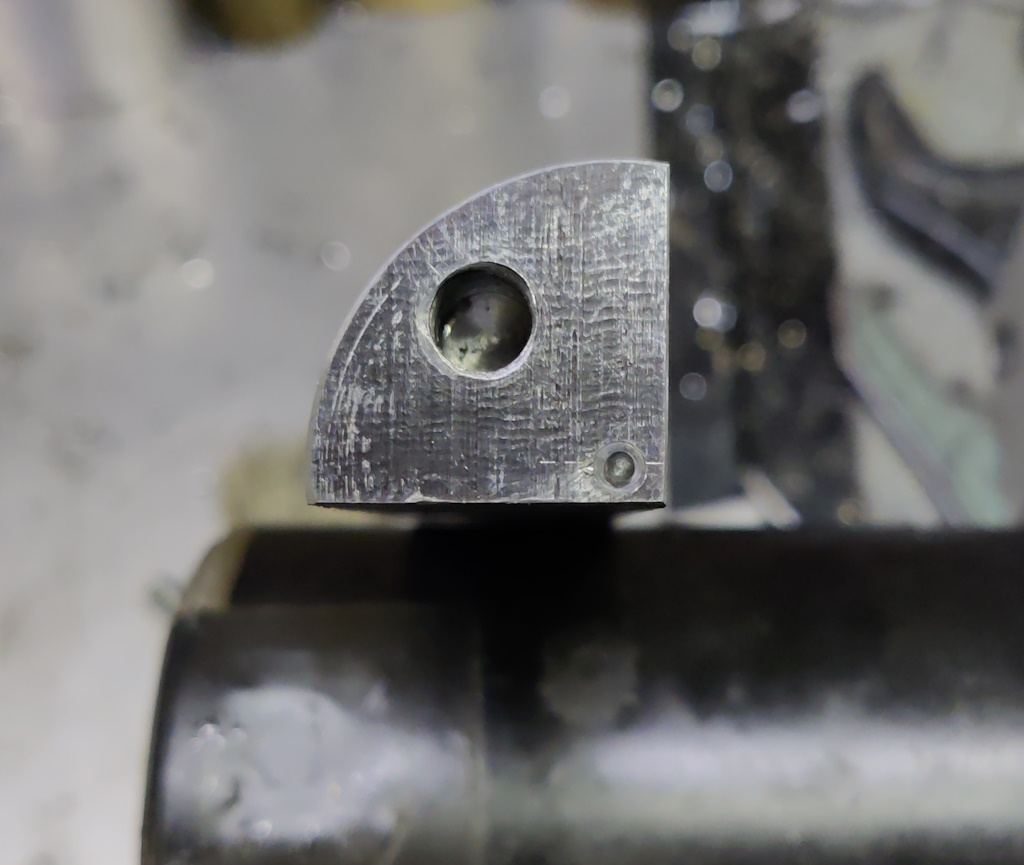
This photo shows the finished tool rest profile (and the slightly mangled little centre hole, which had taken a lot of abuse!):
A while ago I made a filing machine (also known as a die filer), to a design by Harold Hall. That design called for some ground-to-size 16 mm EN1A bar. I had about 110 mm left over from the filing machine, so I figured that would do as a tool rest support for now. If it ends up not being long enough, it will be very easy to swap it for something else (such as the silver steel bar I used when testing the hole in the tool rest slide).
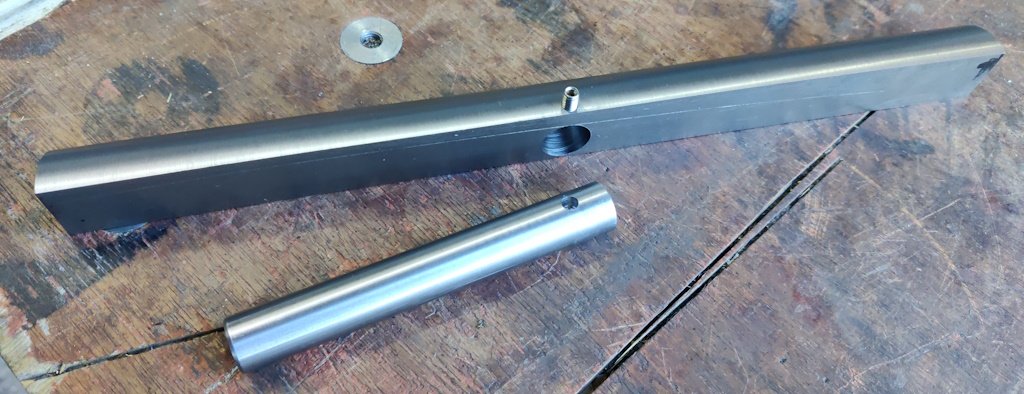
Preparing that bar only involved facing the ends and then drilling a hole for the grub screw to go into (to help make the grub screw be flush with the outside of the tool rest)...
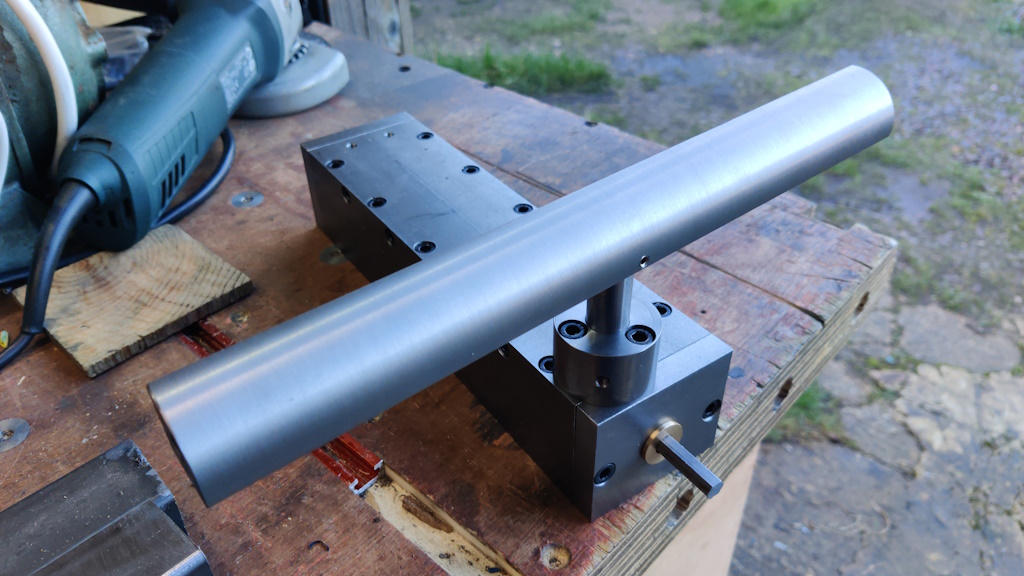
... and that's the tool rest complete. I'm really pleased how this has come out as I was quite worried about whether that method of cutting the shape in the lathe would work or not.
Page 19 of 65
This website is free and ad-free, but costs me money to run. If you'd like to support this site, please consider making a small donation or sending me a message to let me know what you liked or found useful.

 Return to main project page