Tailstock Modifications
Cam-Lock Tailstock
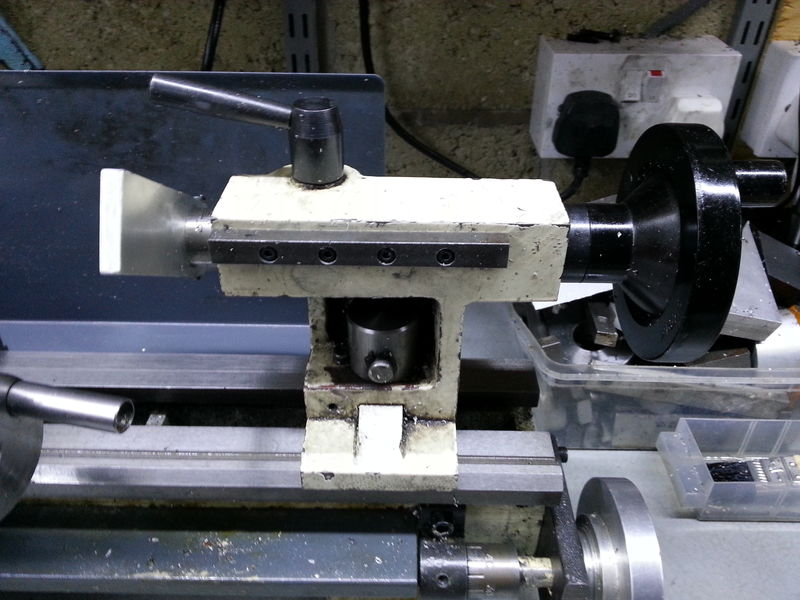
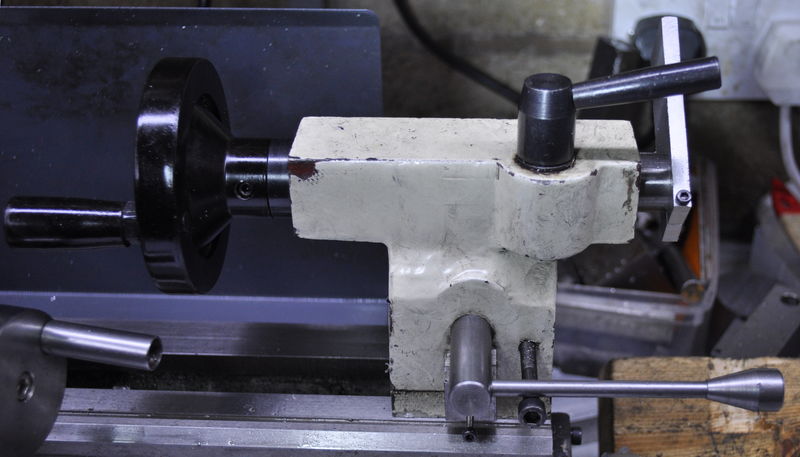
This is probably the most important modification to make to the mini-lathe. The standard method of fixing the tailpost in place is with a spanner, but this is time-consuming and very difficult when the tailpost is close to the carriage. Once you've made this modification, you'll wonder how you ever managed without it. If you buy the SC3 mini-lathe from arceurotrade, this modification is done for you, but my Axminster SC2 doesn't have this as standard.
The design is based very closely on the one from John Moran's website, except I used a circlip instead of a screw to hold the assembly together. As I used a fairly large diameter housing for the screw, I had to make a small cut-out on one side to accommodate the locking screw.
Tailstock Stand
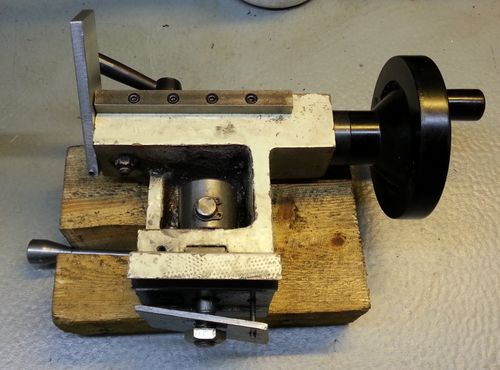

I generally prefer to leave the tailstock off the ways when I'm not using it. This gives a bit more space to work. However, the shape of the tailstock isn't especially conducive to leaving it anywhere other than on the ways, so I made this very simple stand for it to live on. It was cut out of a bit of scrap wood with the bandsaw and tweaked with a chisel.
Dial Gauge Mount

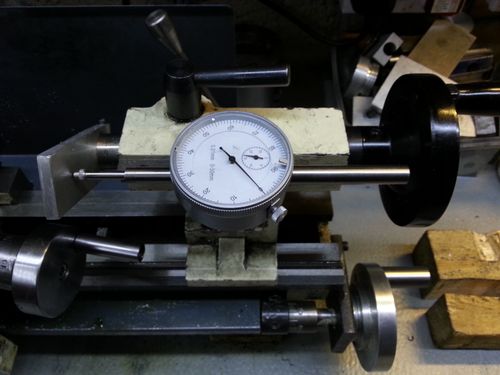
On the side of the tailstock is a piece of 10 mm × 8 mm mild steel attached with some counterbored M3 cap-head screws. Attached to the barrel of the tailstock is an aluminium plate. These can be used with my dial gauge mount to measure the position of the tailstock barrel. When not in use it is very easy to remove the dial guage (as it's only held on with magnets).
Tailstock Alignment
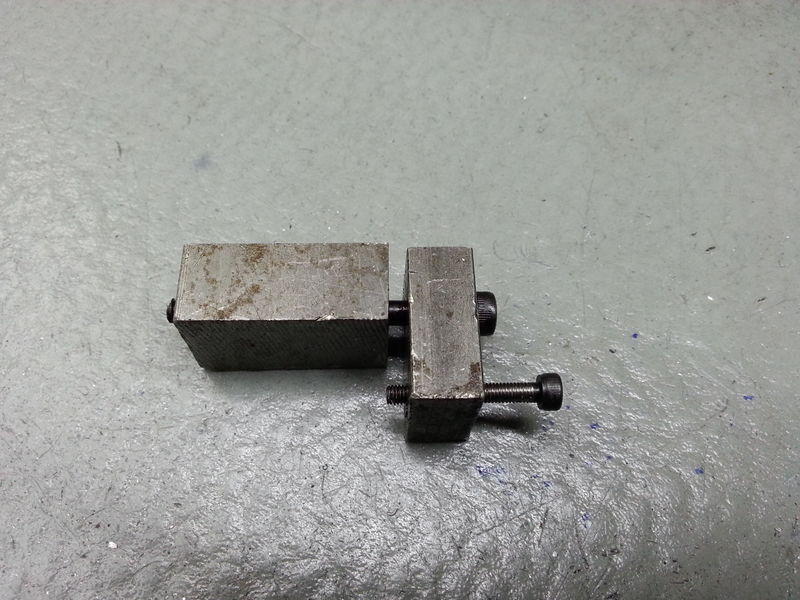
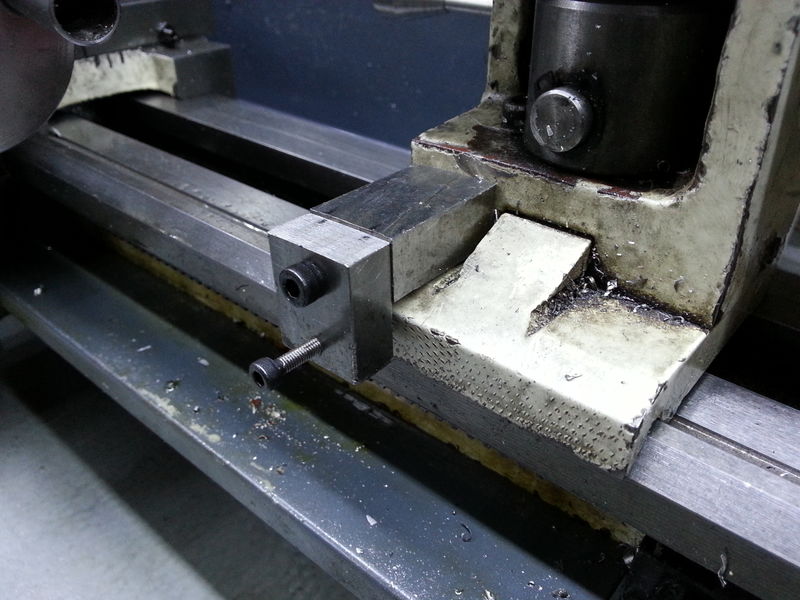
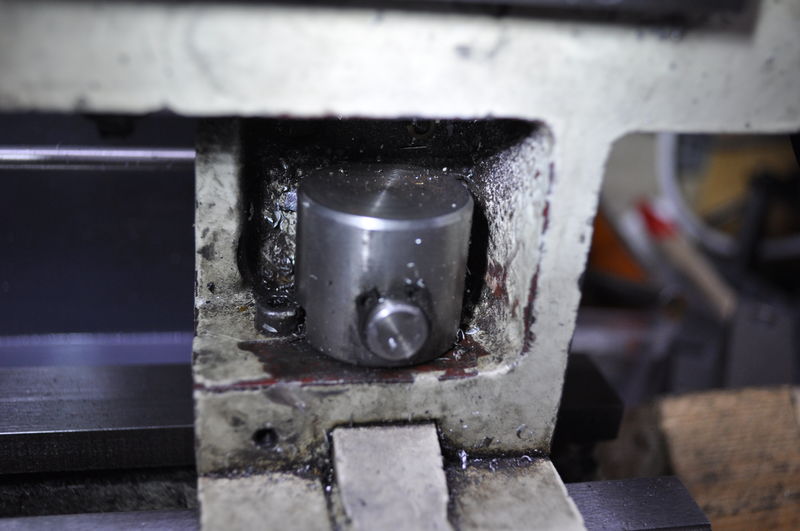
To assist with accurate adjustment of the tailstock for alignment with the headstock, I drilled and tapped two holes in the tailstock (one on the front and one on the back). There are some L-shaped blocks (made out of two pieces of scrap steel filed roughly square) that screw into these holes with M4 screws. There is a tapped hole in the block that takes an M3 screw which can be used to push the tailstock by very small amounts (after loosening the locking screw slightly). This makes adjustment of the tailstock a relatively painless process. The rear adjuster is permanently fitted (shown on the photo at the top of the page); the front adjuster gets in the way a little so I keep it in a drawer until needed.
Locking Screw
The standard locking screw is accessed from underneath the tailstock. Following a suggestion on Mike's Workshop, I've moved this to the top, which makes it much easier to align the tailstock.
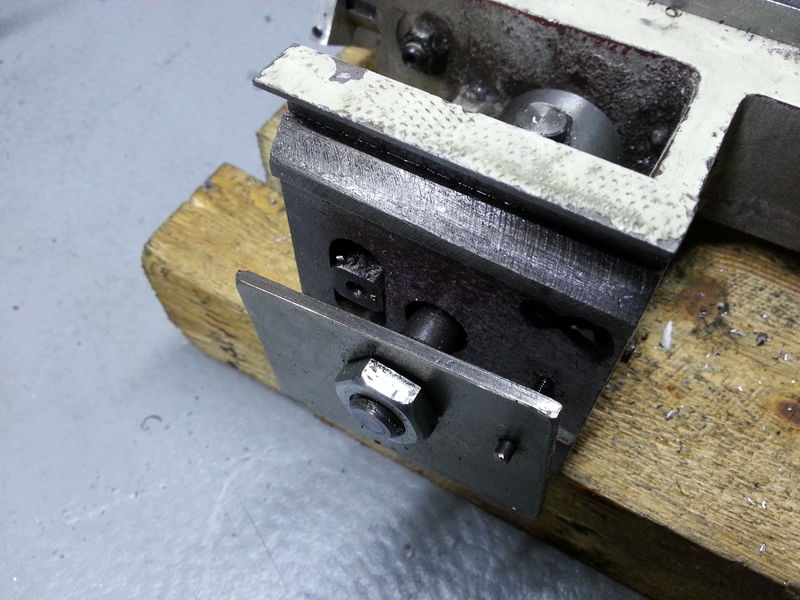
This photo shows another view of the base of the tailstock. The pin on the right-hand side of the photo prevents the locking plate from rotating while the cam-lock is tightened.
This website is free and ad-free, but costs me money to run. If you'd like to support this site, please consider making a small donation or sending me a message to let me know what you liked or found useful.

