
Sycamore Drawer Box Build Process
 Return to main project page
Page 2 of 14
Posted 10th September 2025
A good chunk of today was spent exploring the Pyrenean foothills (the cloud cover was too low to be worth going up higher), but I did manage a little bit of work on the box before and after.
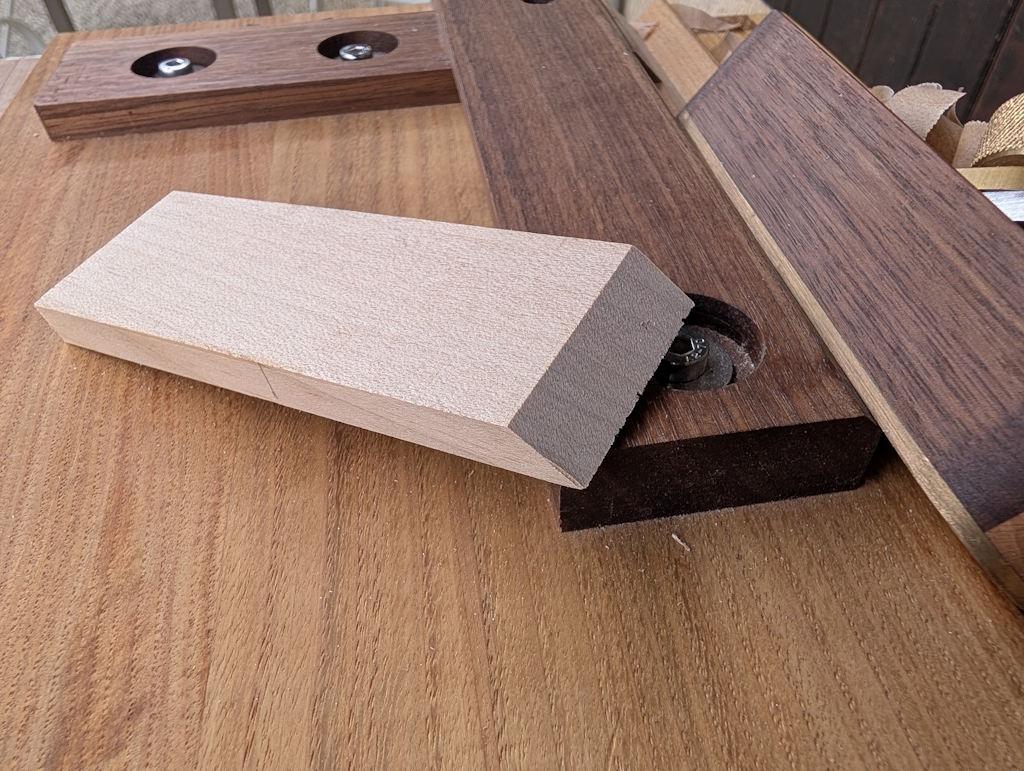
I decided to use mitred dovetails. There are two reasons for that: partly that I think they look better, but mostly that it makes it much easier to cut the groove for the piece that will form the back of the box as it can be ploughed through. I don't have a 45° reference to help with chiselling the mitres, so I started off by making one from the thickest off-cut I could find that was still thin enough to tuck under the mitre support on the chest's shooting board:
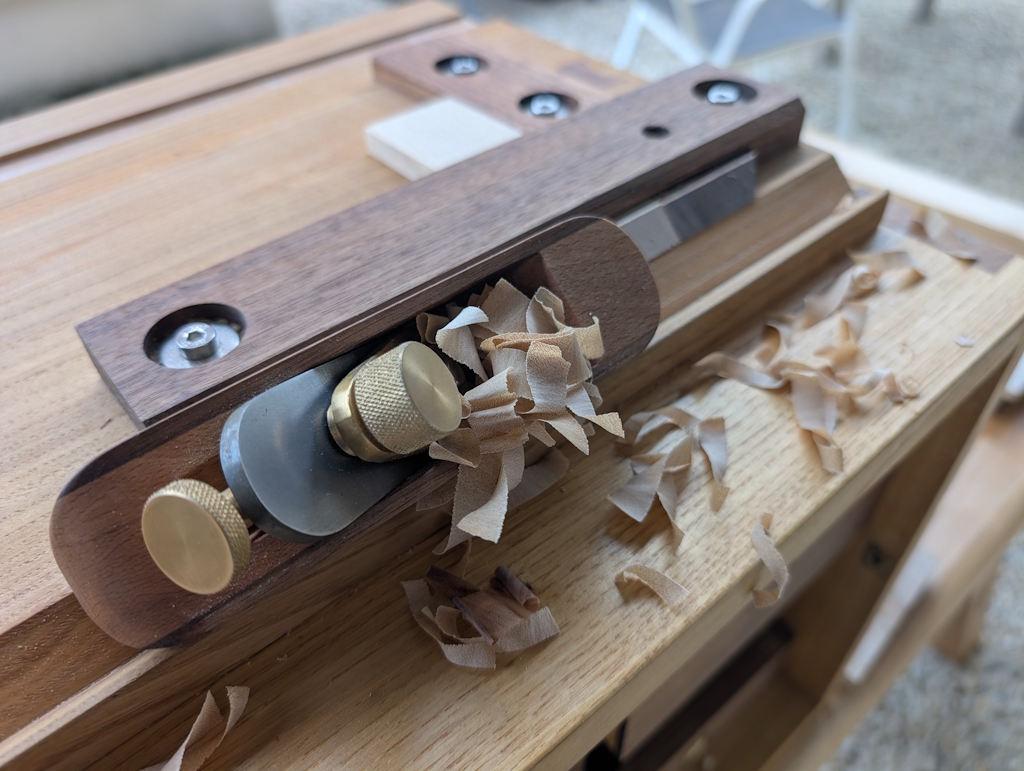
It's only a shallow little mitre guide, but hopefully it'll do the job:
Next up, I marked the ends of the tail boards for some evenly spaced pin sockets:
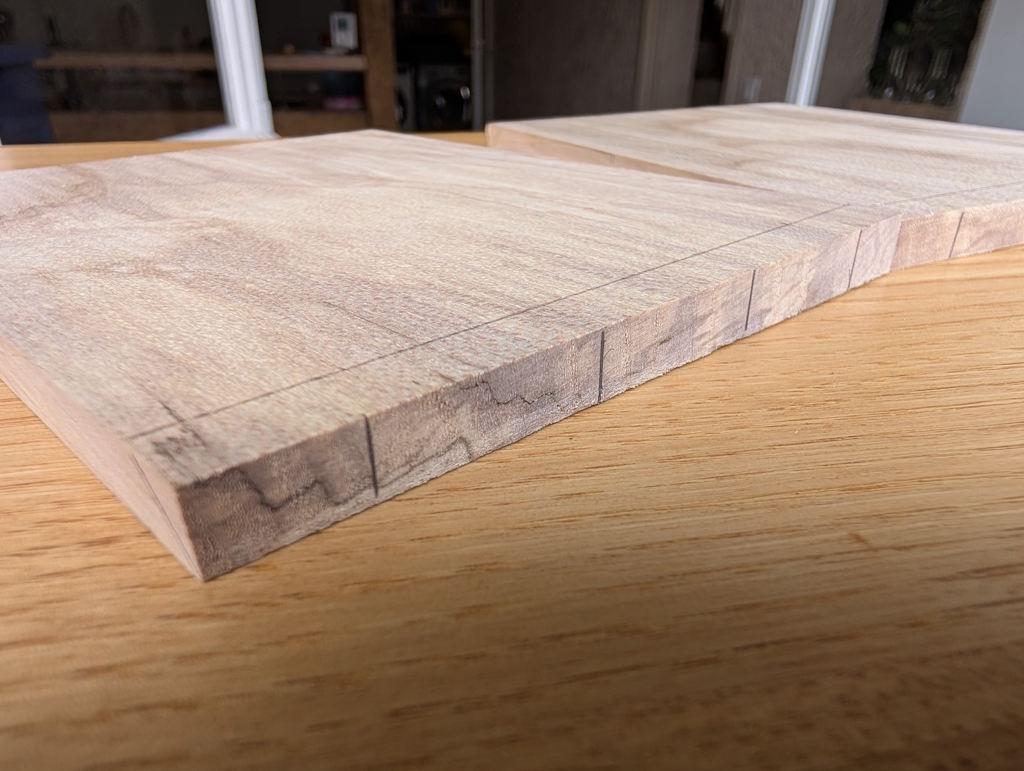
You may notice that there's only one mark for each pin socket rather than my usual two. That's because I've decided to have a go at some very narrow pins, something I've never tried before. For the ones that go onto the bottom piece, I sawed either side of the marked line:
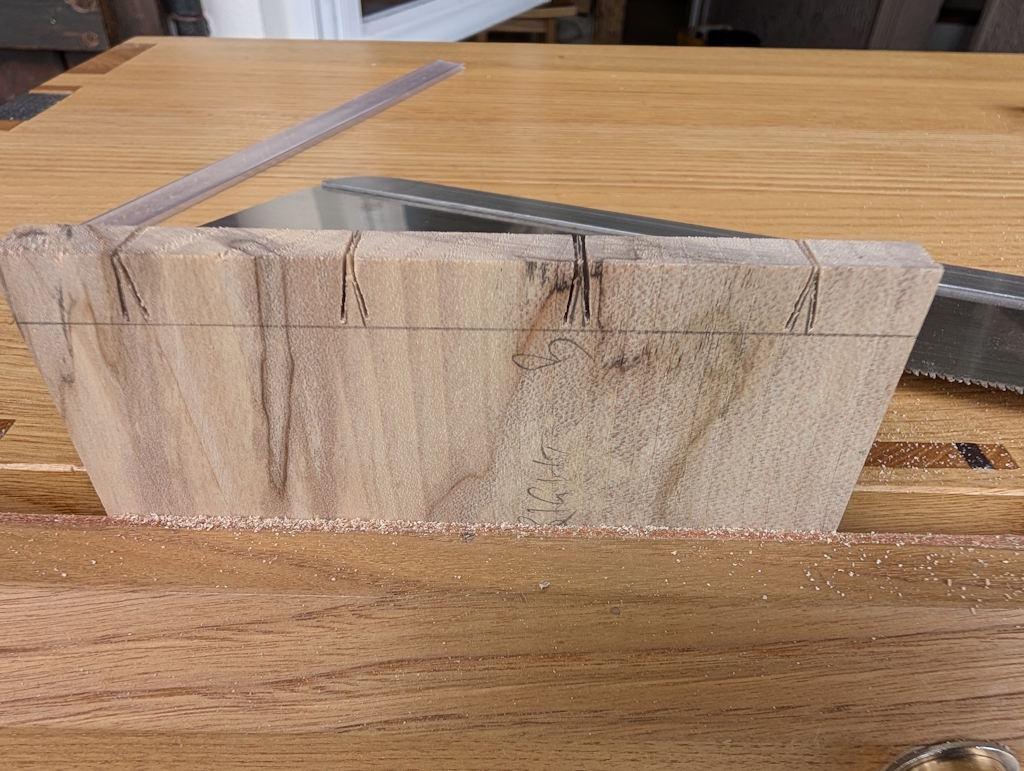
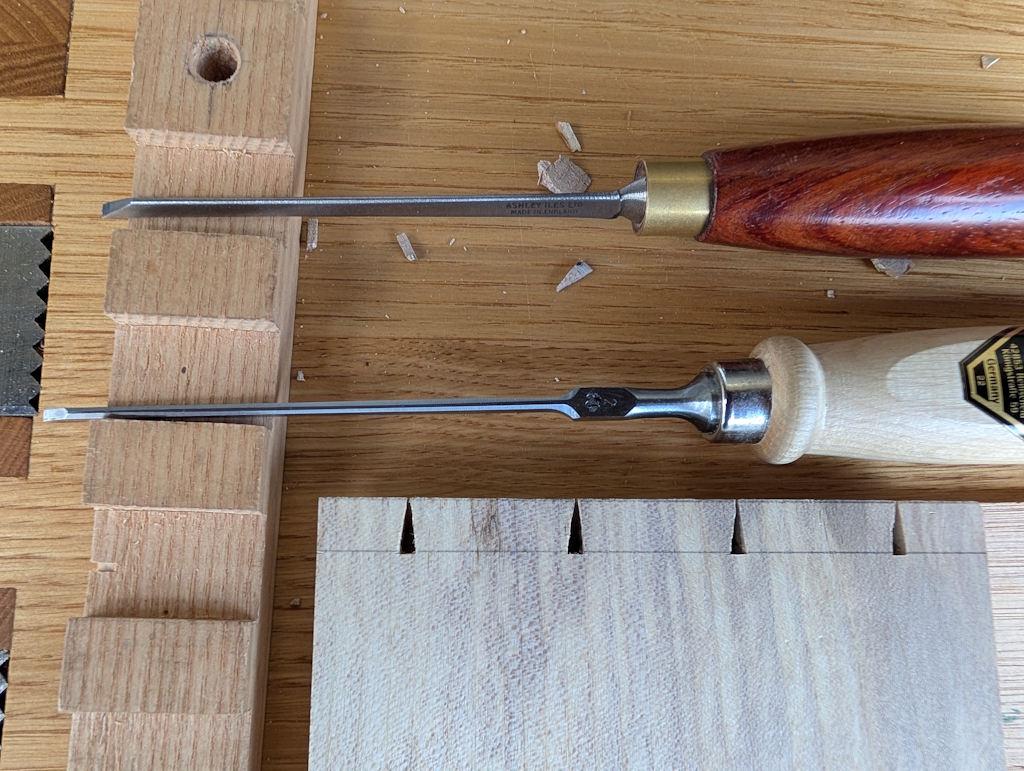
I then used a 3 mm chisel, which was just narrow enough to clean out the waste.
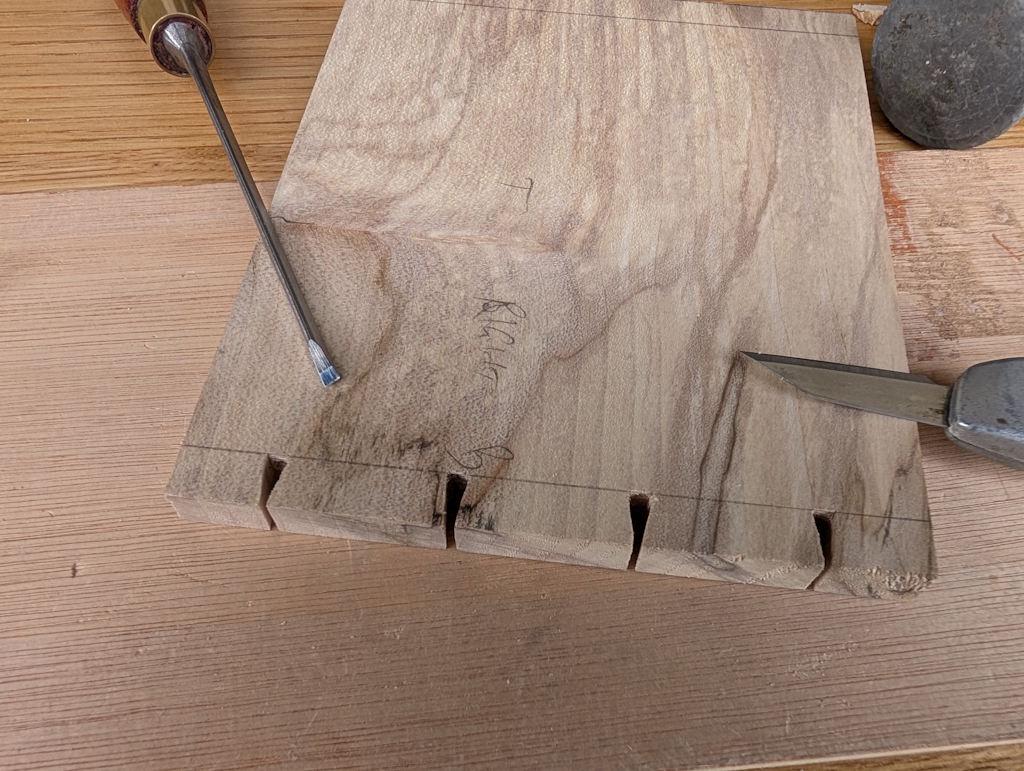
Without the pins cut yet, it's too early to say whether that's worked okay, but buoyed by the seeming success of that exercise, I decided to go even narrower for the joints with the top piece. Rather than sawing each side of the line, I sawed the first side of the pin on the line and then sawed the second side starting in the kerf of the first saw cut:
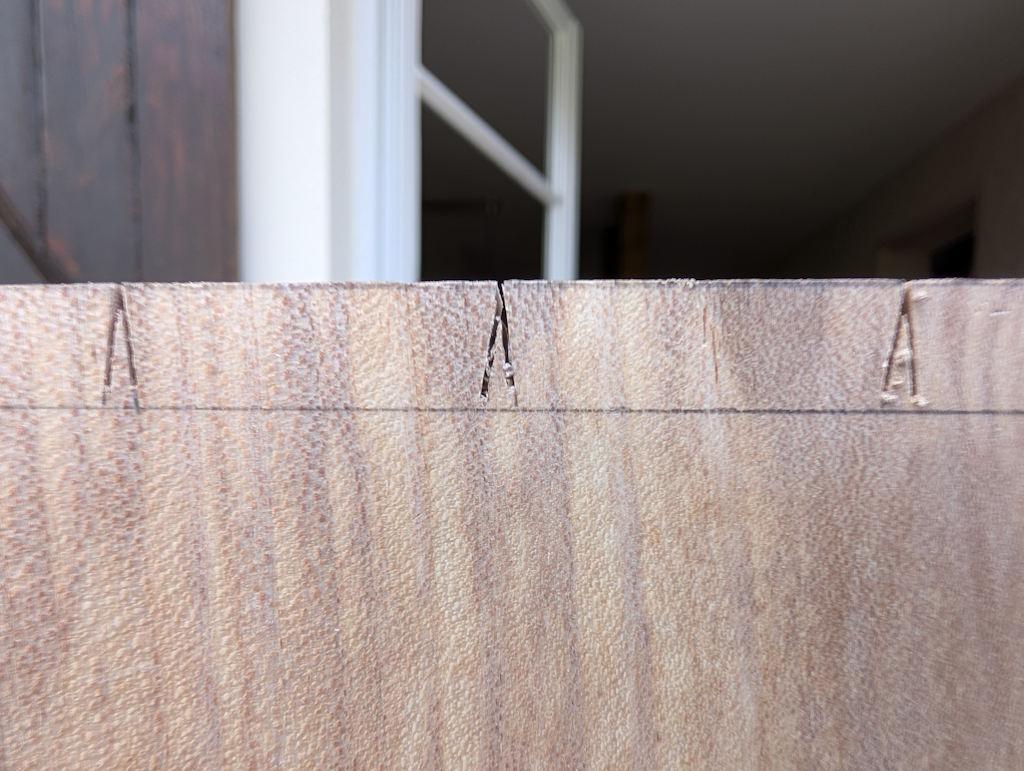
For these sockets I had to use a 2 mm chisel to clean out the waste (which was a lot more fiddly as the waste didn't really want to come out!):
To transfer the locations across, I marked the end of the pin board with masking tape and used my usual trick with a 1 mm thick steel rule and a couple of spring clamps to help line the shoulder up...
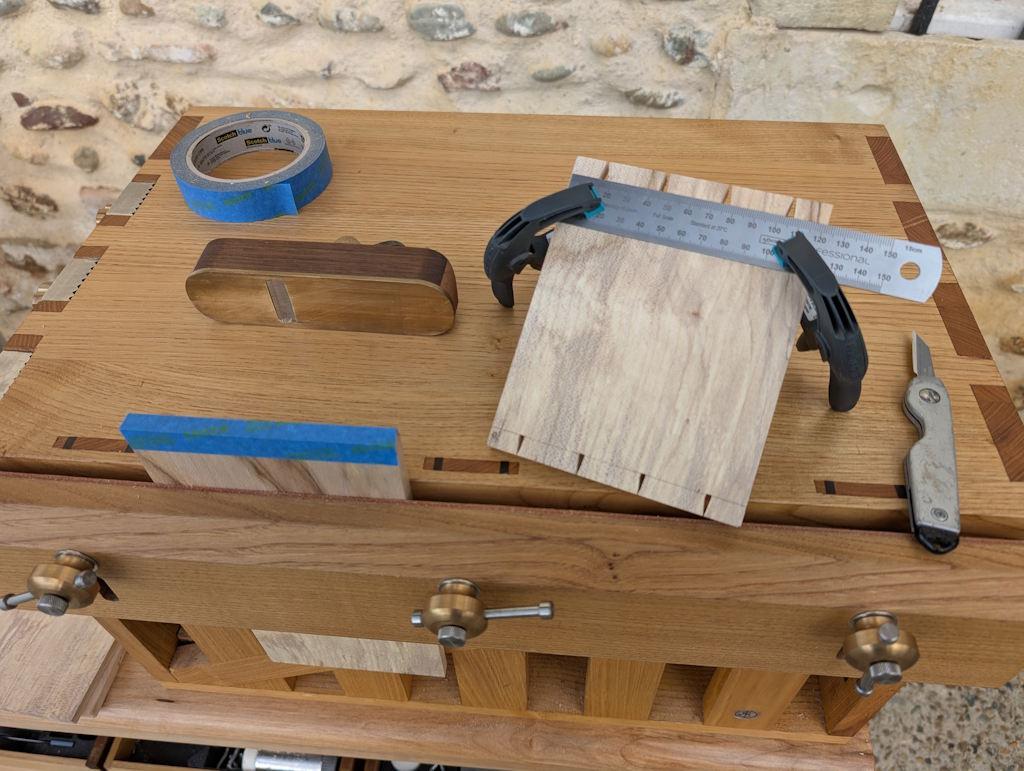
... then plonked it on top to knife the lines into the masking tape:
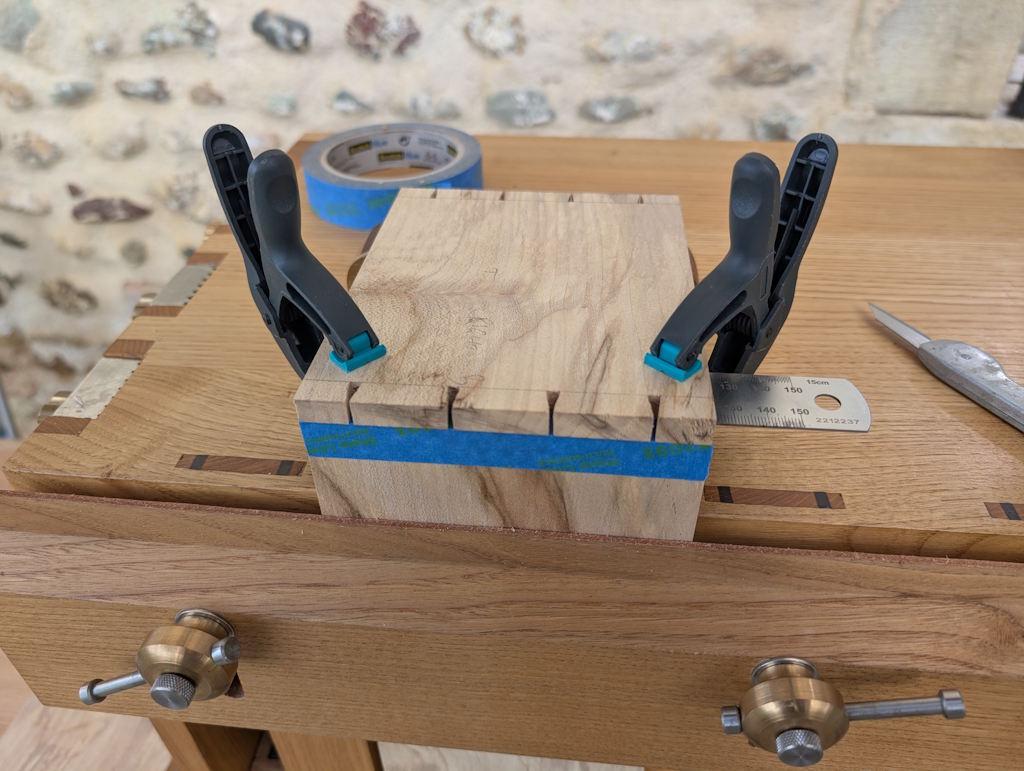
That was very straightforward on the bottom board but a lot more challenging on the top board. The reason for the difficulty is that the blade on my little folding marking knife (one of these) is thicker than the kerf on my Dozuki and hence I couldn't get it to the whole length of the tail edge. Instead, I marked as much as I could and then used the long sharp edge of the knife to make a straight line all the way across once the tail board had been removed.

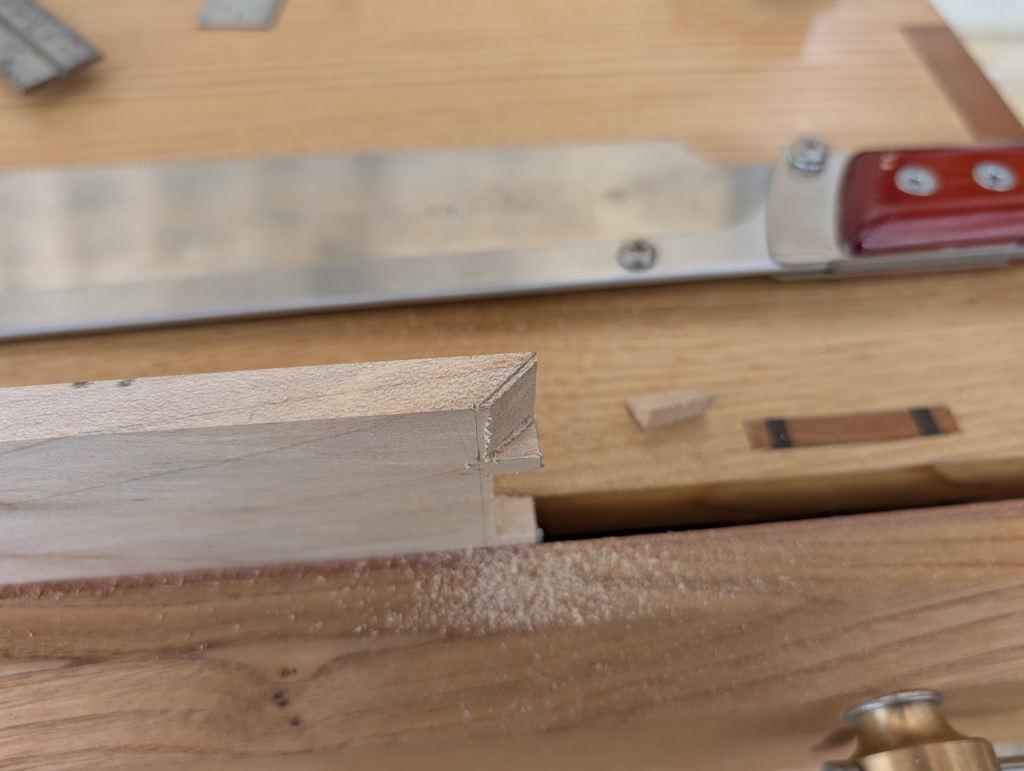
I then started sawing the waste and proceeded to make a mistake design change on the very first cut: by sawing straight down on one of the edges that should have been cut at 45° for part of the mitre:
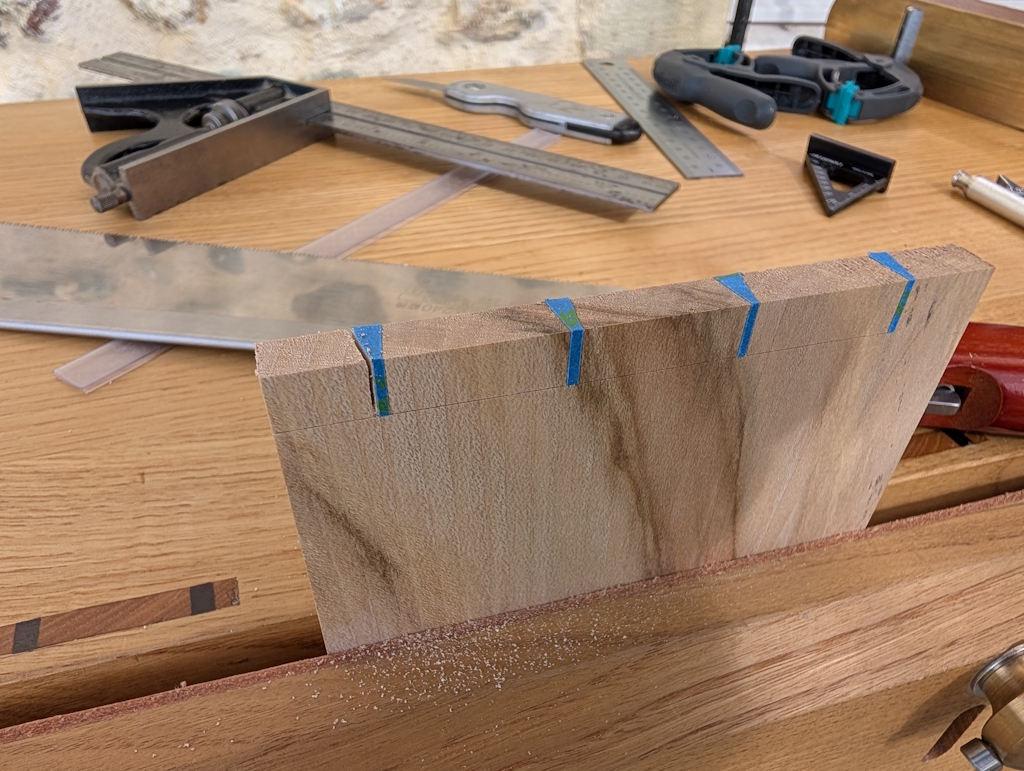
This is what I should have done:
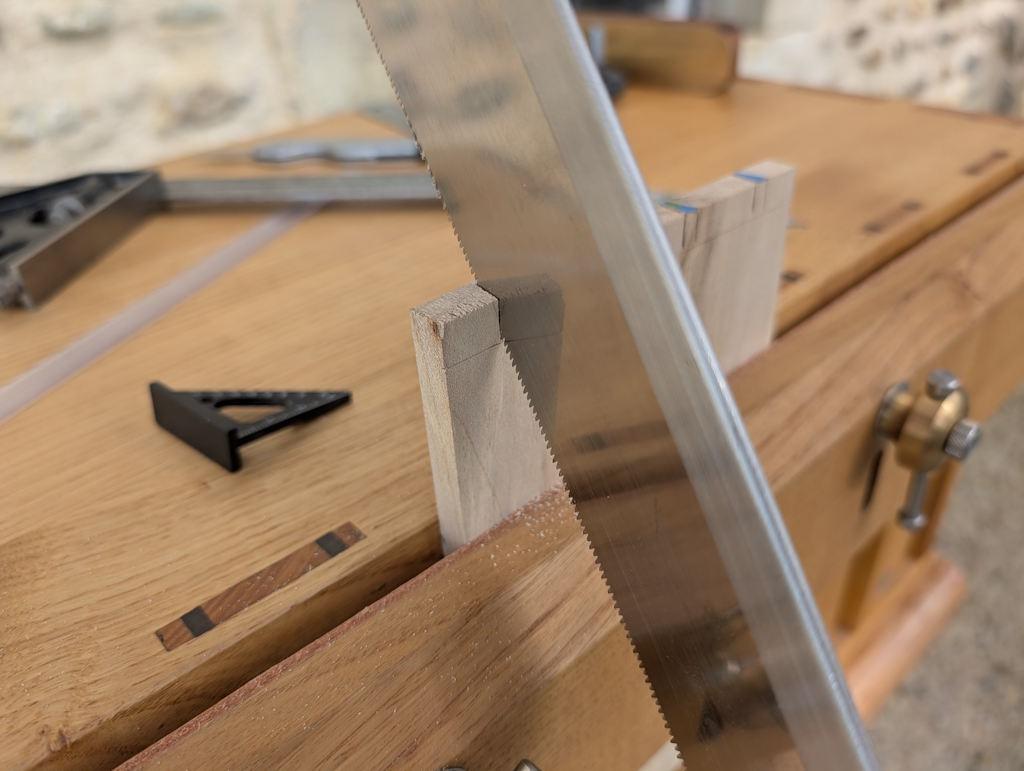
Never mind: I'll just have mitred corners at the back (where the groove will be ploughed) and square corners at the front.
The bulk of the waste got chopped out with the fretsaw...
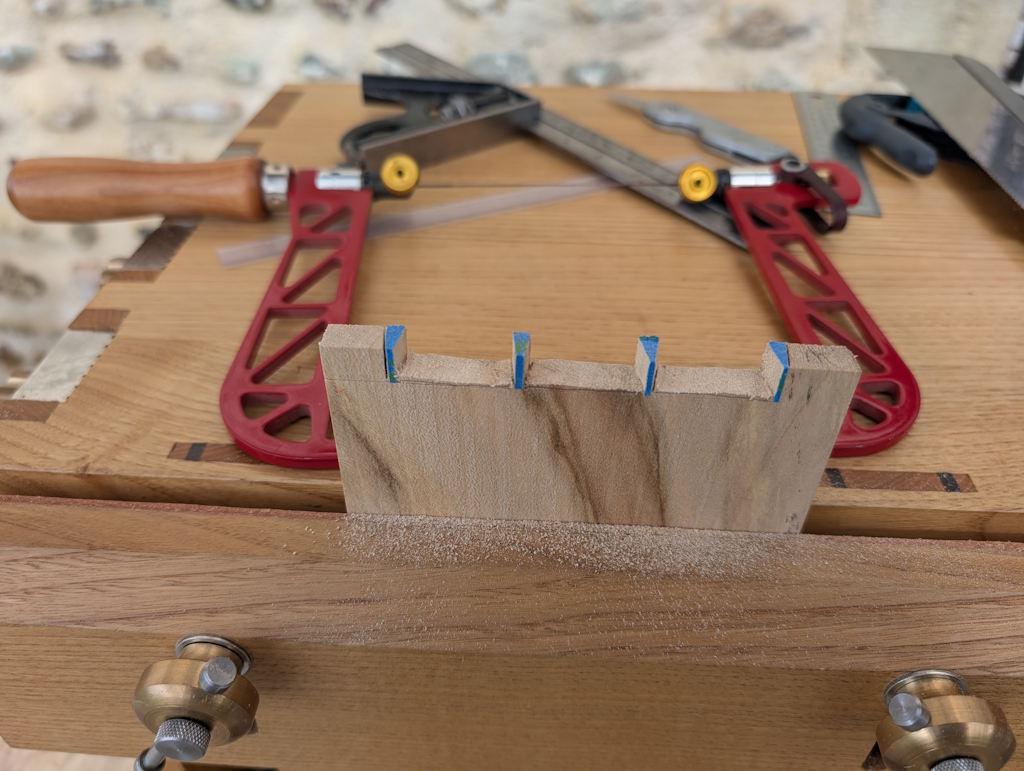
... and the edge pieces at the front and the mitres at the back got sawn off roughly with the Dozuki:
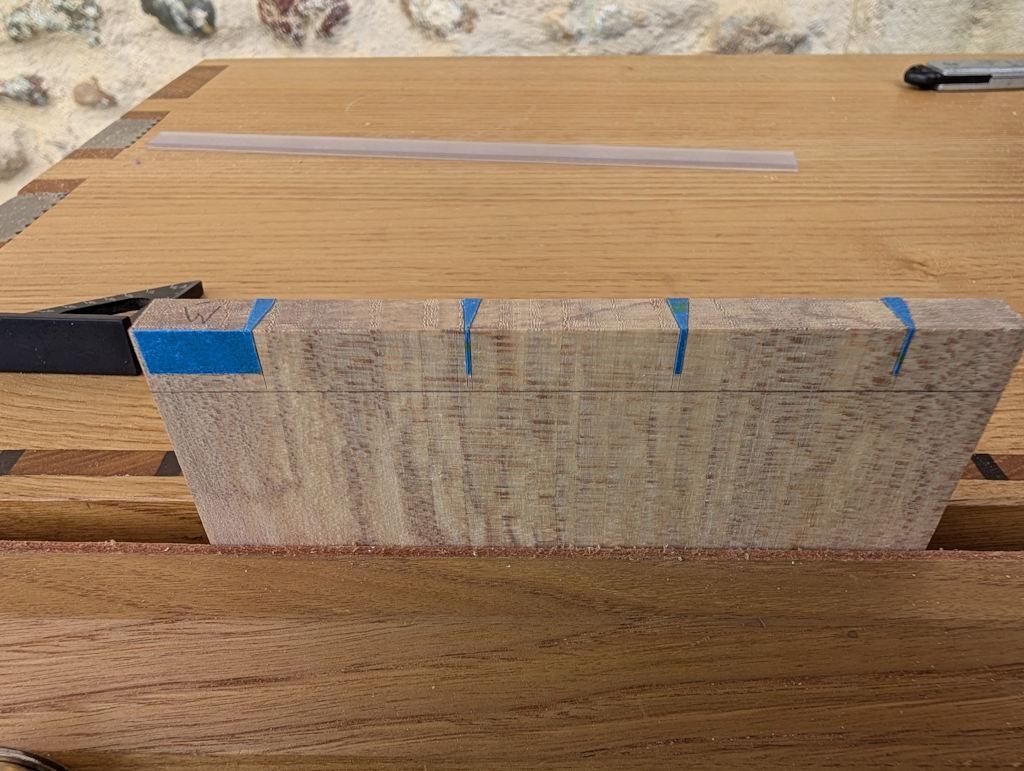
This photo shows those narrow pins (pre-sawing) on one of the ends of the top board:
Finally for this post, I got on with chopping the shoulder lines, initially with a 12 mm Ashley Iles chisel but later swapping to an 8 mm Narex one:
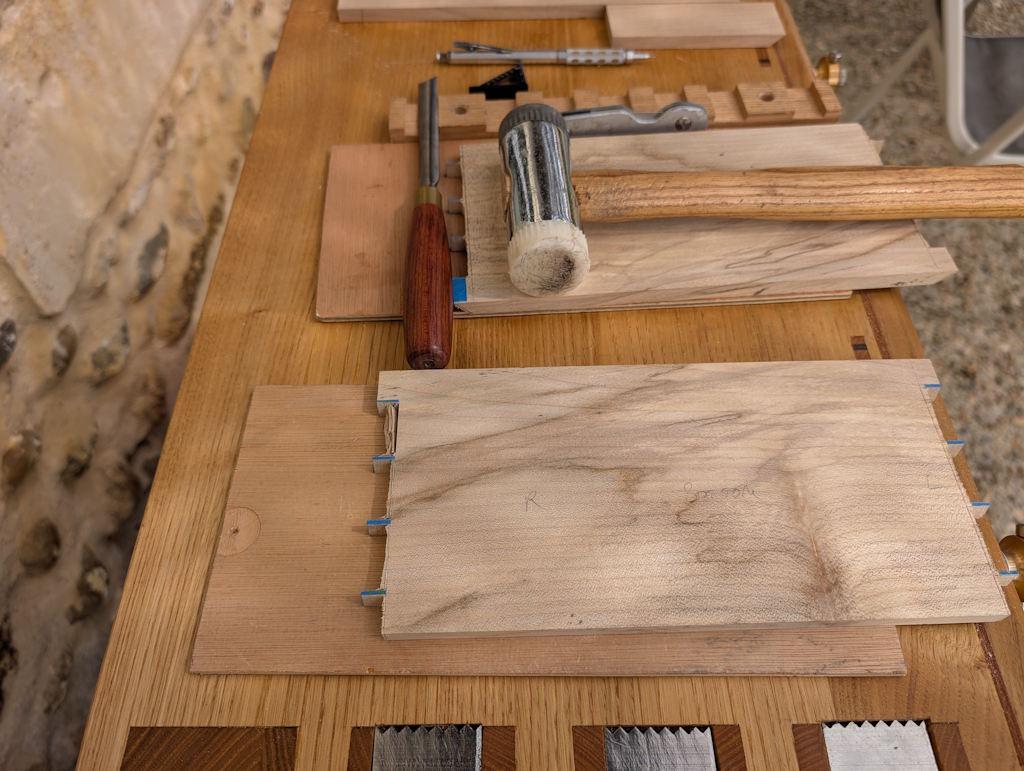
I've done most of the chopping but it didn't seem worth a photo until I'd sorted out the mitres, so you'll have to wait for the next post to see more.
Page 2 of 14
This website is free and ad-free, but costs me money to run. If you'd like to support this site, please consider making a small donation or sending me a message to let me know what you liked or found useful.