
Sycamore Drawer Box Build Process
 Return to main project page
Page 4 of 14
Posted 13th September 2025
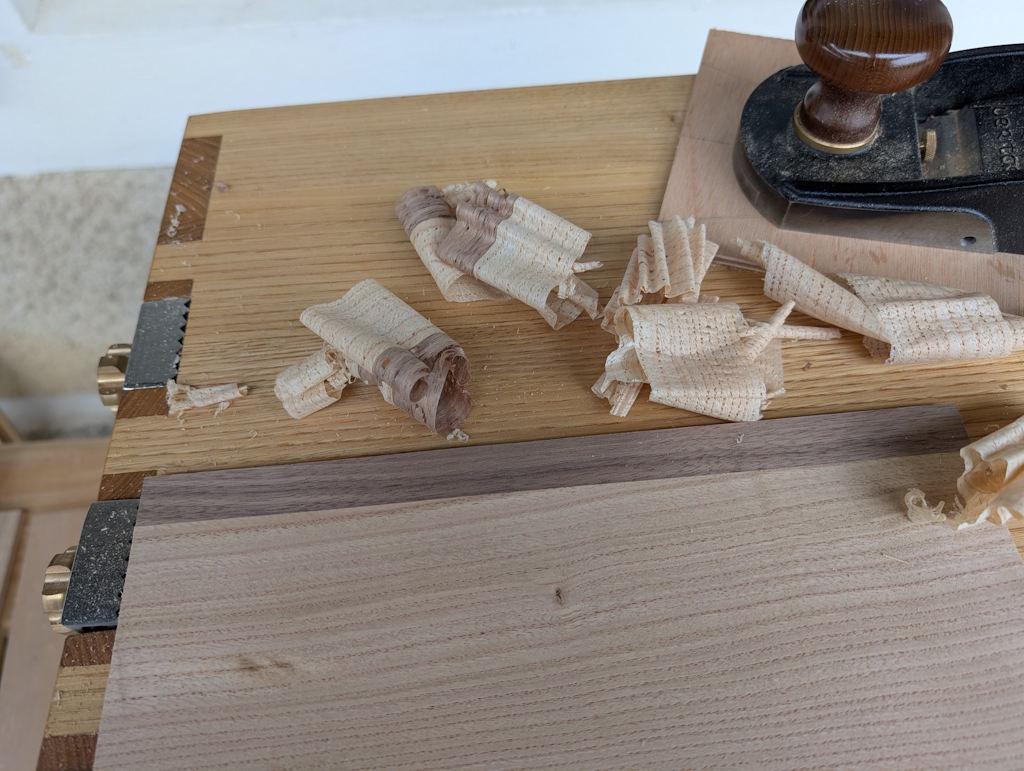
After the glue had been left for a couple of hours, I got impatient and decided that it would probably be okay to take the tape off and start planing it. Firstly, I planed the two faces, producing some lovely stripy plane shavings:
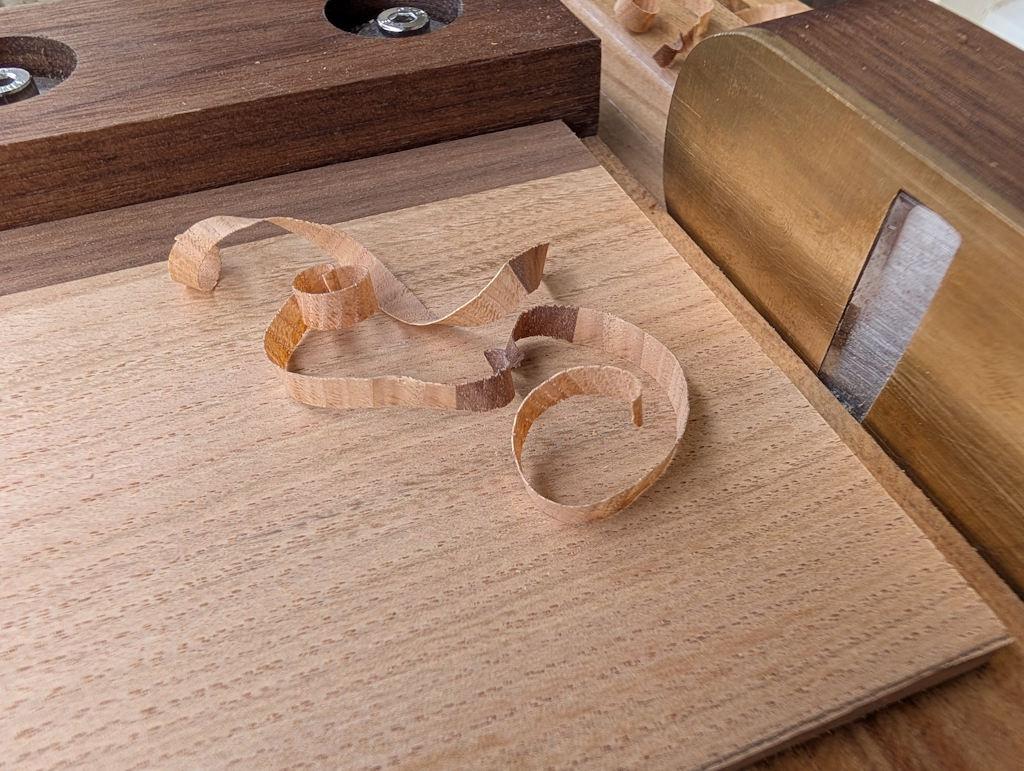
I then sawed the piece to about the right size and then shot the edges square. To my surprise, this also produced some two-tone plane shavings, showing how effective the glue joint is:
One of the next things I need to do is cut the housing for the shelf to sit in. As I said in the last post, I have a choice between making the drawers the same size (this was the original plan) or shrinking the top one to a shade under 50 mm to match the drawer-side-stock I have available.
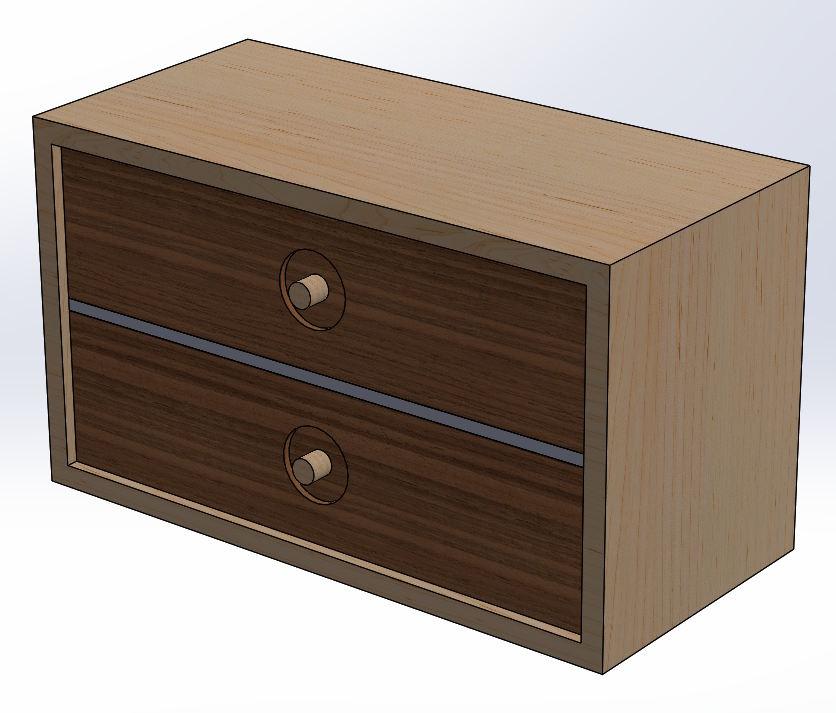
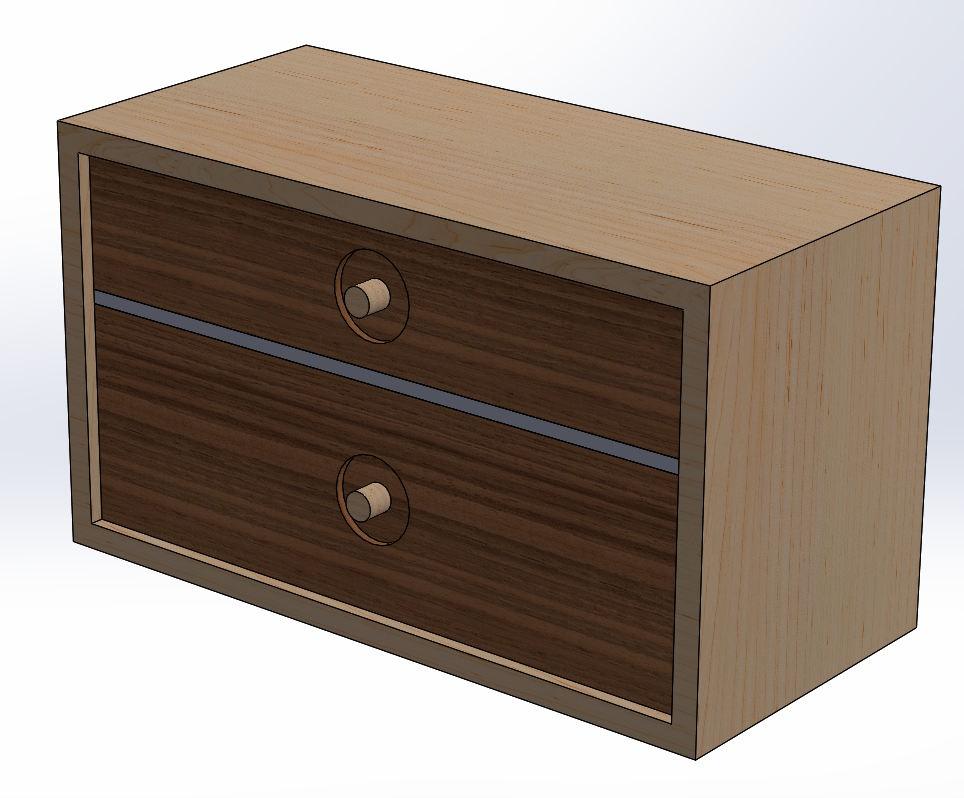
I'm struggling to decide so I thought I'd knock up a quick CAD model to get an idea of how the two look (with some arbitrary drawer pull shapes modelled in to help get a feel for it). I've left the shelf a generic blue colour to make it more obvious versus the walnut-coloured drawers but in the real thing it'd all be the same colour.
This is what it looks like with equal sized drawers:
This is what it looks like with the top drawer reduced in height:
Opinions welcome...
Page 4 of 14
This website is free and ad-free, but costs me money to run. If you'd like to support this site, please consider making a small donation or sending me a message to let me know what you liked or found useful.