
Sycamore Drawer Box Build Process
 Return to main project page
Page 7 of 14
Posted 28th September 2025
Since getting back, I haven't managed to spend much time on the drawer box, but I did have a rummage around to try to find some material for the drawer sides. The only stuff that looked promising was in the form of a (somewhat excessively) large plank of sweet chestnut:
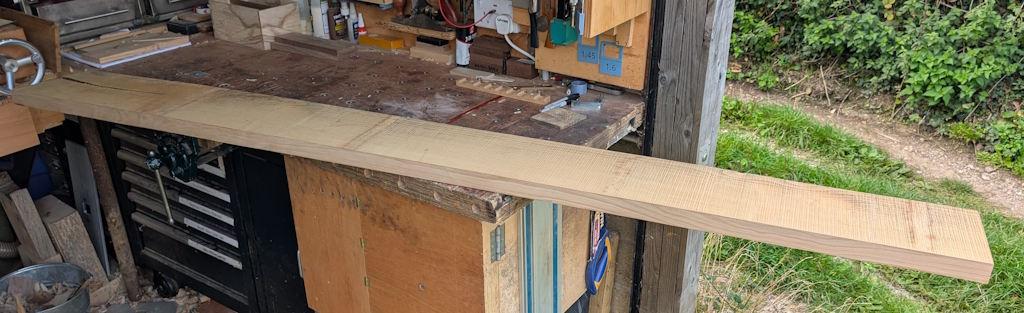
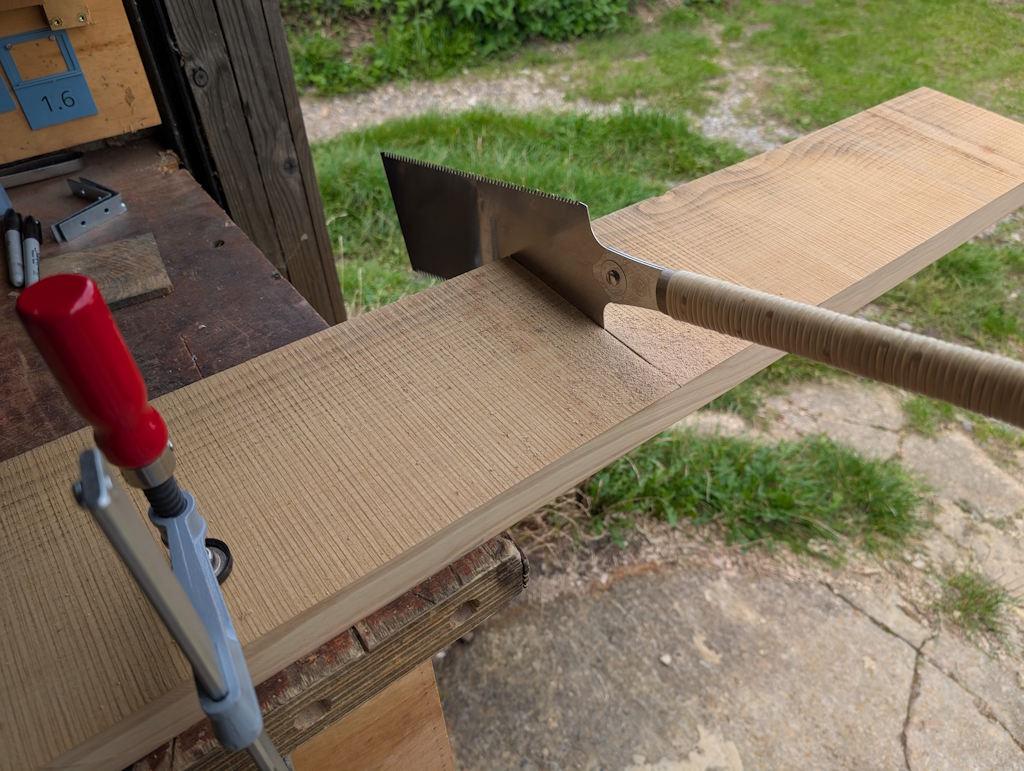
That's obviously far too much wood for the sides and back of two drawers, so I started by getting the big Ryoba out and chopping the end off:
I then started ripping it to (a bit over-) width using the big Ryoba but it was feeling hard work so I swapped to the little one and that went much quicker:
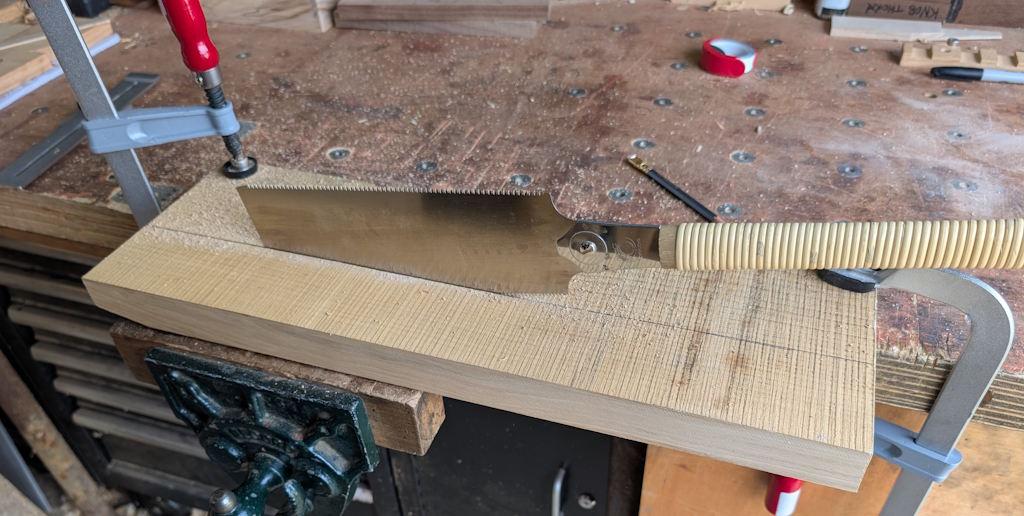
The big Ryoba was the one that I used to use for resawing before I bought my bandsaw, so those rip teeth have had a fairly hard life; I suspect they're not as sharp as they once were.
With the piece cut a bit smaller, I could plane both faces...
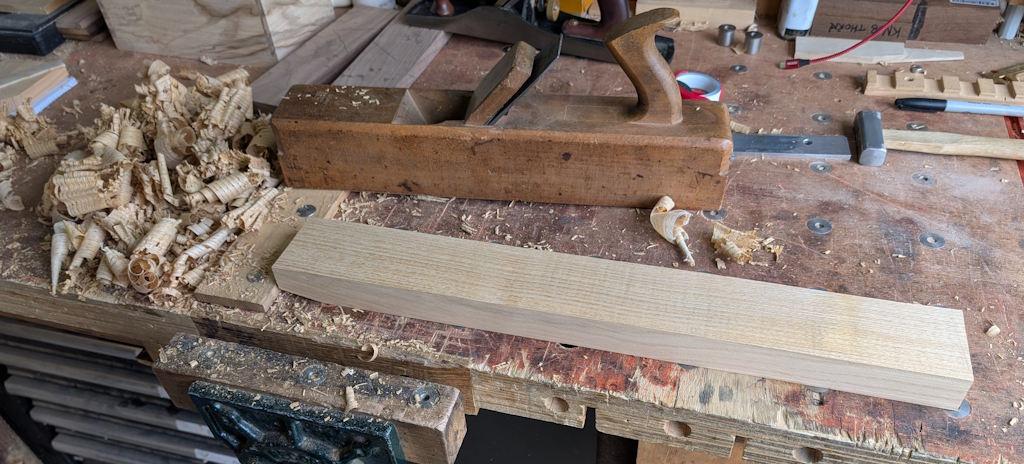
... and then plane both edges, making sure one edge was square to one face and the other square to the other:
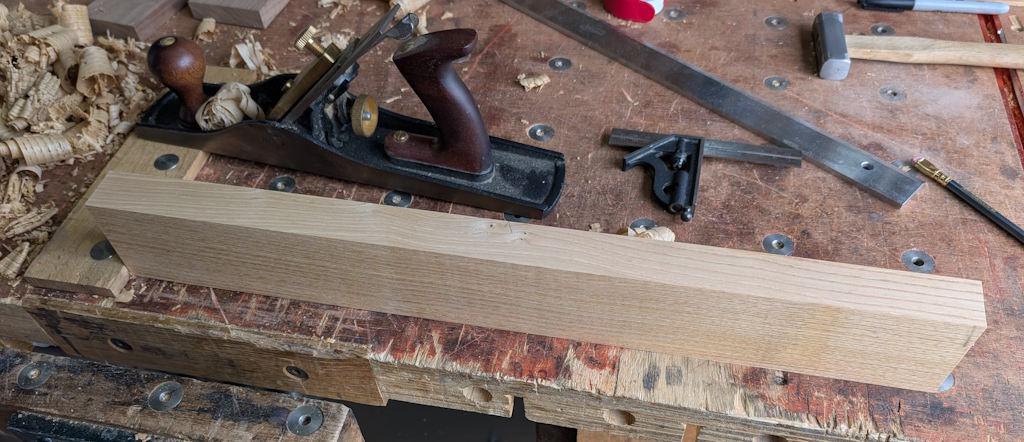
I could then use the face/edge pairs as references against the bandsaw fence and table and chop the plank into three bits, two with one planed face and one with none:
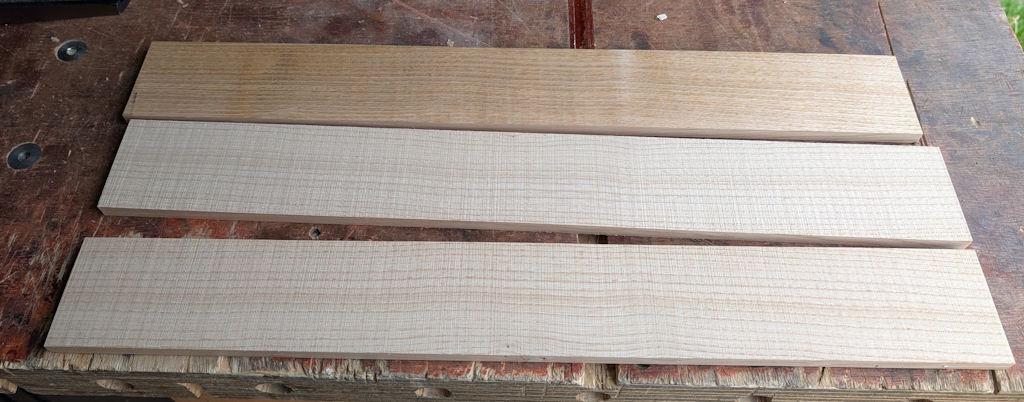
Those pieces should give me plenty of stock for the sides and back of the drawers. The next job will be to plane them all round, but I expect that'll be next weekend, which at least has the advantage of allowing them a bit of post-resaw time to bend/twist or whatever else they want to do before I plane them.
Page 7 of 14
This website is free and ad-free, but costs me money to run. If you'd like to support this site, please consider making a small donation or sending me a message to let me know what you liked or found useful.