
Sycamore Drawer Box Build Process
 Return to main project page
Page 9 of 14
Posted 12th December 2025
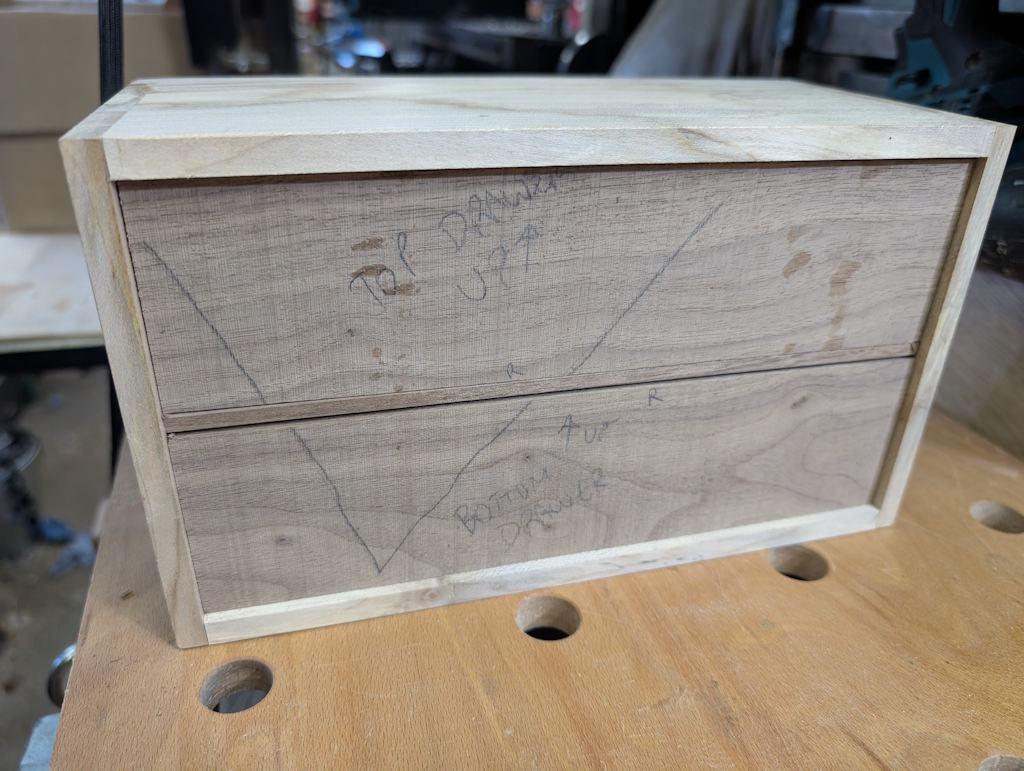
I managed a couple of hours on the box this afternoon. I started by dimensioning the drawer fronts to be a snug fit end-to-end and a loose fit top-to-bottom in the carcase:
I then used the shooting board to bring the back to the same size:
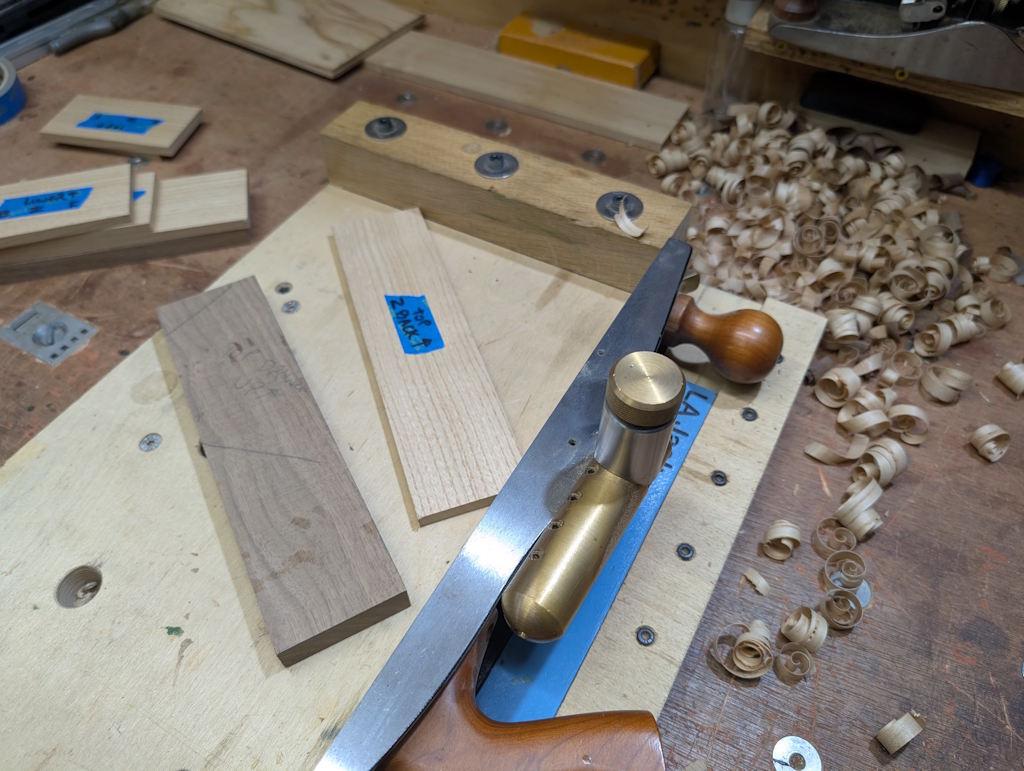
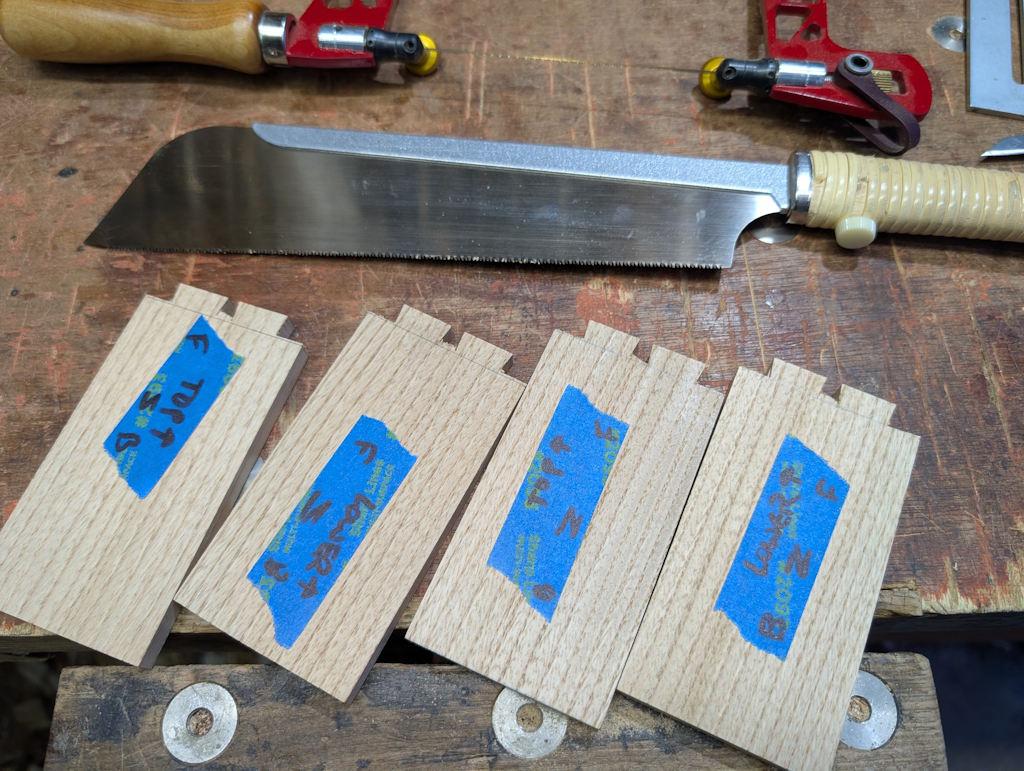
I also used it to bring the sides to the same height (width) but didn't do anything about the length of them for now. Finally, I planed the drawer fronts to what will be their final thickness (about 14 mm). I could then start marking out and sawing the tails at the front end of the side boards:
Three little chisels then finished the tails:
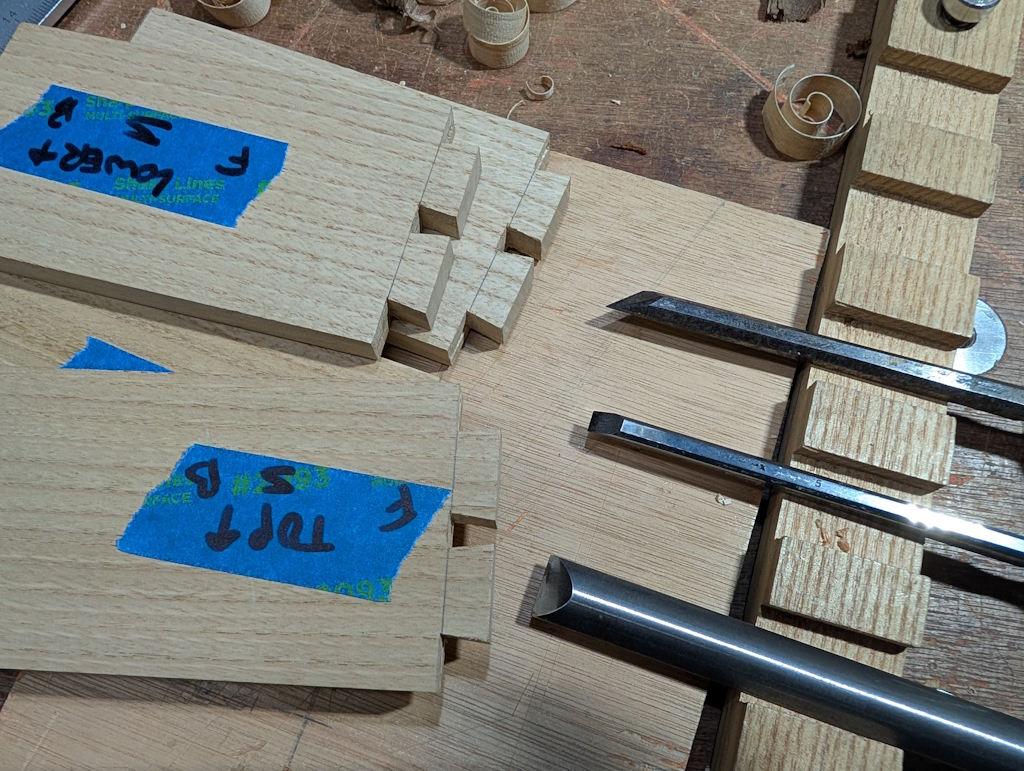
I haven't cut the tails on the backs of these boards yet as they're still too long. Once the first joints are done, I'll figure out how long they need to be.
I marked the sockets in the usual way:
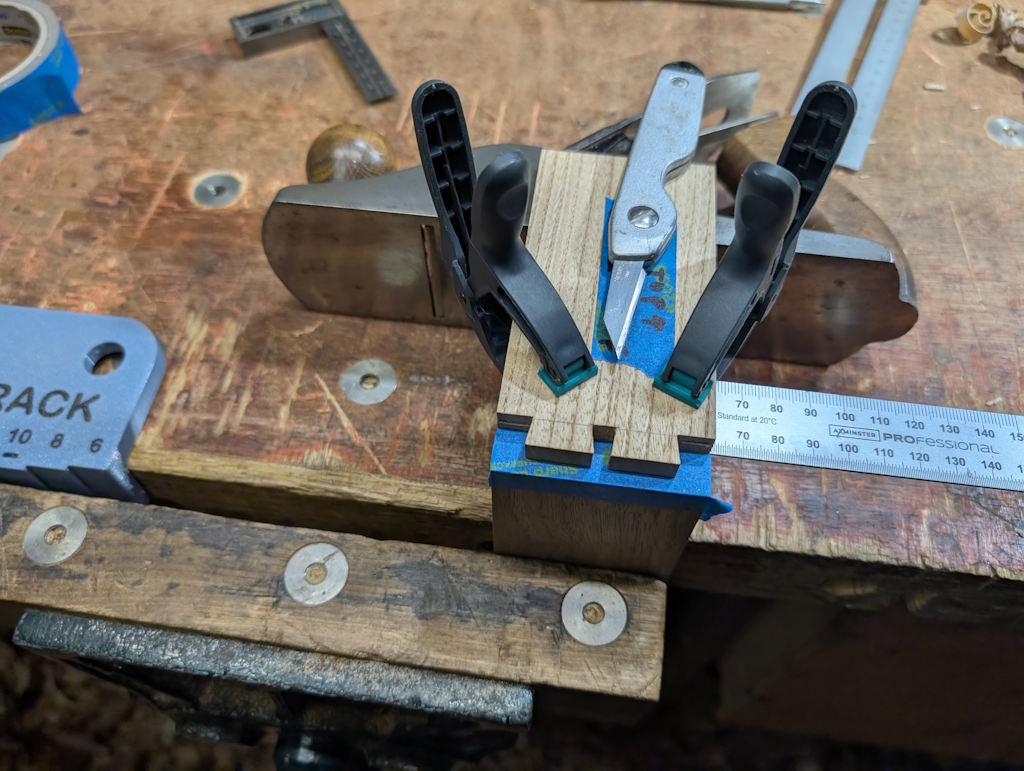
You'll notice that I'm keeping my life simple by not trying to narrow pins on the drawers. It was an interesting exercise to do it on the carcase but I wanted an easy life this time. The marked up sockets:
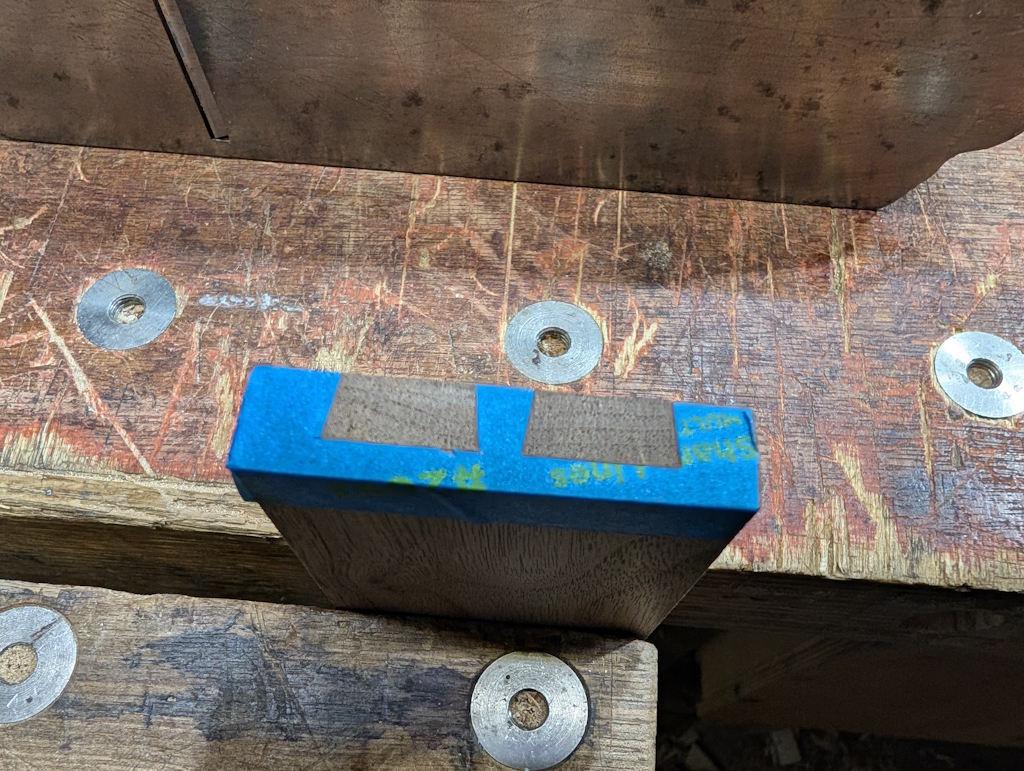
This is the first one done:
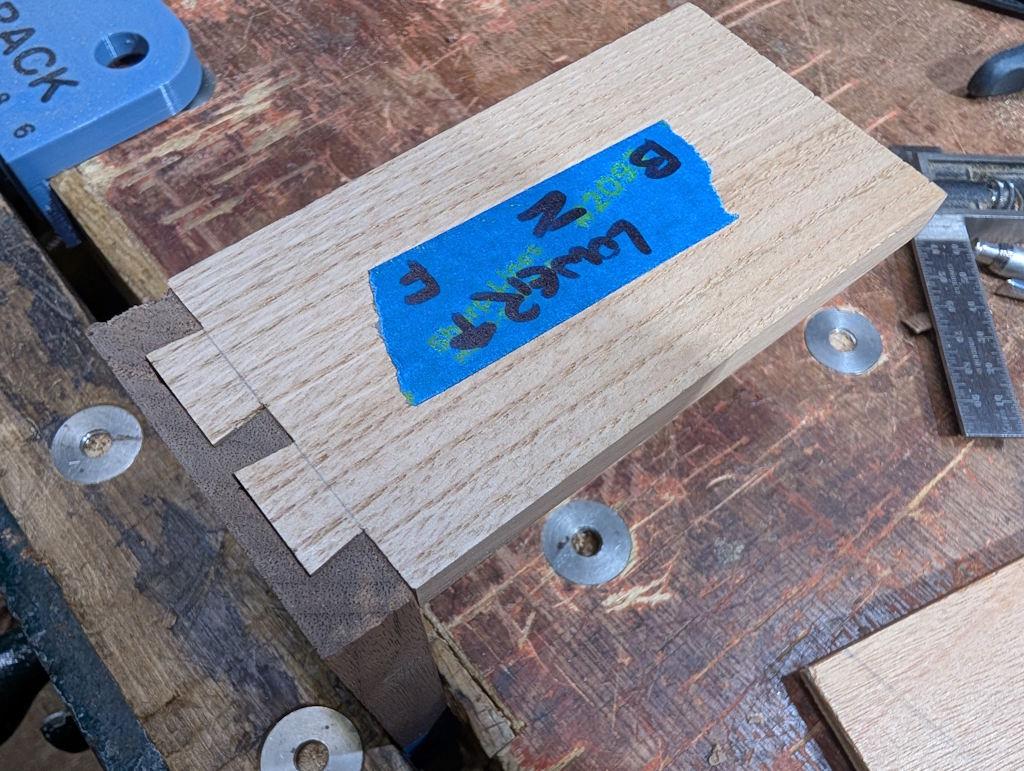
At that point the darkness was feeling awkward with seeing what I was doing (despite the myriad of cool white LED lighting in the garage) and it was getting chilly so I decided to retire to the house for the evening. More tomorrow hopefully.
Page 9 of 14
This website is free and ad-free, but costs me money to run. If you'd like to support this site, please consider making a small donation or sending me a message to let me know what you liked or found useful.