
Sycamore Drawer Box Build Process
 Return to main project page
Page 12 of 14
Posted 14th December 2025
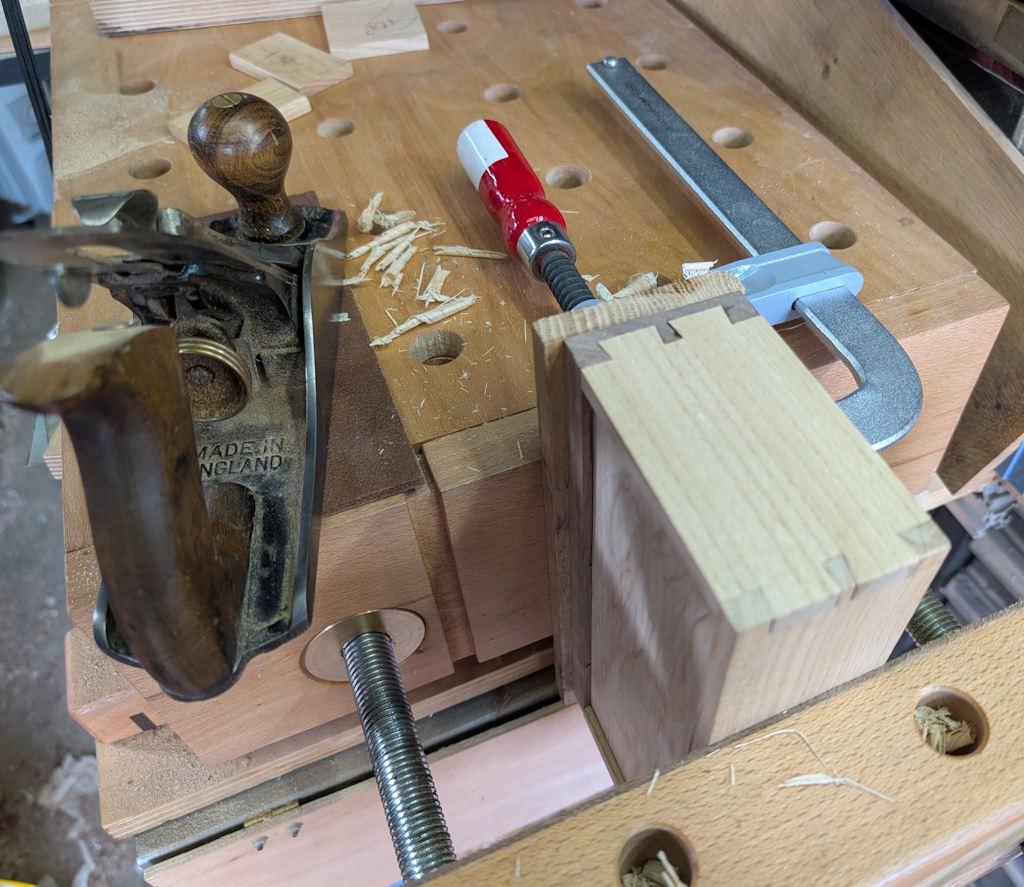
This morning I've been cleaning up the sides and back of the boxes. With the grain direction being "wrong" on two of the sides, I decided to use a backer board rather than a high angle plane, with the box held in the two-screw "Moxon"-style vice in my Portable Workbench:
Where there was a tiny bit of glue squeeze-out still visible around the joints I used a card scraper to tidy it up locally:
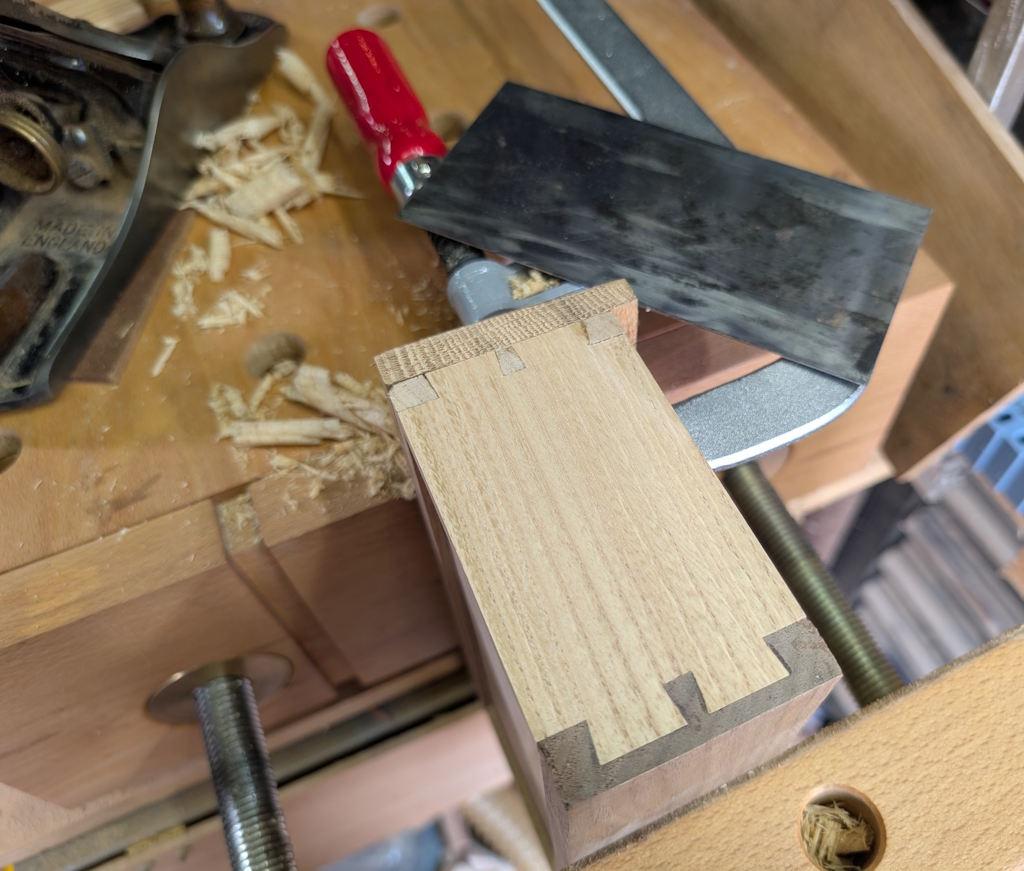
The back got a chamfer with my block plane and a light pass with a card scraper was enough to bring everything flush:
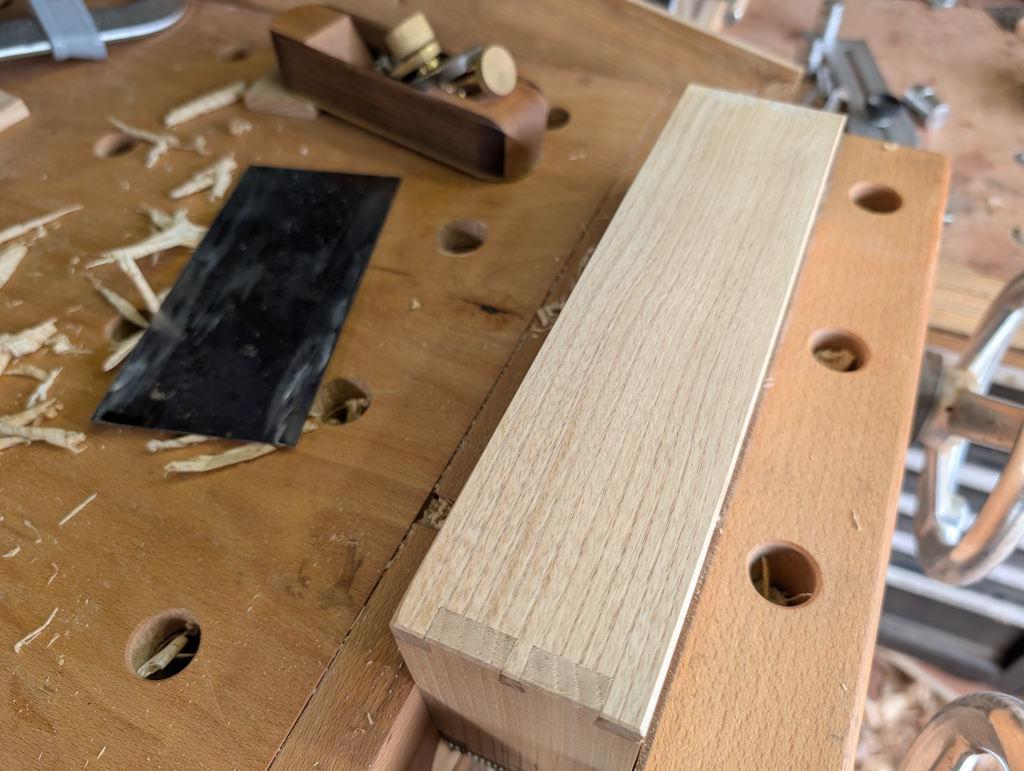
The rims were mostly flush with one another but in the one or two corners where I could feel a slight ridge, I again used the card scraper:
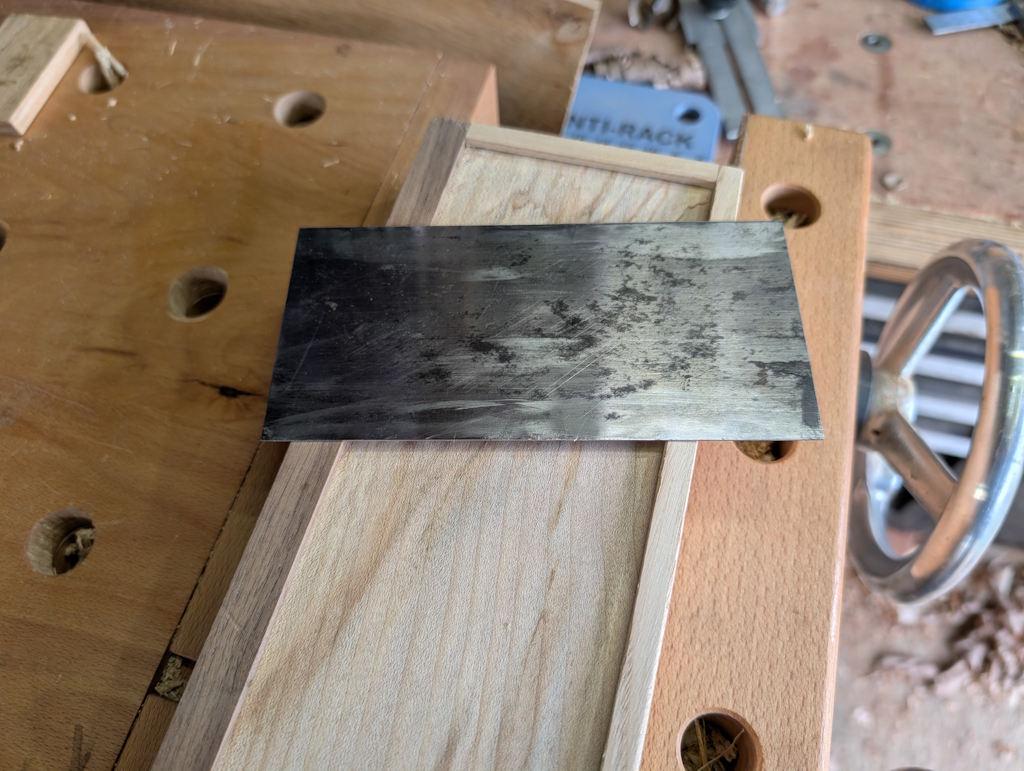
Does anyone else chamfer internal corners with a card scraper?
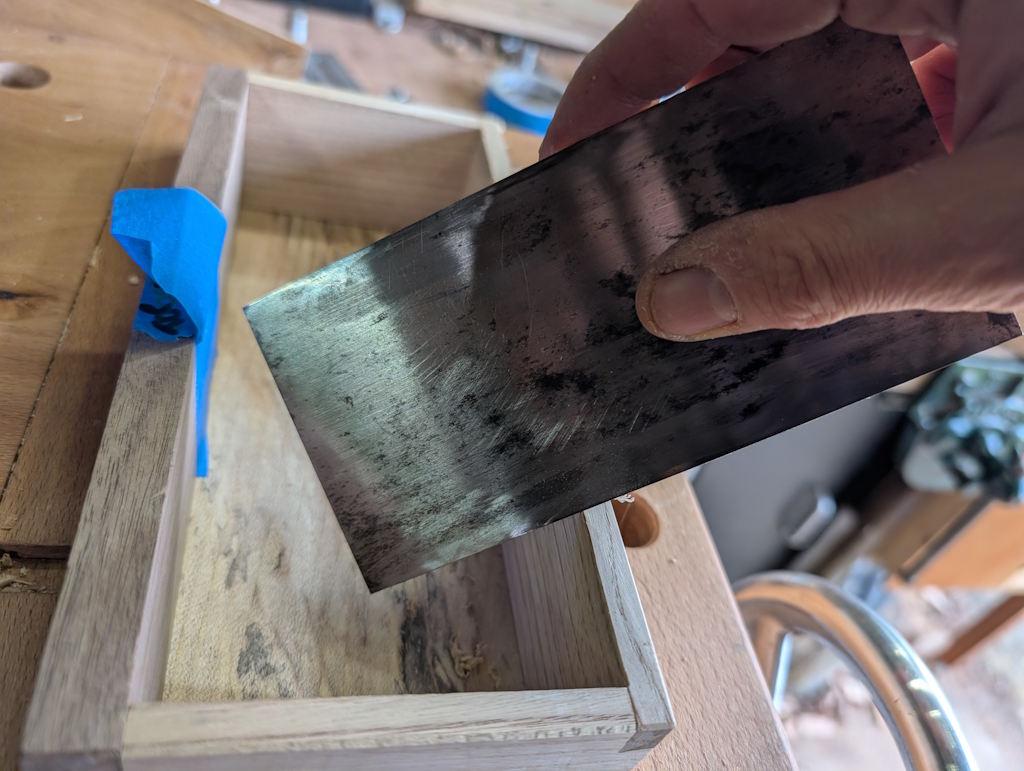
I ended up using the card scraper to break most of the edges (internal and external) as it was easier to just keep that in my hand and work round everywhere.
For test fitting, I added a bit of masking tape with a big doubled-over section on the top:
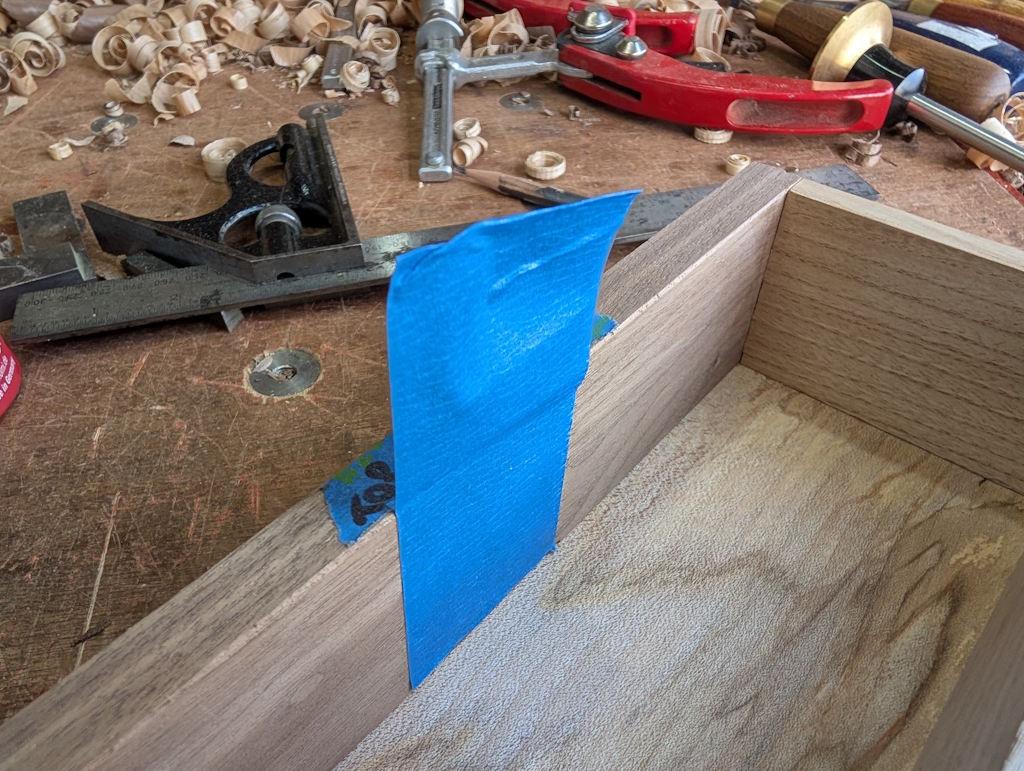
I could then shove the drawers into their holes safe in the knowledge that I'd be able to pull them back out again!
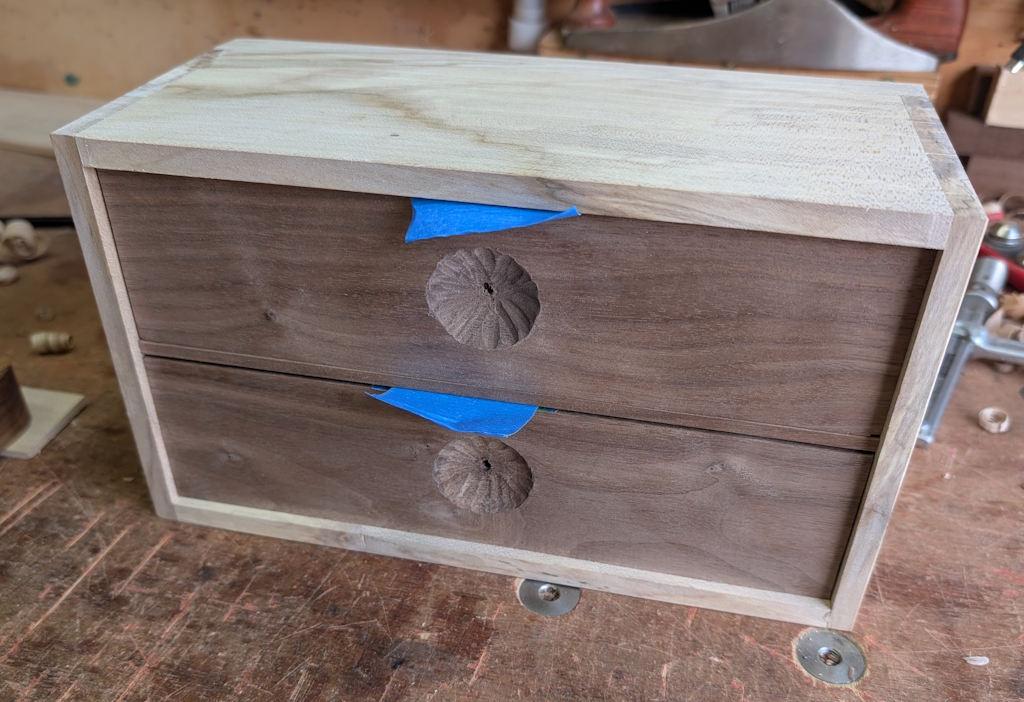
After taking that photo, I also chamfered around all the edges of the fronts of the drawers: that makes the expansion gap above the bottom drawer less obvious I think.
The next job is to tidy the bench up and then get the lathe out to turn the drawer pulls.
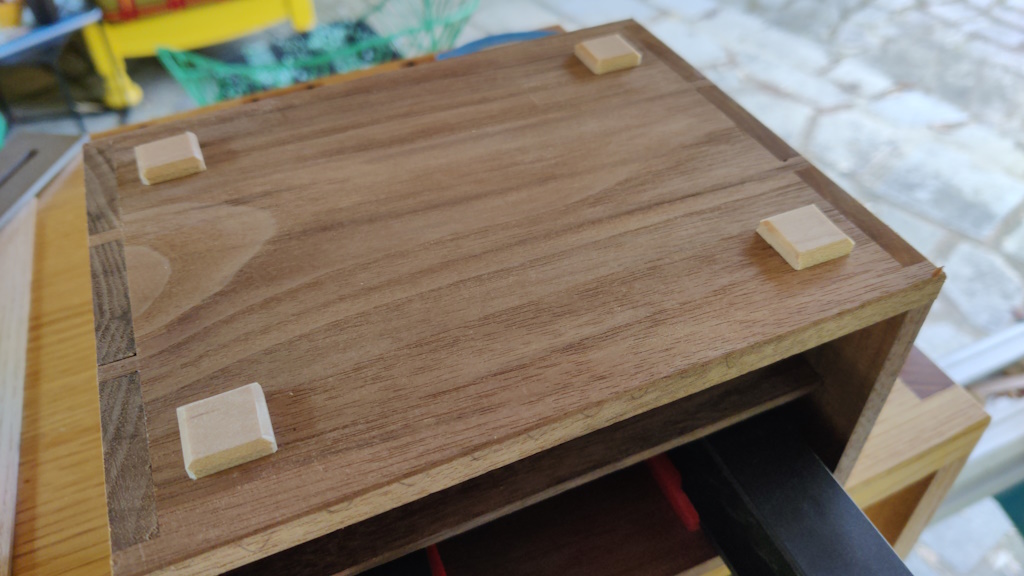
I also need to decide what (if anything) to do about feet. On the last drawer box I made, I stuck some bits of maple on the bottom (see this photo). I'd be interested in opinions as to whether I should do the same (with walnut feet) on this one or just to leave the box sitting flat on its base.
Page 12 of 14
This website is free and ad-free, but costs me money to run. If you'd like to support this site, please consider making a small donation or sending me a message to let me know what you liked or found useful.